
A parking brake that reaches the floor without stopping the car, or one that drags and heats the rear brakes, comes down to how much lever travel is needed before the rear shoes or pads clamp. Parking brake adjustment step by step means taking up slack at the cable adjuster, equalizing both sides so one wheel does not clamp before the other, and then confirming the result on an incline. On most BMWs it takes 45 to 90 minutes with basic hand tools.
BMW has used cable, drum, rear disc and electronic parking brakes across its range, and the access point moves with each one. Your owner’s manual and the model-specific service procedure always take precedence over anything written here.
Table of Contents
What You Need
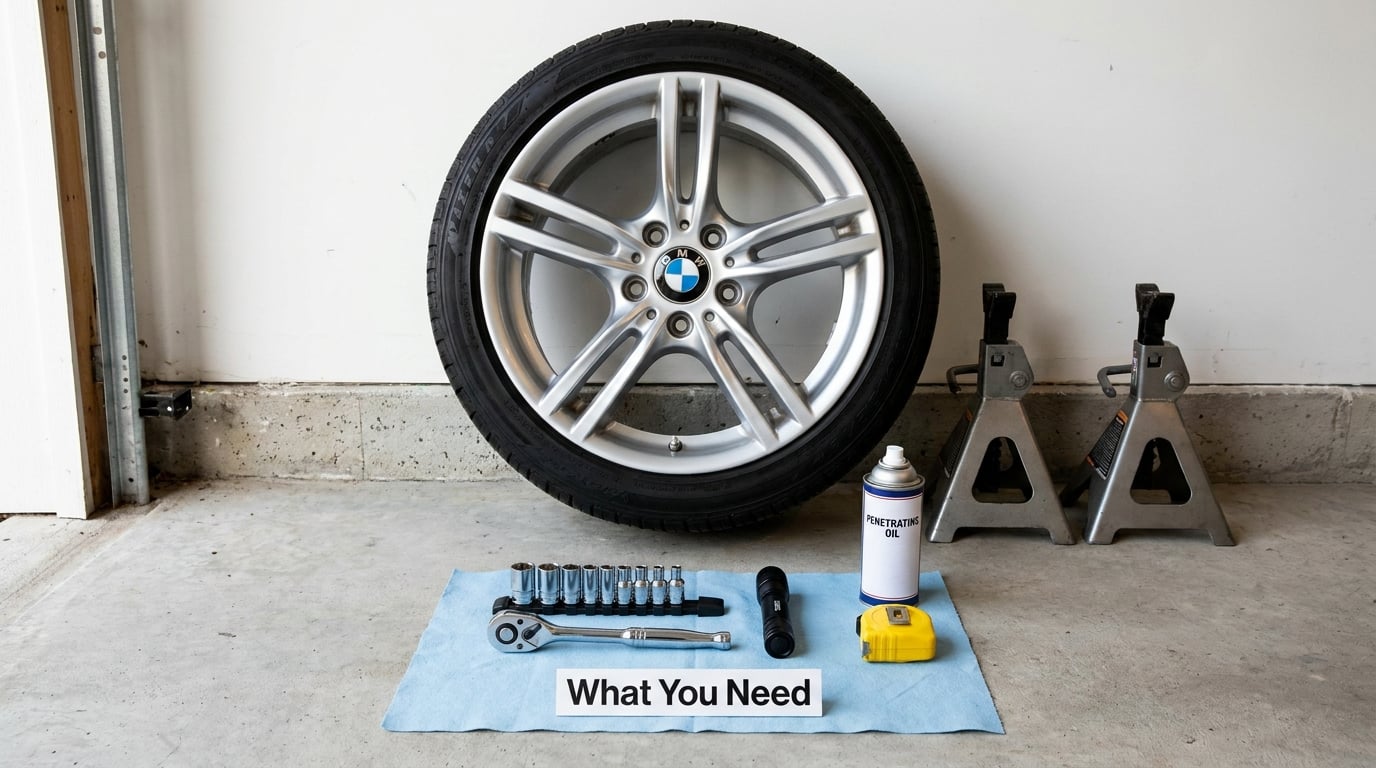
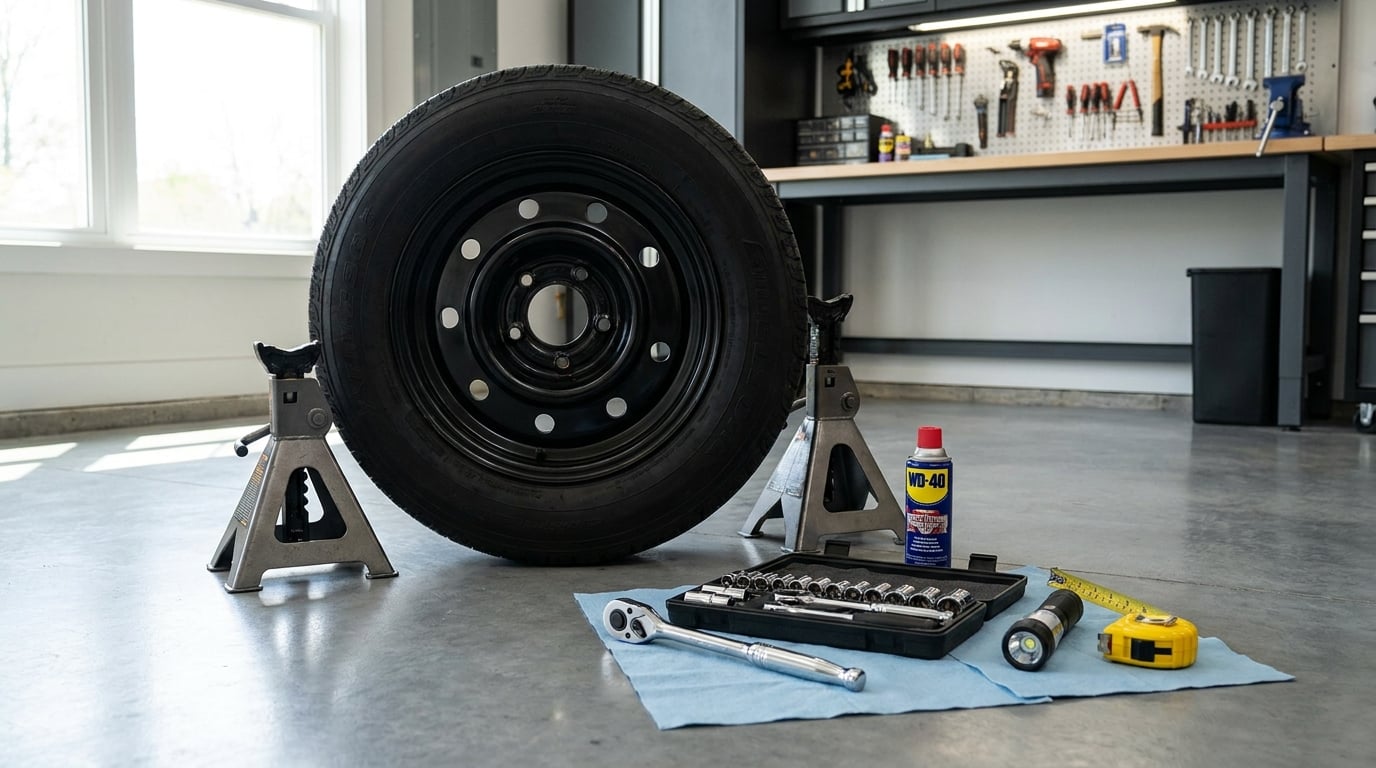
Gather these before the car goes up on stands, because a missing socket at the halfway point is how adjustments get abandoned:
- Your BMW owner’s manual and, if you have one, the model service procedure
- Rated jack stands, a floor jack and wheel chocks
- Socket and open-end set, plus a flat-head and a Phillips screwdriver for trim and boots
- Penetrating oil for seized adjusters and cable threads
- A flashlight, since drum adjusters are reached through a hole in the backing plate or rotor
- A clean ruler or tape measure for lever travel and drum diameter
- A model-appropriate scan tool if the car has an electronic parking brake
Two cautions before you start. Never work under a car supported by the jack alone, and never assume a turn-of-the-nut spec from another BMW. Access also differs a lot: an enclosed center-console lever means pulling trim to reach the adjustment nuts, while an open lever or a drum-brake backing plate is a completely different job.
Parking Brake Adjustment Step by Step
1. Identify Your BMW’s parking brake system
Identify the system before touching a single fastener, because the method changes completely. A manual cable system with an equalizer is adjusted at the cable anchor under the lever or console. A drum system also has a shoe adjuster at the backing plate, and the two adjustments fight each other if you do one without the other. An electronic parking brake has no cable to tighten; it is a motor, a control module and a relearn procedure.
This guide does not replace your model-specific instructions. If the car has an electronic parking brake, the work is diagnosis, actuation with the proper tool and calibration, not hand adjustment.
2. Secure the vehicle and remove a rear wheel
Park on level ground, engage first gear, set the parking brake and chock both front wheels. Support the car with rated jack stands at the points your manual specifies, then remove a rear wheel.
Loosen the lug nuts before jacking, and recheck torque with a torque wrench in the star pattern your manual gives after the wheel is back on. Do not guess wheel torque values; they differ between models, and over-torquing stretches studs rather than helping.
3. Locate the adjuster and inspect its condition
The equalizer and threaded cable anchor usually sit at the cable bracket or under the console at the handbrake. Drum-brake cars have an adjuster wheel or sprocket behind a rubber plug in the backing plate, often reachable through a lug hole or through the rotor with the disc rotated until the hole lines up.
Before adjusting anything, inspect the condition of the mechanism. Look for a frayed or kinked cable, a broken return spring, a seized cable housing, a cracked equalizer or a seized adjuster thread. If a component is damaged, replace it. An adjustment that compensates for a stretched or rusted cable hides the failure until the cable snaps.
4. Equalize the two sides
On a common equalizer setup, hold the vehicle in neutral or as your procedure states, pull the equalizer toward the side where the cable enters the housing, and hold the barrel nut steady with one wrench while you turn the adjuster with the other. Keep turning until both cables pull taut and the slack is gone from both sides.
This is where most parking brake adjustment step by step guides go wrong. Equal cables can look wrong and still be correct, so judge by the equalizer position rather than by comparing visible cable lengths. If one cable pulls sooner, nudge the equalizer back a fraction and re-tension. You want a small equalization correction, not a perfect-looking pair of cables.
5. Take up the remaining cable slack
Snug the equalizer against the bracket, then remove the last of the cable slack. Watch the lock spring or pawl: it must sit in the correct notch, and on many designs a second notch exists that most people never use. Making use of that extra notch gives you a range to fine-tune with later.
Two warnings. Do not force a sealed adjuster that does not rotate freely, and do not remove a lock ring or cotter pin unless the service procedure calls for it. Also keep the cable from kinking as you tighten. A sharp bend at the adjuster is where cables fail early.
6. Verify travel and mechanical engagement
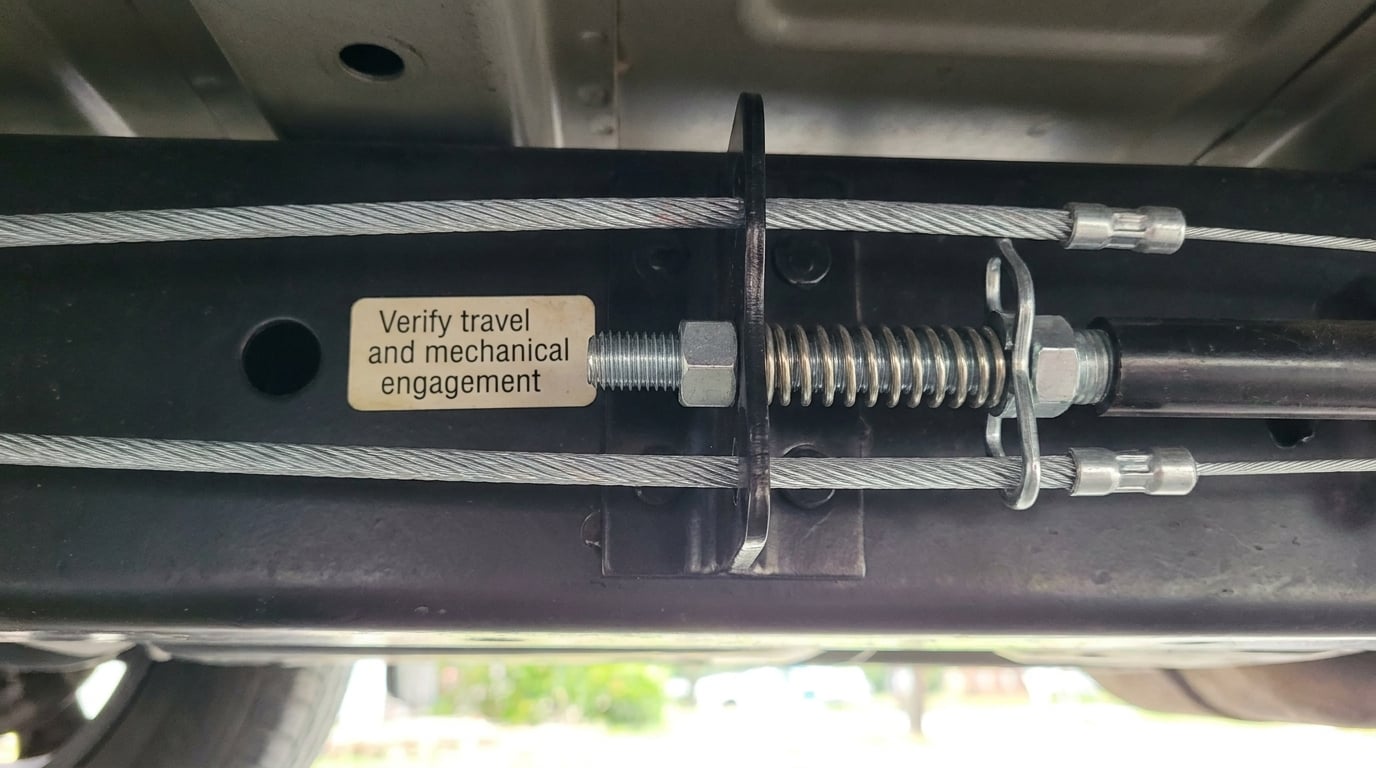
Work the pedal or handle and watch the cables and equalizer. They should move smoothly through the full range without binding, and the equalizer should not be riding hard against the bracket when the brake is fully released.
Then confirm that the correct amount of lever travel engages the rear brakes. There is no single free-play number that fits every BMW, so use the manual where you have it. On drum systems, set the shoes with the adjuster until the wheel can no longer be turned, then back the adjuster off by roughly an eighth to a quarter turn, which is the clearance a working adjustment leaves.
For rear disc cars, the integrated parking brake caliper must retract fully and the piston must return to its home position, otherwise it drags after the shoes clear. If the brake is electronic, none of this applies: the module reports engagement, the actuator retracts the caliper, and a relearn may be required after the work. Uneven pad wear on one corner is a separate problem worth understanding, and our guide on why one brake pad wears faster than the other covers it. If a caliper is sticking, check it before blaming the cable.
7. Reinstall the wheel and road-test the parking brake
Put the wheel back on, torque the lug nuts in the pattern your manual specifies, and lower the vehicle until the tires carry the load. Remove the chocks only once the BMW is fully stable on the ground.
Test on a safe, level road or driveway at low speed. Confirm that the handle or pedal holds its position, that the car does not roll, and that no brake warning stays lit. If the lever reaches the floor, if the car creeps on a mild incline, or if the rears drag and heat after release, stop and diagnose rather than repeating the adjustment. Hydraulic problems show up as a soft pedal or a pedal that sinks, and that is a different job.
Common Mistakes
- Turning the jam nut instead of the adjuster. The jam nut only locks a setting. Back it off fully, turn the adjuster, then re-tighten the jam nut lightly against the bracket.
- Adjusting one side too tight. One wheel clamping early makes the car pull and overheats that corner. Re-equalize with the equalizer trick before adding any more tension.
- Forcing a sealed or seized fitting. If penetrating oil does not free it, stop. Forcing it strips threads and turns a simple adjustment into a cable or bracket replacement.
- Misusing the lock spring. The spring drops into the notch the adjuster happens to land in. Seat it deliberately in the correct notch, or the next person will find the brake off-spec with no explanation.
- Ignoring the second notch. That extra position is your adjustment range. Use it instead of tightening the cable past where the manufacturer intended.
- Skipping the cable inspection. A frayed cable or broken spring will fail regardless of how well you adjusted. Look before you turn anything.
- Over-tightening the wheel nuts. Torque to the specification in the star pattern. A rounded stud is a much worse afternoon than a loose parking brake.
- Trying to hand-adjust an electronic parking brake. There is no cable. That system needs diagnosis, correct actuation and a relearn with the right tool. If a caliper is retracted the wrong way, the module can drop into a safe mode and log a warning that must be cleared with a scan tool.
On drum-brake cars, clean the dust off the brake shoes and the drum before you adjust them. Grit changes the shoe-to-drum clearance, and it settles on your driveway if you are not careful, which is exactly what our piece on cleaning brake dust off a driveway covers.
Frequently Asked Questions
How much parking brake adjustment is too much?
Too much is when the lever reaches the floor before the rear brakes clamp, or when a drum adjuster is set with no clearance left. If you can only move the equalizer a fraction of a turn and tension jumps sharply, the cable has stretched and needs replacing rather than more adjustment.
Does my parking brake handle or pedal need to be high or low?
It should lock up in a firm pull partway through the travel, not on the last click. Most community references put a healthy handbrake at roughly four to eight clicks from fully released to fully applied, but your model service manual is the number that matters for your car.
Do rear drum parking brakes adjust themselves?
Partly. The service brake adjuster at the backing plate compensates for wear and keeps the shoes close to the drum. The parking brake shoes on those same shoes are a separate mechanism, and their clearance is set manually and checked after any drum or shoe work.
Why is the parking brake still engaged after adjustment?
Usually one of three things: the caliper piston has not retracted to its home position, the cable is still holding tension because the equalizer is not seated, or the shoes are too close to the drum. Release the lever fully, re-check the equalizer position, and inspect the caliper before adjusting the cable again.
Does adjusting the parking brake require a wheel alignment or wheel balancing?
No. The parking brake is a mechanical clamping system, and adjusting it does not move the wheel or the suspension geometry. Re-torque the wheel nuts in the star pattern after reinstalling the wheel, and check the tire pressure, but alignment and balancing are separate services.
Conclusion
Start by identifying your system, because a cable, drum and electronic parking brake are three different jobs. Inspect the cables, springs and adjusters for damage, equalize both sides at the equalizer, take up the remaining slack, and confirm the result with a controlled test on an incline rather than by feel alone.
That parking brake adjustment step by step process takes an afternoon and settles most complaints about a loose or dragging handbrake. Take it to a qualified brake technician when the car has an electronic parking brake fault, when the hardware is seized, when a cable or spring is damaged, or when you cannot find a model-specific free-play figure you trust. And if the pedal feels soft rather than the lever feeling loose, look at the hydraulic side first, including the calipers we cover in how to check brake calipers for leaks on a BMW.