
How to flush brake fluid with a pressure bleeder is straightforward once the tool is on the reservoir: pressurize it to roughly 15 psi, open each bleeder screw starting with the corner farthest from the master cylinder, and let fresh fluid push the old fluid and trapped air out until it runs clear. The tool supplies the pressure, so no one has to sit in the passenger seat pumping the pedal while you crouch at the wheel.
Budget 40 to 90 minutes depending on whether a bleeder screw fights you, plus drying time for the fluid. The procedure itself has barely changed in decades, and it is still the one I would run on any car in 2026, but a few details separate a clean bleed from a messy one that leaves you with a soft pedal and a bottle of fresh fluid down the drain.
One thing to settle before you touch a wrench: the owner’s manual for your model beats anything written here, including this article. Bleed order, master cylinder design and ABS procedure vary enough between models that guessing is how people end up bleeding a system twice.
Table of Contents
- What You Need
- Step-by-Step
- Common Mistakes
- Frequently Asked Questions
- How much psi do you need to bleed brakes with a pressure bleeder?
- Is it better to pressure bleed or vacuum bleed brakes?
- What order do you bleed brakes with a pressure bleeder?
- Can you mix DOT 3 and DOT 4 brake fluid?
- Do you need to remove the wheels to flush brake fluid?
- When does a master cylinder bench bleed become necessary?
What You Need
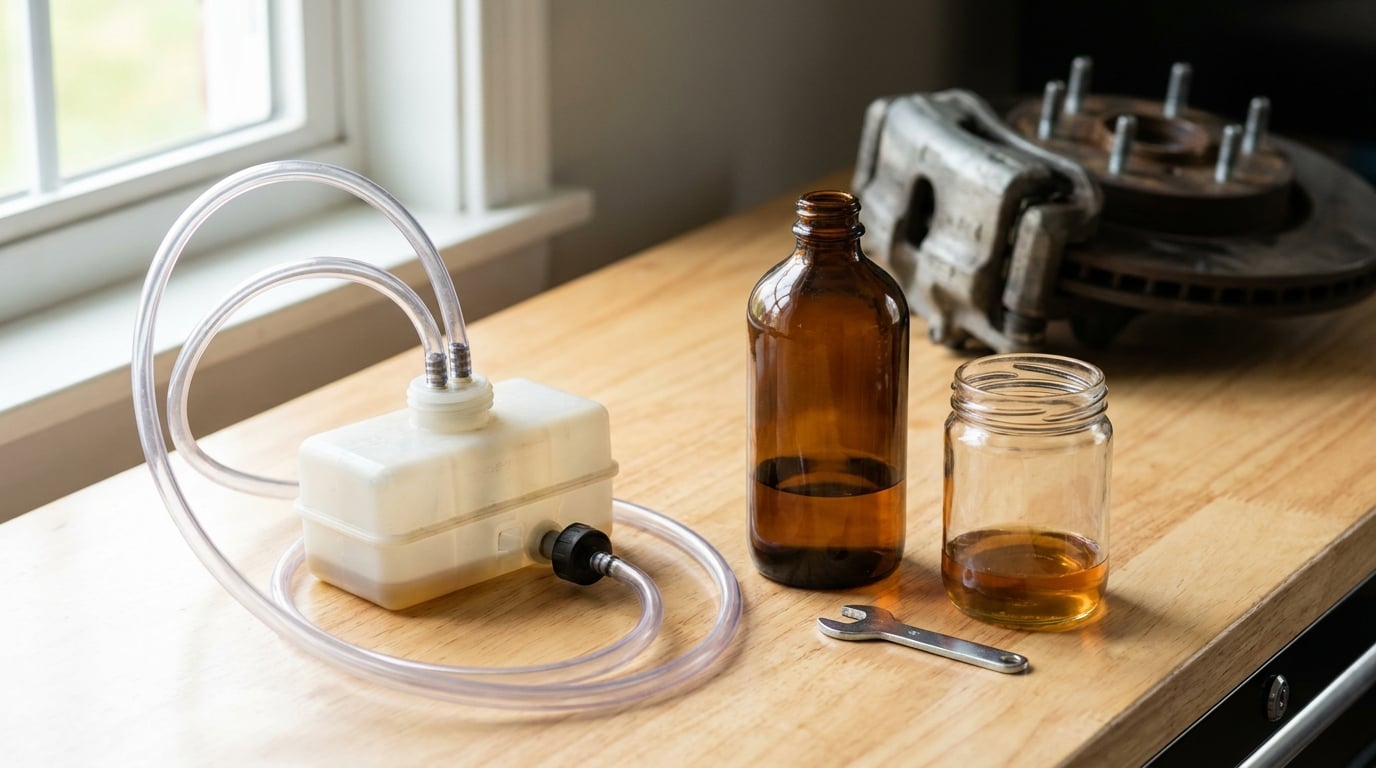
You need a pressure bleeder with the correct reservoir adapter, the exact fluid your vehicle specifies, and more fluid than you think you need. A typical four-corner flush moves somewhere between two and four bottles, depending on the vehicle.
- A pressure bleeder with a reservoir adapter that matches your master cylinder. Universal adapters in the twenty to forty dollar range cover most common sizes, and the maker’s chart will tell you which ring goes on which cap.
- Fluid to your vehicle’s specification, sold in sealed bottles. DOT 3, DOT 4 and DOT 5.1 are not interchangeable unless the manufacturer says so.
- A clear plastic bottle or jar, roughly 16 to 32 ounces, that a bleed hose fits over. Clear walls matter because watching for bubbles is the whole test.
- Clear tubing sized to seat snugly on the bleeder nipple, plus a way to keep it from slipping into your eye.
- A flare nut wrench or line wrench in the size your bleeder screws take, usually 8 mm, 9 mm or 10 mm. Pliers work but they slip.
- Penetrating oil and a 6-point socket for bleeder screws that have not moved in years.
- Hand tools, rags, gloves and eye protection, plus a small tray or cardboard to protect the driveway. Brake fluid dissolves paint and eats asphalt.
Check the specification before you buy anything. Your owner’s manual lists the required DOT rating under brake fluid, and the fluid type is also stamped on the reservoir cap on most cars. If the fluid is more than a couple of years old or the car has sat unused, how to test brake fluid with a moisture tester takes five minutes and tells you whether flushing is overdue or optional.
How much fluid to buy depends on the vehicle class, not the wheel count:
- Compact car or small sedan: two 16 to 32 ounce bottles is usually enough for a full exchange.
- Full-size sedan or wagon: three bottles covers most setups with margin.
- SUV or light truck: three to four bottles, and rear lines run long on a pickup.
- Modified or heavily used brakes: add a spare. Old fluid that has been absorbing water for years often comes out darker than any new fluid.
While you are choosing a method, it helps to know you picked the right one. Pressure bleeding is the fastest and the easiest to do alone, since the tool supplies the pressure and your only job is to watch the fluid. Vacuum bleeding pulls fluid out with a hand pump into a sealed jar, which keeps things remarkably clean but needs a decent vacuum pump and more patience. Reverse bleeding pushes fluid from the caliper up toward the master cylinder, one corner at a time, and it is the most thorough option on stubborn systems where air hides in the ABS module. For a routine annual exchange on a healthy car, pressure bleeding is the right default.
Step-by-Step
Step 1: Confirm the fluid type and your vehicle’s procedure
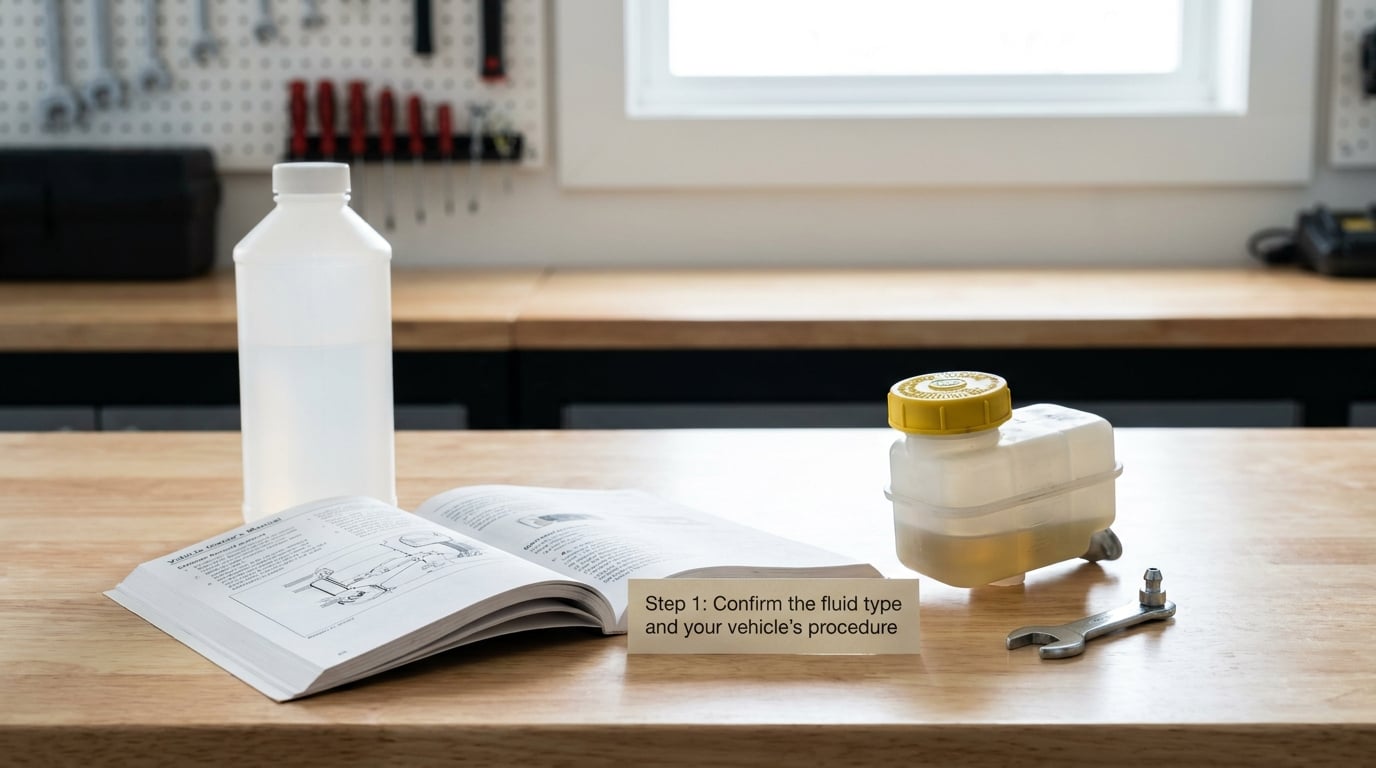
Start by confirming two things in the owner’s manual: the required DOT specification and the bleed sequence for your model. Both matter, and the second one is where most generic advice goes wrong.
On fluid, DOT 3 and DOT 4 are both glycol-based. DOT 5 and DOT 5.1 are silicone-based and must never be mixed with glycol fluid, not even in trace amounts, because the two do not combine. If your car calls for DOT 4, running DOT 3 in an emergency is generally tolerated, which is worth knowing when the shop is closed.
On sequence, the common rule is to start with the corner farthest from the master cylinder and work inward, because the longest, most trapped fluid is at the far end of the line. Some manuals reverse that for specific models, particularly where electronic brake distribution or ABS priority circuits are involved. If your manual names a corner, follow the manual.
While you have the manual open, check whether the model calls for a master cylinder bench bleed or a scan tool step after the wheel bleed. That tells you whether a normal bleed is genuinely going to finish the job or just get you most of the way there.
Step 2: Prepare the vehicle and the pressure bleeder
Park on level ground, engage the parking brake, and if the car has an electric parking brake, disable it the way the manual describes. On many BMWs that means putting the ignition in a specific mode so the EPB releases and does not reapply mid-bleed.
Clean the area around the reservoir cap before you remove it, because the first thing that goes wrong is a dust ring falling into a fresh fluid. Take the cap off, wipe the threads and the top of the reservoir, and lay the cap on a rag rather than on the fender.
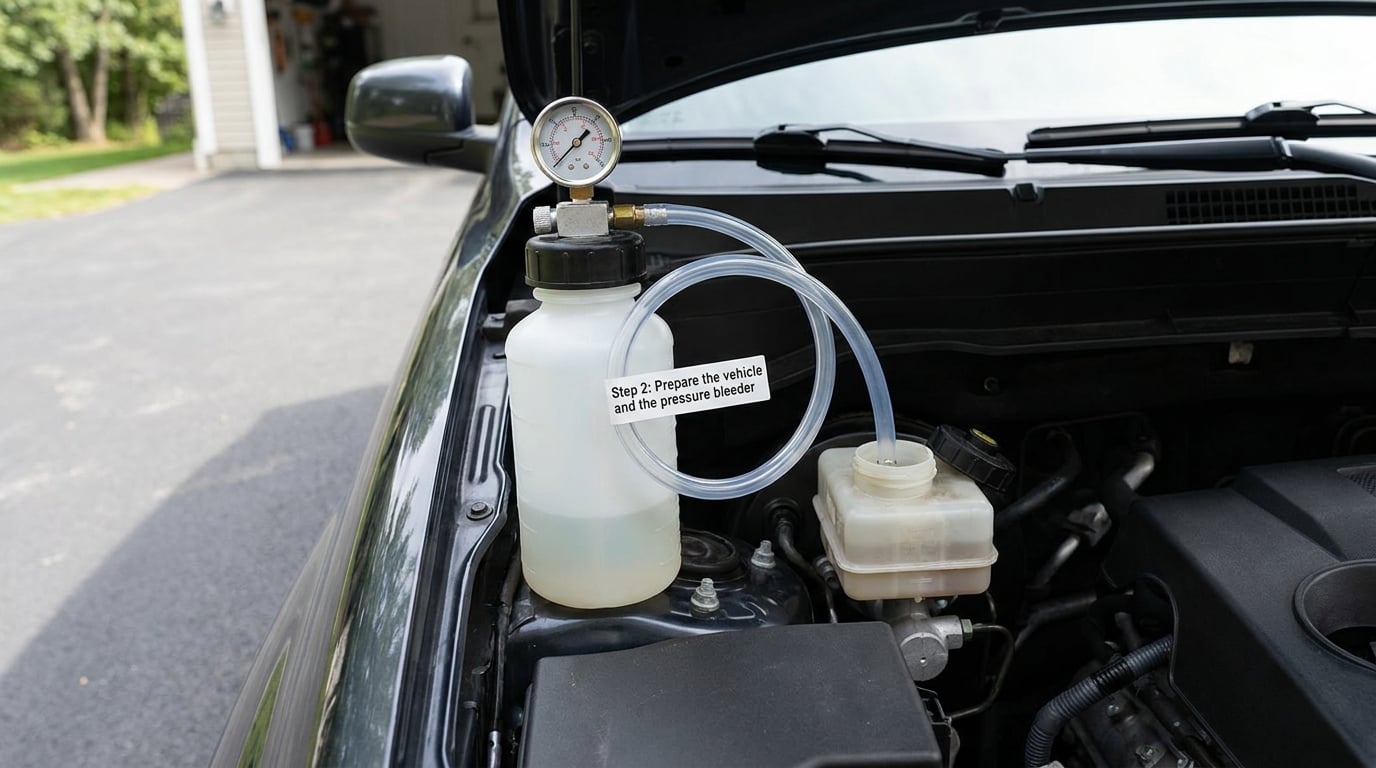
Fit the bleeder’s adapter to the reservoir and hand-tighten it until the seal grabs. Fill the bleeder tank with fresh fluid if you are running the wet method, or leave it empty and pressurize the reservoir directly if your tool supports the dry method. Experienced users on the Toyota 4Runner forum describe the dry method as less messy and faster to clean up, since there is no fluid sitting in the tank waiting to spill when you tip the tool off.
Then pressurize to the manufacturer’s recommended low setting, which for most tools is around 15 psi. That is the number most experienced users run, and it is deliberate. Hydraulic pressure above roughly that level starts pushing fluid past the internal seals of the master cylinder, past closed valves in the ABS module and past caliper seals, which does not bleed the system faster. It just forces fresh fluid into places it does not belong and can turn a small air problem into a new leak or a master cylinder that has to be replaced.
Watch the reservoir while the tool comes up to pressure. If fluid climbs toward the cap faster than you expect, shut the pressure off and reduce it. An adapter that is slightly too small for the cap will bleed the extra pressure out past the seal and spray the engine bay.
Step 3: Fill the master cylinder reservoir
Fill the reservoir to the MAX mark with fresh fluid that meets the specification, using a clean pour spout and keeping the cap off the surface. Do not tip the bottle straight onto the opening, because the neck of a bottle carries a film of old fluid and water that you are pouring into the new supply.
Pour slowly and check the level as you go. A reservoir that runs dry mid-bleed pulls air into the master cylinder, and air at the top of the bore is the one thing a pressure bleeder cannot push back out, so you can undo a clean job in thirty seconds. Some people draw the old fluid out of the reservoir with a syringe first to reduce contamination, which helps with dirty fluid but lets air in if you are careless.
Keep a fresh bottle within reach, and keep the reservoir covered with a rag between corners if you need a break. Brake fluid is hygroscopic, so it is pulling moisture out of the air in that open reservoir right now.
Step 4: Flush the wheel brakes in the right order
Work the corners in the order your manual specifies, or farthest from the master cylinder first if the manual is silent, and finish at the shortest line. On a typical front-engine car with a transverse engine that means passenger rear, driver rear, then the fronts, but the position of the master cylinder and the ABS layout both change the right answer.
Park the clear bottle under the bleeder, push the tubing firmly onto the bleeder nipple, and open the bleeder screw only a quarter turn, just enough to control the flow. With the tool pressurized and the reservoir topped up, fluid should move steadily on its own. Press the pedal slowly and steadily to encourage flow, and close the bleeder screw before the pedal returns all the way, because slamming the valve shut with the pedal still held traps fluid under pressure and forces air back upstream.
Change bottles or let the fluid settle in the bottle every few minutes, then repeat. You are looking for two things: fluid the color of the fresh fluid in your bottle, and no bubbles. Clear fluid alone is not proof the bleed is done, because a corner can push a burst of clear fluid while a bubble is still stuck in a caliper or a soft hose, so watch the stream for another full minute after the color changes.
If a bleeder screw will not move, do not lean on it with an impact wrench. That is how screws snap off and end up in the caliper, which turns a maintenance job into an extraction job. Put penetrating oil on it, let it sit, and use a 6-point socket so you are not rounding the head. Forum regulars on the 4Runner thread and on Reddit both steer people toward a 6-point socket for exactly this reason.
On a car with ABS, expect the rear circuit to behave differently. Several owners report the ABS pump cycling and pushing fluid on its own during the rear bleed, which is normal on those systems. If your manual calls for a scan tool to cycle the pump for a specific bleed, that step matters, and a pedal that stays soft afterward usually means it was skipped rather than that the bleed was done badly.
When you finish a corner, close the bleeder firmly but not hard. Small bleeders on these systems are commonly tightened to about 8 ft-lb, or 10 Nm, and a torque wrench makes that guess disappear. Hand-tight plus a quarter turn is closer to right than most people think.
Step 5: Refill, clean up and check for leaks
Once every corner runs clear, close the last bleeder, shut off the pressure bleeder and disconnect it from the reservoir. Top the reservoir up to between MIN and MAX and put the cap back on, tightening it until it clicks or stops, not until it feels done.
Pull the hoses off the bleeders, wipe down the wheel wells and the underside of the car, and dispose of the old fluid properly. Brake fluid is hazardous waste, and most parts stores, household hazardous waste facilities and some municipal collection points accept it. Never pour it down a storm drain, onto the ground or into a household sink, because it coats surfaces and kills aquatic life downstream.
Look for leaks before you call it done. Check the flare nuts and lines, the bleeder screws, the caliper fittings and the master cylinder area for fresh wetness. A weeping caliper or a line fitting that shows a bead of fluid needs a repair, not more bleeding, and a leak will pull the pedal travel back the moment you drive away.
Step 6: Test the pedal and know when to stop
A successful flush ends with a pedal that travels a normal distance, feels firm, and holds its position under light pressure with the engine in the position your manual specifies. Pump the pedal several times, then hold it down with your foot and check that it sinks slowly rather than falling to the floor.
If the pedal is still soft, work the affected corner again and watch the stream for bubbles. Remaining air is nearly always local, either in a caliper that needs cycling or in a hose section that kept fluid in a bend, and a second pass at 15 psi with the corner worked in sequence usually clears it.
Stop and get a professional diagnosis when the pedal will not firm up after two attempts, when the reservoir drains itself, or when you find a leak. Those point at a sticking valve, a master cylinder that has let air past its seals, or a hydraulic fault inside the ABS module, and none of those are fixed by flushing harder. A failed master cylinder or a combination valve is expensive, and the whole reason the fluid has water in it in the first place is worth understanding before you pour more in.
Common Mistakes
Most failed pressure bleeds come down to a handful of habits, and every one of them is easy to fix once you know it is there.
- Leaving the bleeder open while the pedal returns. Close the screw before the pedal comes all the way back, or you force air back upstream and start the corner over. The fix is a slow, steady pedal stroke and a valve that closes at the bottom of it.
- Running more pressure to get fluid moving faster. Above about 15 psi you are pushing past master cylinder and ABS seals rather than through the bleeder. If flow is slow, the cause is a clogged bleeder or a nearly empty reservoir, not a regulator that needs more range.
- Letting the reservoir run dry. Air at the top of the master cylinder cannot be bled out from above, so you will need a bench bleed. Keep the level up, pour slowly, and check it between corners.
- Using the wrong fluid or the wrong specification. Silicone DOT 5 and DOT 5.1 mixed with glycol fluid is a real failure, not a theoretical one, and mixing a low-spec fluid into a car that calls for a higher one lowers the boiling point. Read the cap on the reservoir and the manual, and open fresh sealed bottles.
- Ignoring the model’s bleed sequence. Farthest-from-the-master-cylinder is a good default, not a law. Where the manual names a corner, especially on cars with ABS priority circuits, the manual is right.
- Contaminating the fresh fluid. Dirty tools, a bottle neck that touched the reservoir, or old fluid left in the reservoir itself all put water and grit back into the new supply. Pour into a clean container rather than into the reservoir directly, and if you want to know what you are dealing with, how to tell if brake fluid is contaminated covers the signs.
- Treating clear fluid as a finished bleed. A short burst of clean fluid can come out while a bubble is still sitting in the caliper. Watch for at least a minute after the color changes, and if the pedal stays soft, bleed that corner again rather than accepting it.
One last safety habit: brake fluid eats paint and softens asphalt, and it is toxic to pets. Keep the work area clear of children and animals, and clean any spill immediately with plenty of water before it soaks in.
Frequently Asked Questions
How much psi do you need to bleed brakes with a pressure bleeder?
Most pressure bleeders run at 10 to 15 psi, and 15 psi is the value experienced DIYers use on almost any passenger car. That is enough to push fluid steadily out of a bleeder screw and far too much to force past an internal master cylinder seal. Stay at or below the tool rated pressure, and never try to speed up slow flow by turning the regulator up.
Is it better to pressure bleed or vacuum bleed brakes?
Pressure bleeding is the fastest and the easiest to do alone, because the tool supplies the pressure and you only watch the fluid. Vacuum bleeding draws fluid out with a pump into a sealed jar, which keeps things clean but needs a good vacuum pump and more patience. Reverse bleeding pushes fluid up from the caliper and is the most thorough option on stubborn systems with air trapped in the ABS module.
What order do you bleed brakes with a pressure bleeder?
Start at the corner farthest from the master cylinder, usually the passenger-side rear on a front-engine car with a transverse engine, then work inward. A BMW manual may name a different sequence, especially where ABS electronic brake distribution is involved. When the manual and the general farthest-first rule disagree, follow the manual for the model in front of you.
Can you mix DOT 3 and DOT 4 brake fluid?
DOT 3 and DOT 4 are both glycol-based, so a car that calls for DOT 4 will generally run on DOT 3, which is why the lower rating is acceptable in an emergency. DOT 5 and DOT 5.1 are silicone-based and must never be mixed with glycol fluid, even in small amounts, because the two do not combine. Never let fluid from an open bottle touch the reservoir.
Do you need to remove the wheels to flush brake fluid?
Wheels can stay on for a routine flush if you can reach the bleeder screw and route the hose without it touching the rim. Removal is not required, though it takes only a few minutes and makes access far better on a first bleed. Either way the rotor and hub end up wet, so mask them if you care about rust protection.
When does a master cylinder bench bleed become necessary?
A bench bleed is needed when fluid has gone past the reservoir seals, when the master cylinder has been removed, or when the reservoir ran dry and air is sitting inside the bore. Air inside the cylinder cannot be pushed out from above, so a pressure bleeder will not clear it. On an overhaul of a two-piece master cylinder, bench bleeding first saves a second teardown.
If you are starting from scratch, the first move is small: read the fluid spec and the bleed order in your owner’s manual, then get the right adapter for your reservoir. Everything after that is the six steps above, done slowly at 15 psi with the reservoir topped up and a clear bottle on each corner. A firm pedal that holds under pressure is the finish line, and anything less usually means air at one corner or a leak somewhere in the circuit.