
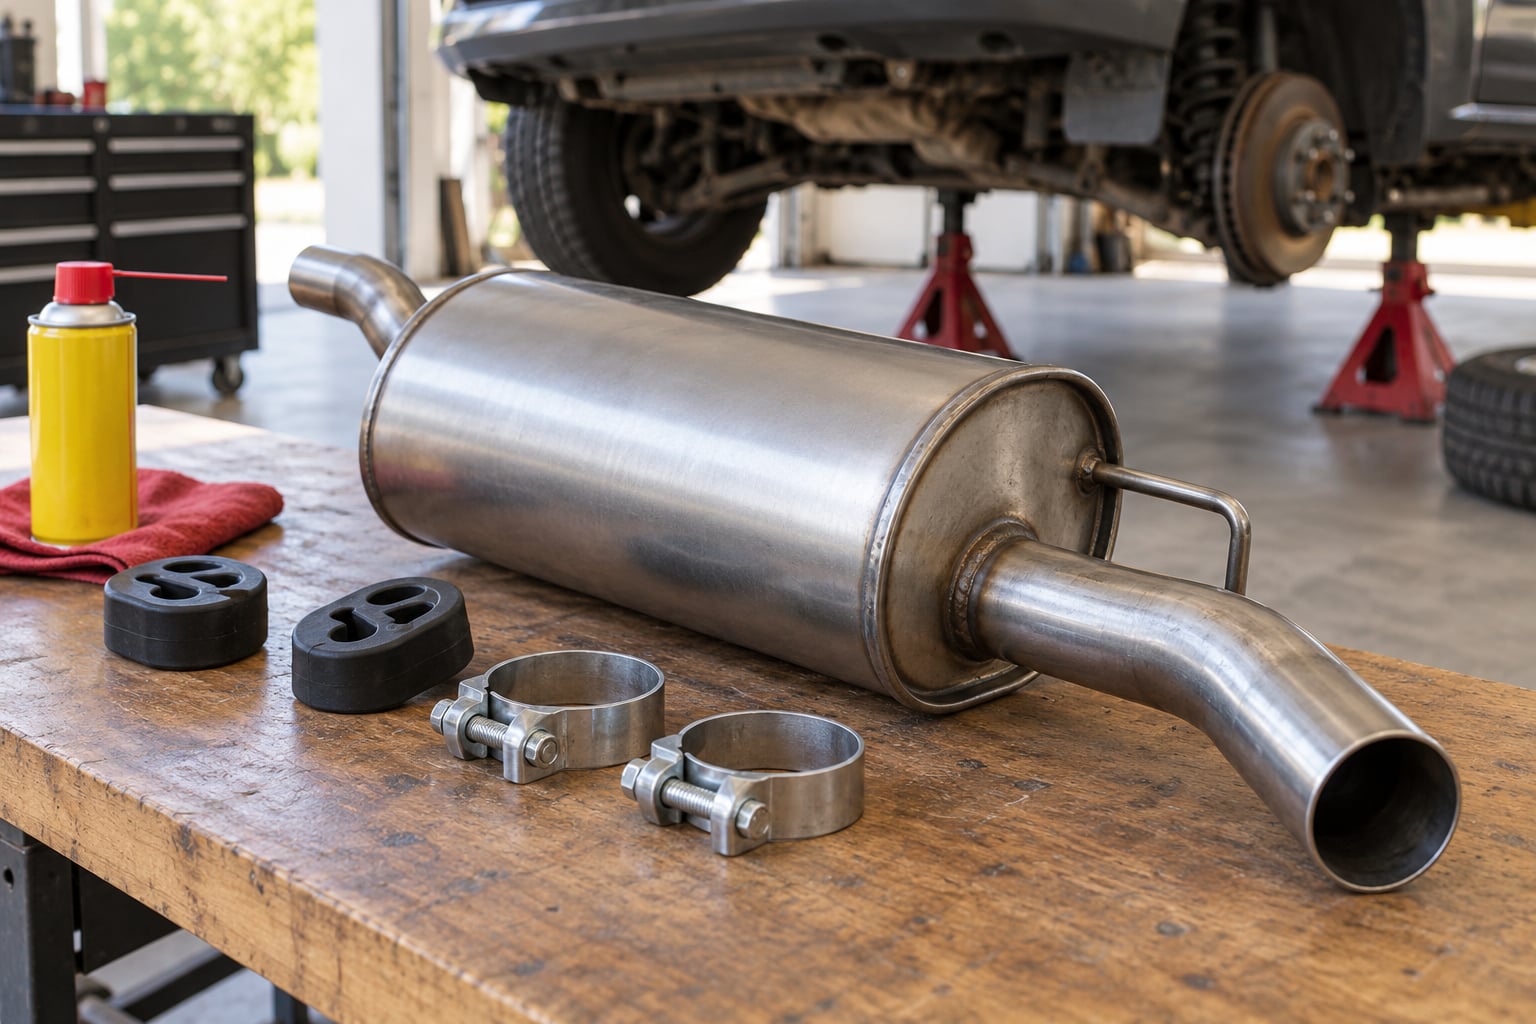
Most people can work out how to replace a muffler in an afternoon with a socket set, penetrating oil and a pair of jack stands. The job only turns difficult when the old unit is welded in place or the pipe behind it has rusted thin.
That matters because the muffler is one of the few exhaust pieces you can swap without touching the engine. On a bolted or clamped system it is genuinely a beginner job. On a welded system, or a car with a low-hanging tailpipe over a driveway apron, you want a welder or a shop with a lift.
This guide covers the whole sequence: figuring out which style you have, getting the old unit off, fitting the new one so it actually seals, and checking for leaks before you drive away. If you plan the parts right, the hardest part is still the two rusted bolts nobody warned you about.
Table of Contents
What You Need
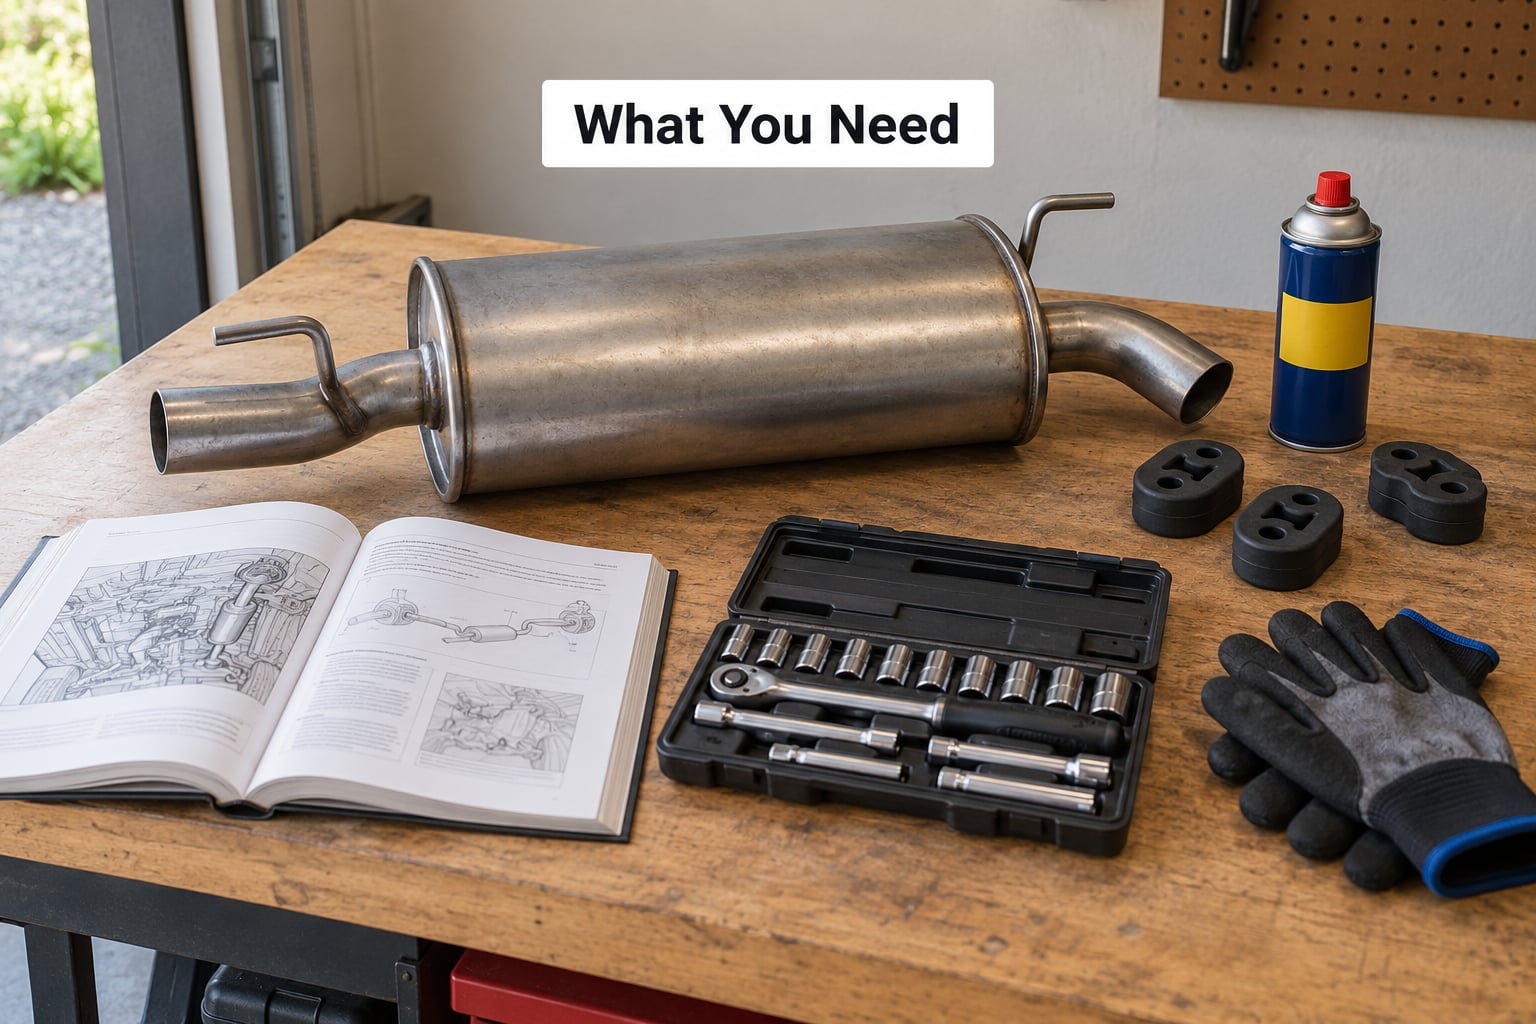
Start by gathering the parts and tools below before the vehicle goes up on stands. Most trips back to the parts store happen because somebody assumed the hanger was included when it was not.
- Replacement muffler matched to your vehicle by year, make, model and engine, or a universal unit sized to your pipe
- U-bolt clamps or band clamps in the correct size for your pipe diameter
- Exhaust gaskets for the flange joints, plus rubber exhaust hangers to match the number you are removing
- Socket set and wrenches, including whatever size your U-bolt or flange hardware uses
- Penetrating oil such as a rust penetrant or WD-40 style product
- Floor jack and jack stands, plus wheel chocks
- Hacksaw or reciprocating saw with a metal-cutting blade, for rusted or welded pipe
- Work gloves and safety glasses for the whole job
- Hi-temp pipe sealant only if the new muffler or your existing joints are slip-fit, not welded or gasketed
Before you buy anything, crawl under the car and look at how the old muffler is held on. If you can see a pair of U-bolts and a bracket, or a band clamp, the system is bolted and you can do the job with hand tools. If the pipes disappear into a welded seam with no bolts, plan on cutting and having a shop or a welder finish the joints.
Photograph the whole exhaust from the inlet to the tailpipe before it comes apart. Pipe that was bent to clear a frame rail or a fuel tank will not line up on its own, and that photo is the only record of where it went. If you are also due for other work, our guide on how to replace a fuel filter safely covers the same basic setup with jack stands and chocks.
How to Replace a Muffler Step by Step
1. Identify Your Exhaust Layout and Replacement Part
The muffler is the box in the middle of the tailpipe, usually between the catalytic converter or resonator and the exit pipe. Its job is to cancel out exhaust noise, and it does nothing for performance on its own.
You need four numbers before ordering: the overall length of the old muffler, the length of the body alone, the pipe inside diameter, and the mounting style. Most of the trouble in a how to replace a muffler job happens before a single bolt is turned, and it comes down to these four numbers. Measure the body from the inlet edge to the outlet edge, then measure the whole assembly including inlet and outlet tubes. Pipe diameter is the one that catches people out, so measure inside the pipe with a ruler or calipers rather than trusting the stamped number on a universal muffler.
Mounting style comes next. Flanged connections bolt to a flat plate with a gasket, slip joints slide together and get a clamp or sealant, and U-bolt styles wrap a bracket over the pipe with two threaded studs. Also check how many hangers the muffler uses. Two-hanger setups are common, but many designs hang from a single bracket, and that bracket may be welded directly to the pipe.
2. Prepare the Vehicle and Cool the Exhaust
Park on level, hard ground, set the parking brake, and chock a wheel. Raise the vehicle on jack stands at the points your owner’s manual specifies, then lower the jack completely and take it out from under the car.
Now let the exhaust cool fully. An exhaust that has just come off a highway run holds enough heat to burn skin through a glove, and a cat-back or axle-back system holds heat for a surprisingly long time. At minimum, wait until the pipes are cool to the touch along their whole length, not just at the tailpipe end.
Put on gloves and eye protection before you touch anything underneath. Work from underneath the car with your head turned where the light is good, and keep a phone or work light in your other hand. Wear eye protection when you spray penetrating oil, because rust flakes and pipe grit come off those fasteners under pressure.
3. Remove the Old Muffler
Soak every fastener before you touch a wrench. Spray penetrating oil on the U-bolt studs, the flange bolts, the hanger bolts and the clamp hardware, then walk away for 30 minutes and come back. Rusted exhaust bolts that have not been touched in years usually need several rounds of soaking over several hours, and the round trip is faster than a snapped stud.
Remove the hangers first. Support the muffler as you take the rubber out, because the weight of the pipe will drop it the moment the last one lets go. If a hanger tears as it comes off, that is normal on an older car and it is one more reason to bring replacements.
Next, separate the joints. Unbolt the flange or undo the U-bolts, then work the pipes apart by twisting rather than by pulling hard, because the pipe will bend or the outlet tube will twist. If a slip joint is stuck solid, tap the pipe with a rubber mallet and work it back and forth a few degrees at a time.
If the connections are welded, this is the point where the job changes character. Cut the pipe with a reciprocating saw or a pipe cutter, leaving a short stub on each side of the joint you are replacing. Watch where you cut: a lot of exhaust hangers are welded to the pipe itself, so cutting right at the weld can take your mounting point with it. Anything you cut off has to be re-hung with a clamp or a new bracket, or the new muffler will drop and rattle.
Keep an eye on nearby sensors and flex pipe. If an oxygen sensor sits downstream of the point you are cutting, it must come off before the pipe moves, and the wire needs to stay clear of the saw. Exhaust flex sections are easy to twist and impossible to straighten, so support both sides of a cut.
4. Fit the New Muffler and Seals
Fit the new muffler the same way the old one sat, inlet toward the engine and outlet toward the tailpipe. Exhaust flow has a direction, and a reversed chambered muffler will sound wrong and can upset the engine on some vehicles.
Use new gaskets on every flanged joint. Old gaskets compress and harden, and reusing one is the most common reason a fresh install still leaks. Fit the hangers as you go, and if the rubber looks cracked or the metal eyelet has pulled away from the block, fit new hangers instead of the old ones.
Match the pipe alignment to your photograph. If the old pipe was bent around a component, make the same gentle bend with a pipe bender rather than forcing the muffler into place, because a twisted muffler puts a constant load on the hangers and they crack.
Hand-tighten the U-bolts or band clamps first, then snug them evenly in a few passes. Tighten until the gasket seats, and no further. Crushing a gasket or denting the pipe under a clamp is a leak you will be back under the car to fix, and a loose clamp that rattles around inside the box is a noise complaint that never goes away.
Apply hi-temp pipe sealant only where the design calls for it, on slip joints that will not be clamped or gasketed. It is not a substitute for a gasket, and it is not a fix for a clamp that is too loose.
5. Check the Installation for Leaks and Operation
Do a visual pass from underneath first. Both hangers attached, clamps square and seated, pipes aligned and not bearing weight on a hanger, no gasket sticking out of a joint. Then start the engine outdoors, in park or with the brake set.
Listen for the two sounds that mean a leak. A tick that speeds up with engine speed is a hot gas pulse escaping at a joint, and a steady hiss is air being pulled in past a broken or missing seal. Have someone stand beside the car and beside the tailpipe while you sit inside, and check for fumes around the doors and windows with the engine running.
If you hear a leak, do not just add more sealant. Break the joint back down, check the gasket is seated flat and undamaged, and confirm the clamp is biting evenly. Then re-test.
Clamps seat properly once the exhaust is warm, so drive the car for 15 to 20 minutes, let it cool, and re-check the joints while they are warm. One more check a week later is worth the trouble, since a slightly loose clamp will show itself as a faint new ticking over the next road bump. A correct install should be quiet at idle and quiet at highway speed, with no smell of exhaust in the cabin.
Common Mistakes When Replacing a Muffler
- Buying the wrong muffler. Universal units are sized loosely and often need a pipe extension or an adapter for a diameter mismatch. Match the part number to your vehicle, or measure before you order.
- Forcing seized bolts. A snapped stud turns a one-hour job into a shop visit. Reapply penetrating oil, soak longer, and use a six-point socket or a breaker bar instead of leaning on a cheater bar.
- Reusing old gaskets. They harden and compress. Fit new ones every time you open a flanged joint.
- Overtightening clamps. You will crush the gasket or dent the pipe. Snug evenly until the gasket seats, then stop.
- Cutting away a hanger bracket. Hangers welded to the pipe disappear with the cut. Clamp a new hanger onto the remaining pipe and re-hang the muffler.
- Misaligning the pipes. A muffler pushed into place by force torques its hangers until they split. Re-bend the pipe to match the original position.
- Trimming a hanger rubber to make it fit. A hanger that is a poor fit keeps the exhaust off its stops and rattles. Replace the hanger, not the rubber.
- Driving with an unresolved leak. Exhaust near the cabin, a check engine light from an oxygen sensor upstream of the leak, and noise that fails inspection are all reasons to fix it before the drive.
Two habits prevent most future problems. Spray the exhaust hangers and bolts with a light oil film once a year, and spend a minute with the car on a lift or a ramp every couple of months checking the clamps while they are warm. Exhaust systems fail at the joints and the hangers, and both are cheap to maintain and awkward to ignore.
Know your stopping point too. If the tailpipe is welded to a section you do not want to cut, or the new unit needs pipe fabrication to fit, hand it to a shop with a welder. Related jobs like how to replace a car battery safely and how to replace a serpentine belt step by step are well within weekend DIY range, and the same rules about stands, chocks and support apply.
Frequently Asked Questions
Can I change my muffler myself?
Yes, if the exhaust is bolted, clamped or flange-mounted and the bolts are not seized solid, most people can do it in an afternoon with hand tools. You will need to raise the car safely on jack stands, soak the fasteners in penetrating oil, and fit new gaskets. If the unit is welded in, cutting and fabrication take it past a simple weekend job.
How long does it take to replace a muffler?
Allow two to three hours for a bolted or clamped muffler, plus soaking time for rusted fasteners that will not move until they have had penetrating oil on them for an hour or more. Cutting out a welded section and getting the new pipes welded adds several more hours, and often a second visit once the metal is prepped.
Can I replace a muffler without welding?
You can, on any exhaust that uses clamps, U-bolts or bolted flanges. Band and U-bolt clamps work well for slip-fit and bracket connections, provided the clamp is the right size for the pipe and is tightened evenly so the gasket seats. Welded joints cannot be clamped properly without cutting them back to bare pipe first, so those need a welder.
Can I still drive with a bad muffler?
It is not illegal everywhere, but a failed or removed muffler is usually a noise violation, and some states inspect the exhaust directly. A leak ahead of an oxygen sensor can also trigger a check engine light and cost you an emissions test. If exhaust fumes reach the cabin, stop driving and fix it the same day.
What tools do I need to replace a muffler?
A socket set and wrenches, penetrating oil, U-bolt or band clamps in your pipe size, new exhaust gaskets, new rubber hangers, a floor jack with jack stands, wheel chocks, gloves and eye protection. Add a reciprocating saw with a metal blade for rusted or welded pipe, and a pipe bender if the original pipe was bent to clear a frame rail or tank.
Why is my new muffler still noisy?
Most often a clamp is not seated evenly, a gasket was reused, or the muffler is sitting out of position and the hangers are carrying its weight. Ticking that speeds up with engine speed points to a leak at a joint, while a rattle from inside the box usually means a clamp is loose. Re-check the joints while the exhaust is warm.
Conclusion
Start by looking, not by ordering. Check whether your exhaust is bolted, clamped or welded, measure the muffler body and the pipe inside diameter, and match the part number before you buy anything. That first hour of measuring and soaking is what decides whether how to replace a muffler stays a Saturday job or turns into a shop visit.
Let the exhaust cool fully, support the car on stands with the wheels chocked, and give every fastener a long soak of penetrating oil before the first turn of a wrench. When the old unit is off, fit new gaskets and new hangers, match the original pipe alignment, and snug the clamps evenly rather than crushing them.
If the joint is welded or the surrounding pipe is rusted through, let a technician handle the fabrication. Whatever route you take, finish with a leak and noise check outdoors before you drive, and re-check the clamps once they are warm.