
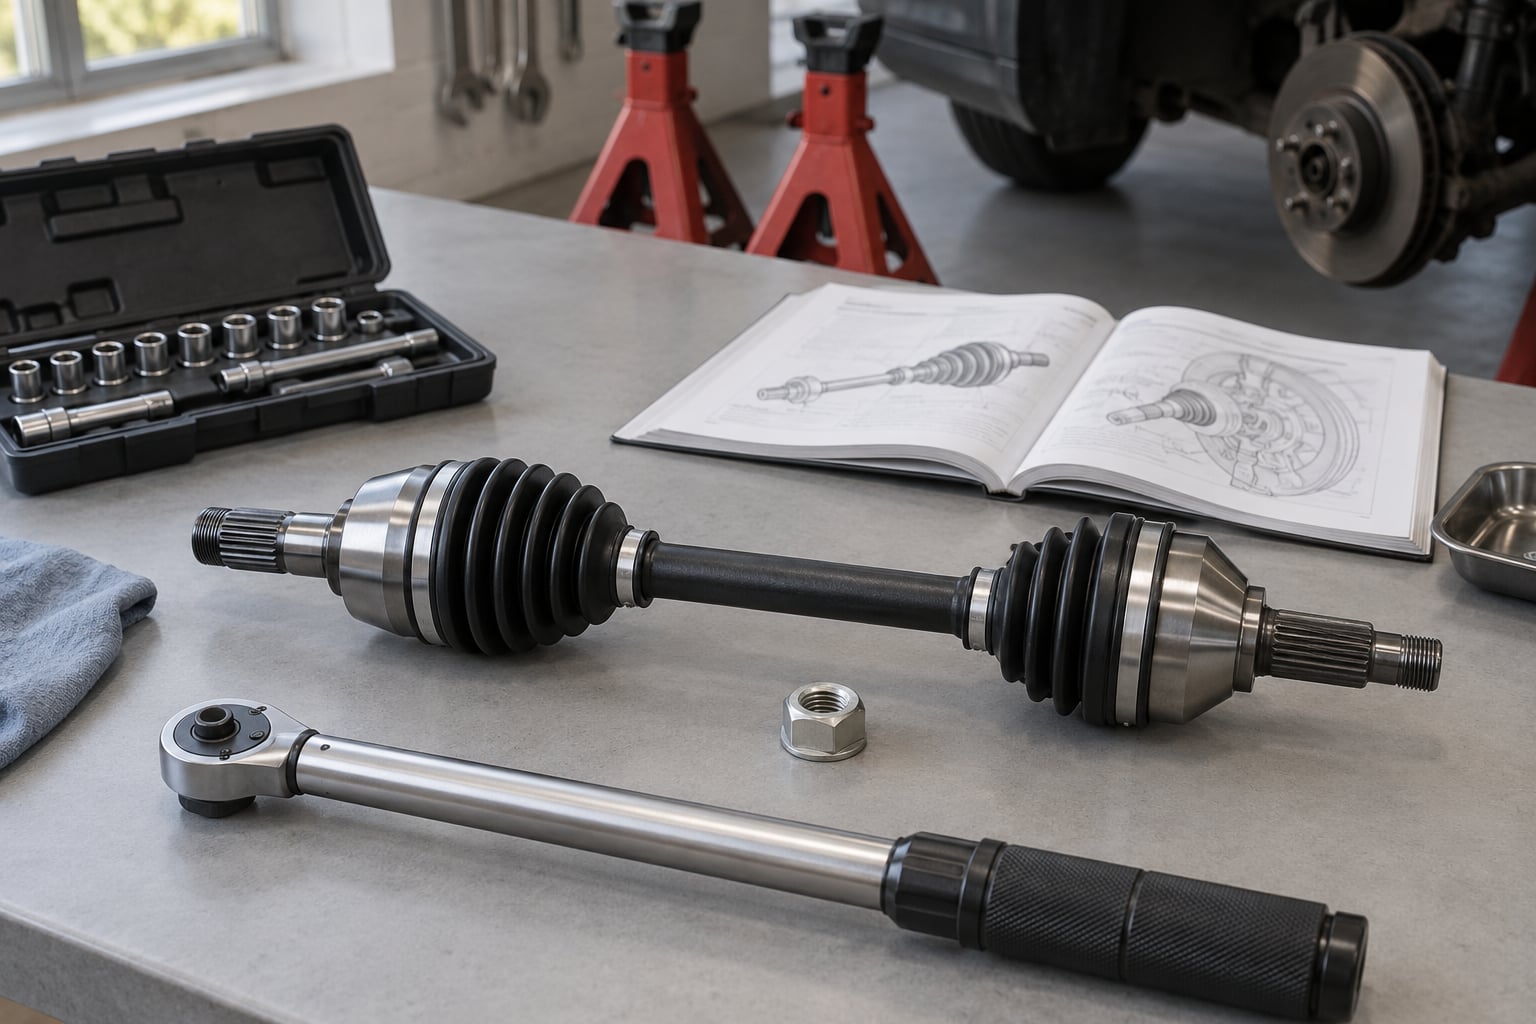
How to replace a CV axle is mostly about one hard rule: loosen the axle nut while the car is still sitting on the ground, before any suspension comes apart. Get that wrong and the hub turns with the nut, and you are back at the start with a stripped castle nut. The rest of the job is straightforward work for anyone with a jack, a set of stands and a torque wrench.
A CV axle replacement takes roughly two to three hours on a front-wheel-drive car once you know what you are doing, and closer to four or five on your first attempt. On a MacPherson strut front suspension you usually never touch the strut itself, which is why so many people assume the whole front end has to come apart. It has not.
Below is the whole procedure, in the order that avoids the problems: what to gather, how to confirm the diagnosis, how to get the old axle out, how to get the new one in properly seated, and how to torque it. Torque values differ for every vehicle, so read them out of your own service manual rather than taking them from a forum post.
Table of Contents
What You Need
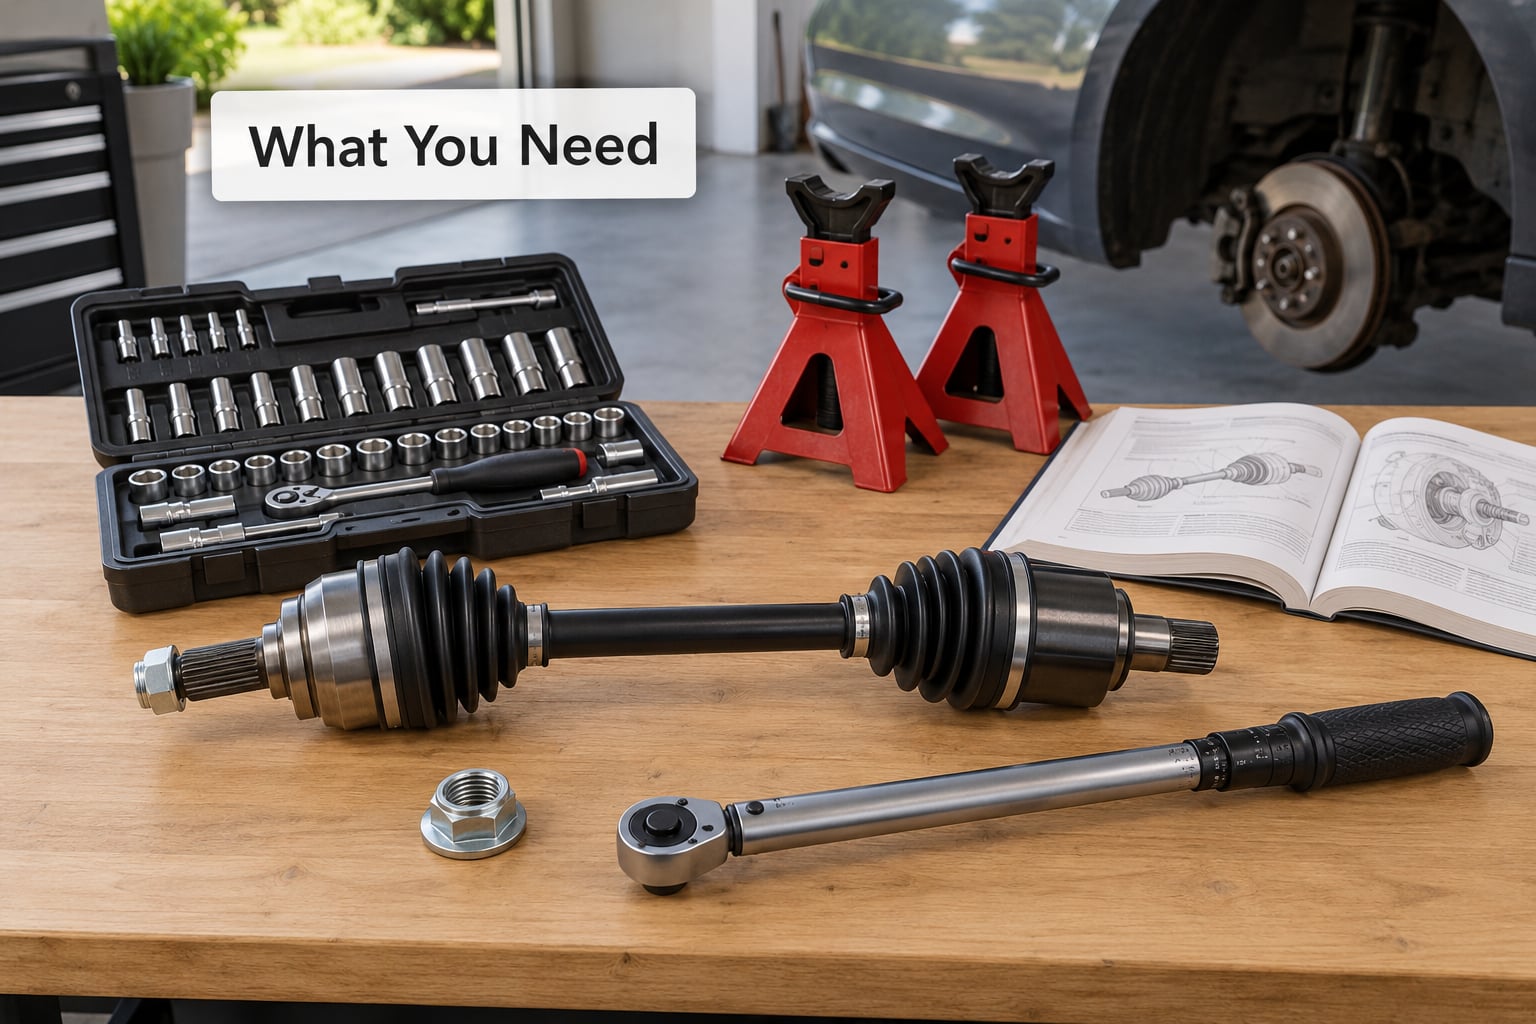
Parts first, then tools. You need the complete axle assembly for your vehicle, by VIN or by the number stamped on the old shaft, plus a new axle nut and new cotter pins. Both of those fasteners are single-use. The nut is a castle nut with a torque-sensitive prevailing torque feature, and the cotter pin is a split pin that stretches the moment you bend it. Put the old ones back and you have a wheel nut that can back off under load.
The tool list is short but specific:
- Floor jack plus jack stands rated above your vehicle’s weight, and a wheel chock for the diagonally opposite wheel
- Breaker bar and a 30mm, 32mm, 34mm or 36mm axle nut socket, depending on the vehicle. Measure it before you lift anything.
- Torque wrench covering the axle nut, lower ball joint, tie rod end and wheel fastener ranges
- Ball joint separator or pitman arm, plus a hammer and a punch
- Axle popper, or a pry bar and a length of pipe for leverage
- Cotter pin pliers and a small drain pan
- Clean gear oil or high-temp grease for the splines, and a shop towel
- Jack handle, wheel chocks, safety glasses and gloves
Never work under a car held up by the jack alone. Jack stands take the weight the moment you back the jack off, and the rear wheels stay chocked until the job is done. Our wheel bearing replacement guide covers the same lifting setup in more detail if you have never done it before.
How to Replace a CV Axle Step-by-Step
Confirm the CV Axle Needs Replacing
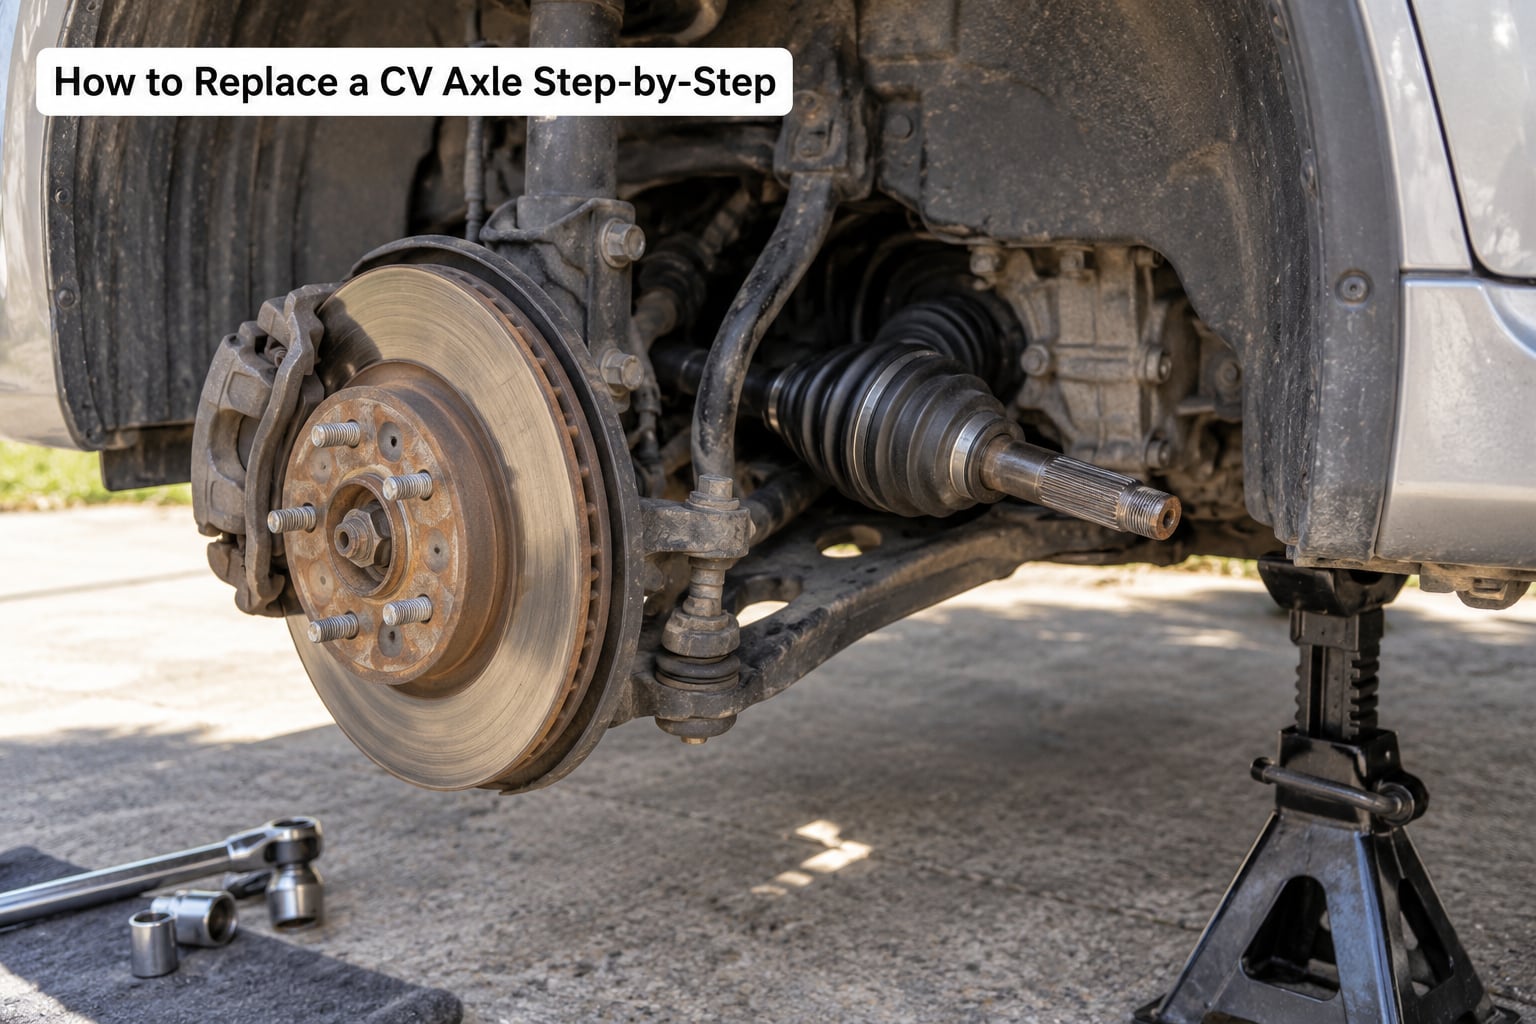
Turn the wheel by hand and watch the boot at the outer joint. Grease thrown inside the fender, a split or flattened boot, or a boot with a gritty feel means water and dirt are already in the joint. The sound is the other half of the diagnosis: a rhythmic click that speeds up and slows down with wheel speed, getting louder in a tight turn, points to the outer CV joint.
You can work out which side is failing from the direction of the click. A click on the passenger side of the car shows up when you turn toward the driver side, because that is the tighter turn that loads the passenger-side outer joint. Swap the steer direction and the click moves with it.
Rule out the usual suspects before pulling anything. A shudder that gets worse the faster you drive and does not change with steering is more likely a bent wheel or a tire problem, which you can check against our tread depth guide. A hum that stays constant with speed is usually a wheel bearing, and that job is covered in our wheel bearing guide.
Raise the Vehicle Safely and Remove the Wheel
Before the car goes up, break the wheel nuts loose with the tire still carrying the weight. Do the same with the axle nut: that is the step people skip and then spend an hour regretting. Once the knuckle is free the hub can spin, and a spinning hub makes an axle nut that was tight at 190 foot-pounds nearly impossible to start by hand.
Park on level ground, chock the wheels diagonally opposite the one you are removing, and lift at the factory jacking point on the frame or subframe, never at the rocker panel or the pinch weld seam. Set the stands, lower the jack, and pull the wheel off. Note the orientation before it comes off, since the wheel studs on many cars are offset and the wheel only refits one way.
Remove the Axle Nut and Separate the Axle from the Hub
With the car up, finish the axle nut with the breaker bar. If it still will not move, brace the brake rotor through a caliper slot with a flat screwdriver and a length of pipe. The rotor stops turning, the nut comes free, and you have not marked the threads.
Pull the cotter pin and the castle nut off. Most outer CV axles are held by a spline and a press fit on the bearing shoulder, so the nut is only half the retention. Some axles are bolted through a flange instead, which means undoing three or four bolts and a gasket before the shaft will move.
The axle will usually slide straight out of the hub by hand once the suspension has room to swing down. If it stays in, thread a spare nut onto the exposed stub until it bottoms out and strike it firmly with a hammer. The nut spreads the impact across the threads so you are hammering the threads instead of crushing them.
Disconnect the Inner CV Joint
The inner joint has to come out of the transaxle or differential, and the axle cannot move far enough for that until the knuckle is free. Unbolt the tie rod end, and unbolt the lower ball joint or control arm, depending on your suspension design. A ball joint separator on the knuckle stud avoids loading the joint’s rubber boot.
On some Mac strut platforms the axle passes behind the strut, so the lower strut bolt has to come out to swing the knuckle clear. On double wishbone and control arm designs the lower arm comes off instead. Our strut replacement guide shows where that bolt sits on the common layouts.
Set the drain pan under the transaxle opening now, before you pull, because pulling the inner joint breaks the axle oil seal and fluid comes with it. Keep the ABS sensor wire and any brake hose looped and supported so they do not snag as the knuckle swings free.
With the knuckle out of the way, pull the axle straight out of its splines. On an axle held by a flange bolt, undo the bolts instead. On a snap-ring design, the inner joint carries a C-clip that sits in a groove inside the transaxle; if it drops out during removal, reinstall it in the same orientation it came out, or the new axle will not seat. On many FWD cars the axle splines double as the parking brake cable mount, so unclip that cable before you pull.
Install the New CV Axle
Compare the new axle against the old one, tip to tip, before it goes in. A mismatch means the wrong part, and it is far cheaper to spot now than after the shaft is half engaged. Check that the C-clip is seated in the groove on the new axle, then coat the splines and the inner tripod with clean gear oil. Dry splines gall and make the axle bind halfway in.
Push the inner end into the transaxle by hand first and listen for the snap ring click at the bottom of the bore. Once the C-clip snaps, try to pull the axle back out; if it holds, it is latched. Many new axles ship with the clip already installed, and a clip fitted backwards is the single most common reason a new axle will not go in.
Slide the outer end into the hub by hand. It should feel like it is pushing against a spring, not a wall. Then refit the washer, transfer the ABS reluctor ring and dust shield if your axle uses them, and swing the knuckle back up to the ball joint and tie rod.
If the axle will not seat, work down this list: confirm the C-clip is in the groove and facing the right way, grease the splines again, line up the spline teeth rather than pushing at an angle, check for a burr or dirt on the shaft, and confirm the part number. Body weight on a pry bar is the last resort, not the first.
Reinstall the Wheel and Torque Fasteners
Fit the new castle nut and a new cotter pin, bending the legs in a different spot than the old pin used. Some vehicles have a separate washer or a friction collar that has to go back on in order, so check the manual diagram.
The axle nut often cannot be torqued in the air. Many service manuals call for the vehicle at ride height with the brake pedal held or the transmission in gear, which puts load through the joint the same way it does when you drive. Torque the tie rod end, ball joint and control arm fasteners to spec too, with the joint at normal height and not loaded by the weight of the car on the stands.
On the ground, reinstall the wheel and torque the lug nuts in a star pattern. A loose wheel is the only outcome worse than the axle you started with.
Check the Repair Before Driving
Grab the wheel at the 3 and 9 o’clock positions and rock it. There will be a trace of play at the outer joint and none at the inner; a notch you can feel through the rubber boot means something is not seated. Check the transaxle fluid level while the fluid is warm, before the first drive, since pulling the inner joint drops the level.
Back it out of the driveway slowly with nobody walking nearby and listen for a click at low speed. Then drive a short loop at low speed and come back to check for fresh grease on the inner fender, seepage around the transaxle opening, and any rattle from the hub.
If the joint has been opened or the ball joint was separated, get an alignment done before anything else. Plan a recheck after the first 50 to 100 miles as well, and retorque the wheel and axle fasteners to spec.
Common Mistakes
Reinstalling the old cotter pin. It is bent and stretched now. A new pin costs almost nothing and a pin that fails on the road takes the wheel with it.
Working on the axle nut with the suspension already disconnected. The hub spins, the brake rotor spins with it, and the nut comes out rounded. Loosen it on the ground first.
No drain pan. The inner seal is single-use. Fluid on the concrete is a warning that the level needs checking before you drive away.
Using the wrong socket size. A 30mm nut forced into a 32mm socket rounds the corners and then nothing fits. Measure before you lift.
Hammering the stub threads. Thread a spare nut onto the stub before you strike it, so the impact loads the shoulder rather than the threads.
Failing to seat the axle. If the C-clip is not latched, the axle will back out on the road, usually at speed. Check it by feel and by pulling.
Torquing past spec. The castle nut, the tie rod end and the ball joint all have published limits. Over-torquing strips fasteners and crushes the steering joint that keeps the wheel on the car.
Frequently Asked Questions
Can I replace a CV axle myself?
Most people can, if the car uses a MacPherson strut and the fasteners are not seized. The job needs a floor jack, rated jack stands, a breaker bar with the right axle nut socket, a torque wrench and a ball joint separator. Allow two to three hours on a front-wheel-drive car, more on your first attempt. If the hub is seized, the ball joint bolts are stuck, or the axle is bolted to the differential rather than splined in, hand it to a shop.
How do I know if my CV axle or CV boot is bad?
Turn the wheel by hand and look at the boot. Grease thrown inside the fender, a split boot, or a boot that feels gritty when you squeeze it all mean dirt and water have reached the joint. While driving, a rhythmic click that gets faster with wheel speed and louder in a tight turn points at the outer joint. A vibration that changes with acceleration or braking is usually a bent wheel or a tire instead.
Do I need to replace both CV axles at the same time?
No, and replacing just the failed side is fine as long as you measure the new axle against the old one before installing it, since axles wear at different rates on different corners. If the second axle already clicks, has a split boot, or has noticeably more play at the outer joint, doing both while the car is up is far less labour than taking it apart twice.
Why does my wheel not come off after removing the axle nut?
On many designs the axle nut is only half of what holds the axle, with the rest coming from a press fit on the outer bearing shoulder, and on some cars the hub itself has to be pulled. Once the axle is out, the wheel often comes straight off. If the hub is stuck, use the hub puller that fits your vehicle rather than prying, which damages the hub seal and the bearing. Never drive on a wheel that is not fully seated.
What should I do if the new CV axle will not seat in the hub?
That is nearly always the splines, not the hub. Line the spline teeth up before you push, coat them with clean gear oil, and never push at an angle. On the inner side, check that the snap ring is in its groove and installed in the correct orientation, since a reversed clip is the most common cause. Confirm the part number and look for a burr on the shaft before you apply more force.
How much does replacing a CV axle usually cost?
The bill has two parts: the axle itself and the labour. Prices vary by region, shop and vehicle, and some suppliers charge a core charge when the old axle comes back, which usually offsets most of the new part cost. The parts-store quotes are the easy part to compare. Labour depends on how seized the fasteners are and whether the axle is splined or bolted, so ask for the hours separately from the parts.
Conclusion
Start by confirming the diagnosis. Find the boot, look at the grease, and pin the click to a specific corner before you take a wheel off. Then check the correct replacement axle by VIN and pull the axle nut, ball joint and tie rod torque figures from your own service manual.
If the axle nut is rounded, the ball joint bolts will not break free, or the axle is bolted to the differential rather than splined in, that is the point to stop and call a shop. Knowing how to replace a CV axle is mostly knowing the order of operations and the fastener rules; the wrench work is the easy part.