
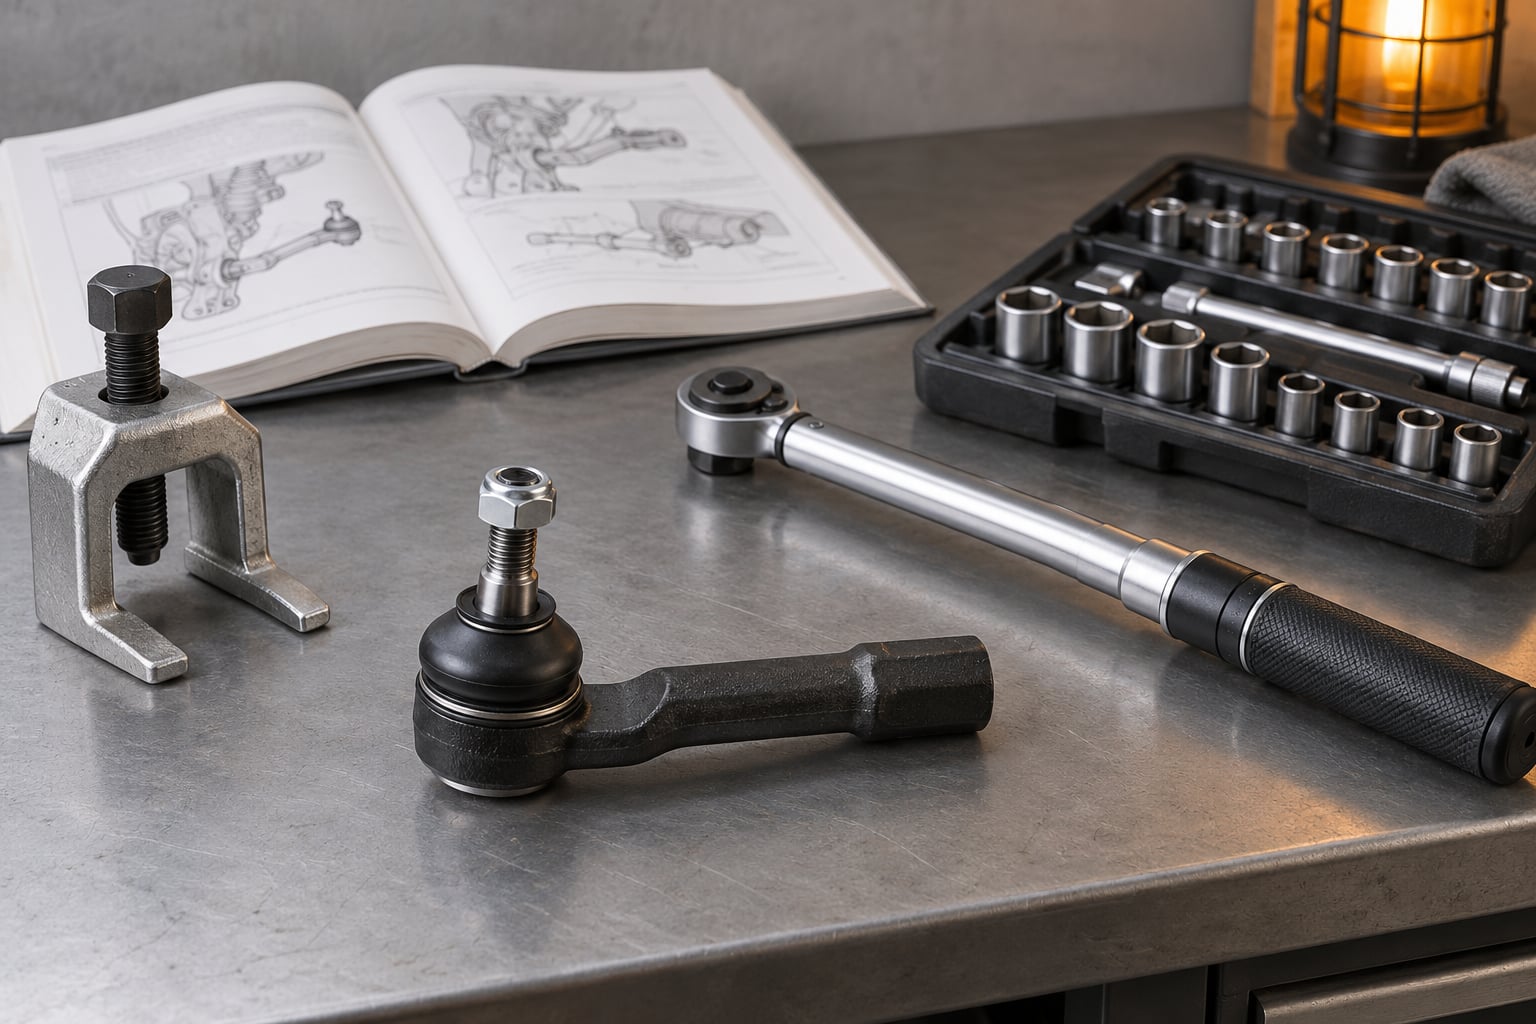
To replace a tie rod end, jack the car safely, mark the tie rod where it sits on the steering knuckle, separate the tapered stud, fit the new joint and torque the nut to the figure in your service manual. The job takes one to two hours for the outer joint and needs one alignment afterward, no matter how carefully you work.
The part is small and looks like a bolt with a ball on the end. What it actually does is hold the front wheel’s steering geometry exactly where the factory put it, and once you pull it out of the tapered hole, nothing puts it back for you except measuring carefully or paying for an alignment.
That is the whole job in one line, and the rest of this guide is the detail behind each step: how to tell whether the inner or outer joint has gone, what to write down before you touch anything, how to get the tapered stud out without damage, and how tight the nut actually needs to be.
I’ve done this on a mix of front-wheel-drive cars and body-on-frame trucks, and the same three things cause most of the trouble: the wrong joint ordered, a seized jam nut forced instead of soaked, and a stud nut tightened by feel. All three are avoidable.
Before the wheel comes off, though, make sure the tie rod is genuinely the fault. A worn wheel bearing or a failing lower ball joint makes a very similar noise, and replacing the wrong part leaves you where you started.
Table of Contents
- What You Need
- Step-by-Step: How to Replace a Tie Rod End
- Common Mistakes
- Failing to mark the original position
- Ordering the wrong joint
- Over-tightening the tapered stud
- Using the jam nut torque as the stud nut torque
- Forgetting anti-seize, or putting it on the taper
- Skipping the cotter pin or the locking nut
- Trusting an alignment while other parts are worn
- Not inspecting the tire before fitting the wheel
- Working under a car held by a jack alone
- Replacing only one side
- Frequently Asked Questions
- Do I need a wheel alignment after replacing a tie rod end?
- How do I know if the inner or outer tie rod end is bad?
- Can I drive with a loose tie rod end?
- What torque should I use on a tie rod end nut?
- Is replacing a tie rod end a beginner-friendly DIY job?
- What other parts should I inspect when replacing a tie rod end?
- Conclusion
What You Need
Confirm inner or outer before you order anything
Most people say “tie rod end” and mean the outer tie rod end. It’s the joint at the outer end of the linkage, studded into the steering knuckle, and it’s the one that wears most often because it takes every bump load and every steering input.
The inner tie rod end sits at the rack, under a rubber bellows boot, right where the inner shaft exits the steering rack housing. It steers the vehicle but carries almost no suspension load, which is why it usually wears late or never on a healthy car.
| Symptom | Worn outer tie rod end | Worn wheel bearing | Lower ball joint |
|---|---|---|---|
| Clunk over small bumps | Common | Rare | Common |
| Steering feels loose with no road input | Strong | Weak | Weak |
| Shudder or hum that rises with road speed | No | Strong | No |
| Clunk when turning at low speed or braking | Possible | Possible | Strong |
| Uneven tire wear | Yes | Usually no | Sometimes |
| Steering wheel off-center or car pulls one way | Yes | No | Sometimes |
| Where play shows up | At the wheel with an assistant rocking it | Wheel play with the brake applied, no assistant | Play at the knuckle, often with visible gap |
Road speed separates wheel bearing from everything else. A hum or growl that climbs with speed and changes when you bear off the accelerator is a bearing, not a tie rod. If the noise is a knock tied to bumps and steering, keep looking at joints.
To feel a tie rod specifically, jack the car, cross the steering, and have someone rock the wheel. A knock at the outer stud with your hand on top of the tire is the outer tie rod. Then turn the steering lock to lock and try to rotate the wheel through its travel. A clunk there points at the inner joint or the rack itself.
Tools and parts
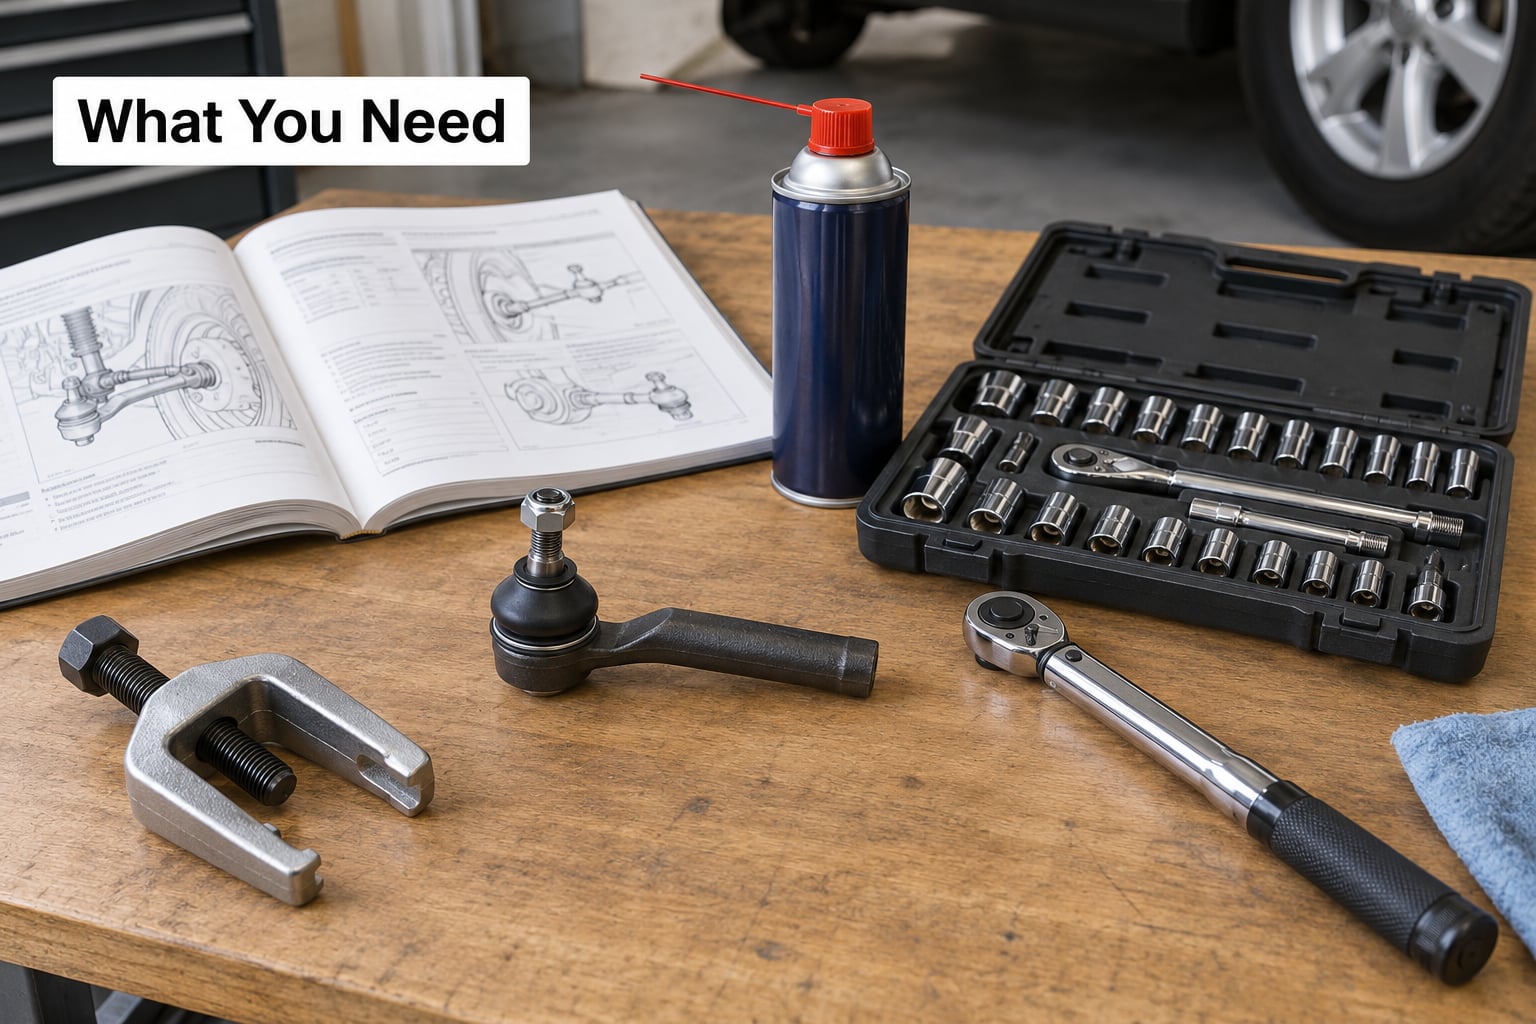
- The correct joint. Order by VIN or by the number stamped on the old one. Buy a pair, not a single, since a joint with tens of thousands of miles behind it has usually matched its partner.
- Jack and jack stands. Rated for the vehicle’s weight, and you need stands for every wheel you take weight off.
- Wheel chocks. One for the wheel on the diagonal from the one you’re removing.
- Lug wrench or impact wrench for the lug nuts, plus the correct socket.
- Ball joint separator or tie rod puller. A pickle fork works, but a puller is kinder to the taper and the boot.
- Torque wrench in the range your car needs. Most tie rod nuts fall under 100 foot-pounds, so a 3/8-inch drive quarter-to-half range tool covers it. Some cars need inch-pounds.
- Open-end or box wrenches for the jam nut, sized so you can hold the jam nut while turning the shaft.
- Penetrating oil and a wire brush. Soak the jam nut and the stud threads, then scrub the rust off the flats.
- Paint marker or tape and a tape measure. This is the only thing protecting your alignment.
- Service manual for your vehicle. You need three numbers from it: the jam nut torque, the stud nut torque, and whether a cotter pin or locking hardware is used.
- Safety glasses and gloves. The taper ejects harder than people expect when it finally lets go.
Two items earn their money back fastest. The ball joint separator turns a two-hour job into a thirty-minute one, and the torque wrench is the difference between a joint that lasts and one that gets loose in six months.
Step-by-Step: How to Replace a Tie Rod End
The outer joint procedure below covers most cars. Where your car differs, the service manual wins every time. Read it before you start, especially for torque values and locking hardware.
1. Confirm the Failed Tie Rod End and Inspect the Area
With the wheel still on and the car on the ground, drive it a short distance and steer left and right through the full lock. Listen for a knock that follows the wheel, not the road.
Put the car on stands and take the wheel off early just to look, before committing to a full teardown. You want to see the rubber boot on the tie rod end: split, torn, flattened or leaking grease means the joint is on its way out. A dry, intact boot with clear play at the stud usually means a worn ball or a loose socket instead.
Also check the tie rod shaft between the two joints for bends or rust pitting, and pull on the inner tie rod boot looking for a torn seam. A new outer joint will still steer wrong through a bent rod.
With the wheel off, look at the lower control arm bushings and the sway bar end links while you have the view. These are cheap to check now and annoying to come back for. If the control arm bushings are cracked or the ball joint boot is split, an alignment set up right after this job may not hold.
How it worked: you can see the damaged part, and you know whether you need one joint or a pair plus nearby hardware.
2. Lift the Vehicle Safely and Access the Wheel
Park on level, level ground. Set the parking brake, put the transmission in park with the engine running for a moment then off, and chock the wheel on the diagonal side.
Break the lug nuts loose while the wheel is still on the ground, about a quarter turn each, then jack the car until the tire clears by an inch or so. Slide the stands under the manufacturer’s jack points and lower the car onto them. Then check the car does not move when you push hard on the sill.
Finish removing the lug nuts and pull the wheel off. Tuck it under the car as a secondary chock. Support the joint end so it cannot drop onto the brake hose, the ABS wire or the tie rod boot while you work.
How it worked: the car hangs on stands that are fully seated, the wheel is off, and the joint is reachable without leaning under the car.
3. Mark and Remove the Tie Rod End
This is the step that decides whether you need an alignment. Two measurement methods work; use one, or both for cross-checking.
| Method | How it works | Good for | Limitations |
|---|---|---|---|
| Thread and turn counting | Mark the jam nut and shaft with a paint pen, count exposed threads between the jam nut and the base of the new stud, then count the turns from the wheel straight ahead to the lock | Most cars, no extra tools, keeps lock-to-lock feel | Thread pitch differs on some vehicles, and thread counting assumes the jam nut position is the reference |
| Center-to-center measurement | Measure from the rack boot clamp to the knuckle arm, or from the inner joint center to the outer joint center, with a tape measure | European and BMW-style linkages where thread count is unreliable | You need the boot location and a second reference point that does not move when the joint is loosened |
Whichever you use, write the numbers on a piece of tape and stick it to the fender. Do not trust memory in the middle of a job with grease on your hands.
Now soak the jam nut, the castellated or nyloc nut on the stud, and the exposed threads with penetrating oil. Scrub the flats with the wire brush. Give it fifteen minutes or more, and repeat it if the hardware looks like it has been sitting in a salt-belt winter.
Loosen the jam nut first. On many designs you can unscrew it completely; on others it is trapped and needs a slotted jam screw. Keep it installed where the manual says to keep it, since it is part of the torque procedure later.
Unscrew the castellated nut off the bottom of the stud. If it is a nyloc, take it off entirely. With the nut gone, screw the stud out of the tapered hole by hand as far as it will go, which usually leaves the taper seated but visible.
Fit the ball joint separator between the stud and the knuckle arm, or use the puller the way it is meant to be used. Thread the stud out as the screw drives the separator against the knuckle. Keep the pressure slow and steady. If it stops moving, stop adding torque and check that the separator is seated on flat metal and not cocked.
How it worked: the joint comes off the knuckle without a fight and without cracking the boot on the neighboring side. If you had to hammer it or the taper is now rounded, plan on the alignment anyway and expect a possibly damaged knuckle to inspect.
4. Install the New Tie Rod End
Fit the new joint onto the shaft first if your design has a screw-in outer end, or position the new joint on the knuckle if the stud is pressed into the shaft. Compare the new part to the old one before fitting anything: taper size, thread pitch, stud length and whether the boot is greaseable.
Thread the jam nut back on partway before the joint reaches the shaft, roughly a half inch of engagement. It keeps the joint from spinning while you line everything up.
Slide the tapered stud into the tapered hole in the steering knuckle arm. Keep the threads lightly coated with clean anti-seize lubricant, and keep anti-seize off the taper itself, where it would change how the taper seats. Push the joint straight in and hand-tighten the castellated nut until the stud is snug in the taper and the joint can still be rotated by hand with firm pressure.
Tighten the jam nut down against the joint body now, holding the shaft steady. That locks the joint’s position so it cannot rotate while you set the final length.
If your car uses a cotter pin or a locking clip, install it at the point the manual calls for. Do not reuse an old cotter pin; they stretch and snap. Never skip it because the notch lines up; the nut can back off under load.
How it worked: the joint holds its own weight and stays put when you let go, and the cotter pin or lock nut is fitted.
5. Torque the Fasteners to Specification
This is where the job succeeds or fails quietly. Factory torque specifications exist because a tapered stud does not behave like a normal bolt: the tightening force clamps the taper into its mating hole, and the correct split between clamping the taper and clamping the nut is what the number in the manual describes.
Check the manual for the sequence, because it is not always the same. A common pattern is to hold the tie rod or shaft with one wrench while tightening the jam nut to specification, then hold the shaft and torque the castellated stud nut. Some manuals specify tightening the jam nut to a preload figure and then adding a set angle. Some specify a plain final torque on the stud nut. If your manual says tight to plus an angle, a click-type torque wrench will not do it and you need a torque wrench with a degree scale.
A few general rules hold across most vehicles. Tighten the castellated nut in small increments while keeping the joint aligned, and re-check your measurement after the jam nut is final, because it can shift slightly as it tightens. If the car uses a locking nut on the end of the stud instead of a cotter pin, you must back the castellated nut off to torque the locking nut, then hold the stud while tightening the castellated nut back to spec.
Torque the lug nuts when the wheel goes back on, in a star pattern, to the figure in your manual or on the door jamb sticker.
How it worked: the wrench clicks at the specified value, the jam nut is against the joint, and nothing has moved enough to change your measurement.
6. Reinstall the Wheel and Check Alignment
Reconnect any ABS sensor bracket or harness clip you moved, and check the brake hose and the wheel speed sensor wire have clear routing and no stretch. Push the wheel on, tighten the lug nuts in a star pattern, and set tire pressures to the door jamb figure, not the tire sidewall maximum. Our guide to when to replace tires by tread depth is worth a look at the same time, since uneven wear is often the reason you noticed the steering problem.
Before anything else, set the steering wheel to straight ahead and compare the wheel’s position to your measurement. If the tie rod shaft is rotated off center by any visible amount, correct it now by loosening the jam nut and turning the shaft, then re-tighten to spec. This is your last chance to do it without a shop.
An alignment is the normal finish for this job. On many cars, especially those with a short inner tie rod or independent rear suspension, changing the length of the tie rod at all means the alignment shop will adjust toe on both sides, not just the corner you worked on. On some BMW models and other European cars the outer joint is a screw-in adjustable link, so its length is part of the geometry and precision matters even more.
You can drive the car straight to an alignment shop after the work is torqued and the wheel is on. Avoid highway speeds and rough roads on the way, and treat any pull or vibration as a reason to slow down further.
How it worked: the wheel goes on straight, the car tracks without pulling, and the alignment is booked before you drive the car normally.
7. Perform a Final Safety and Road Test
Before the car moves, walk around it once with the wheel off the ground turning. Check for any nut that has backed off, a cotter pin missing or bent, a jam nut with a gap under it, or a new boot that has been twisted during installation.
Then take a short drive close to home at low speed. Watch and listen for all of the following:
- Steering pull to one side that was not there before the job
- A steering wheel that sits noticeably off-center
- Vibration through the steering wheel or a tire hum
- Knocking over bumps or when braking
- Free play in the steering with the car moving slowly
- A rub or scrape from the new part at full lock
Any of those and you go back. Free play or a knock means something is not torqued or is still loose; a pull or an off-center wheel usually means the length is wrong, which is an alignment problem rather than a parts problem. If the vibration feels like road speed rather than steering input, check the wheel bearing while you are in there.
How it worked: no knock, no play, no pull, and the steering wheel returns to center after a turn. That is when the alignment visit and normal driving can start.
Common Mistakes
Almost every tie rod job that goes wrong goes wrong the same way. Here are the ones worth guarding against, with the fix for each.
Failing to mark the original position
Nothing records the geometry for you. If you unbolt the joint and cannot say how many threads showed or which way the shaft was turned, you have signed up for an alignment and probably an extra hour of adjusting. Mark before you loosen, count threads, and write it on tape.
Ordering the wrong joint
The outer and inner are different parts with different access and different tools. Buy by VIN, compare against the old one on the bench, and confirm whether the outer end is pressed or screw-in. A screw-in outer needs an inner tie rod tool or the joint will never come off, and it is a different tightening procedure too.
Over-tightening the tapered stud
Over-torquing a taper can distort it or damage the hole in the knuckle, and the symptom is a joint that gets loose again later. Tighten in increments and stop at the number. If a manual calls for an angle, do not substitute a torque value.
Using the jam nut torque as the stud nut torque
These are two different fasteners with two different numbers, and the order matters. Follow the manual’s sequence. Skipping the step where the jam nut is set against the joint lets the whole link rotate under torque and changes the length you measured.
Forgetting anti-seize, or putting it on the taper
A clean thin film on the stud threads prevents the next job from turning into a torch-and-blowtorch project. Keep it off the tapered surface and off the boot, where it collects grit and destroys the rubber.
Skipping the cotter pin or the locking nut
Notching the castellated nut is a legal position, not a safe one. A cotter pin, a locking nut or a stake is there because that nut sees real load and real vibration. Never reuse a bent pin.
Trusting an alignment while other parts are worn
A cracked control arm bushing or a failing ball joint lets the wheel move after the alignment was set. Check them while the wheel is off. Sway bar end links are cheap and worth doing at the same time.
Not inspecting the tire before fitting the wheel
The car came off the road with a problem, and the tire may have uneven wear from months of a bad joint. Look at it while the wheel is off and follow our wheel bearing replacement guide if the hum was not the tire’s fault.
Working under a car held by a jack alone
Stands only, every time. Every serious accident in this kind of work starts with a jack taking a load it was never meant to hold alone.
Replacing only one side
Common practice in the DIY forums is that pairs make sense. Two joints of the same age wear at a similar rate, and doing one now means the next job is a jack and a stands job again. If the inner is accessible while you are in there, replacing it at the same time avoids the awkward decision later, though the inner does need its own special tool.
Frequently Asked Questions
Do I need a wheel alignment after replacing a tie rod end?
Almost always yes. The tie rod sets the toe, and removing it changes the length of the link that controls that setting. Counting threads and turns keeps you close, but only an alignment machine puts the angles back to specification, including the opposite side where required. On cars with independent rear suspension the shop adjusts toe on both sides rather than just the corner you replaced.
How do I know if the inner or outer tie rod end is bad?
For the outer joint, the boot is split or leaking grease and there is a knock at the stud when an assistant rocks the wheel, with free play in the steering. For the inner joint, listen for a clunk at full lock with the wheels turned and check for a torn rack boot. The outer wears far more often because it carries suspension load. Both are best confirmed by moving the wheel and feeling for play rather than by sound alone.
Can I drive with a loose tie rod end?
You can drive it to a shop, but treat it as a short, low-speed trip on smooth roads. Play in the steering means the joint can move in more than one direction, which is exactly what causes unpredictable steering response. Avoid highways and heavy traffic, have the passenger watch the road, and stop immediately if the steering suddenly gets heavier, pulls hard, or you hear a new metallic noise.
What torque should I use on a tie rod end nut?
Use the figure in your vehicle service manual for that year and model, because there is no single correct number. Many manuals specify two values in a sequence: the jam nut first, then the castellated stud nut held with a wrench. Some specify a preload plus an angle, which requires a torque wrench with a degree scale rather than a click-type. Never guess, and never substitute the jam nut value for the stud nut value.
Is replacing a tie rod end a beginner-friendly DIY job?
An outer tie rod end is a good first suspension job, since the wheel comes off and the joint is exposed with no pressed-in ball joint to fight. The skills you need are holding a wrench while applying torque, working a separator correctly, and measuring carefully. An inner tie rod is a different story: the rack boot and the cramped access usually mean a special tool and more patience.
What other parts should I inspect when replacing a tie rod end?
Check the sway bar end links, the lower control arm bushings, the lower ball joint boot, the steering rack boot, the strut or shock mounting bolts, the brake hose and the ABS sensor wiring. Replacing struts in the same session is often efficient if they are due, and our strut replacement guide covers that work. Look while you have the wheel off.
Conclusion
Confirm the correct joint before ordering anything, then mark the tie rod position and count threads before you loosen a single nut. That measurement, a separator instead of force, and the service manual’s torque sequence are what turn this into a job you finish in an afternoon.
With the wheel back on, inspect the control arm bushings, ball joints and sway bar links while you have the view, then book the alignment before you drive the car any further than the trip to the shop. One more alignment visit now is a far smaller interruption than a car pulling off the road.
Keep the manual open, check its numbers again if the car has been through a suspension change since last time, and take your time with the torque.