
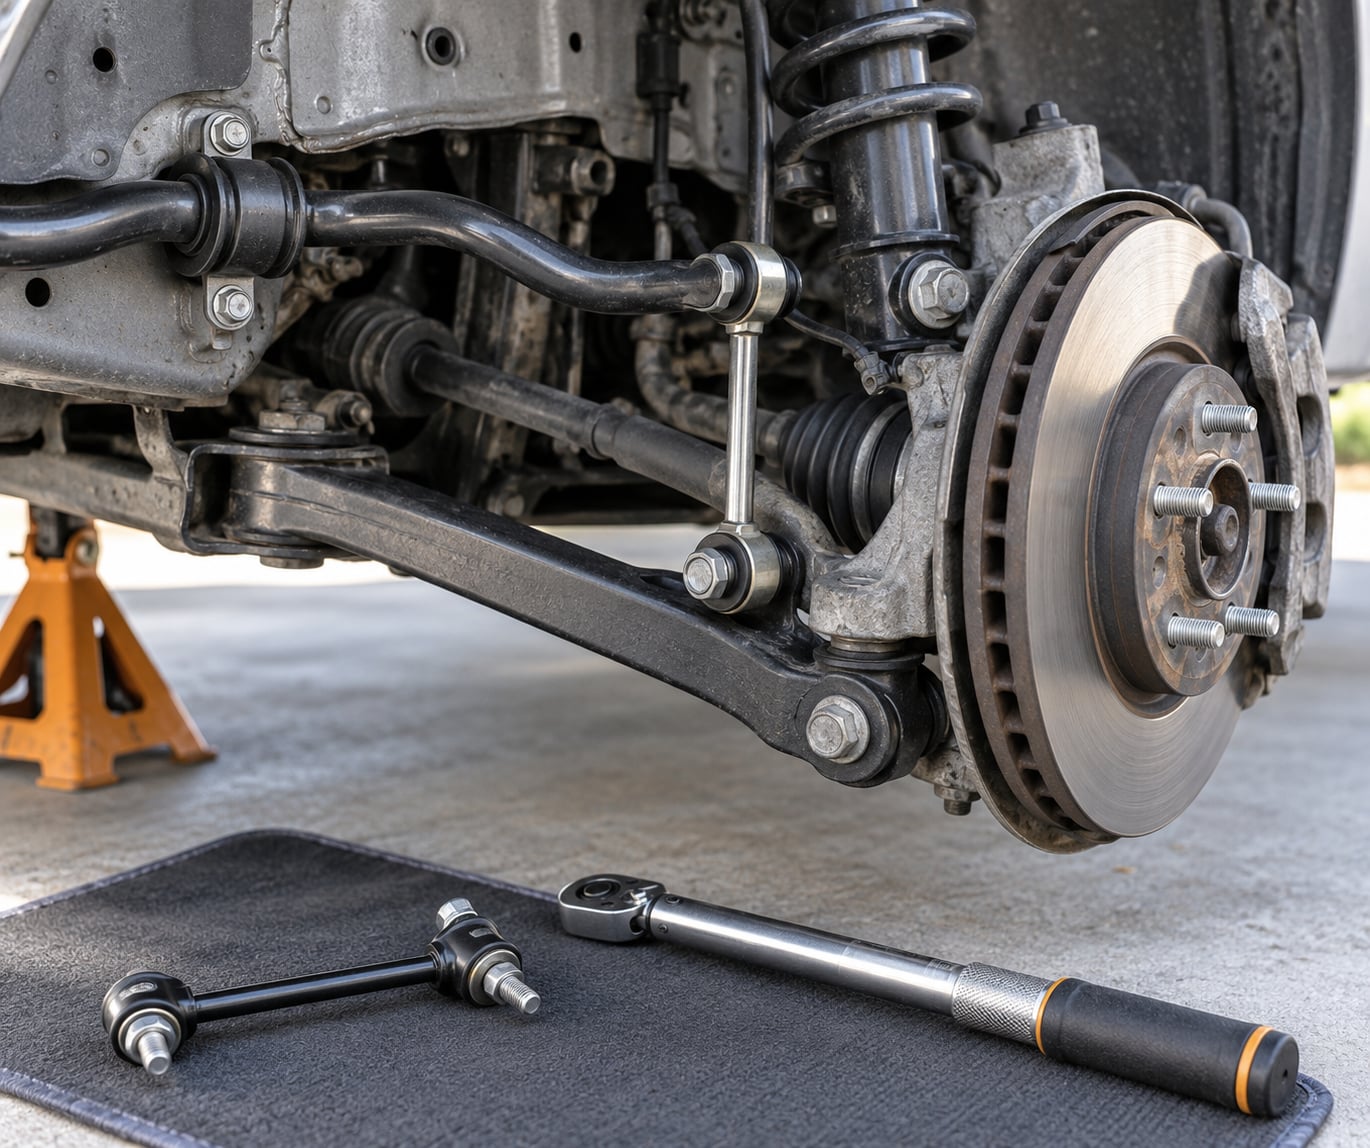
How to replace sway bar links is one of those jobs that looks far harder than it is. The whole thing is two nuts per side, and with a floor jack, two jack stands, a socket set, penetrating oil and a torque wrench you can do it in an hour or two in your own driveway.
On a BMW the catch is access. The front link sits down behind the wheel and above the lower control arm, so you need the car properly supported and the suspension fully unloaded before the bolt will move. Get that part wrong and you’ll be torqueing against a loaded bar and wondering why nothing comes loose.
This guide covers the diagnosis first, because a clunk over bumps is not always the link, then the full procedure, the fasteners that cause beginners trouble, and how to confirm the repair worked.
Table of Contents
What You Need
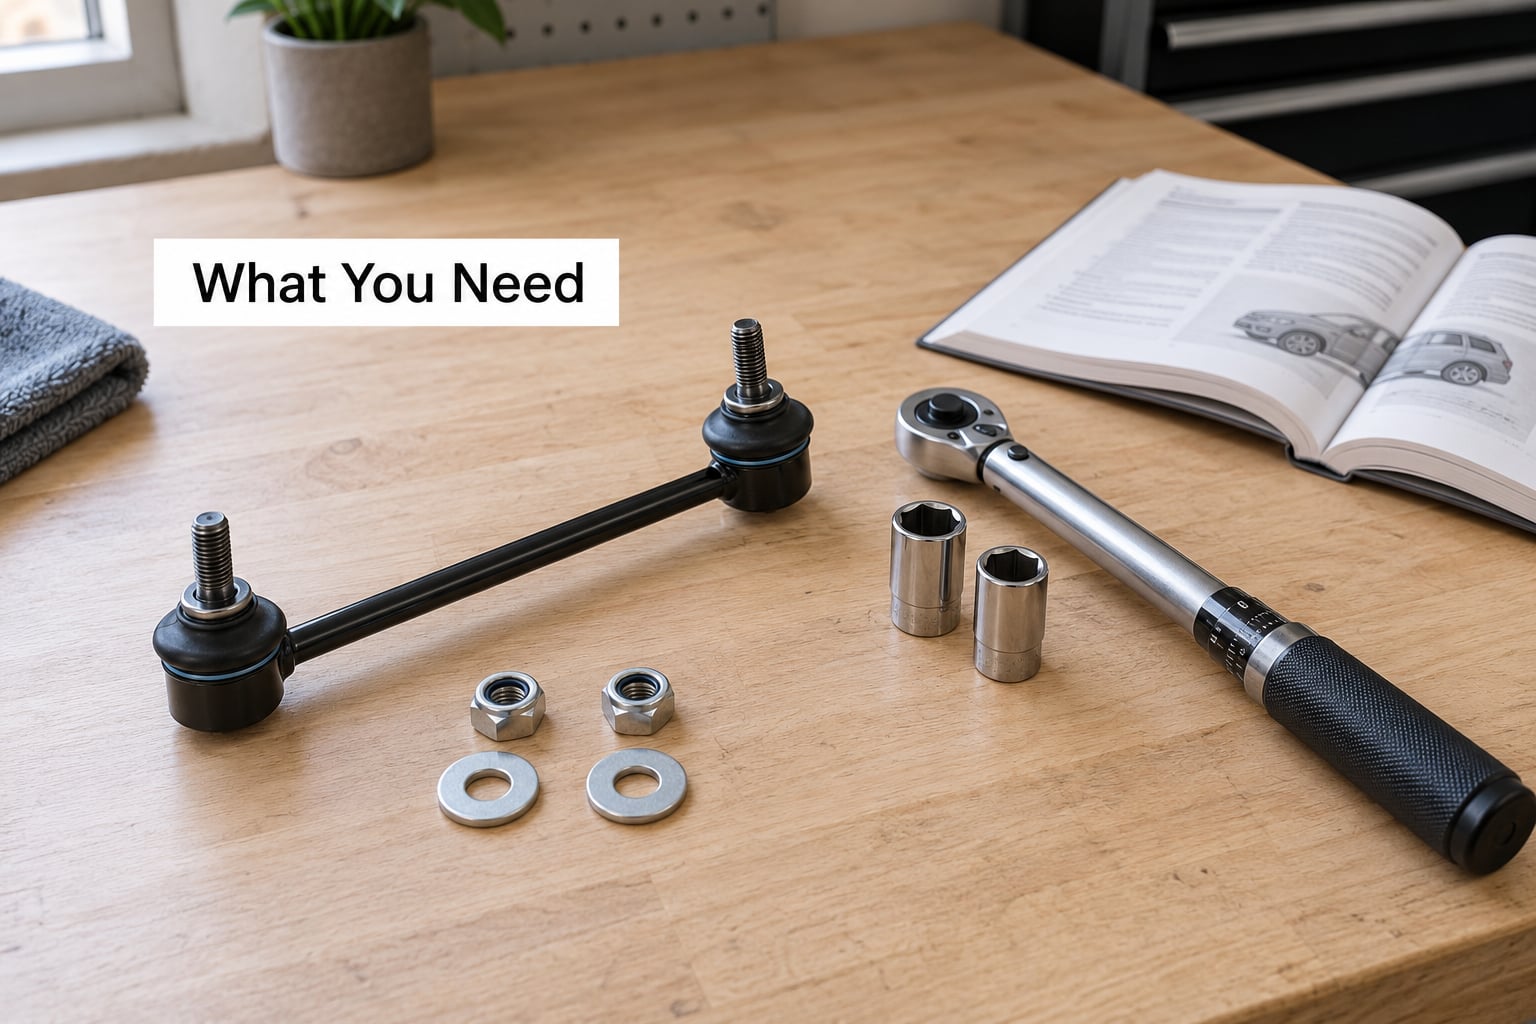
Buy links in pairs and match them to your model. The driver’s side and passenger’s side links look identical but the part numbers are different on most BMWs, and front and rear links are a different shape and length again. A quick check of the stamped or molded number on the old link against the box confirms you have the right one before the car is apart.
Three link types show up on these cars. Bushing-style links use a rubber or polyurethane bushing at the inner joint and need grease or a slick coating on the bushing. Ball-joint links have a sealed ball socket and need nothing. Adjustable links have a threaded body with a jam nut and locking compound on the threads, so tighten the jam nut before final torque.
Tools for the job:
- Floor jack and a pair of jack stands rated above your car’s weight
- Socket set, usually 15mm, 16mm, 17mm, 18mm or 19mm for the link nut, plus the size for your lug nuts
- Torque wrench covering roughly 20 to 100 ft-lbs
- Allen keys or Torx bits, commonly T40, to reach the inner socket on the stud
- Penetrating oil, and a second socket on hand in case you round a nut
- Locking pliers, a pry bar and a small breaker bar
- Wheel chocks, gloves and eye protection
The torque value comes from your service manual or the sticker in the driver’s door jamb, not from a forum post or from memory. Guides age badly, and specs do get revised, so confirm the number for your model year in 2026 before anything goes on the wrench.
If you cannot find the printed value, the parts box itself is the next best source. Manufacturers print the mounting torque on the packaging of a good quality link, and the number on the box matches what the factory used for that specific link. Write it down before the box goes in the bin.
Can You Skip the Wheel?
Sometimes, yes. On many models there is enough room to reach the link nut from inside the wheel well with the tire still mounted, which is how several walkthrough videos do the whole job. The trade-offs are real: less clearance, an awkward angle for the torque wrench, and no easy view of the bushing orientation.
The reasons to pull the wheel anyway are straightforward. You can see what you are doing, you can support the control arm properly with the jack, and you avoid forcing a socket at a bad angle on a fastener that may already be stubborn. On a BMW with a large wheel or tight packaging, expect to remove the wheel. Plan for it rather than fighting the access.
Step-by-Step: How to Replace Sway Bar Links
1. Confirm the Sway Bar Link Is the Problem
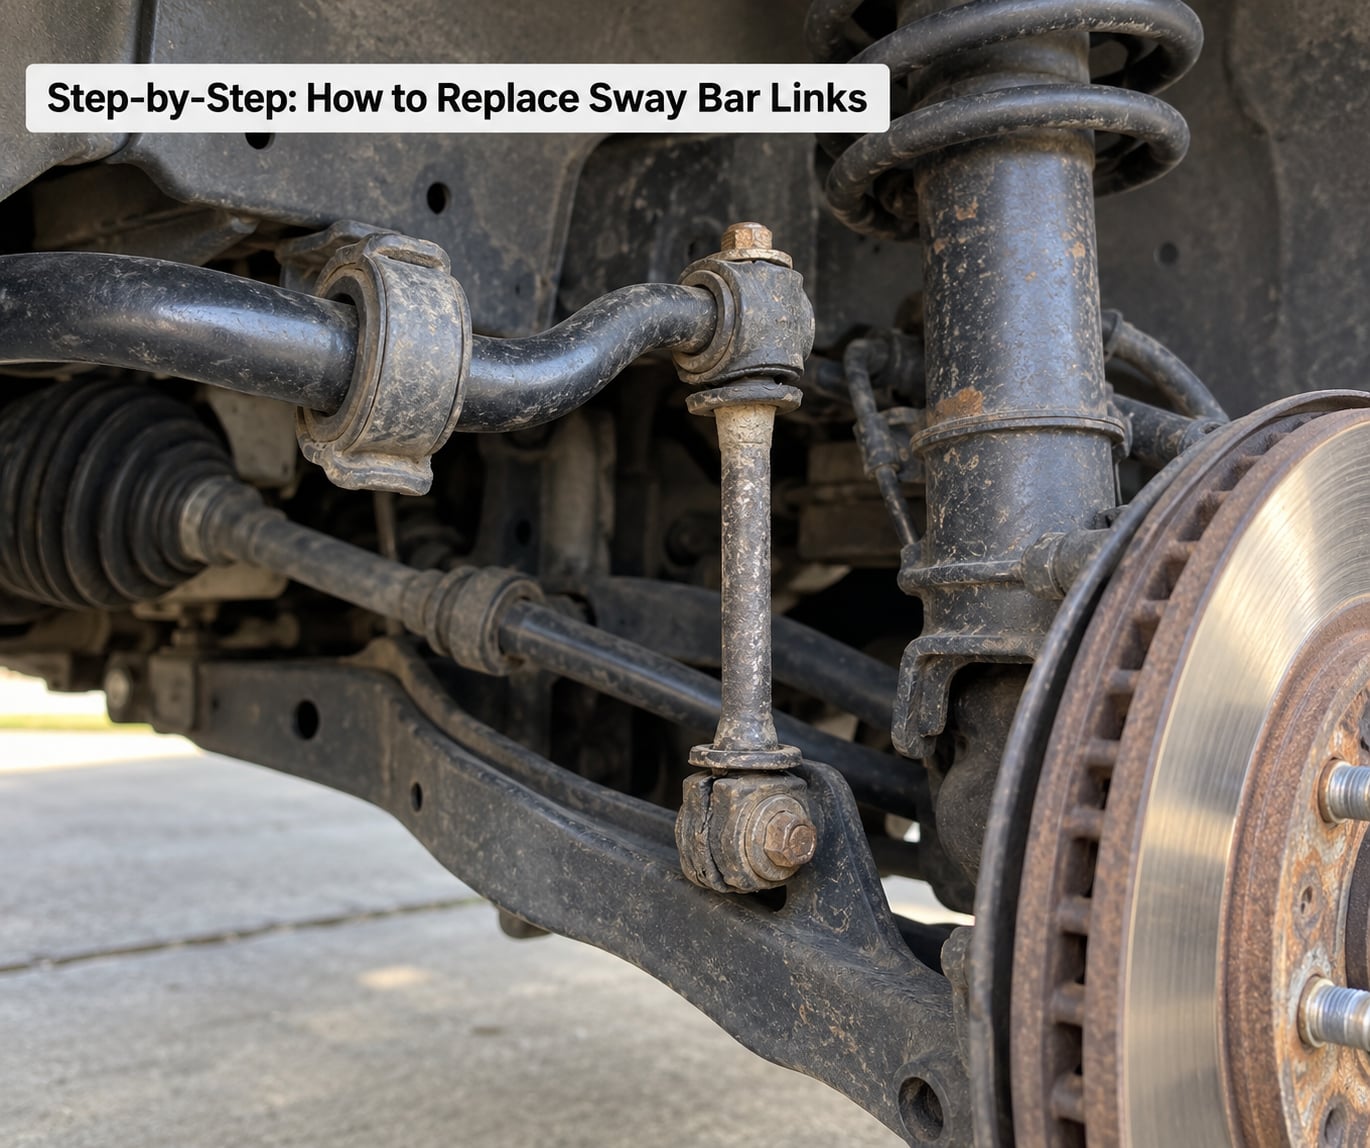
With the car on the ground and a helper or good lighting, put both hands on the link and try to move it up and down, then push and pull it lengthwise. A healthy link has firm rubber and no perceptible travel. Wear shows up as a knock at the top and bottom of the stroke, or as visible slop at the inner ball joint. If you can feel metal touching metal, it is done.
Check the other candidates while you are there. The sway bar bushings where the bar clamps to the subframe crack and leak rubber dust. The drop arm bracket or clamp on some models loosens and knocks. Control arm bushings and the lower ball joint can produce the same clunk, and those are bigger jobs. Our sway bar end link noise diagnosis walkthrough covers how to separate those sounds.
Look at the strut and coil spring area too, since a worn strut mount can imitate the noise. If you are already comfortable with a jack, how to replace struts yourself covers that job in detail. Uneven tire wear across one axle is another hint, and it is also a good reason to check tread depth on the rest of the car with our guide on when to replace tires by tread depth.
2. Safely Raise and Support the Car
Park on level concrete, engage the parking brake, and chock a wheel on the opposite side of the car. Crack the lug nuts a quarter turn while the wheel is still on the ground, because they are far easier to break loose before the tire carries weight.
Lift at the factory jacking points only. Swing the tire under the sill, raise until the tire clears, and lower the jack until the stand takes the load, then give it a hard shove to confirm the stand is biting on solid metal.
Lower the car until the wheel hangs just off the ground, then take the suspension weight with the jack under the control arm. The bar sits under tension when the car is parked, and that tension is what makes the link nuts stubborn and sometimes impossible to crack. Never put a hand or a wrench into the space while the car rests on the jack alone.
3. Remove the Wheel and Access the Link
Finish the lug nuts, pull the wheel straight off, and roll it under the car so it cannot roll away from you. On a BMW the wheel spacer or hub face is easy to scratch, so lift by the tire and support it on a mat.
Spray both link nuts and both studs with penetrating oil and let it sit for ten minutes. While it soaks, look at how the old link is assembled and note the order of the washer and bushing on each end. That detail matters later.
Check that the brake hose and the ABS wire have enough slack to move with the link as you work. On rear links the fuel or brake lines can be close enough to snag.
4. Replace the Sway Bar Links
Back the nut off slowly with the socket on the flats. Most of the nut turns normally until you get to the last few threads, then the stud starts to spin in the bar eye because the internal socket is rusted or rounded. Stop before you strip it.
Put an Allen key or Torx bit into the inner end of the stud and brace it with locking pliers or a wrench so it cannot rotate, then back the nut the rest of the way. This is the step beginners skip, and the spinning stud is the single most reported failure on these jobs in the forums I read, including repeated threads on r/MechanicAdvice.
If the inner socket is stripped out and refuses to hold, the reliable moves are clamping the stud with locking pliers behind the link and twisting the link body, or cutting the link body with an angle grinder and unscrewing the remaining stub from the bar. On r/MechanicAdvice and bmw2002faq owners describe cutting the link in half with a reciprocating saw as the last resort. Do it carefully and eye protection is not optional.
Fit the new link with the bushing, washer and boot in the same orientation as the old one. On bushing-style links, coat the bushing with the grease or silicone the part specifies. On adjustable links, tighten the jam nut hard against the link body before anything else, and clean both threads before reassembly.
Repeat on the other side of the axle with the matching link.
5. Torque the Fasteners and Reassemble
Run both nuts on by hand first. The threads must be clean and lightly coated, and a self-locking or serrated nut goes on new if the old one is being reused. Snug the fasteners enough to keep the link from flopping, then let the suspension settle fully on the jack before final torque.
Torque to the manufacturer specification for that position. Values differ between models and between front and rear, so use the number from your manual or service information rather than a general figure. Over-torquing a link nut can crush a bushing or strip the stud, and the bar bushings do not need the same value as the link fasteners.
Install the wheel and tighten the lug nuts in a star pattern, then lower the car. Leave it settled, then re-torque the link nuts after a short drive, since suspension load changes the seating of the joint.
6. Verify the Repair
Take a slow lap of a parking circle and roll over a speed bump at walking pace. What you are listening for is silence where the clunk used to be. Any new rattle, vibration through the steering wheel, or a sound that moves with cornering means something is still loose or something else was making the noise all along.
Most sway bar link replacements do not change alignment, since the link only controls side-to-side force transfer and not the wheel’s toe or camber. If your car pulls to one side or the steering feels off after the job, check tire pressures first and get an alignment measured rather than guessed.
If the noise persists after new links, look again at the sway bar bushings and the drop arm bracket, and if you cannot pin it down, book a professional inspection. A diagnosis fee is cheaper than replacing links twice.
Common Mistakes
Working under a jack with no stands. This is the one that ends careers. Jack stands under a frame or pinch weld rated for the load, and never trust a jack alone, even for a five-minute job.
Leaving the suspension loaded. A parked car’s sway bar is already pulling on the links. If the nut will not move, that is usually tension, not rust, so jack the control arm and let the bar relax before you reach for a breaker bar.
Not holding the stud. The moment the nut spins the stud, the link stays on the car and you have a stripped socket. Brace the inner end with an Allen key or Torx bit from the start.
Over-torquing. “Tighten until snug” is the wrong instruction. Torque to spec, and check whether that nut is a one-time-use self-locking type that must be replaced.
Confusing the link with a steering or driveline fastener. On some models the link bolt shares a bracket with a steering tie rod end. Pull the tie rod boot aside and confirm what you are loosening before you put a breaker bar on it.
Skipping the bar bushings. If the bushings at the bar clamps are cracked or weeping, the clunk comes back in a few hundred miles. Inspect them during the same job.
Replacing one side only. Links wear as a pair and fail close together, so doing one side now means another lift and wheel-off later. Do both sides of one axle at once.
Ignoring damaged washers and boots. A torn boot lets grit into the ball socket and kills the new link quickly. If the old boot was split, replace the link rather than cleaning it.
Frequently Asked Questions
Can I replace sway bar links myself?
Most drivers can do this at home with basic hand tools and about an hour per axle. The fasteners themselves are simple, two nuts per link. The real difficulty is access and safety: you need the car on jack stands, the suspension unloaded with a floor jack under the control arm, and enough room to reach the bolt. If you have never used stands before, have a shop do the first one.
What tools do I need to replace sway bar links?
A floor jack, two jack stands, wheel chocks, a socket set covering roughly 15mm to 19mm, a torque wrench, penetrating oil, an Allen key or T40 Torx bit for the inner stud socket, locking pliers, a pry bar and a breaker bar. A second nut socket on hand saves you if one rounds. Gloves and eye protection are worth having, since old links shed rust and sometimes brake dust.
Should I replace both sway bar links at the same time?
Yes, replace the pair on one axle together. They wear at a similar rate and usually fail close together, so doing one side now means another lift and wheel-off later. Front and rear links are different parts and are not interchangeable, so check the part number for each position, and confirm the left-hand and right-hand numbers match the ones coming off your car.
What does a worn sway bar link sound like?
Usually a single dull knock or clunk as you cross a bump, often felt through the floor more than heard. It tends to quiet down on smooth road and return on uneven surfaces, and it can get worse in turns where the joint works harder. A softer scraping or continuous rattle usually points to the sway bar bushings instead of the link itself.
Do sway bar links need alignment afterward?
Normally no. The link only carries side-to-side force through the anti-roll bar and does not set toe or camber, so replacing it does not move your alignment. An alignment is worth checking if the car pulls to one side, if the steering feels vague after the work, or if you removed or disturbed the lower control arm or a knuckle during the job.
Why does my car still make a clunking noise after replacing the links?
The most common causes are cracked sway bar bushings at the bar clamps, a loose drop arm bracket, or a worn control arm bushing or ball joint that made the same noise all along. Check that the link nuts are fully torqued and the suspension was not left partly raised during installation. If you cannot pin it down, a paid diagnosis beats replacing links a second time.
Start With the Hand Test
Before buying anything, put your hands on the link and feel for play. That two-minute check decides whether you need parts at all. If you do, support the car on stands, unload the control arm with the jack, soak both nuts in penetrating oil, and hold the inner stud while you back the nut off.
Torque to your model’s specification, take a slow lap over a bump, and the clunk should be gone. If it isn’t, look at the bar bushings next, because that is where the noise usually hides.