
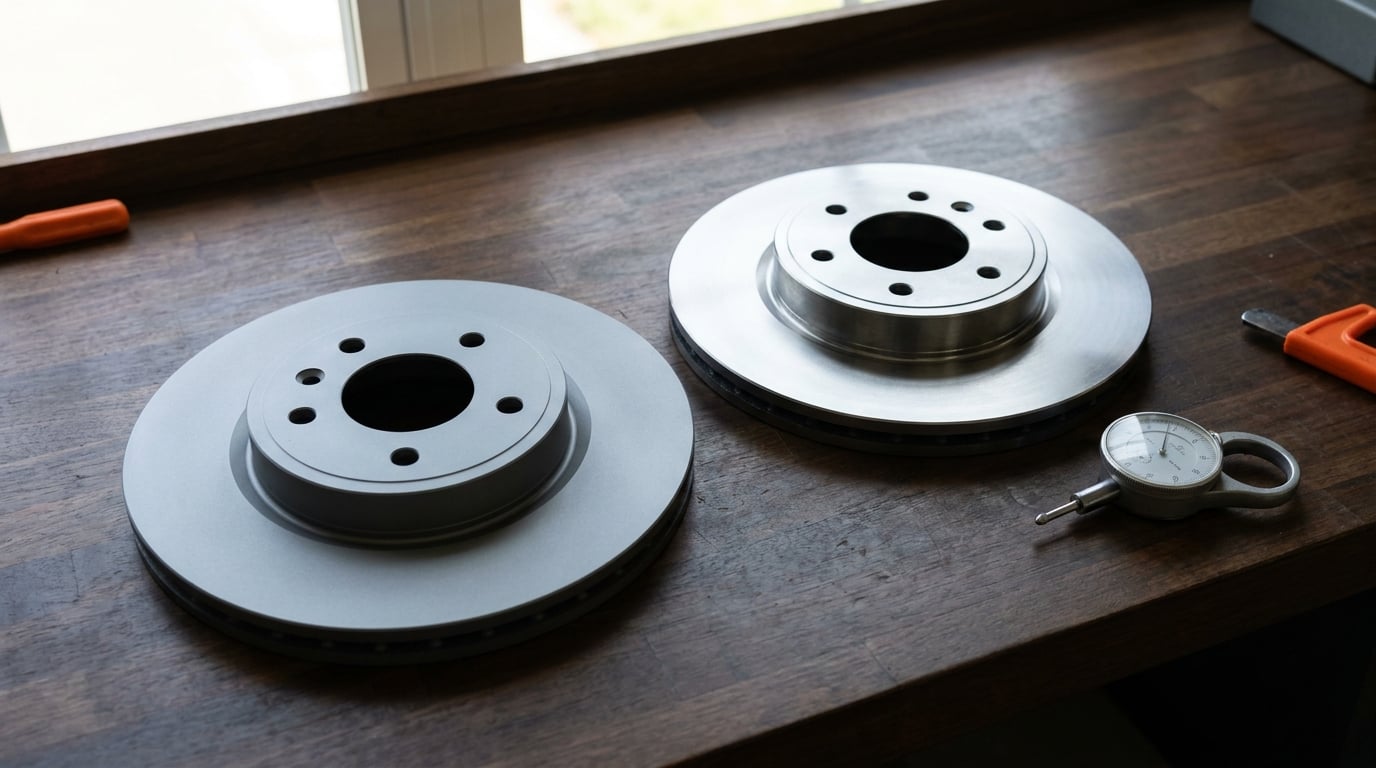
Deciding how to resurface vs replace brake rotors comes down to one number: the minimum thickness stamped on the rotor edge. Machine the rotor only if it will still sit comfortably above that limit after the shop takes off material, and replace it if it is thin, cracked, heat-spotted or warped past tolerance.
That single measurement ends most arguments. A shop that quotes machining on a rotor with 0.02 inch of usable life above its stamp is selling you a rotor that will be scrap soon, and a shop that quotes new rotors on a thick, healthy disc is charging you for metal you already own.
This guide walks through the conditions that make a rotor machinable, how to measure and inspect it yourself, what happens on a brake lathe, and how the decision changes when the vehicle is a modern one with an electronic parking brake. Costs stay relative here because shop rates move by region and change every year.
Table of Contents
- How to Resurface vs Replace Brake Rotors at a Glance
- What Conditions Allow a Brake Rotor to Be Resurfaced?
- How to Inspect Brake Rotor Thickness and Damage
- How to Resurface Brake Rotors Mechanically
- How to Resurface vs Replace Brake Rotors Safely
- Which Option Costs More Over Time?
- Which Should You Choose?
- Frequently Asked Questions
- Conclusion
How to Resurface vs Replace Brake Rotors at a Glance
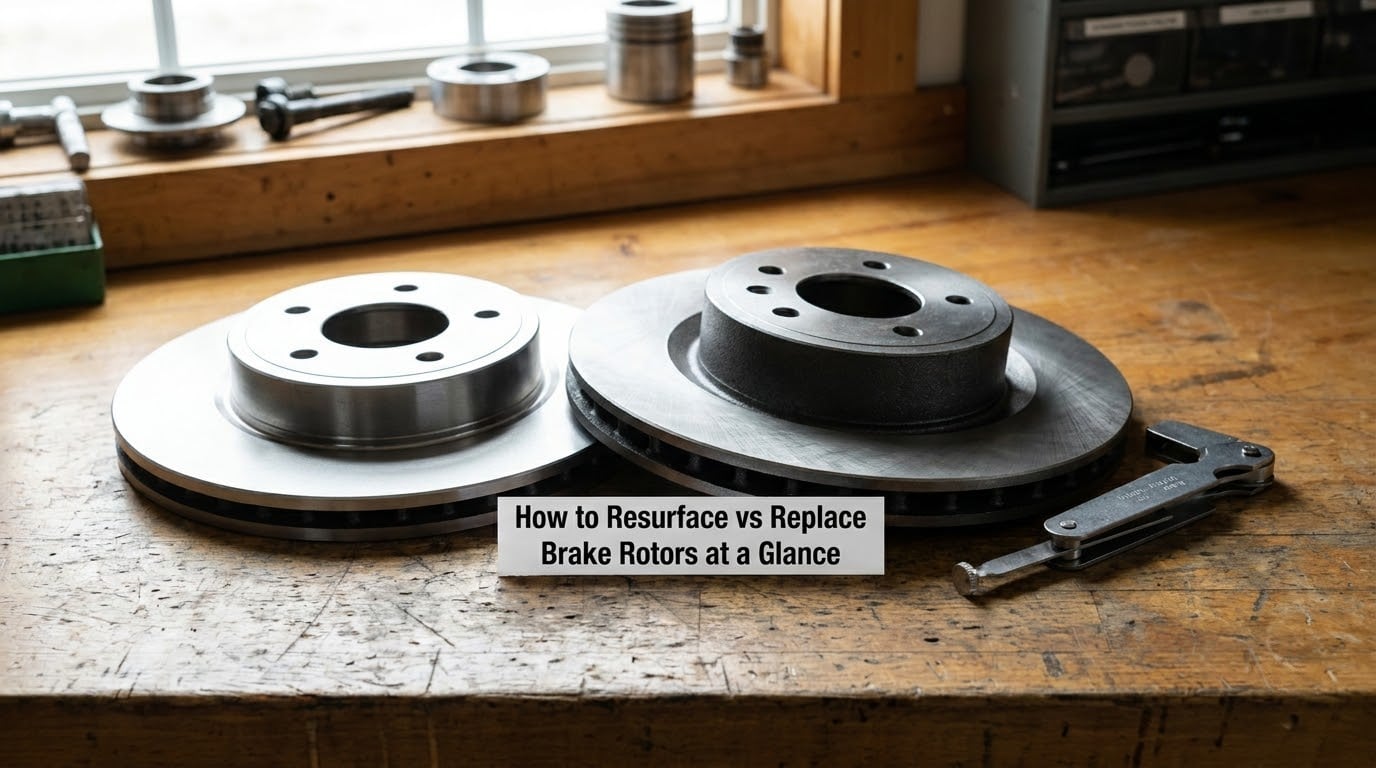
Resurfacing wins when the disc is worn but structurally sound. Replacement wins when the disc is thin, damaged, or was designed from the start not to be machined.
| Criterion | Resurface | Replace |
|---|---|---|
| Eligible rotor condition | Light to moderate scoring, light surface rust, mild thickness wear | Deep grooves, cracks of any kind, blue or straw heat colors, hot spots, rust pitting |
| Minimum thickness | Must stay above the stamped MIN TH after machining, with margin to spare | At or near the limit, or already below it |
| Time on the machine | Clean, measure, one or two light passes, re-measure | Remove, fit new disc, clean hub face, torque to spec |
| Cost profile | Short labor operation, small parts cost, keeps existing hardware | New hardware plus the same labor, plus possible hub and hardware surprises |
| Expected service life | Usually as good as a new disc on a rotor that was never overworked | Full rated life with known heat capacity and coating |
| Rotor types to avoid | Coated, some drilled and slotted, carbon ceramic, maker-forbidden designs | Thin modern vented discs, two piece assemblies with worn studs |
| DIY feasibility | Needs a lathe and skill; most home garages do the measure-and-inspect half only | Straightforward at home with a jack, torque wrench and correct fasteners |
| Best fit | Older vehicles, thick solid discs, high-mileage cars you intend to keep | Modern vehicles, coated rotors, anything heat-damaged or cracked |
One more thing this table hides: machining does not fix a mechanical problem. If the vibration is coming from a warped hub, a sticking caliper slide pin or uneven pad pressure, a fresh machined surface will feel identical in a week.
What Conditions Allow a Brake Rotor to Be Resurfaced?
A rotor is a candidate for machining when all of the following are true. Miss one and replacement is the safer call.
The rotor has usable thickness above the stamped limit
Every compliant disc carries a minimum thickness marking, usually cast into the hat or the outer edge of the friction ring. The shop cuts material from both friction faces, so the rotor needs enough remaining thickness that the finished measurement clears that number, not merely touches it.
Leaving a margin matters. Rotors thin as they wear, and a disc that lands right at the limit after machining will be out of spec within a few thousand hard stops.
Wear is even and grooves are shallow
Machining corrects a flatness problem and a surface finish problem. It does not correct uneven wear caused by a caliper that drags on one side or a wheel that was never tightened properly.
Shallow scoring that catches a fingernail lightly is normal and comes out in the machining pass. Grooves deep enough that the pad’s backing plate nearly bottoms out are a sign the disc is done.
There are no cracks of any kind
Radial hairline cracks running outward from the hat, cracks between the cooling vanes on a vented disc, and cracks around the mounting holes all disqualify the rotor. A crack is a fatigue starting point and it does not stop when you take metal off the faces.
There is no heat damage
Blue, purple or straw-colored patches mean the rotor overheated once. So do repeated hot spots around the friction band, where the surface has melted and re-frozen around itself.
Heat-damaged metal is already changed in ways a lathe cannot undo. It also tends to be thinner than the matching disc on the other side, which is another reason shops treat it as scrap.
Runout and thickness variation are inside tolerance
Lateral runout, how far the disc wobbles as it turns, and thickness variation across the disc are the two measurements that explain most pulsation complaints. If runout or thickness variation is far outside what the pad material can absorb, a machined surface will still pulse.
The pads and hardware are still good
You cannot judge a rotor without looking at the pads. Glazed pads tell you the friction material cooked rather than wore, which usually means the disc got too hot, and what brake pad glazing is is worth understanding before you reuse a surface.
Check the wheel bearings, hub face and caliper slide pins too. A rotor machined onto a damaged hub produces a rotor that is new and still shakes.
The maker allows machining on this rotor
This is where a lot of people get caught. Coated rotors, many drilled and slotted designs, two piece performance rotors and carbon ceramic discs are frequently marked as not machinable. Check the rotor or the service manual before you assume a shop can turn it.
If the rotor is part of an assembly, the two piece vs one piece rotors difference decides how much labor the job takes, because the hat comes off separately on the two piece design.
How to Inspect Brake Rotor Thickness and Damage
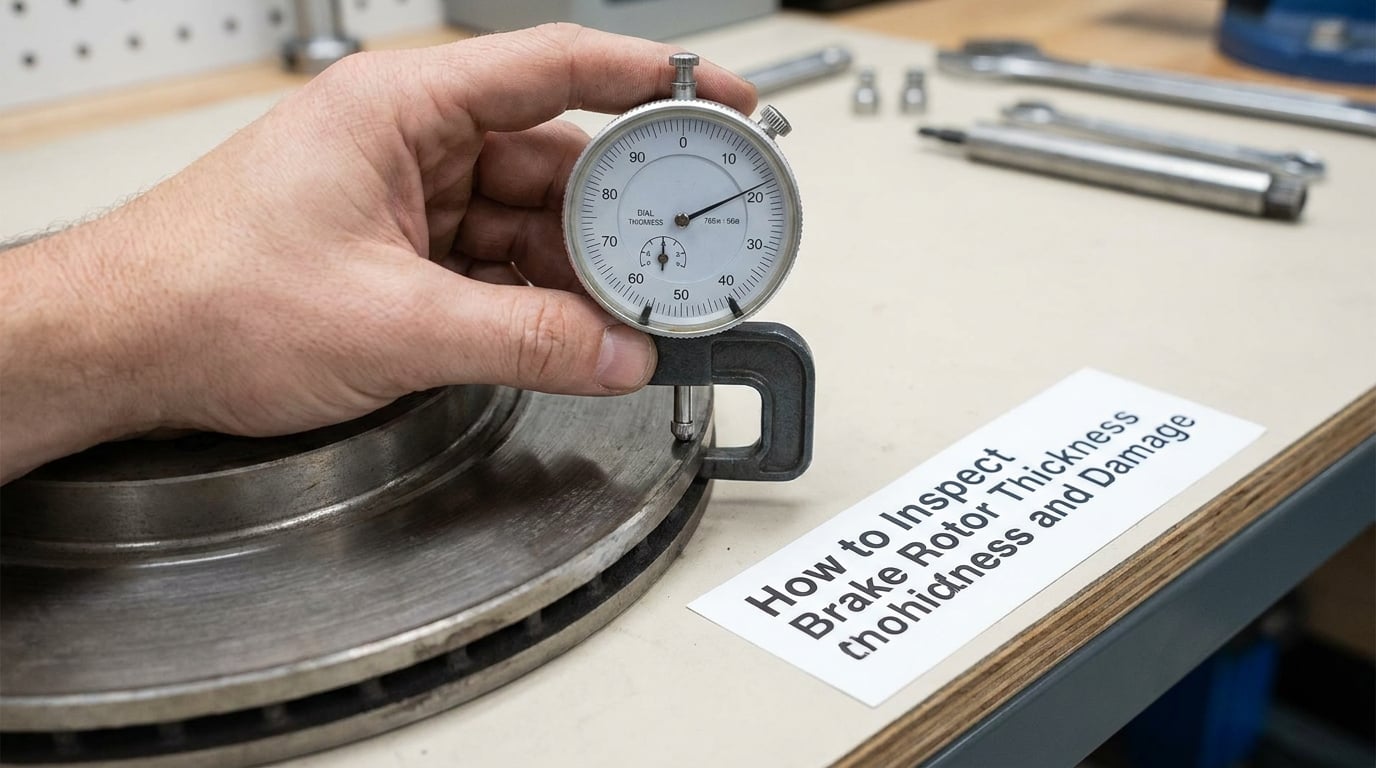
Inspection takes ten minutes with a micrometer and a dial indicator, and it is the part of this job worth doing yourself. It tells you whether the quote you received makes sense.
Step 1: Find the minimum thickness marking
Look on the hat, the outer edge of the friction ring and the area between the mounting holes. It is cast into the metal, and it is often small enough to miss if the rotor is rusty. The rotor also carries the manufacturer’s name and part number on the hat.
If you cannot find a limit marking, do not guess a number to justify machining. Federal Motor Vehicle Safety Standard 135 sets braking performance requirements, but the usable thickness figure itself comes from the manufacturer and is stamped on the part. Without it, replace.
Step 2: Measure at eight to ten points
Clean the friction faces with brake cleaner before measuring, and wipe the micrometer anvils between readings. Measure at four evenly spaced positions around the disc, taking one reading near the outer edge and one nearer the hub hat at each position.
Record every number. What matters is not just the thinnest reading but the gap between the thickest and thinnest points, which is your thickness variation.
Step 3: Compare against the machining allowance
A light pass on each face typically takes around 0.010 to 0.015 inch off the total thickness of the disc. Whatever your thinnest reading is, subtract roughly that amount and see where you land against the stamped limit.
Some shops take a heavier cut to save time, which is exactly why the number on the quote should be a measurement and not a promise.
Step 4: Check thickness variation and runout
Thickness variation is the difference between your highest and lowest readings. Anything beyond roughly 0.001 to 0.002 inch between opposite points on the friction band, or between adjacent measurements around the disc, is enough to give you a pedal that pulses under light braking.
Runout needs a dial indicator. With the wheel installed and the rotor bolted to the hub, clamp the indicator to a fixed point near the outer edge and slowly turn the wheel by hand. Watch the needle. More than about 0.0015 inch of movement means the disc face is not flat relative to the hub, and machining will only partly help.
Step 5: Read both friction surfaces and the edges
Turn the rotor over and inspect the back face, which rarely gets looked at. Then check the friction faces for deep grooves, radial cracks, bluing, hot spots and rust pitting. If you can comfortably run a fingernail into a groove and feel the ridge, that groove is deeper than a surface finish defect.
Step 6: Compare left and right sides
Rotors wear as a pair, but not evenly. A disc noticeably thinner than its partner on the other side of the car has been working harder, usually from dragging or uneven pad pressure. Replacing only the thin side leaves you with a mismatched pair and a recurring problem.
How to Resurface Brake Rotors Mechanically
Resurfacing means removing a controlled slice of metal from each friction face on a brake lathe, leaving the disc flat, smooth and dimensionally correct. It is a short operation. The judgement happens before the machine ever touches the rotor.
Off-car lathe versus on-car lathe
An off-car lathe means removing the rotor, mounting it between centers and machining it on a bench. On-car lathes mount to the hub and cut in place, which saves removal labor but needs steady alignment and a working lift.
Either way the metal that comes off is gone forever. There is no clamping back, no shimming and no way to argue a thin rotor back into service.
The shop sequence, step by step
- Remove the wheel and rotor, then clean both friction faces thoroughly with brake cleaner and a lint-free cloth. Machining over a film of grease or rust bakes it into the new surface.
- Measure thickness at multiple points and record the numbers before any metal comes off.
- Mount the rotor on the lathe and take a light finishing pass on each face, which flattens the disc and restores parallelism.
- Re-measure. Confirm the rotor is still above the stamped minimum at every point and that thickness variation is inside tolerance.
- Deburr the outer and inner edges lightly, then clean the machined surfaces again so no abrasive or metal dust reaches the pads.
- Clean the hub mating face, apply a thin film of anti-seize or assembly lubricant to the hub contact area only, and never to the friction faces.
- Reinstall and torque the wheel to the vehicle specification.
- Bed in the pads with controlled stops before returning the car to normal driving.
That last step gets skipped more than it should. Our guide to cleaning new brake rotors before install covers the surface prep in more detail, and the same prep rules apply to a machined disc.
Why a rotor with too little metal must not be machined
Because heat capacity scales with mass. A thin disc heats faster and runs hotter, and once it runs hot it loses temper, wears unevenly and cracks. A rotor machined down to its limit becomes the component that causes the next failure, not the fix for the current one.
How to resurface vs replace brake rotors in a home garage
Inspection is very realistic. Measurement with a 0 to 1 inch micrometer and a runout check with a dial indicator are cheap tools and the skills are learnable in an afternoon.
Machining is a different story. Consumer bench lathes exist, and they are not toys, but a lathe that is out of alignment cuts a disc that is dished rather than flat, and you will not know until the pedal pulses again. Shops with a real lathe and an operator who checks runout after cutting are worth the labor charge.
Coated, drilled and slotted rotors
Coated rotors lose their corrosion protection the moment a lathe touches them, and many manufacturers mark them do not machine. Machining a coated disc restores the surface and removes the coating, which is a poor trade.
Drilled and slotted rotors can be machined by a shop that knows the design, but the cut edge of each slot and hole is work that has to be deburred properly. Owners on enthusiast forums routinely argue that a machined drilled rotor will crack at the slots sooner. If your car came with that rotor, replace it with the same type.
How to Resurface vs Replace Brake Rotors Safely
If you are weighing how to resurface vs replace brake rotors on your own car, run through this in order and the answer falls out on its own. It takes the same ten minutes as the inspection, and it removes the guesswork.
- Find the limit. Locate the minimum thickness stamp and confirm the rotor is not marked do not machine or non-machinable.
- Measure at eight to ten points. Record the thinnest reading and the thickness variation.
- Subtract the machining allowance. If the thinnest reading minus roughly 0.012 inch does not clear the stamped limit with margin, replace.
- Inspect both faces. Any crack, any blue or straw heat color, deep grooves or pitted rust means replace.
- Check runout. More than about 0.0015 inch of lateral runout points at a hub or hub-mounting problem. Fix that, and replace rather than machine a disc that has reached its flatness limit.
- Check the pads. Glazed or heat-damaged pads are evidence about the rotor, not just the pads. Replace the set and treat the rotor as suspect.
- Check the electronic parking brake. If the vehicle has an EPB, confirm the shop will put it in service mode and handle caliper piston retraction properly. Some shops refuse this work for liability reasons, which is fair.
- Decide as a set. If one disc fails any check, seriously consider matching hardware on both sides of that axle so the pads wear evenly.
- Ask to see the measurements. A shop that hands you the thickness numbers and the stamped limit is telling you the truth about what it found.
If a dealer says resurface and an independent shop says replace, the disagreement is often about which rotor arrived. Ask both for the measured thickness against the stamped limit and for thickness variation. Those two answers settle it, and you do not need to pick a side first.
Driving conditions shift the balance
Where and how you drive changes how much life you should expect. Mountain passes with long downhill braking, towing heavy loads, extended highway commuting and winter salt all load a rotor harder than short city trips.
Salt roads corrode the friction surface and the hat, which shortens the life of any rotor. If a disc shows rust pitting deep enough to stay pitted after a good clean, machining will not restore it.
Modern rotors change the default
Rotor designs have thinned for weight and heat capacity. Many vehicles built in the last fifteen years arrived with rotors the manufacturer never intended to be machined, sometimes because of the coating and sometimes because there is simply not enough metal above the limit.
That is why replacement is the correct default on a modern car and machining is the exception you have to justify with a measurement. On a fifteen year old vehicle with solid thick discs, the reverse is often true.
Which Option Costs More Over Time?
Once the measurements are in, how to resurface vs replace brake rotors is mostly a money question. Resurfacing costs less on almost every first repair. What changes the math is the number of times you do the job, what else fails at the same time, and whether a disc that survived one heat event will survive the next.
Machining is a short bench operation with a small parts cost. Replacing involves buying new discs and paying the same wheel removal, hub inspection and torquing labor on top. New pads are needed in both cases, since most rotor jobs are done as a set with the pad change.
Where the two plans diverge is durability and surprises. A disc machined for the second or third time has less mass left to absorb heat, so the next repair comes sooner. And when a disc goes to replacement, the hub face, the wheel studs and the axle hardware deserve a look, because a hub with rust or uneven threads will spoil a brand new rotor.
Vehicle age changes the calculus again. On a high-mileage car you plan to sell, spending on new discs to avoid a repeat visit is often the cheaper path. On a vehicle you will keep for years, keeping a thick, healthy disc in service is the better use of the metal you already own.
Shop rates vary a lot by region and both parts and labor pricing changes over the year, so treat any number you hear as a starting point. Ask for a written estimate that separates parts from labor, and ask what happens if the shop finds something different once the wheel is off.
Which Should You Choose?
Resurface the rotor when all of these describe it: thickness comfortably above the stamped limit, light scoring, no cracks, no heat coloring, runout inside tolerance, and a maker that permits machining. That describes older vehicles with solid, thick discs far more often than modern ones.
Replace the rotor when it is at or near the minimum thickness, cracked anywhere, heat-spotted or blued, warped past the point where machining will restore flatness, rusted through its surface, or when it carries a coating or slotted design the maker marks non-machinable.
Replace both on the axle when one side failed, so the pads see an even surface. Replace the pads and rotor together whenever the pads show glazing, because that is evidence the rotor ran hot rather than simply wearing out.
On a vehicle with an electronic parking brake, take the job to a shop that knows the service mode procedure and the piston retraction step. It is ordinary work for someone who does it daily and a source of compressed caliper pistons for someone who does not.
If the car is leased, check the service record requirements before choosing. Plenty of lease agreements require documented brake condition at return, and a shop that shows you the measurements makes that conversation easy.
Frequently Asked Questions
Can all brake rotors be resurfaced?
No. A rotor must stay above the manufacturer stamped minimum thickness after machining and must be free of disqualifying cracks, severe heat damage, deep grooves, excessive warping or other structural defects. Coated, drilled, slotted and carbon ceramic rotors are often marked non-machinable by the maker. Two piece and thin modern designs frequently have no usable material left above the limit.
What is the minimum thickness for brake rotors?
The minimum is the number cast into the rotor, usually on the hat or the outer edge, marked as MIN TH with a metric and imperial figure. That stamp comes from the manufacturer and is the only figure that matters for your vehicle. Machining removes roughly 0.012 inch from the disc overall, so the finished rotor needs to clear the stamp with margin rather than land exactly on it.
Can warped rotors be resurfaced?
Sometimes. If the warp is mild and the disc is thick, machined above the minimum limit, and well above its stamped minimum, machining removes the material that has spread the heat unevenly and fixes it. If lateral runout is already around 0.002 inch or more, or the disc is already thin, the problem is probably a warped or corroded hub, and a fresh surface on that hub will pulse just like the old one.
Can I put new brake pads on old rotors without resurfacing them?
You can, and plenty of owners do it. It works when the old rotor is still above its minimum thickness, its surface is smooth rather than deeply grooved, and it has never been heat-damaged. It is not a good idea when the grooves are deep enough to trap pad debris, when one side is noticeably thinner than the other, or when the old pads showed glazing. There is no requirement to replace a sound rotor with new pads.
Does an electronic parking brake change the resurface or replace decision?
It does not change the thickness rules, but it changes how the job is done. The caliper must be retracted properly or the new pads will not fit, and the parking brake actuator has to be released and reset on many vehicles through a service mode. Some shops decline the work because of that. Threaded holes for the caliper bolts that strip or stick on a used rotor can also tip the decision toward replacement.
How long do rotors last after resurfacing?
On a rotor that was healthy apart from normal wear, machining restores the same friction surface and heat capacity it had new, so it can last as long as the pads that ride on it, often tens of thousands of miles. Expect much less on a rotor that was already machined once or twice, on a vehicle that tows or descends long grades, or on a disc that shows heat damage history. Salt road corrosion cuts that life further.
Conclusion
The safest way to work out how to resurface vs replace brake rotors takes ten minutes. Find the minimum thickness stamped on the rotor, measure the friction band at eight to ten points, and compare your thinnest reading minus the machining allowance against that limit. Then look at both faces for cracks, heat coloring and deep grooves, and check runout with a dial indicator.
If every check passes, machining the rotor keeps good metal in service and is the sensible choice. If any check fails, replace it. A rotor that is cracked, heat-damaged, thin or non-machinable by design will not become safe because a lathe made it look new.