
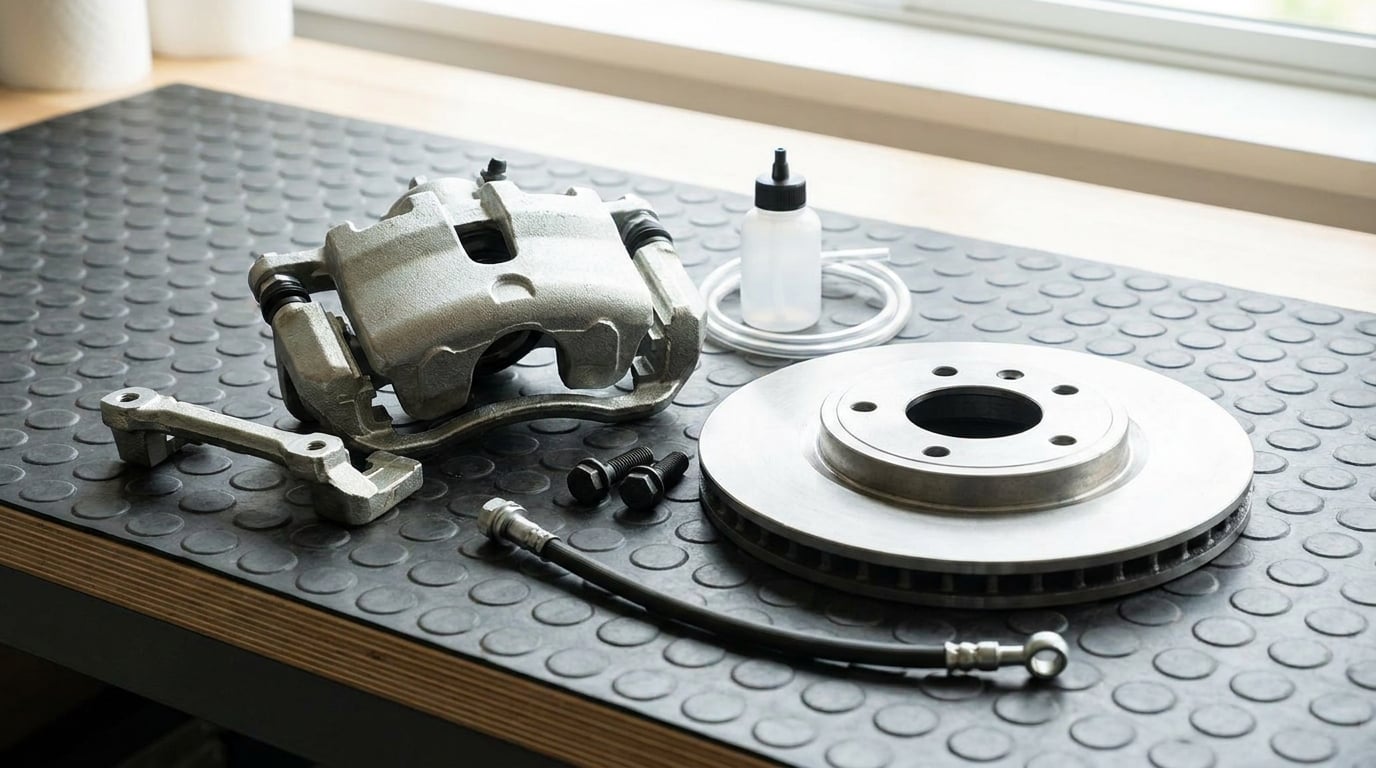
How to replace a brake caliper step by step comes down to a short list: support the car, remove the wheel, unbolt the caliper off its bracket, disconnect the brake hose, fit the new caliper, reconnect the hose, then bleed the system until the pedal is firm. On most BMWs the mechanical part takes an hour; bleeding is what decides whether the job actually worked.
That last part is where driveway jobs go wrong. A caliper can be off, the new one can be on, and the pads can look perfect, but if air is trapped in the line the pedal goes soft and you have no usable braking at speed. This guide walks the whole job in order, starting with an honest diagnosis, because most calipers that people blame are not actually dead.
One more thing up front. Torque figures on a BMW come from the model-specific service manual, not from a rule of thumb, and the difference matters: overtightened bleed nipples seize in a year, and overtightened bracket bolts crack the caliper housing. Where a number matters below, I have flagged it as a service-manual item rather than guessing. Updated for 2026, and written for home mechanics working on a level driveway with a jack, jack stands and a torque wrench.
Table of Contents
- What You Need
- Step-by-Step: How to Replace a Brake Caliper
- 1. Check whether the caliper really needs replacing
- 2. Identify the correct caliper and parts
- 3. Park safely and remove the wheel
- 4. Inspect the brakes before disassembly
- 5. Remove the brake hose or line
- 6. Remove the caliper bolts and caliper
- 7. Inspect or prepare the mounting hardware
- 8. Install the new caliper
- 9. Reconnect the brake hose or line
- 10. Bleed the brakes and refill the fluid
- 11. Reinstall the wheel and do a final check
- 12. Test the brakes carefully
- Common Mistakes
- Frequently Asked Questions
- Can you replace just one brake caliper?
- Do I need to bleed all four brakes when replacing one caliper?
- Do I need to bleed my brakes after changing a caliper?
- What is a common mistake when replacing a caliper?
- How do you activate an ABS pump to bleed brakes?
- How much should it cost to replace a brake caliper?
- Conclusion
What You Need
The first decision is whether you are replacing a caliper at all, or whether this is really a pad, rotor and fluid job. Those are different parts lists and different days of work. A caliper replacement needs the caliper itself plus the hardware that mounts it.
Parts for one corner:
- The replacement caliper, matched by VIN, side, rotor diameter and, where the vehicle supports it, colour code. Many BMWs have several different calipers on the same car depending on brake package and wheel size.
- Caliper bracket bolts. These are the bolts that hold the caliper to the bracket, and they are often torque-to-yield fasteners, not plain bolts.
- Guide-pin bolts and the rubber slide-pin bushings if your car uses them. Replace them as a set rather than reusing hardware that has been in and out several times.
- Brake pads and shims, if the rotor is being replaced or the old pads are worn unevenly. Fitting fresh pads into a caliper that has been dragged can leave you with a low pad from day one.
- High-temperature brake grease or silicone grease for the guide pins and slide-pin bushings. Not wheel bearing grease, and not the stuff that came in a tub labelled general purpose.
- A new rubber dust cap for the bleed nipple, and a hose plug or cap to keep fluid out of an open line.
Tools:
- Jack and two properly rated jack stands, plus wheel chocks
- Torque wrench covering the small end of the range, roughly 10 to 100 Nm, because bleed nipples and bracket bolts live at the bottom of that scale
- Six-point sockets and a breaker bar for the bracket bolts, which on many BMWs sit in an awkward blind position over the rotor
- E12 external Torx, common on BMW bracket bolts and pad retaining hardware
- Box-end wrenches for the hose banjo bolt, plus a flare nut wrench if the line unions are seized
- Penetrating oil, a bleed bottle with a check valve, clear tubing, and a drain pan
- A brake pedal support rod or a heavy block, so the pedal cannot creep into the master cylinder while the system is open
- Brake cleaner, non-metallic brake lubricant, paper towels, a drip tray and a bottle of water. Fluid dissolves paint and it goes everywhere.
Fluid: BMW normally specifies DOT 4 glycol fluid, and that is what I would buy. DOT 5 silicone-based fluid must never be mixed with DOT 3 or DOT 4, and it swells rubber seals differently, so do not top up one with the other. If you are unsure what is already in the reservoir, a full flush with the correct fluid is cheaper than guessing. Our guide on how to tell if brake fluid is contaminated covers the signs.
Add a decent ratchet, an extension set and a rubber mallet to that list, and you have covered almost every BMW brake job in a home garage.
Step-by-Step: How to Replace a Brake Caliper
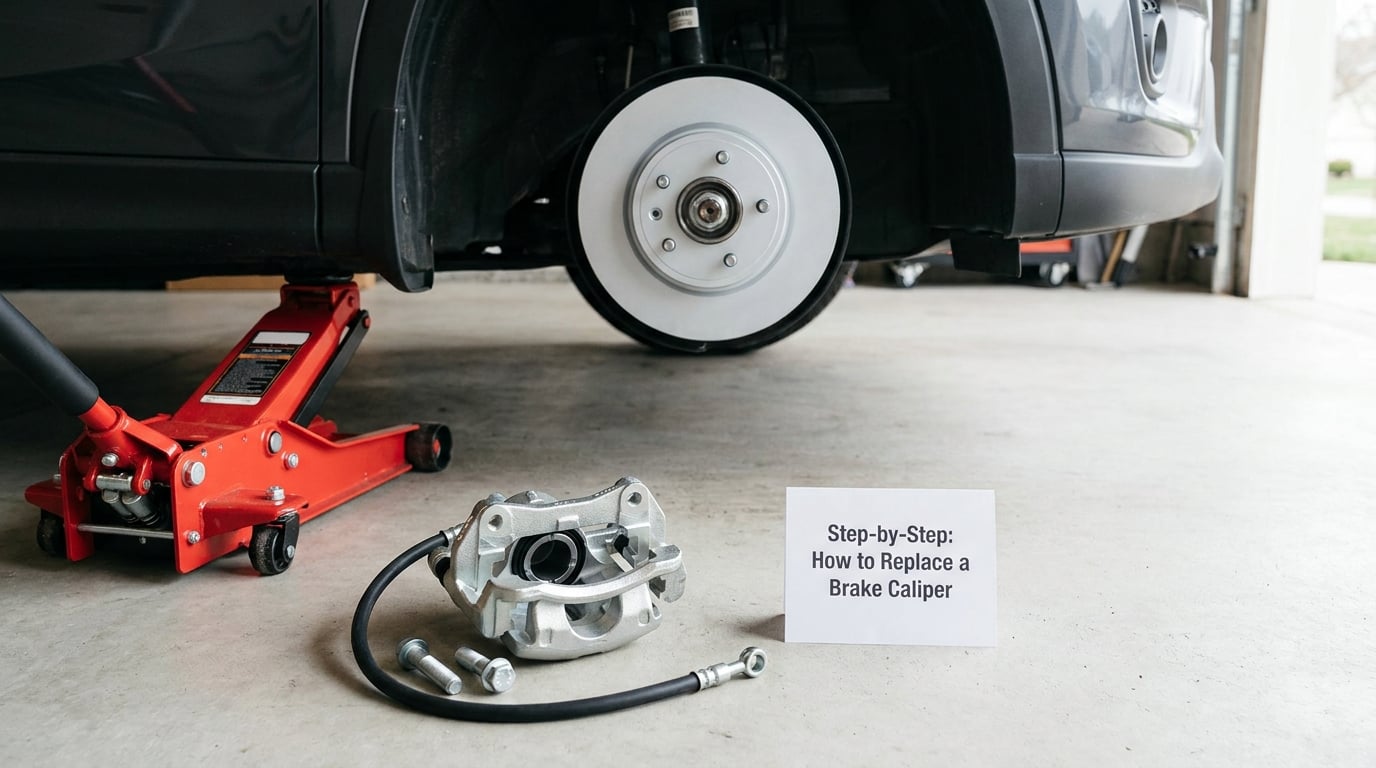
1. Check whether the caliper really needs replacing
Most “stuck caliper” complaints on BMW forums turn out to be seized slide pins and surface rust on the rotor, not a failed caliper body. Clean and grease the pins and free the rotor with a firm hand and a good pad, and the problem is often gone. That is worth an hour of diagnosis before you order a part and open a hydraulic line.
| Symptom | Likely cause | What to check |
|---|---|---|
| Car sits with brakes dragging, hot rotor, fuel use up | Seized slide pins, worn pads, or a bent pad backing plate | Can the caliper slide by hand with the wheel off? Do the pads move freely? |
| Fluid puddle under the corner, pedal goes soft | Caliper body or hose failure, failed piston seal | Wetness at the caliper, the banjo bolt and the hose ends |
| Pedal fine, one pad worn much faster than the other | Caliper not sliding correctly, guide pin wear | Uneven wear across the rotor face, our guide on one pad wearing faster than the other |
| Pulsing under braking | Rotor thickness variation, not a caliper fault | Look at the rotor edges for rust lip and blueing |
| Pedal firm, pulls to one side under braking | Sticking caliper or a pad that will not retract | Compare piston retraction on both sides of the axle |
| Brake warning light, pedal travels further than usual | Low fluid, worn pads, or a pad sensor wire | Reservoir level and pad thickness before anything else |
If the caliper body is intact, the piston does not retract when you press it gently, the rubber boots are cracked or weeping, or fluid is coming out of the body itself, then replacement is reasonable. If the slides are simply sticky and everything else is intact, service the caliper instead.
2. Identify the correct caliper and parts
Order by VIN, not by what the car looks like. A BMW of a given body style can carry a single-piston floating front caliper, a twin-piston fixed caliper or a different supplier part depending on brake package, wheel diameter and year, and two visually identical-looking calipers can have different piston counts and different bracket shapes.
Also confirm whether the bracket comes with the caliper or is sold separately, whether the replacement piston arrives retracted or pushed out, and whether new bracket bolts are included. A caliper with the piston sticking out needs a retraction step before the pads will fit, which is a different procedure from bolting one straight in.
3. Park safely and remove the wheel
Level ground, first gear or park, parking brake on, and a chock behind one of the wheels that stays on the ground. Break the lug bolts loose before lifting, then jack up, set the stands, and give the car a firm shove to confirm the stands are taking the load before you go anywhere near the sill.
Remove the lug nuts and the wheel. If the rotor is the reason for the job, hold the hub with the lug bolt holes and back the rotor off the hub studs, because a seized rotor on a two-stud car can need real persuasion.
4. Inspect the brakes before disassembly
This is the free diagnostic moment. With the wheel off, check pad thickness, whether the wear is even across both pads and the full width of the rotor, and whether the rotor has a lip, scoring or heat damage. Look at the caliper body, the piston, the rubber boots and the hose.
Our walkthrough on how to check brake calipers for leaks on a BMW shows what weeping at the piston seal actually looks like, which is different from road salt grime. Now squeeze the caliper by hand. If it will not move at all, the slides are seized. If it moves, you can bleed it and likely keep the original caliper.
5. Remove the brake hose or line
Support the vehicle, then put the pedal support in place before you open anything, and have the drain pan under the caliper from the start. Remove the banjo bolt or the hard line union, supporting the hose as the fitting comes free so the weight does not twist the port. Fitting a banjo bolt sideways is a classic way to bend one and leak fluid a week later.
Immediately fit a hose plug or cap to the open port. Once air gets past that opening, the whole circuit needs bleeding, and on a car with ABS there may be a second trip to the shop. Never pump the pedal with the line open, because that is how air gets in.
6. Remove the caliper bolts and caliper
Spray penetrating oil on the bracket bolts at least a day ahead if you can. Fit the six-point socket, give the bolts a shock with the breaker bar, and then work them out with the ratchet rather than a sudden pull, since seized fasteners usually break or round before they break free.
| Caliper type | Which bolts come off | What happens next |
|---|---|---|
| Floating (most BMW front and many rear calipers) | Two guide-pin bolts, not the bracket bolts | The whole caliper slides back off the rotor and the pads come out together |
| Fixed (twin-piston calipers on some performance models) | Bracket bolts, and on some designs the hose banjo must come off to clear the rotor | The caliper lifts straight off the rotor in two halves |
If you are not sure which type you have, look at how the pads sit. Pads on both sides of the rotor that move as one unit means floating. Pads captured in a caliper that straddles the rotor means fixed. Never hang the caliper from the hose, and never lever on the hose to gain clearance.
7. Inspect or prepare the mounting hardware
Clean the bracket, the guide pins and the bores they slide in, then decide what to reuse. On most BMW calipers the slide pins live in rubber bushings in the caliper body, and it is the bushings, not the pins, that wear. If the pin slides freely in a new bushing with no side play, reuse the pin. If the bore is oval or the pin is pitted, fit the new pin and bushing as a pair.
Clean the contact surfaces with brake cleaner and a non-metallic abrasive pad, then coat the pins and bushings with a thin film of silicone or high-temperature brake grease. Skip this and the new caliper will drag on the first drive, which is the most common complaint in threads about freshly replaced calipers.
8. Install the new caliper
If the new piston came extended, push it back into the bore before the pads go in. Press the caliper body into a clamp or press the piston gently back with a brake pedal applyer, working in small steps and watching the fluid in the reservoir, because the fluid has to go somewhere. Some people use low-pressure air at the nipple to retract a piston; work slowly and never use high pressure, since you can blow a seal or force fluid past the master cylinder seal.
Now fit the pads in the correct order. On a floating caliper the outboard pad sits in the caliper body and the inboard pad sits against the bracket. Fit the shims and any pad wear sensors, then slide the caliper back on and tighten the guide bolts to the service manual figure in a crisscross pattern. You should be able to move the caliper by hand with light pressure and no binding. If it is tight, something is not lined up.
9. Reconnect the brake hose or line
Fit the new banjo bolt and its washers, or the new seal washer on a hard line union, and tighten to the manual figure with the line held straight. Many BMW banjo bolts are sealed with two copper washers rather than an O-ring, and the second washer is the one people forget, which produces a slow leak that shows up days later.
Check the port face is clean, inspect the fitting as soon as you take the pressure, and refit the rubber dust cap on the bleed nipple so grit cannot get into it. Wipe everything down now rather than after the fluid has dried onto the paint.
10. Bleed the brakes and refill the fluid
Yes, you need to bleed after changing a caliper, because opening a line lets air into the system. A soft pedal after the job means air, and air compresses before it pushes a pad onto a rotor.
Start with the fluid. Check the reservoir is topped up with the correct grade, clean the cap and the area around it, and keep the reservoir above the minimum mark the whole time. If it drops below minimum, air is getting into the master cylinder and you have made the job longer. Do not leave the reservoir open for long stretches with the pedal pumped.
| Method | Helper needed | When it makes sense |
|---|---|---|
| Two-person, pedal and nipple | Yes | Cheapest and best for a single caliper once the lines are clear |
| Check-valve bleed bottle | No | The workable solo option; several owners on forum threads report success with it |
| Vacuum bleeder | No | Useful for stubborn corners, pulls vacuum on the fluid and can draw contamination in |
| Pressure bleeder | No | Works well, but the reservoir must be sealed and full, and the pressure has to be right |
Bleed in the manufacturer sequence, which is normally the corner furthest from the master cylinder first, then move inward, and do the wheel you changed last if you want to finish where the fault is. Open the nipple a quarter turn, watch fluid, close it before the bottle empties, top the reservoir up, and repeat until fluid comes out clear with no bubbles.
On a car with ABS, air trapped in the hydraulic control unit will not clear with a manual bleed. If the pedal is still soft after a proper bleed on every corner, the answer is an electronic service bleed with a scan tool, and that is a shop job. Know that boundary before you start, not at the end of the evening.
11. Reinstall the wheel and do a final check
Torque the wheel bolts in a crisscross sequence, not in a circle, and tighten with the vehicle on the ground rather than hanging. Before you lower it, run the pedal down a few times and confirm the reservoir level holds. Then lower the car, take the stands out, and re-torque the bolts properly.
With the engine running and the pedal firm, check the hose connection, the banjo bolt and the caliper body for weeping. Push the pedal hard for about a minute and look again, because slow leaks show up under pressure.
12. Test the brakes carefully
Drive the car backwards into a quiet space, at walking pace, and spend a minute with gentle braking. Listen for a dragging sound, a vibration through the pedal, and a pull to either side. Check with an assistant, or park, then walk back to the wheel and feel the rotor for heat. A warm rotor after a slow test is normal. A hot one you cannot touch, or a rotor with a blue patch, means something is binding and you stop there.
Do not drive the car out of the driveway, let alone onto a road, if the pedal is soft or travels further than normal, the brake warning light stays on, fluid is dripping anywhere, or the car pulls hard. Any of those means a tow, not a test drive.
Common Mistakes
These are the errors that come up again and again, in roughly the order of how expensive they are to fix.
- Pumping the pedal with a line or caliper open. This pushes air straight into the system and can contaminate the whole circuit. Pedal pressure only after everything is closed and the fluid is topped up.
- Losing the brake fluid. Fluid on paint is a permanent mark. Cover the fender, use a drip tray, and do the connection work on a drop cloth.
- Removing the wrong bolts. On a floating caliper the guide bolts come off, not the bracket bolts. Forcing the wrong fastener is how rounded and snapped bolts happen.
- Stripping the slide pin bore. Never punch a seized guide pin out of the caliper body with a drift and hammer. The bore is soft alloy and it will spread. Get the pin out with penetrating oil, heat and a puller, or replace the bushing and pin properly.
- Forcing a seized bleed nipple. A 6-point socket, penetrating oil the day before, and short sharp shocks. If the nipple starts to round off, stop. A rounded nipple is a hose replacement or a shop job, and a snapped nipple inside the caliper is a caliper replacement.
- Reusing old bracket bolts. They are torque-to-yield fasteners on many cars. Reused, they can lose clamping load and let the caliper shift under braking. Fit the new bolts if the manual specifies them.
- Assembling the slide pins dry. The most common cause of a brand new caliper dragging on the first drive. Grease the pins and bushings, and confirm the caliper moves freely by hand before the wheel goes on.
- Contaminating the rotor. Clean the rotor face and the hub with brake cleaner and a non-metallic pad. Grease on the friction surface is a pad replacement.
- Skipping the bracket inspection. A grooved or corroded bracket kills a new caliper just as effectively as a bad caliper body.
- Torquing to feel instead of to specification. Bleed nipples strip and housings crack. Use the service manual figure for the caliper, and check the manual for bleed nipple, hose union and bracket bolt values.
- Rear calipers: forgetting the parking brake cable. On rear calipers, unhook the cable at the handbrake lever and release the cable from its bracket, and re-adjust the parking brake travel once the job is done. Nobody notices this until the car creeps downhill.
- Road-testing an unverified repair. The five-minute stationary and low-speed checks above exist for a reason. Skipping them is not saving time.
One more worth naming. If a caliper has been dragging and the rotor is scored, warped or heat-damaged, a new caliper on a damaged rotor will still pulse under braking. Replace the rotor too, or you will be back at the same complaint with a fresh part on the car.
Frequently Asked Questions
Can you replace just one brake caliper?
Yes, you can replace a single caliper and leave the other three alone. Bleed the system afterwards so no air is left in the line you opened. If one caliper has failed through fluid contamination, have the fluid checked, because that same fluid is now under the other three. And if the failure was a sticking caliper that dragged, replace the one that failed but also inspect the guide pins and boot on the others, since the same wear usually shows up there.
Do I need to bleed all four brakes when replacing one caliper?
You only have to bleed the corner you opened, and you may bleed the rest of the system in the normal sequence to save fluid and refresh old fluid at the same time. What you must not do is bleed only one corner and leave air in the others, which is not a real risk. The exception is a car with ABS: if air reaches the hydraulic control unit, no manual bleed will clear it and an electronic service bleed is required.
Do I need to bleed my brakes after changing a caliper?
Yes. Opening the brake line or the caliper port lets air into the system, and air compresses instead of pushing the pad against the rotor, which gives you a soft or sinking pedal and unreliable braking. Bleed until fluid runs clear and bubble-free from that caliper and the pedal is firm all the way down. If the pedal stays soft after a proper bleed, stop and get it looked at rather than bleeding it again for another hour.
What is a common mistake when replacing a caliper?
The most common mistake is pumping the pedal while a line or caliper is still open, which forces air into the whole circuit and can contaminate every corner. Close behind that: reusing old bracket bolts, assembling the slide pins without grease so the new caliper drags, and forcing a seized bleed nipple until it rounds or snaps. Adding silicone grease to the guide pins and torquing hardware to the service manual figure prevents most of them.
How do you activate an ABS pump to bleed brakes?
On most cars from the mid-2000s onward the ABS unit holds its own share of the fluid and air can be trapped where a manual bleed cannot reach. It is cleared with an electronic or bidirectional service bleed, which means a scan tool telling the pump to cycle through its valve positions while you bleed each corner on command. That needs the tool and the procedure manual, so treat a soft pedal after a full manual bleed on a car with ABS as a shop job.
How much should it cost to replace a brake caliper?
The caliper part itself varies a lot with the model and the type you choose, from a remanufactured unit to an original-equivalent part, and the bracket, hardware kit, hose and pads are often extra on top. A shop will normally bill this as labour by the hour alongside the parts, so the total depends on your location and how long the mechanic spends. Doing it yourself costs parts plus a bleed bottle, jack stands and a torque wrench you may already own.
Conclusion
Confirm the caliper really is the fault before you open a hydraulic line, because seized slide pins and rotor rust are the usual culprits and neither needs a new caliper. Match the part by VIN, replace the bracket bolts and guide-pin bushings, grease the pins, and treat the bleed as part of the job rather than an optional extra. Keep the reservoir above minimum, never pump the pedal with a line open, and do not road-test a car that feels soft, leaks, pulls or lights the brake warning. If the bleed nipple snaps, the rotor is heat-damaged or the pedal stays soft on a car with ABS, that is where a shop earns its money.