
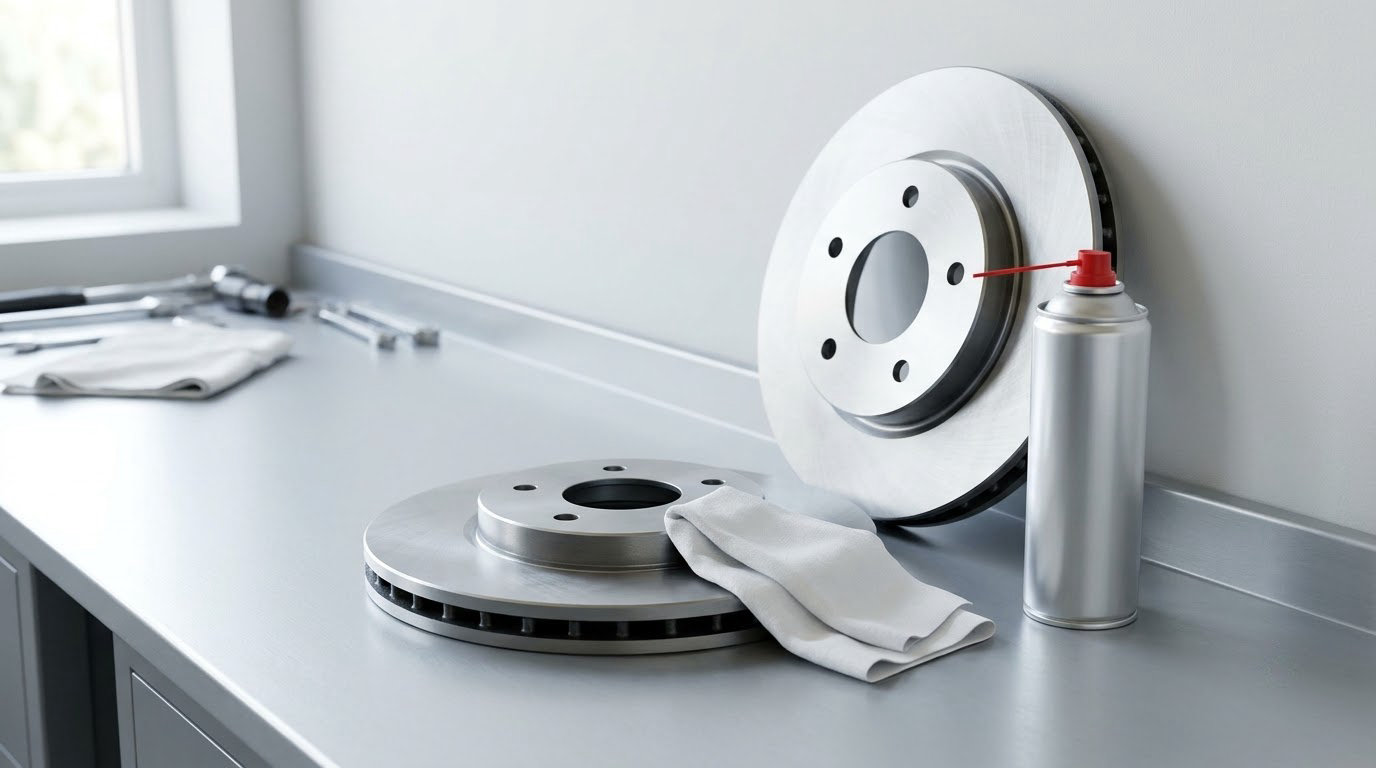
Yes, you are supposed to clean new brake rotors before installation. Nearly every rotor leaves the factory under a thin film of rust inhibitor or shipping oil, and that film has to come off before the rotor is bolted on, or the brake pads cannot transfer material onto the surface the way they need to. Fifteen minutes with a stiff brush and either dish soap or an approved brake cleaner prevents the squeal, the rattly pedal and the uneven pad wear that make a first-time brake job feel like a failure.
The catch is that “clean it” is where most advice goes vague. Brake cleaner and dish soap are both defensible, and which one you pick depends on what your pads are made of. Coated, shimmed, drilled and slotted rotors each want something slightly different. What follows is the full order of operations, including the hub and caliper work that turns out to matter more for noise than the rotor face itself.
A note on wording first: rotor and disc are the same part, so I use both. Torque figures and minimum thickness specs always come from your vehicle service manual, not from me, and the instructions printed on or in the rotor box outrank anything here. If the two disagree, follow the box.
Table of Contents
- What You Need
- Step-by-Step: How to Clean New Brake Rotors Before Install
- Common Mistakes
- Frequently Asked Questions
- Do new brake rotors always need to be cleaned before installation?
- Can I use isopropyl alcohol to clean new brake rotors?
- Should drilled and slotted brake rotors be cleaned differently?
- How do I remove oil or fingerprints from a brake rotor?
- Why does a new brake rotor squeal or make a humming noise after installation?
- Conclusion
What You Need
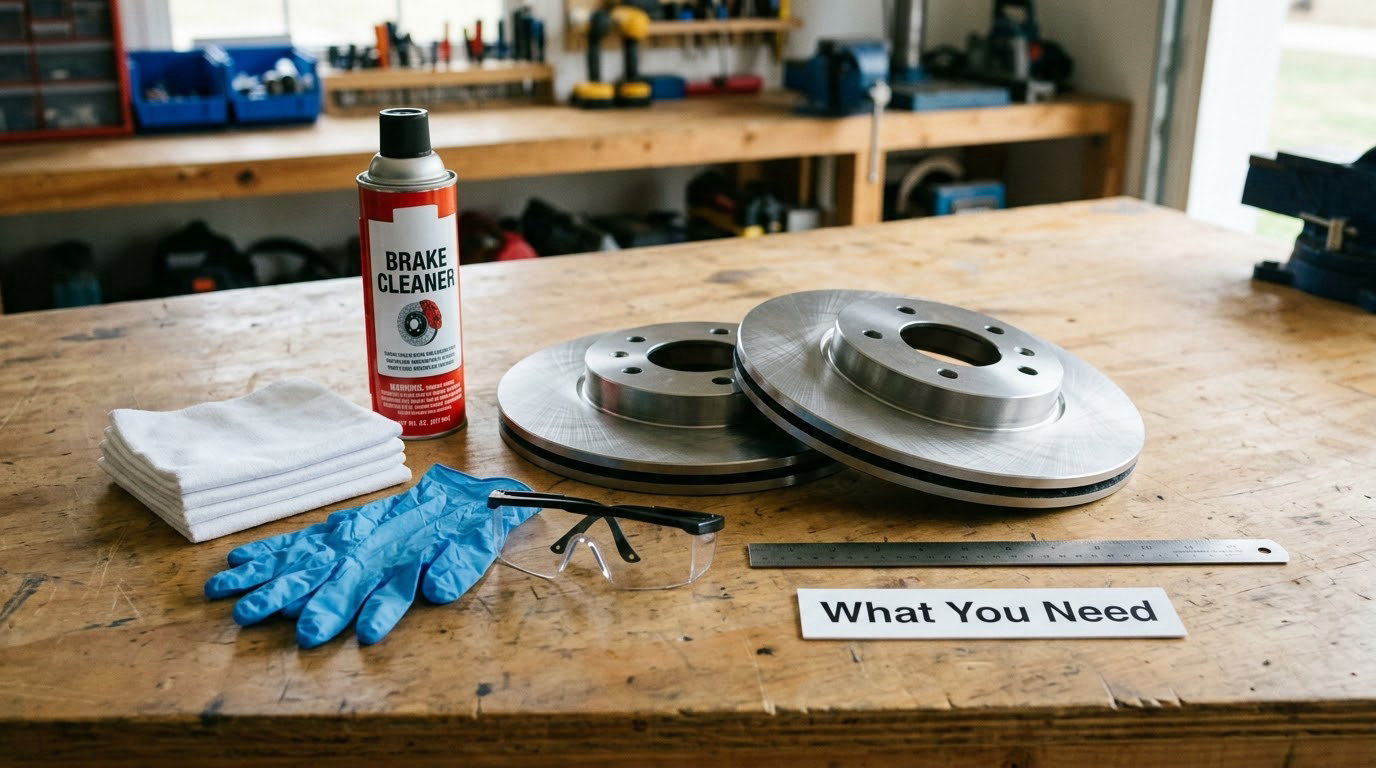
None of this is specialised, and most of it is already in a garage drawer.
- An approved brake cleaner or, for organic and ceramic pads, warm water and ordinary dish soap. Both work. Pick one per the pad guidance below rather than layering them.
- A stiff nylon brush. A toothbrush is fine for a small car, but the bristles have to move the film, not just wet it.
- Clean lint-free cloths. Have three or four. A cloth that turned oily halfway through will smear what you just lifted.
- Nitrile gloves and safety glasses. Brake dust is toxic, and skin oil on the friction surface is the exact contaminant you are trying to remove.
- A straightedge or machinist ruler to check the rotor for warp.
- A brake caliper grease for the slide pins, plus a torque wrench and the service manual for the lug and rotor hardware specs.
For handling, lay the rotor on clean cardboard rather than bare concrete, and keep solvent waste in a sealed container instead of washing it down a storm drain.
Step-by-Step: How to Clean New Brake Rotors Before Install
Confirm the Rotor Type and Manufacturer Instructions
Read the box or tag before you touch anything, because a coated rotor and a plain cast iron rotor are cleaned differently. Coated rotors ship with a UV-resistant silver or grey layer that protects the iron from surface rust. That layer is not the same as the oily shipping film, and scrubbing it off with a stiff brush strips the protection permanently.
So the rule is simple: remove the oil, leave the coating. A light film that beads on the surface is the coating doing its job. Slotted and drilled rotors have no coating to protect, so they can take more aggressive brushing in the holes and slots. Shimmed rotors with an adhesive shim layer should not be solvent-washed at the shim bond line, because solvent can attack the adhesive.
How to Clean New Brake Rotors With Brake Cleaner or Dish Soap
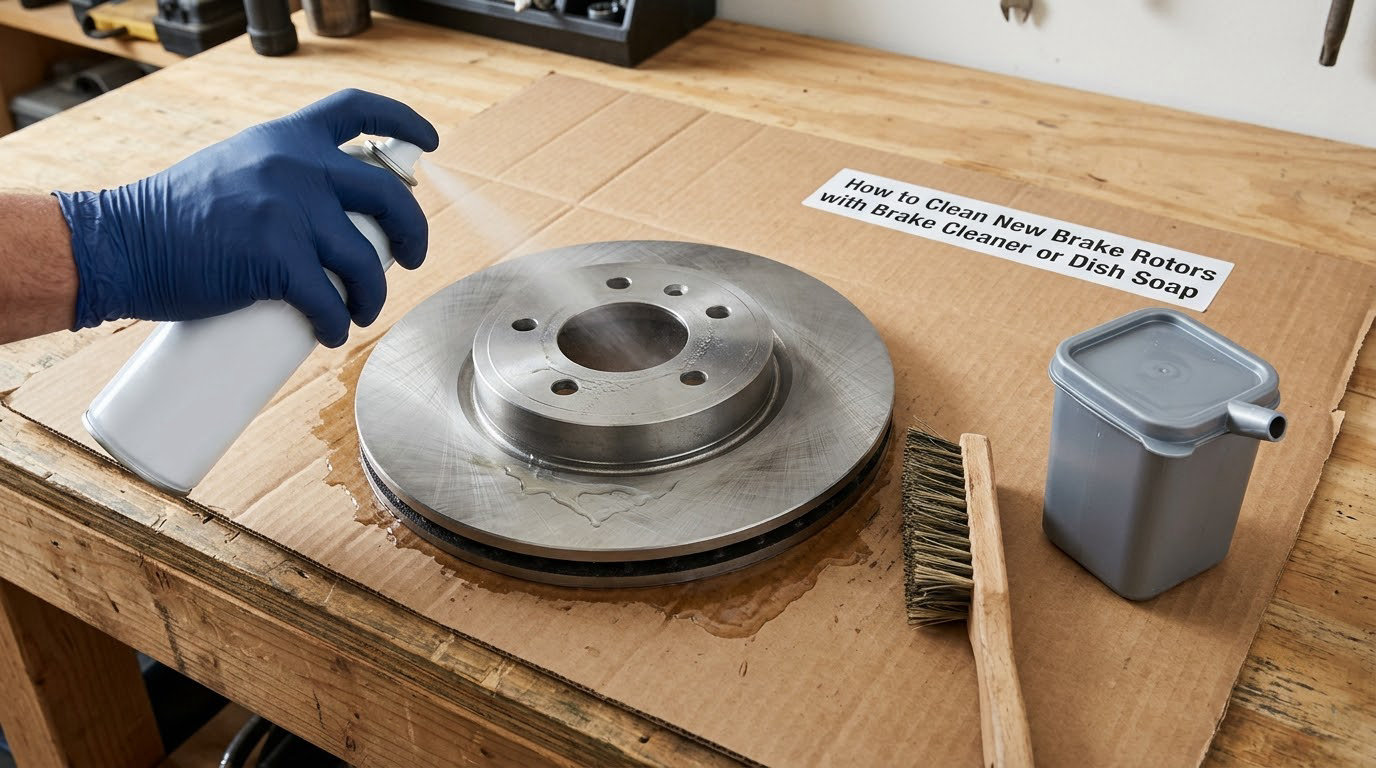
Work outdoors or in a well-ventilated garage. Do this before the rotor ever goes near the car, because once it is mounted the hat and the inner vane are awkward to reach.
- Wash it with dish soap first if you run organic or ceramic pads. Warm water, a squirt of dish soap and a stiff brush will lift the factory oil completely, and soap leaves nothing behind to interfere with bedding-in. This is the long-standing advice on bobistheoilguy.com and dodgeintrepid.net for exactly those pad types, and r/motorcycles threads reach the same conclusion from the other direction.
- Use brake cleaner if you run semi-metallic pads, or you want the fastest result. Spray it across the whole friction face, the outer edge, the hat and the centre bore, then scrub with the stiff brush. Keep the can moving and never let the surface stay soaking wet in one spot.
- Work both faces and the edge. Most people clean the face they can see and stop. The inner vane collects more oil than the outer one, and that is where a rotor will hum afterward.
- Repeat once, then stop. Two passes is plenty. If oil still shows on a fresh cloth after the second, you have a damaged seal or a contaminated rotor, and it should go back.
On the rinse question, which is a fair one and gets an honest answer: you do not need to hose the rotor down, but you do need to wipe until a clean cloth comes away with nothing on it. A final rinse with clean water followed by a full dry is fine if you used cleaner. What you must never do is install pads onto a rotor that is still solvent-wet or tacky.
Wipe the Friction Surface Clean
Use a folded lint-free cloth and wipe in one direction with light pressure. Change the cloth the moment it looks greasy rather than flipping to a clean side, because a loaded cloth just spreads the film back across the metal. Finish with a second clean cloth until the surface is uniformly matte and dry to the touch.
A useful check: hold the rotor up at an angle and pass a light source across the face. A grey, uneven film is still there. A properly cleaned rotor has an even grey sheen with no glossy patches and no fingerprint marks.
Check for an Even Surface and Remaining Grease
Set the straightedge on the friction face across several points and look for a gap under the middle. Light surface rust from warehouse storage wipes away with the brush; a step you can feel a straightedge into is real warping, and that rotor should be returned rather than cleaned. Deep pitting, cracks or a groove deeper than a fingernail is the same call. As people on r/BMW put it, there is no chemical that removes rust from a brake disc, and the rust neutralisers that claim to are strong acids that damage components.
Also run a finger along the outer edge to check for a heavy-feeling section, which indicates thickness variation. If you own a micrometer, measure at four points around the disc and compare against the minimum thickness on the disc stamping and in the service manual. Out of specification on a rotor still in the box is the seller’s problem, not yours.
Handle and Install the Rotor Without Recontaminating It
Clean gloves, clean hands, clean tools. Handle the rotor by the hat and the outer edge only, and treat the friction surface as off limits. r/MechanicAdvice threads are full of people who cleaned a rotor perfectly, installed it, and then reintroduced skin oil with bare fingers while lining the caliper up.
Now clean the parts nobody mentions. Degrease the hub face and the wheel studs, since a rotor clamped onto an oily hub will never sit flat and will warp from heat within a few hard stops. Clean the rotor hat itself, inside and out. A thin film of anti-seize on the centre-bore contact area is the correct place for it, because that metal-to-metal joint is meant to slip slightly so the rotor stays concentric. Keep anti-seize off the friction face, the hat face and the studs. It belongs nowhere near the braking surface.
With the caliper off the rotor, pull the slide pins, wipe them clean and apply fresh brake grease to the pin body only, keeping grease out of the rubber boots. Lube the pad contact points on the bracket that the pads slide against. r/MechanicAdvice consistently treats this, the hub and the hardware as the priority for killing noise, and the owners’ manual torque for the rotor screws goes on last with a torque wrench, not an impact gun.
Bed the Pads and Rotors In Once You Drive
Cleaning gets the surface ready, but the transfer layer still has to be built. Drive roughly 300 to 500 miles of stop-and-go town driving, making 8 to 10 moderate stops from 30 to 35 mph, each one firm and followed by about 20 mph of steady driving before you go again. Avoid highway braking and towing during this period, because that puts the pads into a bedded state without laying down an even film.
This is the step people skip, and it is the reason a set of rotors can be spotless and still end up noisy. The transfer layer only forms on an oil-free surface, so skipping the bed-in guarantees a bad one.
Common Mistakes
Reusing an oily cloth. A cloth that has already picked up factory oil will redeposit it across a clean surface. Fold it to a fresh face, or grab another one.
Using household cleaners, WD-40 or paint thinner. Dish soap and water is the household option that works, and it works because it rinses away. WD-40 leaves an oily film, which is the problem you started with. Paint thinner works as a solvent but gives no reason to prefer it over a product made for brakes.
Painting or coating a new rotor yourself. Anti-rust paint on the friction face is a machining-shop practice, not a DIY one. It keeps the pad from ever touching metal properly and is where galling and uneven wear come from.
Skipping the hub. An oily hub face means a rotor that wobbles, and lateral runout on a new rotor is typically held to about 0.002 inch, with 0.004 inch as the upper limit. Past that you get pedal pulsation, and no amount of rotor cleaning will fix it.
Contaminating the new pads. Pads pick up oil on the shelf and in the box. Never touch the friction material, and never let solvent from a freshly cleaned rotor splash onto pads that are waiting to be installed.
Greasing the wrong part. Grease goes on the caliper slide pins and the pad contact points. It does not go on the rotor face, the hat face, the studs or the bolts, despite how often that advice circulates.
Reusing contaminated lubricant. Old brake grease thins, hardens and holds grit. Start the job with fresh grease on clean pins.
Skipping the bed-in. Covered above, and it is the last thing to go wrong on an otherwise clean install.
One more worth flagging: brake dust is genuinely hazardous. Wear a respirator when you blow dust out of a wheel well, or better, dampen it and let it settle. Compressed air sends that dust into the air you are breathing.
Frequently Asked Questions
Do new brake rotors always need to be cleaned before installation?
Almost always, yes, because the factory anti-rust or shipping oil has to come off the friction surface, the hat and the centre bore. If you fit shimmed rotors, take the rotor out of the box, read the tag, and follow whatever the manufacturer says about the adhesive shim bond. For plain, coated, drilled and slotted rotors, cleaning is the rule rather than the exception.
Can I use isopropyl alcohol to clean new brake rotors?
It will dissolve ordinary oil and it evaporates cleanly with no residue, so it works well as a final wipe-down after a dish soap wash. On its own it is a weaker degreaser than a proper brake cleaner for heavy factory film, and you should not saturate a coated rotor with it, because the point of that coating is to survive weather. Spray cleaner onto the cloth rather than the rotor where you can.
Should drilled and slotted brake rotors be cleaned differently?
They can take more aggressive cleaning than a plain rotor, since there is no factory coating to damage. Run a stiff brush or a rotary brush into every hole and down every slot, because those features trap oil and machining swarf that a flat wipe misses entirely. The holes also give you a shortcut for checking a cleaned rotor: hold it up to a light and any remaining grime shows as a shadow.
How do I remove oil or fingerprints from a brake rotor?
A little dish soap and warm water with a stiff brush, then a lint-free cloth wiped in one direction until a clean cloth comes away with nothing on it. For stubborn spots, a light mist of brake cleaner on a clean cloth, not sprayed straight onto the face, and let it evaporate fully. Never reinstall pads onto a rotor that still feels tacky, and never touch the friction surface with bare fingers.
Why does a new brake rotor squeal or make a humming noise after installation?
In most cases it is contamination or a dry slide pin rather than the rotor itself. A film of oil, grease or leftover cleaner stops the pad from laying down a proper transfer layer, so it glazes and squeals, while a dry or seized caliper slide pin makes the whole caliper chatter. A humming sound that changes with speed usually points to runout, so check that the hub face is clean and the rotor is seated flat.
Conclusion
Start with the box. Read what the rotor manufacturer says about its coating, then clean only the surfaces that need it with dish soap and water for organic and ceramic pads, or an approved brake cleaner for semi-metallic, and fresh lint-free cloths every time. Degrease the hub, the hat and the studs, grease the slide pins and nowhere else, torque it to the service manual figure, and run 300 to 500 miles of stop-and-go driving before you judge the brakes.
Fifteen minutes of cleaning is the difference between a quiet, predictable pedal and a rotor you will be pulling apart again next month.