
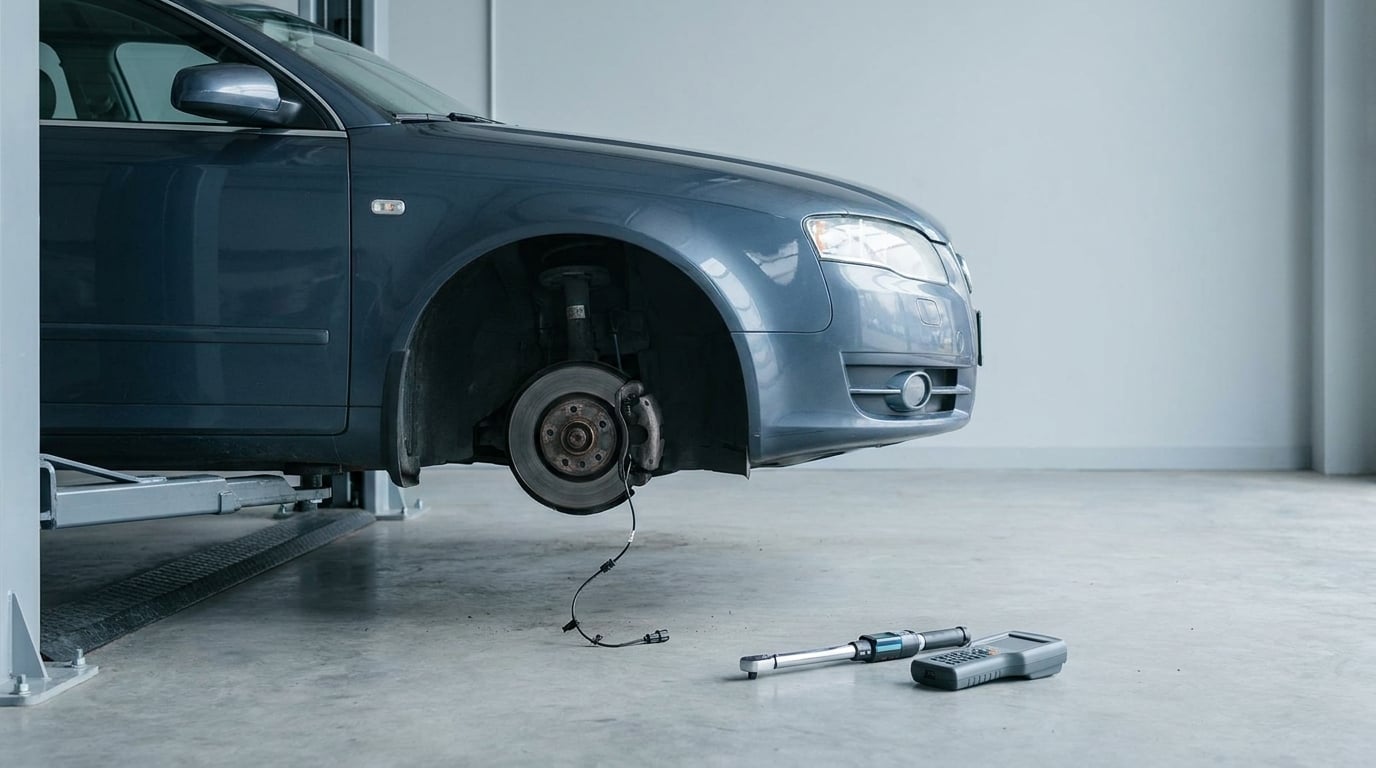
The brake pad wear sensor is a short loop of wire clipped into the pad, and when the friction material wears down far enough the loop rubs the rotor, breaks the circuit, and lights the check brake pad wear message. Swapping it is a short job on most BMWs, usually 30 to 60 minutes per axle, and the whole difficulty sits in finding the right part and handling the connector without cracking it.
This guide walks through the full brake pad wear sensor replacement procedure for BMW owners, from confirming the correct sensor to clearing the fault with a scan tool. Sensor positions and connector styles moved around across model years, so read the location notes for your chassis before you pull a wheel off.
If the warning came on alongside a pedal that feels spongy or a brake pedal that sits low, the sensor is not your problem. Uneven wear on one corner is worth reading up on why one brake pad wears faster than the other before you spend a Saturday on it.
Table of Contents
- What You Need
- Brake Pad Wear Sensor Replacement Step-by-Step
- Common Mistakes
- Frequently Asked Questions
- Can I drive with the check brake pad wear light on?
- Do I need to replace the wear sensor when I change brake pads?
- How do I reset the check brake pad wear warning on a BMW?
- How many brake pad wear sensors does a BMW have?
- Can I reuse a wear sensor that has not worn through yet?
- Why is the warning still on after I replaced the sensor?
- Conclusion
What You Need
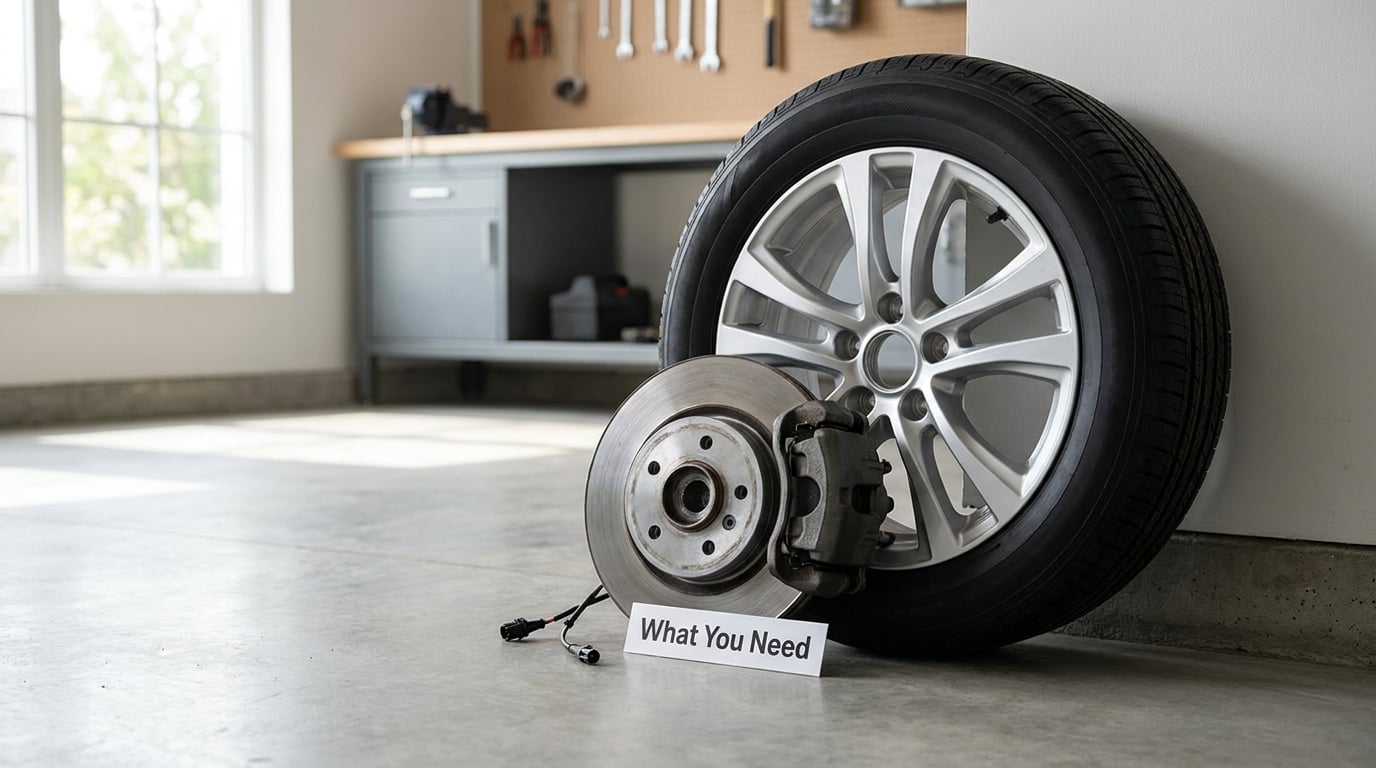
Getting the job done in one session comes down to having the right part in your hand before the car goes up on the stands. A borrowed sensor with a similar shape is a wasted afternoon.
- The correct replacement sensor. Look it up by VIN at the dealer parts counter or a reputable OE supplier. BMW part numbers are long, but the cross reference matters more than the number itself.
- Wheel bolt sockets. Most BMW wheels use 17 mm or 19 mm cone-seat bolts, though it varies. Check your own wheel bolts before the car is in the air.
- A torque wrench. Wheel fasteners on a BMW are torqued to a staged pattern and a specific value, and the value is in the service information for your model.
- A jack and a pair of jack stands. The car never stays on the jack alone.
- A flat-blade screwdriver or trim tool. For the connector locking tab and the pad clip that holds the sensor.
- A multimeter. To confirm whether the old sensor is an open circuit or whether the harness underneath has failed.
- A scan tool that can reach the brake module. A dealer-level tool, or an OBD scanner with body control module access and a clear function for wear sensor faults.
- Dielectric grease and a few cable ties. A light coat on the connector pins and a fresh tie to the existing harness saves the next person a corroded plug.
- New pad hardware. Clip and shim kits are cheap and get bent during a pad job. Replace them rather than fighting with bent ones.
Before you start, put the car on stands properly, release or service the electronic parking brake if your model uses one, and keep brake components clean and free of grease except where the pad clip sits. Disconnect the battery when the service information for your model calls for it, and have the wheel fasteners staged in order before the wheel comes off.
Brake Pad Wear Sensor Replacement Step-by-Step
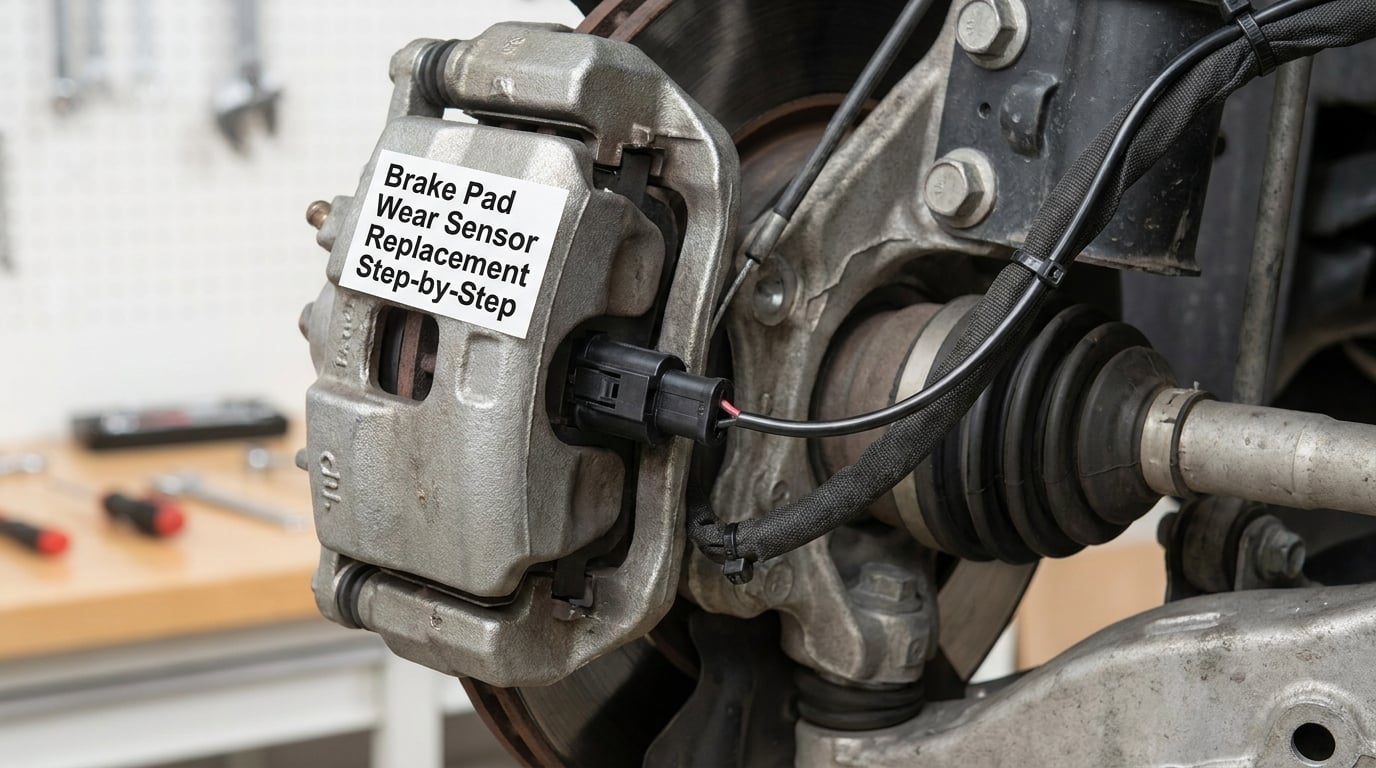
Here is the complete procedure in the order that keeps the fewest things in your lap. Exact access and harness routing vary between BMW chassis, so check the vehicle layout before removing any trim or brake hardware.
Confirm the correct sensor and vehicle location
Many BMWs carry one wear sensor per axle rather than four, and the position moves with the model. The common arrangement is a sensor at the front driver-side caliper and another at the rear passenger-side caliper, but plenty of models reverse that or fit them on the same side.
Confirm three things before ordering: the part number from your VIN, the connector shape on the car, and which axle the sensor sits on. Front and rear sensors are often different parts, and the wire length between the caliper and the body connector varies too. A sensor with the right plug and the wrong lead length will not reach.
Prepare the vehicle and access the sensor
Set the electronic parking brake to its service or maintenance position if the car has one. On most BMWs this is done through the instrument cluster or infotainment menu, and the exact button sequence is model specific, so check the owner’s manual rather than guessing.
With the car supported on stands, remove the wheel. You are now looking at the rotor, the caliper, and a bundle of lines and cables running past it. Trace the thin wire with the small two-pin connector back to the caliper, and keep it separate from the braided brake hose and from the pad retaining hardware, which look similar at a glance.
If the caliper itself needs attention while it is open, check it for fluid and for slide movement. Our guide on how to check brake calipers for leaks covers what a wet caliper looks like.
Remove the old wear sensor
Unlock the connector first. Most BMW connectors have a small locking tab you lift or slide before the two halves will separate, and forcing an unlocked plug is how the housing cracks. Then press the release and pull the connector halves apart straight on, holding the plastic housing in each hand rather than the wire.
Next, work the sensor out of its clip in the pad carrier. It is usually a friction or snap fit, and a small flat-blade screwdriver or trim tool helps lift it free. Pull the wire gently out of the routing clips along the harness instead of tugging sideways on it.
Take your time with the last section of wire near the caliper. It has been sitting next to a hot caliper body and a rotating rotor, and it is the most common place for insulation to be brittle and crack.
Inspect the wiring and connector
Do not assume the new sensor fixes everything. The warning can be the sensor, the harness, or a connector full of green corrosion, and those look identical from the driver’s seat.
Check the removed sensor with a multimeter on the connector pins. A sensor with plenty of pad life should read a closed circuit, close to zero ohms. A sensor that has already worn through reads an open circuit, shown as over limit or OL. A new or known-good sensor also reads closed, so if your old one still reads closed and the warning was on, the fault is upstream in the wiring or the module.
Look at the harness where it passes the caliper for chafing or a flattened section, and check the connector pins for corrosion, heat discolouration or a terminal that sits loose in its cavity. If the harness is damaged, the fix is a repair or a replacement harness section, not another sensor. Older BMW connectors are also known to crack at the latch, and a cracked housing will not seal against water and road salt.
Install the replacement sensor
Seat the new sensor in the pad carrier clip so it sits in the same position the old one occupied, with the loop standing off the pad at roughly the same height. Put the pad back on and confirm the sensor body is not touching the rotor with the caliper still open.
Route the wire along the original path and refit every routing clip you removed. A wire that hangs loose can contact the rotor, and a wire pushed under a hose can end up pinched when the caliper moves. Cable tie the new section to the existing harness and keep it clear of the caliper slide pins and the rotor edge.
Push the connector halves together until the latch clicks, without forcing it, and treat the pins with a light coat of dielectric grease before you seat them. The locking tab should end up flush and engaged. If it will not latch, the plug is not fully aligned, and pressing harder will damage it.
Reassemble and test the repair
Refit the wheel hardware, reinstall the wheel, and torque the wheel fasteners to the manufacturer value in a staged pattern. If you replaced pads at the same time, the pedal should feel normal before the car moves.
Lower the car, then connect your scan tool and clear the wear sensor fault in the brake module. The dash message often stays lit until the module sees a closed circuit and runs a drive cycle, so take the car for a short drive at normal speed and recheck. Return the electronic parking brake out of service position once the car is on the ground.
If the warning returns, the pedal feels soft or low, or the fault code points at the harness rather than the sensor, stop there and get the vehicle to a shop. An intermittent sensor signal is a wiring problem until proven otherwise.
Common Mistakes
Almost every repeat visit to a brake shop with the same warning comes back to one of these.
- Buying the sensor by shape instead of part number. Two connectors can look identical while the pin layout and lead length differ. Order by VIN or OE cross reference.
- Reusing the old sensor. A sensor that has already worn through cannot be rearmed, and the plastic loop is designed to break once. Fit a new one with the pads.
- Replacing only the sensor that triggered. If the pads are at the end of their life, the sensor on the other side of the axle is close behind. Checking both is cheaper than coming back in a month.
- Twisting or pinching the wire. Pull the harness along its routing path and never lever it out from behind a moving part. A stretched conductor fails intermittently and throws a fault that looks like a bad sensor.
- Forcing the connector. Release the locking tab first, and pull straight on the housing. Cracked housings are a common and avoidable failure.
- Rerouting the harness. New wire routed in a convenient spot can contact the rotor or sit against the caliper where heat cooks it. Follow the original path clip by clip.
- Forgetting a pad clip or over-torquing the wheel bolts. Missing hardware rattles, and a wheel bolt torqued beyond spec is a real safety problem. Replace the clip kit and use the specified value and pattern.
- Assuming the cleared warning means the repair is done. The message can stay on until a drive cycle, and a light that goes out does not confirm the harness is sound. Verify with a scan tool and check the fault history.
One more that is not a mistake but surprises people: heat-glazed pads and a pedal that fades under repeated stops look like a sensor problem from the driver’s seat. If the pedal feels normal but the pads are hot and shiny, read about what brake pad glazing is and how to fix it.
Frequently Asked Questions
Can I drive with the check brake pad wear light on?
The light is an early warning, not a failure notice, and the pads usually still have usable material left. Drive gently to a shop and get the pads and sensors inspected rather than ignoring it. Driving hard with worn pads can wear through the pad backing plate into the rotor, which turns a pad job into a rotor job. Stop driving if the pedal feels soft, low or spongy, since that points at air or fluid in the brake system rather than the sensor.
Do I need to replace the wear sensor when I change brake pads?
On most BMWs, yes. The sensor is a single-use part designed to wear through when the pad reaches its limit, and it lives in the pad carrier clip. Reusing an old sensor means the circuit stays open and the warning stays on. Fit a new sensor with every pad change, and check the axle pairing so you have the correct part before the car goes up on the stands.
How do I reset the check brake pad wear warning on a BMW?
With the new sensor fitted and the connector fully seated, clear the wear sensor fault in the brake module using a dealer-level scan tool or an OBD scanner with body control module access. If your scanner cannot reach that module, disconnecting the battery for a few minutes resets many older models. The message can remain lit until the module completes a drive cycle, so take a short drive afterwards and recheck for stored codes.
How many brake pad wear sensors does a BMW have?
Most BMWs use one sensor per axle, so two in total, commonly at the front driver-side caliper and the rear passenger-side caliper. Some models reverse that arrangement or fit sensors on the same side, and a few use additional sensors on an axle with a separate wear circuit. The service information and the VIN part lookup for your specific chassis are the reliable answer, not a general rule of thumb.
Can I reuse a wear sensor that has not worn through yet?
You can physically refit it, but it is not a good idea. The loop is designed to break at a set wear point, and reusing a sensor that survived can give you a false all-clear with pads still close to the limit. The part is cheap and single-use by design. If you have already reused one and the warning is gone, the next pad change should still carry a fresh sensor.
Why is the warning still on after I replaced the sensor?
Most often the second sensor on the axle is also near its wear point, or the connector was not fully seated and the module still sees an open circuit. Other causes include a chafed or corroded harness near the caliper and a fault stored in the module that needs clearing. Read the stored code before replacing anything else, because it tells you which corner or which circuit the module is complaining about.
Conclusion
Start with the VIN part lookup. Confirm which axle your sensor sits on, have the correct sensor and a fresh pad clip kit in hand, and the rest of this brake pad wear sensor replacement guide runs in under an hour with the wheel off.
Take the connector apart slowly, follow the original harness path when you route the new wire, and clear the fault with a scan tool rather than trusting the dash light. If the code comes back pointing at the harness, chase the wire near the caliper instead of fitting another sensor.