
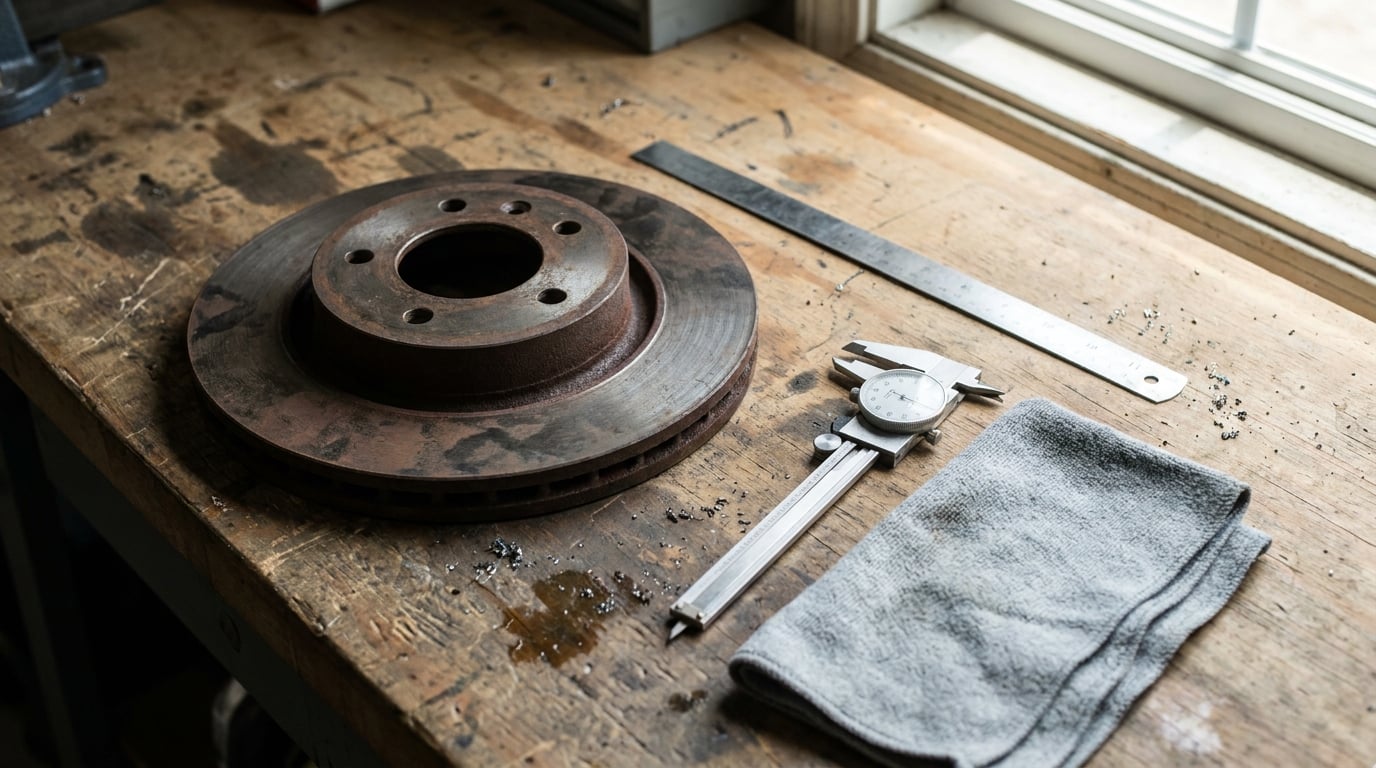
How to measure brake rotor thickness comes down to one number and one spot: read the minimum thickness specification, then measure the thinnest part of the braking surface with a rotor micrometer or digital caliper. Take at least six readings around the circumference, use the lowest one, and compare it to the stamped limit. With the wheel off it takes about 20 minutes and no special skill, and the specification stamped on the rotor or listed in the service manual always beats any rule of thumb.
Why it matters: a rotor below its discard thickness cannot move enough heat away from the pads, and you get fade, hot spots, cracking, and a pedal that goes spongy under repeated stops. On a BMW, the rear rotors are often smaller than the fronts and the spec is different on each axle, so reading it is not optional.
Last checked for 2026 model years, and the figures below are typical ranges only. Your rotor’s own stamp wins every time.
Table of Contents
What You Need
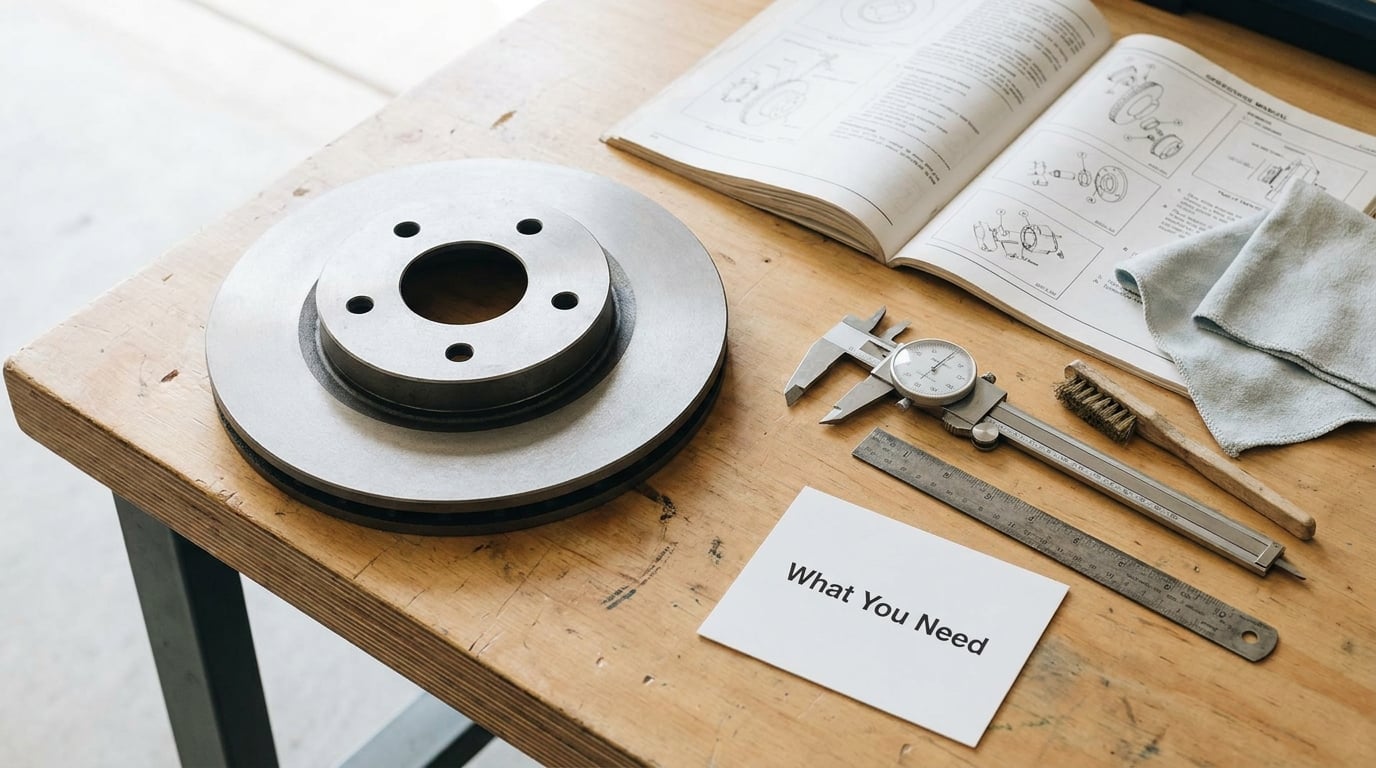
You need a measurement tool that reads to a thousandth of an inch or better, the BMW specification for that rotor, and a way to work safely with the car on a lift. Everything else is cleanup.
- A brake rotor micrometer or a 0.001 inch resolution digital caliper. A cheap caliper that steps in hundredths is not accurate enough to make a wear decision.
- Brake cleaner and a stiff nylon brush to clear the braking face of pad dust, rust film and grease.
- Two identical flat washers or plastic spacers if you are working around the outer wear lip with a caliper.
- Clean lint-free cloths, plus a marker pen to mark the measurement spots so you do not measure the same square centimetre six times.
- Wheel chocks, a jack and rated jack stands, a lug wrench and a torque wrench for putting it all back together.
- The specification from the stamp on the rotor hat, the service manual, or the driver’s door jamb sticker that tells you which manual applies to your build.
Micrometer or caliper, honestly:
- Brake rotor micrometer. Reads 0.001 inch or 0.01 mm and is repeatable, but it wants a steady hand because the anvil tip sits on one face. This is the tool that makes the final call on whether a rotor is scrap or serviceable.
- Digital caliper with 0.001 inch resolution. Good accuracy if you zero it on a clean flat surface first, and it is fast, one-handed and easy to take many readings with. Fine for routine checks and for finding thickness variation quickly.
- Ruler or tape measure. Way too coarse for this job. Use it for nothing, and definitely not for a wear decision.
If you already own a caliper, use it, but zero it against a clean flat steel surface before you touch the car. A caliper with a dirty or nicked jaw will read a few thousandths high, and a few thousandths is the whole margin you are trying to protect.
How to Measure Brake Rotor Thickness
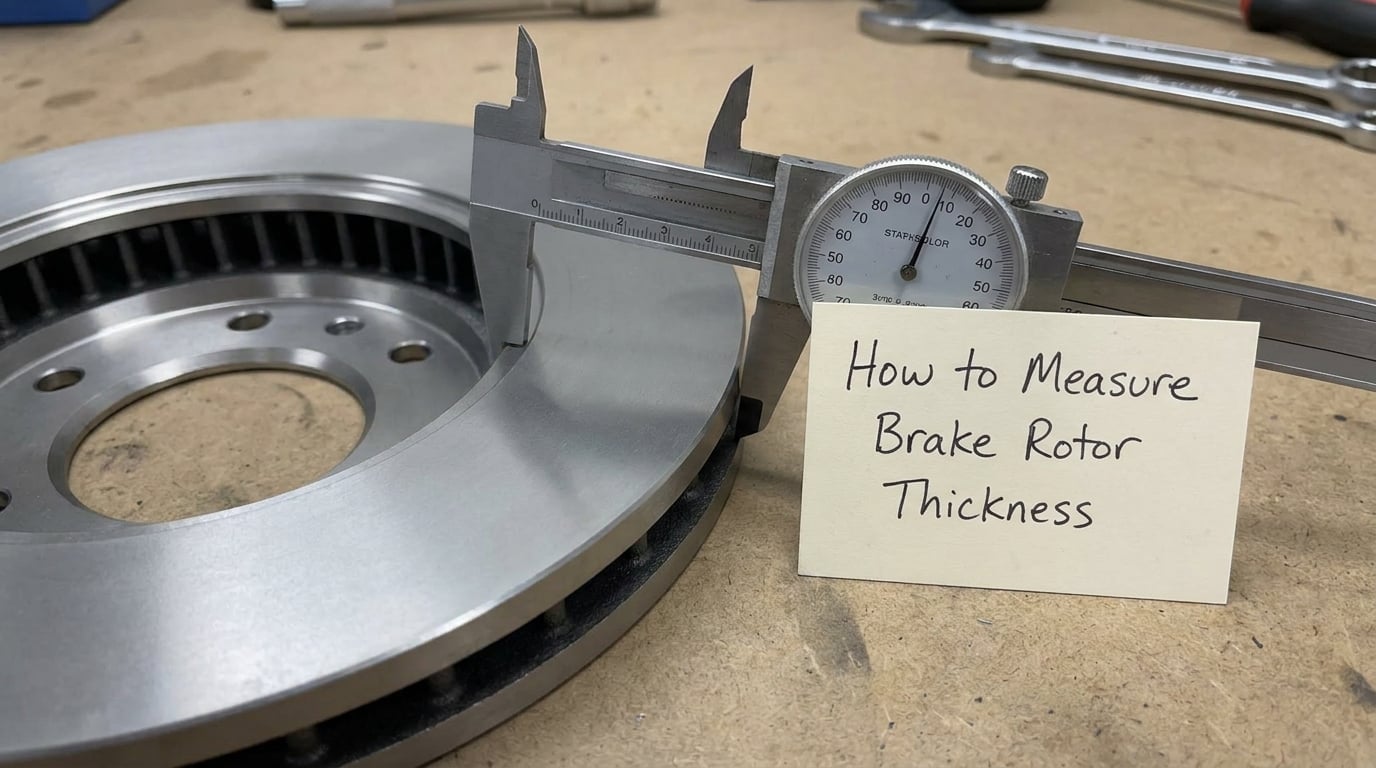
Measure the remaining material of the friction band, not the whole disc. The jaws go straight across the flat braking surface, roughly 10 to 15 mm in from the outer edge of the friction band, on the smooth swept area between the cooling vanes and away from the raised outer lip. Do not reach further in to the hat, because the hat is thicker and it will make a worn rotor look fine.
A cast rotor loses material from both faces at once, so each single reading is the total thickness including everything between the two jaws. There is no separate measurement for the outer plate and the inner plate on a standard solid disc; what people mean by inner versus outer thickness is measuring at two different radii, which mostly tells you about taper rather than about remaining life.
The raised lip along the outer edge is the trap. It sits proud of the friction band, and a flat caliper jaw that lands on it reads falsely high, which is how people end up driving a rotor that is already past the limit. Three ways around it:
- Use a rotor micrometer, whose pointed anvil tip reaches past the lip to touch the inner face.
- Place an identical flat washer or plastic spacer on each jaw so the contact points move in past the lip.
- Measure where the lip has been machined away, such as just inside a recent brake pad sweep, and note that you did.
Write down every reading, and keep the lowest one. Cast iron wears unevenly, so the number that decides the rotor’s life is the worst spot, not the average and not the first reading you took.
Step-by-Step: How to Measure Brake Rotor Thickness on Your BMW
Step 1: Park it so the car cannot move
Level ground, engine off, transmission in park with the parking brake set hard. Chock the wheel diagonally opposite the one you are working on. Never rely on the jack alone, and never get under a car supported by anything except rated stands.
Step 2: Get the wheel off and the caliper out of the way
Loosen the lug nuts before lifting, then raise the car and finish them off. On most BMWs you do not need to remove the caliper to measure a front rotor, but you may need a flashlight and a mirror to reach the swept area. On rears the caliper often sits right over the measurement band, so plan on swinging the caliper on its guide pins or removing it and hanging it from the hose without stretching it.
Step 3: Clean the braking face
Brake cleaner, stiff nylon brush, lint-free cloth. Rust film, brake dust and a smear of assembly grease all throw the reading, and the same moment is when you look for cracks, grooves and bluing before you cover them up again.
Step 4: Find the minimum thickness specification
Look on the rotor hat between the cooling vanes. Markings read something like a minimum thickness in millimetres and a fraction of an inch, sometimes with a second number for maximum thickness variation. If the hat is rusty or the rotor is aftermarket and unstamped, the service manual or a dealer parts lookup by VIN is your source.
Step 5: Take at least six readings
Mark six spots spaced evenly around the disc, about 60 degrees apart, at the same radius each time. Measure each one, write the number down, and keep going. Some people go to eight or ten when the rotor is known to be scored or warped. A flashlight across the surface shows the shiny swept band, and staying inside it keeps you off the lip and the vanes.
Step 6: Compare the lowest reading to the limit
If the lowest reading is at or below the stamped minimum, the rotor is finished. If it is above, check thickness variation, then run a finger along the edge and across the face for the condition signs below.
Step 7: Put the wheel back on properly
Torque the lug nuts to the figure in your manual, in a star pattern, with a torque wrench. On many BMWs the wheel, rotor and hub mating faces are prone to rust, so clean both faces and a light film of assembly lubricant on the hub face helps prevent the wheel coming loose later.
Read the Measurement and Compare It With the Limit
Compare the reading against the specification, in this order: new thickness, machine-to thickness, minimum or discard thickness. Passenger car rotors commonly measure in the range of roughly 20 to 30 mm of total thickness when new, and the wear allowance from new to discard is commonly around 3 to 6 mm, so plenty of usable material usually remains. Those are typical figures, not specs for your car.
- New thickness is what the rotor measured when it left the factory, and it is the number on the box if you still have it.
- Machine-to thickness is the thinnest a machine shop can safely turn the disc down to. If your reading is above machine-to but below new, resurfacing may still be on the table.
- Minimum or discard thickness is the hard floor. At or below it, the rotor cannot go back on, no matter how good it looks.
Two more readings matter on a BMW. Thickness variation is the difference between your highest and lowest measurement, and a common limit sits somewhere near 0.03 to 0.05 mm. Exceed it and the pads tap the rotor unevenly as it turns, which shows up as a steering wheel shimmy under light braking. Lateral runout is different: that is how far the braking surface deviates sideways from true as the disc spins, it is a dial indicator measurement, and it is the usual culprit behind pedal pulsation at speed rather than at low speed.
When the stamp is unreadable, go by the manufacturer figure for the exact model, brake code and axle. Aftermarket rotors vary more than original equipment ones, and a heavy or performance version can carry a different limit from the standard part on the same car.
Check the Rotor for Other Reasons to Replace It
Thickness is one reason to change a rotor. The surface and the hardware around it decide plenty more.
- Deep grooves worn into the swept band mean the pad material is embedded in the disc. Past about a millimetre, most shops consider the rotor finished, whatever the caliper says.
- Taper, where one side of the band is noticeably thinner, comes from a caliper that drags on one pad. On floating rotors the disc moves in and out with the hub runout, which is a different failure than a seized one, and our guide to floating brake rotors covers what causes it.
- Blue or purple discolouration and rainbow heat colouring mean the rotor has been cooked, usually by repeated hard braking or a sticking caliper. It is still dimensionally correct but it is not going to cool well.
- Localised cracking, especially radial cracks running from the cooling vanes, or a spiderweb pattern on the friction band, ends the rotor regardless of thickness.
- Rust on the friction band matters only where it is pitted deep enough to feel with a fingernail. Surface rust on an outer edge that the pads never touch will clean off in a few firm stops.
- A rounded, almost knife-edge chamfer where the friction band meets the lip is a quick visual cue that the disc is near the end, handy when the stamp is buried under rust.
- A hot spot with a dark ring usually means the wheel studs or hub are not holding the disc flat, so a new rotor will do the same thing.
- A caliper that stays retracted points at a hydraulic problem rather than a rotor problem, and that is worth checking before you fit new parts.
When you replace one rotor, replace its partner on the same axle. They wear at different rates, and matching them keeps the braking balance the same on both sides of the car. The same goes for the pads, since a new pad on an old rotor never beds in properly. If you fit new discs, clean them thoroughly before installation, following our new rotor cleaning guide, and if the calipers are weeping fluid, check them for leaks first.
Common Mistakes
- Measuring the hat. The centre of the disc is the thickest part of the rotor. A reading taken there is meaningless.
- Measuring the lip. A flat jaw resting on the raised edge reads high. Offset it with equal spacers, use a pointed micrometer, or pick a spot where the lip is gone.
- One reading, one spot. Six evenly spaced readings are the minimum, and the lowest one governs the decision.
- Dirty jaws. Clean the tool and the rotor, and zero the caliper on clean flat steel before measuring.
- Confusing the two limits. Machine-to is the machining floor, not the scrap floor. A rotor below minimum thickness is scrap.
- Ignoring thickness variation. A rotor can measure comfortably above the limit at every point and still be thin in a way that makes the wheel shake.
- Trusting a generic chart over the car. Minimum thickness is model, brake code and axle specific. The stamped number or the service manual is the only source that matters.
Frequently Asked Questions
How to measure brake rotor thickness without a micrometer?
A digital caliper with 0.001 inch resolution works fine for most checks, and a dial test indicator with a depth gauge works too. Zero the tool on clean flat steel, place the jaws across the flat friction band, and keep them clear of the outer wear lip by using two identical flat washers as spacers. Take six readings and use the lowest. It is fine for a quick look, but confirm a rotor close to the limit with a micrometer before you scrap it.
How thin is too thin for a rotor?
Too thin means at or below the minimum thickness printed on the rotor hat or listed in the service manual for that model and axle. At that point there is not enough material left to absorb heat, so the disc runs hot, distorts and cracks. Some rotors list machine-to thickness as well, and that is a different number: a disc between machine-to and minimum can be re-machined, one at or below minimum cannot. Check thickness variation at the same time.
Can I look up my rotor size by VIN number?
Yes, usually. The driver’s door jamb sticker carries a date and a vehicle code that identifies your exact build, and a dealer parts counter or an online parts catalogue will return the correct disc and the printed minimum thickness from that code. It is more reliable than a generic chart, which can be wrong about brake codes, axle and year. If the number still looks wrong, treat the sticker and the service manual as the source and the catalogue as a cross-check.
Can you measure rotor thickness without removing the wheel?
Sometimes. Where the wheel has open spokes you can often reach the swept band through a spoke opening with a small caliper or a ruler-style gauge, and lining the opening up with the measurement spot gives you a usable reading for a quick check. On a BMW with small spoke windows the access is awkward, and on a rear axle the caliper usually covers the band. It is good for a spot check between services, not for a final decision.
What is the 30/30/30 rule for brakes?
It is a bedding procedure for new pads and rotors, not a measurement. After fitting new parts, do about 30 gentle decelerations from motorway speed to around 20 mph without stopping, then about 30 moderate stops to a complete stop, then about 30 firmer stops to a stop. Two or three pulls at 70 to 80 mph on a dry road finishes the job. Bedding lays an even transfer layer of pad material onto the disc so the brakes stay quiet and pedal feel stays consistent.
How many points should I measure around the rotor?
At least six, spaced roughly 60 degrees apart and at the same radius each time. The lowest reading is the one that matters, and the gap between the highest and lowest reading is the thickness variation. If the disc is scored, warped or known to have a dragging caliper, take more readings, ten or more, since uneven wear is exactly what you are trying to find. Mark each spot so you do not measure the same area twice.
Conclusion: Check the Specification First
Start with the specification, not the tool. Find the minimum thickness for your exact model, brake code and axle on the rotor hat or in the service manual, then measure the friction band at six or more points with a micrometer or a 0.001 inch caliper kept clear of the outer lip, and take the lowest reading. Inspect the swept band, the edge and the hat for grooves, cracking and blueing while the wheel is off, and replace the rotor on either axle when the reading sits at or below the limit or the condition says so.
If that rotor is going straight back on, the next check is a couple of hundred miles later, on a quiet road, before you trust the numbers again.