
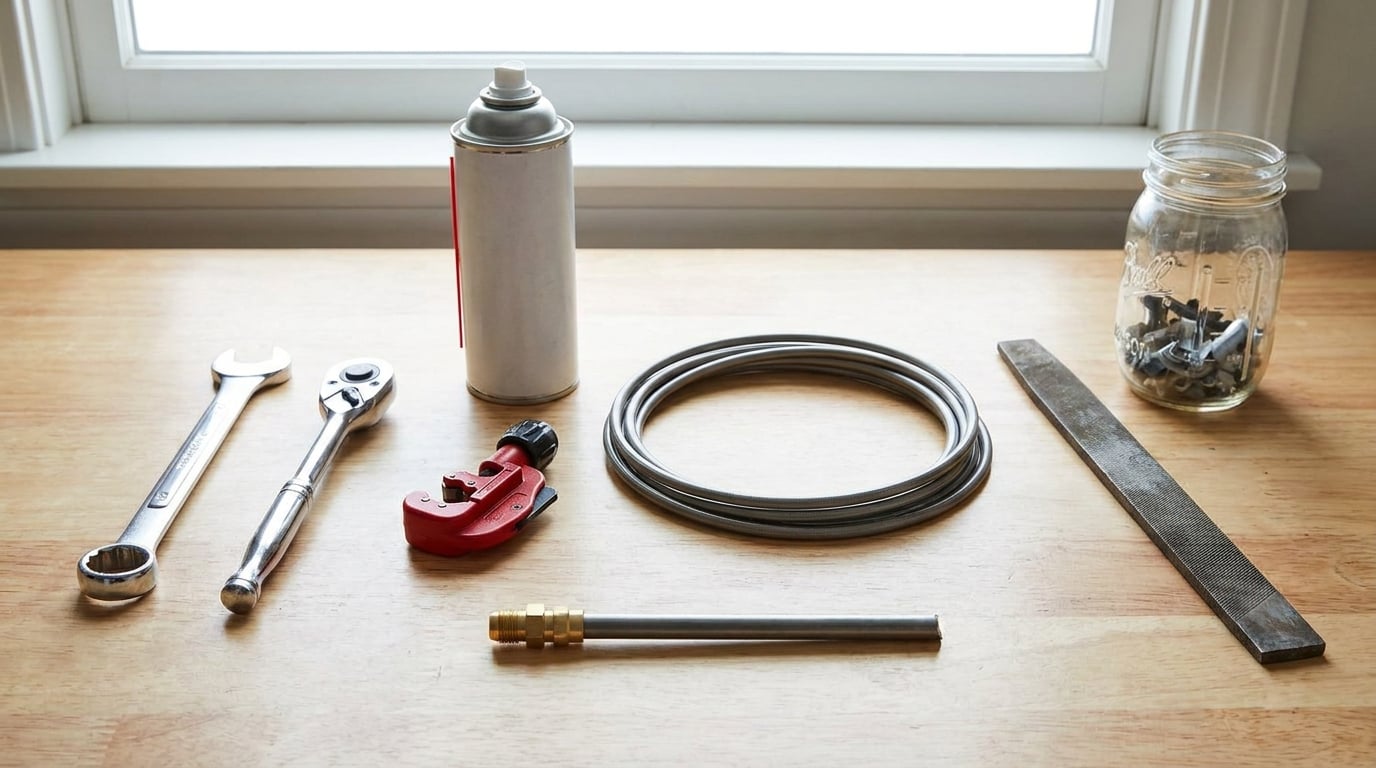
Most of a brake line replacement can be done with the wrenches you already own, a tubing cutter, penetrating oil and a glass jar. The one job with no safe shortcut is forming the double-inverted flare on the new steel tube, and pretending otherwise is how a repair that looks fine turns into a fitting that weeps fluid weeks later. Get that straight and the rest of the job is ordinary work.
A single line on one corner takes a competent DIYer one to two hours, plus another 30 minutes for the bleed. A full-car hard line replacement on a car with three or four circuits can eat a full weekend. If you have never bled a system before, read the whole thing first — most of the difficulty is in knowing when to stop, not in the wrench work.
Table of Contents
What You Need to Replace Brake Lines Without Special Tools
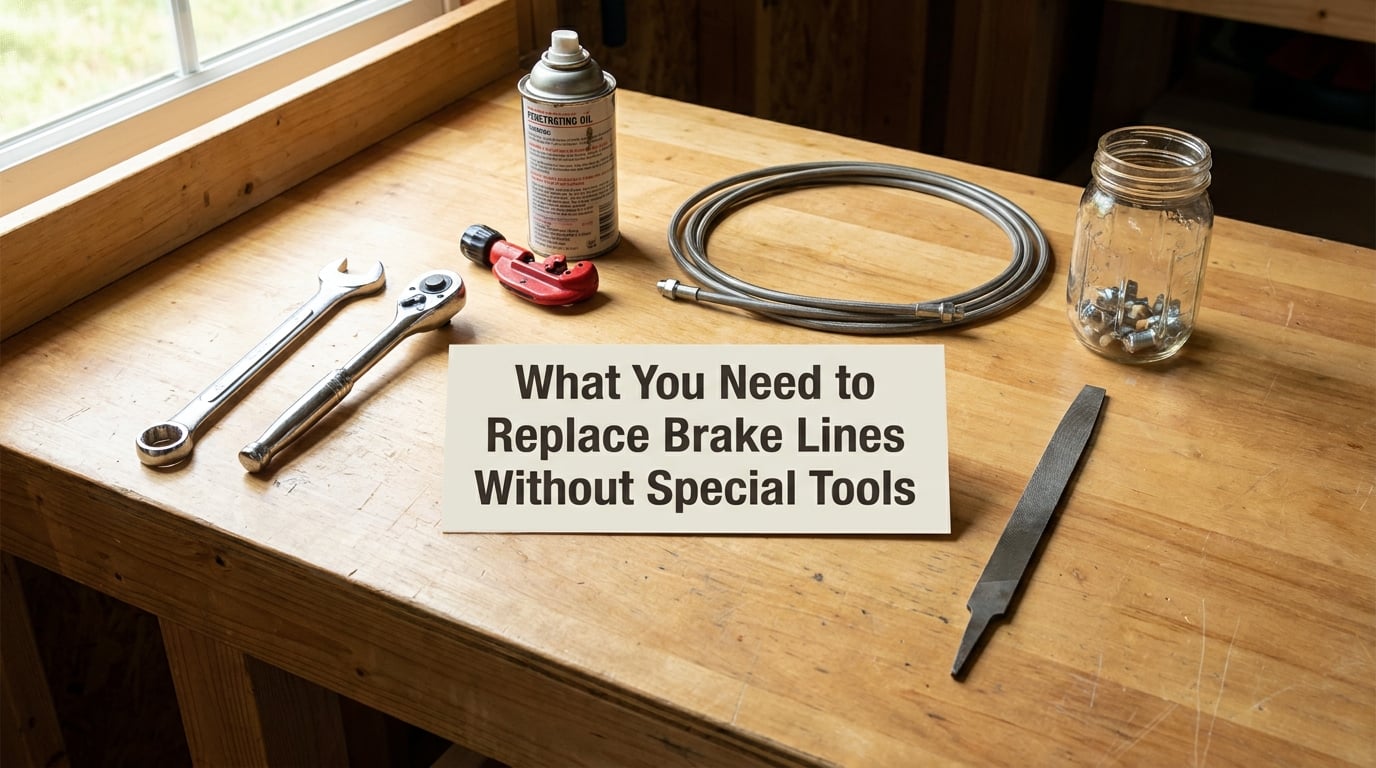
Almost everything on this job has a household answer. A combination wrench covers most flare nuts, and if the nut is rounded, the backup method is a second wrench and a little patience, not a bigger hammer. A rotary tool with a cut-off wheel turns a boxed-end wrench into a gripping tool for a nut whose corners are already gone.
The same rule applies job by job, and it is worth reading through before you touch anything:
- Breaking a flare nut loose: penetrating oil, heat, an air chisel for vibration, or a cut-off wheel through a same-size boxed-end wrench. Never hammer the fitting, and never clamp hard pliers onto a line you plan to keep.
- Cutting the old line: a small tubing cutter, then a fine file or a rotary cut-off wheel to deburr the end. Never leave a burr inside the tube.
- Forming the flare: nothing safe. Rent or borrow a flaring tool matched to your line size. Never use pliers, a vise jaw or a bolt cutter to form a seat.
- Shaping bends: a tubing bender, or failing that gentle hand bends around a pipe of matching diameter, a handful at a time. Never kink the tube or bend it sharply to make it fit.
- Bleeding: a clear jar, a short length of hose and a drain pan. Never leave the reservoir open, and never run a bleed with the master cylinder empty.
- Sealing the threads: nothing on a flared seat — a thin film of correct fluid on the threads is enough. Never use thread tape or pipe sealant on a brake fitting, and never use a compression-style rubber connector.
The honest limit is the flare. A double flare is a formed metal-to-metal seat that seals under thousands of psi of hydraulic pressure, and its geometry is set by a die. A pliers-made flare looks round and leaks. If you do not own a flaring tool, most auto parts stores rent or loan one, and that is cheaper than a single ruined fitting or a car on jack stands with a soft pedal.
You may also need a pedal assistant. A one-person brake bleed on a BMW is genuinely awkward because the pedal has to go to the floor and stay there while your hands work the bleeder, and many owners report that firming up the pedal takes several passes anyway. A clamp between the seat and pedal solves it. If your car has DSC or ABS, check the manual first: some newer vehicles need a scan tool to complete the bleed and will warn you at startup if it was not done.
Two more things before you start. Put together the vehicle-specific information first — the correct fluid specification, the flare nut size, and whether your car takes a double flare or a single flare on that corner. The basic tool list every car job starts with covers the rest of the kit.
Step-by-Step
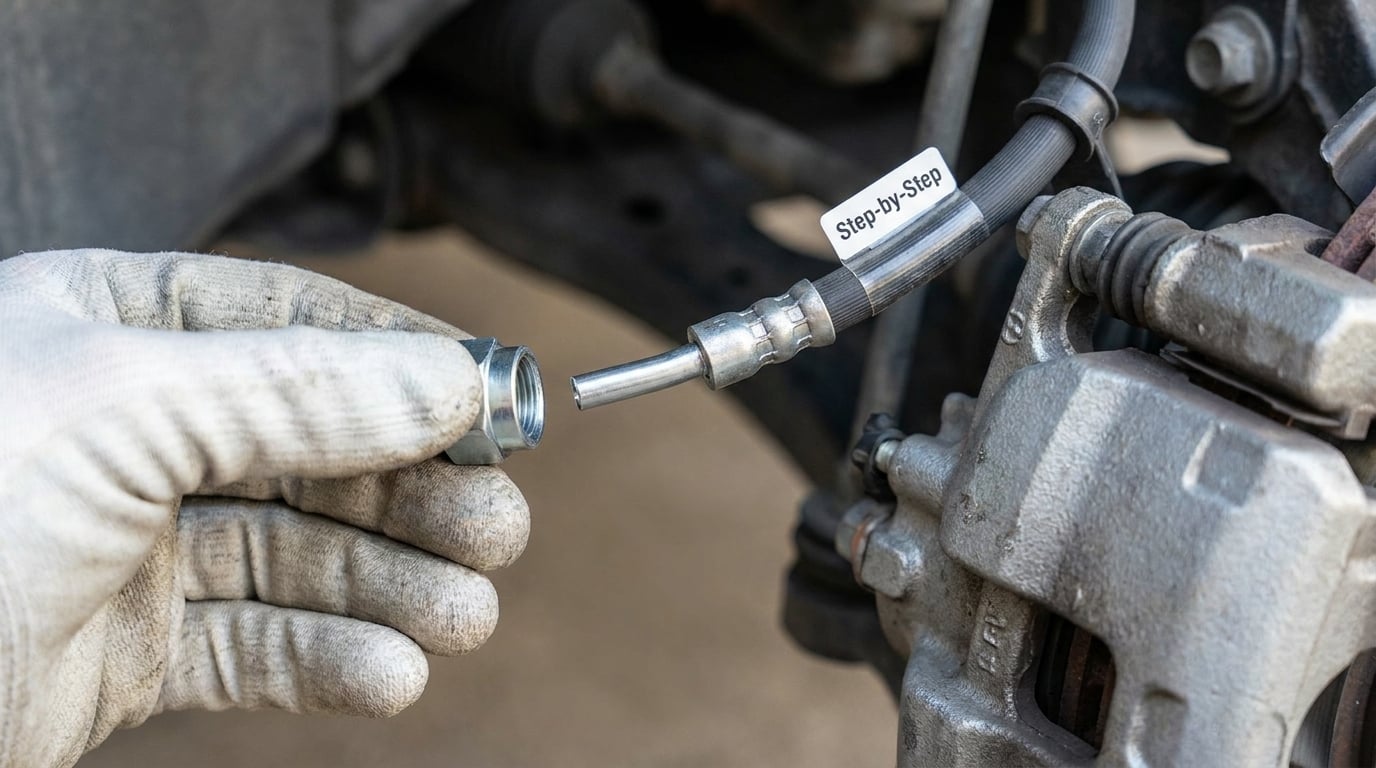
Work in this order and each step confirms the last one. The escalation ladder in step 4 is deliberately ordered, because most people who get into trouble skipped straight to the destructive end of it.
- Confirm the fault and support the car. Clean the fitting and the surrounding area, then check for a film of fluid, a wet road stain or a noticeably soft pedal. Jack the car on the correct points, chock the wheels and take a wheel off before you go looking for the leak with your face near a suspension spring.
- Work on the high point of the circuit. If the leak is at a hose-to-caliper connection on one corner, change that corner. If the rust runs back toward the master cylinder or the ABS modulator, stop — that is a shop job or a much longer project.
- Soak the fittings before you touch anything. Spray every flare nut on the section you are removing, leave it for ten minutes, and re-spray halfway through. A rusted nut is a frozen nut, and this is the step people skip before reaching for force.
- Loosen the fitting using the escalation ladder. First a correctly sized flare nut wrench or open-end, which fits flat. If the nut is rounded, a cut-off wheel through a same-size boxed-end wrench leaves a crescent of metal that grips the remaining flats. Vise-grips work as a last resort, and they will deform the nut. Vibration from an air chisel breaks corrosion apart. Heat and cold shock — a torch and then a spray of cold water — is the step people leave out that would have saved the afternoon. Stop at the first method that works. If you have reached pliers, a cut line and a coupler union, that is a legitimate outcome, not a failure.
- Disconnect at the master cylinder or modulator, not the caliper. Plug the port immediately with a plug of the correct size and a fresh washer, and cap the loose end of the line. Opening the system at the caliper end drains the master cylinder, and that means a bench bleed before the car will run.
- Cut the old line back to sound metal. Cut in a place you can still reach, deburr the inside edge with a file, and wipe it clean. This is the end of the old line for good.
- Cut and shape the new line. Measure the run first with a piece of string, then cut. Flare the tube with a correctly sized tool, or skip flaring entirely and use a coupler union to join the new line to a reusable fitting — a clean, widely used alternative for a section swap. Route the line along the original path, keeping bend radius generous and clear of sharp edges, and secure it with the original clips or P-clips so it cannot chafe.
- Hand-start every fitting, then tighten. Start the nut on the thread with your fingers before you ever touch a wrench. A flared seat needs no thread tape. Tighten to the point where the flare seats firmly, and follow the manual for final torque.
- Refill and bleed, then road test. Fill the reservoir with the fluid your manual specifies, bleed each circuit, check every new connection, and only then drive it a short distance at low speed and park to look underneath again.
How to Replace Brake Lines Without Special Tools on One Wheel
One corner is the most common version of this job and the easiest to get right. Find the leak first — the low point of a circuit is the low point of the line, so start there rather than at the modulator.
Take the wheel off and catch fluid immediately. Put a drain pan under the caliper before you crack anything, because opening a brake line is the moment fluid leaves. If the fitting at the hose is seized and twists when you turn it, the brass nut will shear first and you will have a bigger problem than the one you started with. Support the hose where you grip it so the twist goes into the wrench instead of the fitting.
If you are keeping the original hose and its fittings, note that rigid lines should never be forced to reach a new position. Stretching and twisting a hard line is how it cracks at a bend a month later. Cut, flare and route instead. If the old rubber flex line is the part that failed, replace the hose itself rather than trying to reseat a connector that has already been disturbed.
Hand-start the new fitting, tighten it, and catch any weep with a paper towel before you go looking for the bleeder. The leak check in the next section is short and worth doing three times.
How to Bleed Brakes After Replacing a Line
There are three bleed methods, and which one is right depends on the car. Gravity bleeding — fluid fed out of the reservoir with the pedal held up and released, relying on the master cylinder valve to hold back — is slow and imperfect, but it is the one you can do alone with a jar. Pedal-assisted bleeding is the usual choice and is what a brake pedal assistant is for. A scan-tool bleed is required on many modern cars with stability control, and the car will tell you if it has not been done.
To bleed without a bleeder bottle, fit a short length of clear hose over the bleeder nipple and run the other end into a jar with a little fluid in the bottom. Open the nipple a quarter turn, press the pedal, and watch the jar rather than the nipple. Every time bubbles stop coming and fluid runs clean, close the nipple before you release the pedal, or you will pull air straight back in.
Keep the reservoir topped up through the whole procedure. An empty master cylinder means air where fluid should be, and no amount of bleeding fixes that until you refill and start again. Check the level every few cycles.
You know the bleed is finished when the fluid in the jar runs bubble-free from every wheel in sequence, the pedal goes firm and stays firm at a low hold, and the fluid level stops dropping between cycles. A pedal that is merely better than before is not finished. The fluid moisture test is a separate check, but it is a good one to run while the system is open.
How to Check the New Brake Line for Leaks
Check the fitting, not the whole car. A new flare that is a fraction of a degree out of round will not show a drip — it will show a damp film that spreads slowly, and it gets worse with heat and road load. That is the leak that shows up in the driveway a week later.
Run through this in order. Press and release the pedal while you watch each new connection. Look for wetness on the fitting, the tube, and the ground beneath it. Then check for movement: if a nut turns when you wiggle the line, it is not tight enough, no matter how it feels. After the first drive, park and look again. Give a properly torqued flare nut a second check after a short break-in run, because a fitting that creeps will weep under road vibration.
A firm pedal and no visible drip are a good sign, not proof. If anything in the system is still soft, bleed it again rather than driving.
Common Mistakes
Wrong or mixed fluid. Most modern cars, including most BMWs, take DOT 4 or DOT 5.x as specified on the reservoir cap. Silicone fluid will emulsify and swell rubber seals if it is mixed into a glycol system. Check the cap, use one fluid for the whole job, and dispose of what drains out properly.
Overfilling the reservoir. It expands with heat and will overflow onto the engine bay. Fill to the mark and check it again after the bleed.
Bending a rigid line sharply. A kink is a weak point, and a kink is where the line eventually splits. Bend a little at a time around something of matching diameter, and use a proper tubing bender if you can get one.
Over-torquing a flare nut. The flare seats on the cone, not on the threads. Tighten until it is firm and leave it there; extra force just crushes the seat.
Using stainless tubing that is not annealed. Stainless can be double flared, but only if it is annealed or the flare is made cold with a tube cutter and hammer. A hard stainless tube cracks instead of forming. Steel is the forgiving choice for a first job.
Skipping the pedal assist and then stopping halfway. Half a bleed leaves air in the system and a pedal that feels soft under load, which is the most common complaint after a new line goes in. A pedal assistant is not a special tool, it is a clamp.
Driving before the pedal is right. A spongy pedal that firms up under hard braking is air in the line, and air under load is the failure mode you are trying to avoid.
One more worth naming: a compression-style rubber connector between the line and the hose. Plenty of forum threads contain advice to use one. Do not. It is not a brake line connection and it has no place in a life-safety hydraulic system.
Frequently Asked Questions
Can I replace a brake line with ordinary wrenches?
For most of the job, yes. A combination wrench, a tubing cutter, penetrating oil and a glass jar will cover disconnection, cutting, routing and bleeding. The exception is forming the double-inverted flare on the new tube, which needs a flaring tool matched to your line size. Renting one from an auto parts store is cheap and avoids a fitting that leaks weeks later.
Do I need a brake line tool to form a new steel line?
Yes, you need a real flaring tool, or a coupler union that avoids flaring entirely. The seat is a metal-to-metal cone that has to be formed to a specific geometry, and pliers or a vise will not reproduce it. Practice on a six inch offcut first. If you cannot source a flaring tool, splice the new section in with a coupler union and re-use the original fittings.
What brake fluid should I use on a BMW?
Check the reservoir cap and the manual, because the specification varies by model and year. Most BMWs take DOT 4, and some take silicone DOT 5.x. Never mix the two — silicone emulsifies in a glycol system and will swell the rubber seals. Use one specification for the whole bleed, and if the fluid in the reservoir is dark or cloudy, replace the whole system rather than topping it up.
How long does it take to replace one brake line?
One to two hours for a single corner if the fittings move, and closer to three if the flare nut is seized and you have to work up the ladder to a cut-and-splice. Add another 30 minutes for the bleed. A full-car replacement is a weekend job. Budget extra time on older vehicles where the rust usually extends further than the visible leak.
Can I drive after replacing a brake line?
Only after the pedal is firm and every new connection has been checked. A soft pedal means air is still in the system, and air compresses under braking, so the pedal can feel fine at rest and go far too soft in an emergency. Do a short low-speed drive, park, and inspect the new fittings again for a weep before you go any further.
When should I have a BMW brake line replaced by a shop?
Let a shop handle it if the damage is at the master cylinder or ABS modulator, if the car needs a scan-tool bleed, or if the rust has spread into the block or the line is a bonded, un-spliceable section. Some BMW lines are constructed so the fitting cannot be removed without splitting the line, and a technician with a flaring bench and a pressure bleeder is the right call. Never improvise a repair you are not confident will hold.
Start With the Fitting You Cannot Move
Most brake line jobs that go wrong go wrong at one place: the first nut that will not turn, and the temptation to jump straight to pliers. Soak it, work the ladder, and let the wrench decide. If the wrench decides for you, cut the line and splice it — that is a repair, not a defeat.
Two things come before any tools. Put penetrating oil on the fitting and leave it, and find the correct fluid specification and flare size for your car. The second is a few minutes in the manual; the first is free.
Then get the one thing you cannot improvise — a flaring tool, rented if necessary — and everything else on this job is ordinary hand work. Before you drive, read the caliper leak check so you know what a healthy brake corner should look like from the outside.