
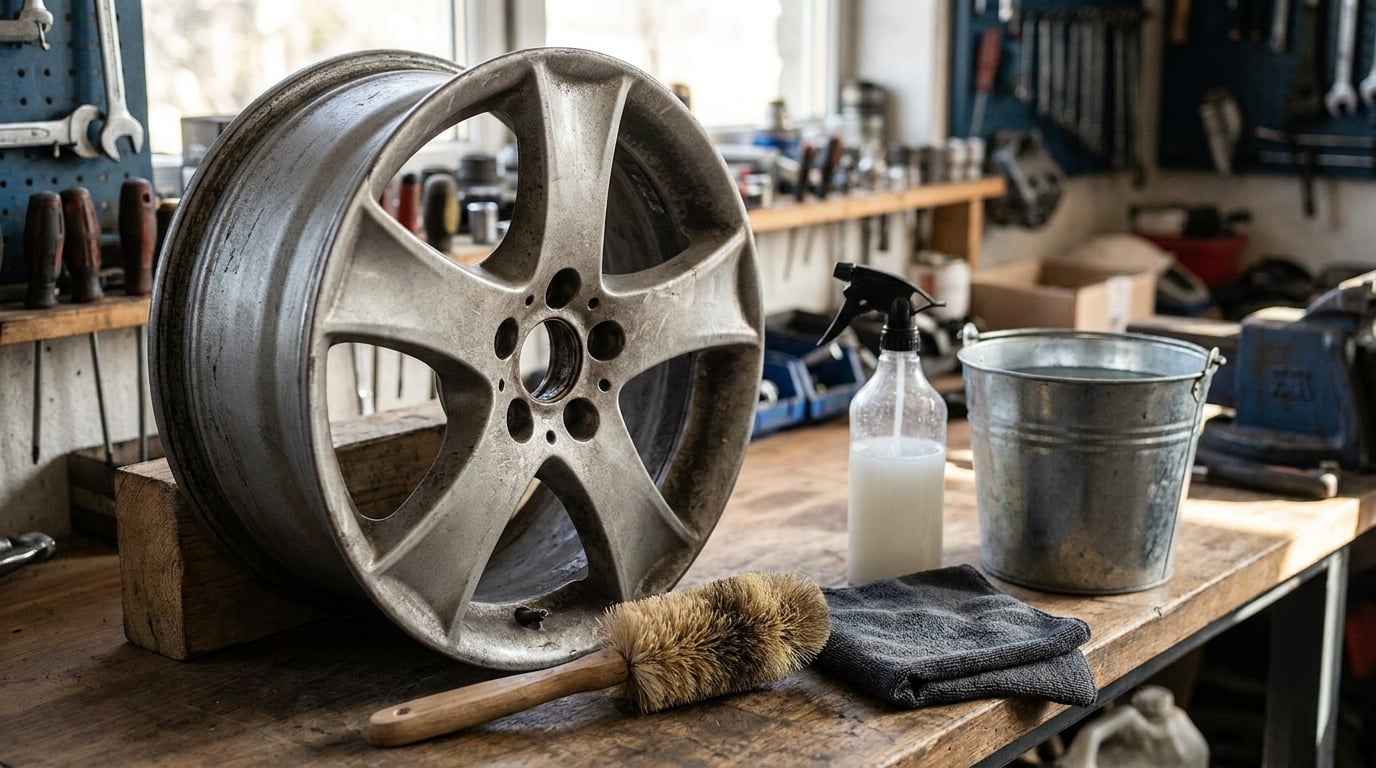
Brake dust on wheels is stopped by two things: getting light dust off the rim before it bakes onto the clear coat, and sealing the wheel so iron particles cannot bond to the paint in the first place. On a BMW, add a brake inspection, because a dragging caliper or a worn-out pad throws far more dust than healthy pads ever will.
The mistake most owners make is waiting for a dark, gritty rim before touching it. Brake dust is not road grime. It is pad material fused to iron oxide from the rotor under heat, and given moisture it etches into clear coat and bare aluminium. Once it has chemically bonded, no amount of elbow grease brings it back without chemicals or a cut.
So the honest answer is that you cannot stop a car from making brake dust. You can cut the volume down, keep the surface from bonding, and clean early enough that the job stays quick. The routine below takes about an hour of washing plus fifteen minutes a month on maintenance.
Table of Contents
What You Need
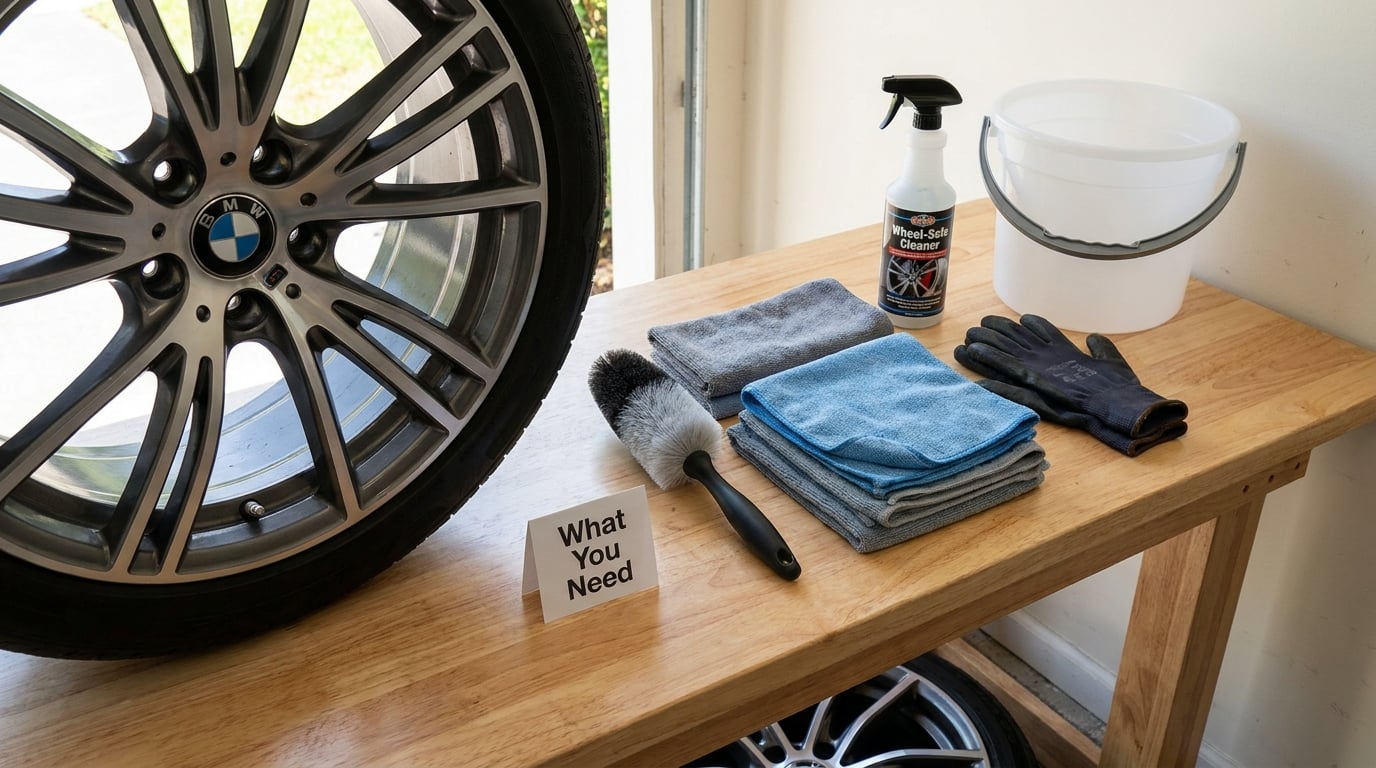
None of this is specialist equipment. Gather it before you start so you are not hunting for a brush with dust already drying on the wheel.
- A pH-neutral car wash soap for routine maintenance washes, so the wheel face and tyre get cleaned without stripping protection.
- A dedicated wheel cleaner gel that clings to vertical surfaces. These are mildly acidic and meant for dust that is already there.
- An iron remover, which is a thinner, more acidic formula designed to dissolve ferrous particles. It turns purple as it works.
- A soft wheel brush with non-metallic bristles, ideally a dedicated boar’s hair brush. A separate, older toothbrush is useful for the inner lip and lug area.
- Two microfibre cloths and a bucket with a grit trap or wheel-safe grit sponge.
- Gloves, and a pressure washer with a foam cannon if you own one.
- A sealant such as a SiO2 ceramic wheel sealant, a traditional wheel wax, or a paint protection film for the wheel faces.
Add a clay bar and clay lubricant only if you also want to decontaminate the paint around the wheels, which is where dust usually shows up first and gets noticed too late.
Brake Dust on Wheels How to Prevent It Step-by-Step
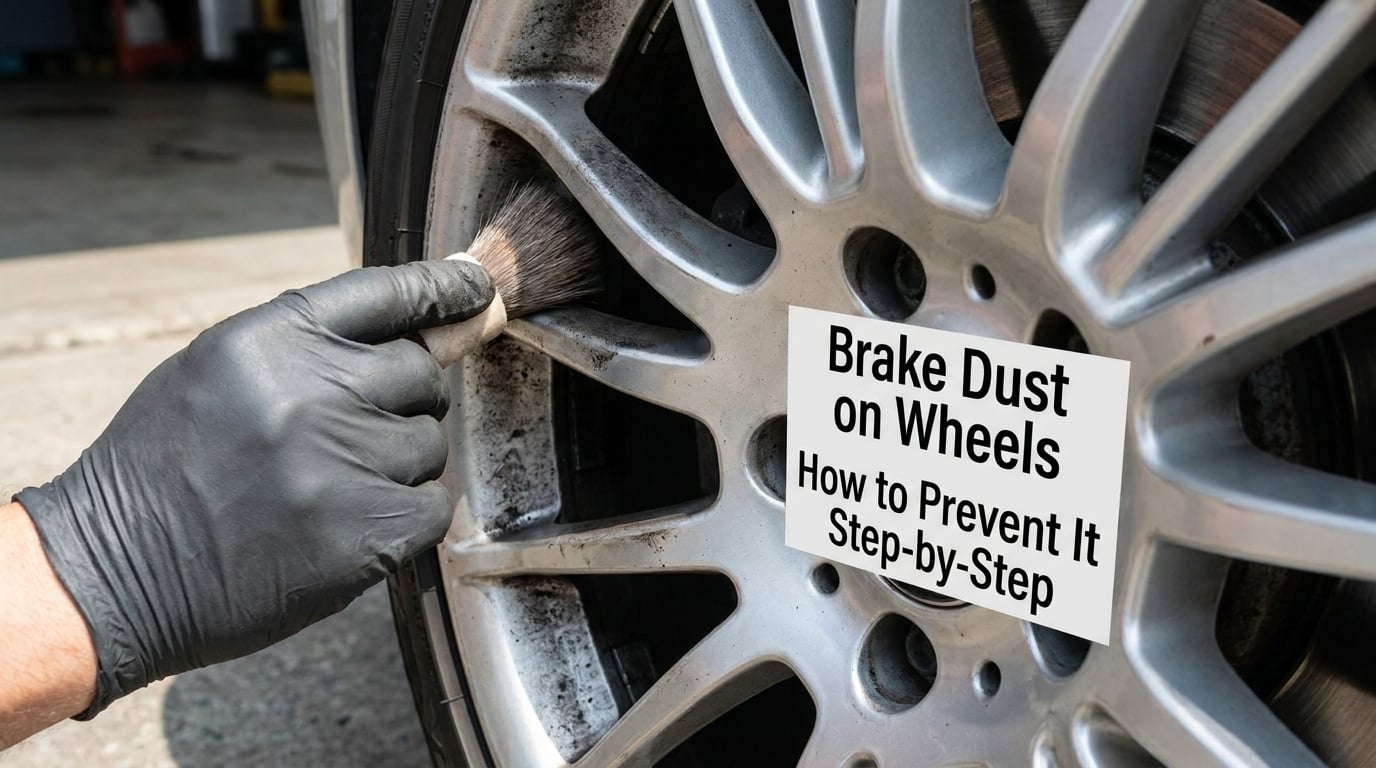
Prevention works as a stack, and every layer depends on the one below it. Clean wheels first, diagnose the brakes second, adjust how you drive third, then protect the surface so the next round of dust has nothing to grab.
Step 1: Wash the Wheels Before Dust Builds Up
The single most effective habit is cleaning the wheel while the dust is still a loose film, before it turns gritty and hot-welded to the finish. On a weekly or fortnightly wash, pH-neutral soap and a soft brush will usually shift a light dusting on its own.
For dust that has already settled, work in this order. Rinse the wheel first so grit does not get dragged across the face by the brush. Apply the wheel cleaner gel, let it dwell for the time printed on the label, agitate with the brush, then rinse. Follow it with the iron remover, which needs a wet surface and turns purple as it lifts the particles, then rinse and dry fully.
Some people reverse the order and it works too, but gel first means you are removing the greasy binder before you go hunting for what is under it. Dry the wheel before driving, and if the dust still feels gritty under a fingernail after washing, repeat with the iron remover rather than escalating to a harsher product.
Step 2: Check the Brakes for Wear or Dragging
Dust volume is a diagnostic signal, not just a cleaning problem. If one wheel is consistently dirtier than the other three, or if dust builds up faster than it did six months ago, something on that corner is generating extra wear.
With the wheel off, look at the brake pad. If the friction material is down to the steel backing plate, or close to it, it is done. Check the rotor for a deep groove, for rust at the outer edge where the pad does not sweep, and for scoring. Then push the caliper back and forth on its slide pins by hand. A caliper that will not move freely is dragging, which means heat, hot dust, and rapid pad wear all at once.
Uneven wear across the axle is worth a separate look, and our guide on why one brake pad wears faster than the other covers the usual causes. If you have just fitted new pads or rotors, the bedding process matters as much as the choice of pad, and our guide to cleaning new brake rotors before install explains why.
Grinding, a pulsing pedal under firm braking, or a pedal that pulls to one side all mean stop driving on that corner and get it inspected.
Step 3: Reduce Heat and Dust During Everyday Driving
Most dust comes from heat, and heat comes from unnecessary braking. Stopping signs, junctions, and slow traffic cycles are the real culprits, not motorway driving, where the brakes barely warm up.
Leave a gap and read traffic two cars ahead instead of riding the brakes down to a stop. On a downhill, take the brake in stages with your foot off between presses rather than holding pressure, and put the car in a lower gear so the engine is doing the work. When you arrive somewhere after a long drive, let the car coast for a bit before parking so the rotors stop glowing.
Winter road salt is the other accelerant. Salt pulls moisture out of the air onto a hot rotor and turns the dust into a slurry that re-deposits on the way home. Rinse the wheels more often between December and March, even when they do not look bad.
Step 4: Seal the Wheel So Brake Dust on Wheels Does Not Bond
Here is the correction that gets skipped almost everywhere in the forums. A coating does not stop brake dust, and anyone who sells you that idea is wrong. What a ceramic wheel sealant or a wheel wax does is change how the dust bonds, so it sits on the surface as a loose film you can rinse away instead of etching into the clear coat.
Pick by finish. On gloss painted wheels, a SiO2 sealant gives the longest protection and the easiest rinsing. On matte or satin black, avoid anything that leaves a gloss film, because it will shine in patches where the dust has worn through. Chrome, polished, and diamond-cut faces are the ones to be most careful with: acidic cleaners and metal polish can etch the fine lines, and a diamond-cut face is bare aluminium with a lacquer over it, not solid metal.
Apply to clean, completely dry wheels, in thin coats, following the product instructions and allowing the stated cure time. Sealants on this surface realistically last a few months, waxes a few weeks. If your wheel faces take a beating from kerbs, paint protection film is the only option that physically stops the marks.
Step 5: Establish a Repeatable Maintenance Schedule
Pick an interval you will actually keep, then adjust it to how the car is used. A fixed rule of thumb is about a fortnightly wheel clean for a car that lives in the city and a monthly one for a car that mostly does motorway miles.
Push it closer together if you drive mostly in stop-and-go traffic, run winter road salt, park on the street overnight, or have white, silver, or pale silver wheels, which show every particle. A car that sits outside uncovered in a wet climate needs monthly sealing and a more frequent iron remover, because moisture is what turns dust into etching.
Before new wheels ever go on the car, clean them, seal them properly, and if they are expensive, consider film on the faces from day one. That window, before the first winter, is the cheapest insurance you will ever buy for a set of rims.
Common Mistakes
Almost every mistake here is a case of using more force or more acid than the situation needs. The fix is nearly always a gentler product used earlier.
- Steel wool or abrasive pads on the face. They take the clear coat with them and leave swirl marks that a sealant then locks in. Use non-metallic bristles and let the chemistry do the work.
- Acidic cleaners on matte, chrome, polished, or diamond-cut wheels. They dull the finish and etch the fine machined lines permanently. Check the label, and default to a pH-neutral product when you are unsure.
- Painting over the dust. Touch-up on top of bonded iron oxide traps the corrosion underneath and the new paint flakes with it. Remove the dust first, every time.
- Ignoring brake wear because the car still stops. A pad that is nearly gone and a caliper that drags both make far more dust than any pad compound, and no cleaner on the shelf fixes either. Inspect at every service.
- Parking straight after hard braking. Hot rotors plus a cold night is how dust bakes on fastest. Coasting before you stop helps more than people expect.
- Aim of a pressure washer at the caliper or the dust shield. You can push fluid past a seal that is already tired and get a caliper that sticks later. Keep the lance away from the brake hardware.
- Using WD-40, cooking oil, or dish soap as a cleaner. They either do nothing to iron oxide or leave an oily film that attracts the next layer of dust.
Frequently Asked Questions
Will WD-40 remove brake dust from wheels?
No. WD-40 is a petroleum solvent and lubricant, so it will dissolve grease and road grime, but it does nothing to iron oxide bonded to a wheel. It also leaves an oily film that traps the next layer of dust, which makes the problem look worse over time. Use a wheel cleaner gel and an iron remover instead, and keep WD-40 for hinges and fasteners.
Does ceramic coating keep brake dust off wheels?
It keeps the dust from bonding, not from forming. A ceramic or SiO2 wheel sealant leaves a hydrophobic barrier so iron particles sit loose on the surface and rinse away with a normal wash, instead of etching into the clear coat. Expect less effort and far less permanent staining, but still plan on cleaning light dust every few weeks.
Is iron remover better than wheel cleaner?
They do different jobs. Wheel cleaner is a clinging gel that lifts baked-on grime and dust from a vertical face. Iron remover is a thinner, more acidic formula that dissolves ferrous particles and turns purple as it reacts. The best practice is both: gel cleaner first to clear the grease, then iron remover to dissolve what is left.
Why is one wheel getting more brake dust than the others?
Extra dust on a single wheel usually points at a mechanical fault on that corner, not at your cleaning routine. Common causes are a caliper that drags on its slide pins, pads worn to the backing plate, a sticking handbrake, or a wheel that has been fitted back on crooked. Check the caliper movement and pad thickness before buying stronger cleaner.
Will Dawn or white vinegar remove brake dust?
Household dish soap is alkaline surfactant, so it shifts grease and loose grime, but it leaves bonded iron oxide untouched. White vinegar is mildly acidic and can loosen light dust over time, but it is nowhere near strong enough for baked-on dust and it risks dulling polished and diamond-cut finishes. Neither is worth the risk on a coated wheel.
How often should I clean brake dust off my wheels?
Every two weeks if the car is mostly city driving, monthly if it is mostly open road, and more often through winter when road salt turns dust into a wet slurry. White, silver, or pale wheels need the shortest interval because every particle shows. A sealed wheel can go longer between deep cleans, since light dust rinses off rather than bonding.
Where to Start on Your Own Wheels
Start with the wheel that looks the worst, not the whole car. Wash it with the gel cleaner and an iron remover, dry it properly, and you will learn in one session what your dust actually looks like and how fast it comes back.
Then find out whether you are fighting a cleaning problem or a mechanical one. A quick pad thickness and caliper slide check on that corner costs you an afternoon and a jack. Whatever you find, do that part first, then seal the wheel so the next batch of dust has nothing to bond to.
Once it is set up, the maintenance is boring: a fortnightly wheel clean in town, a monthly one on open road, and a sealant refresh a few times a year. Boring is the point, because a routine you keep beats a perfect detail you do not.
Related reading: our guide to cleaning brake dust off a driveway covers the part that ends up on your concrete, which is the other half of the problem.