
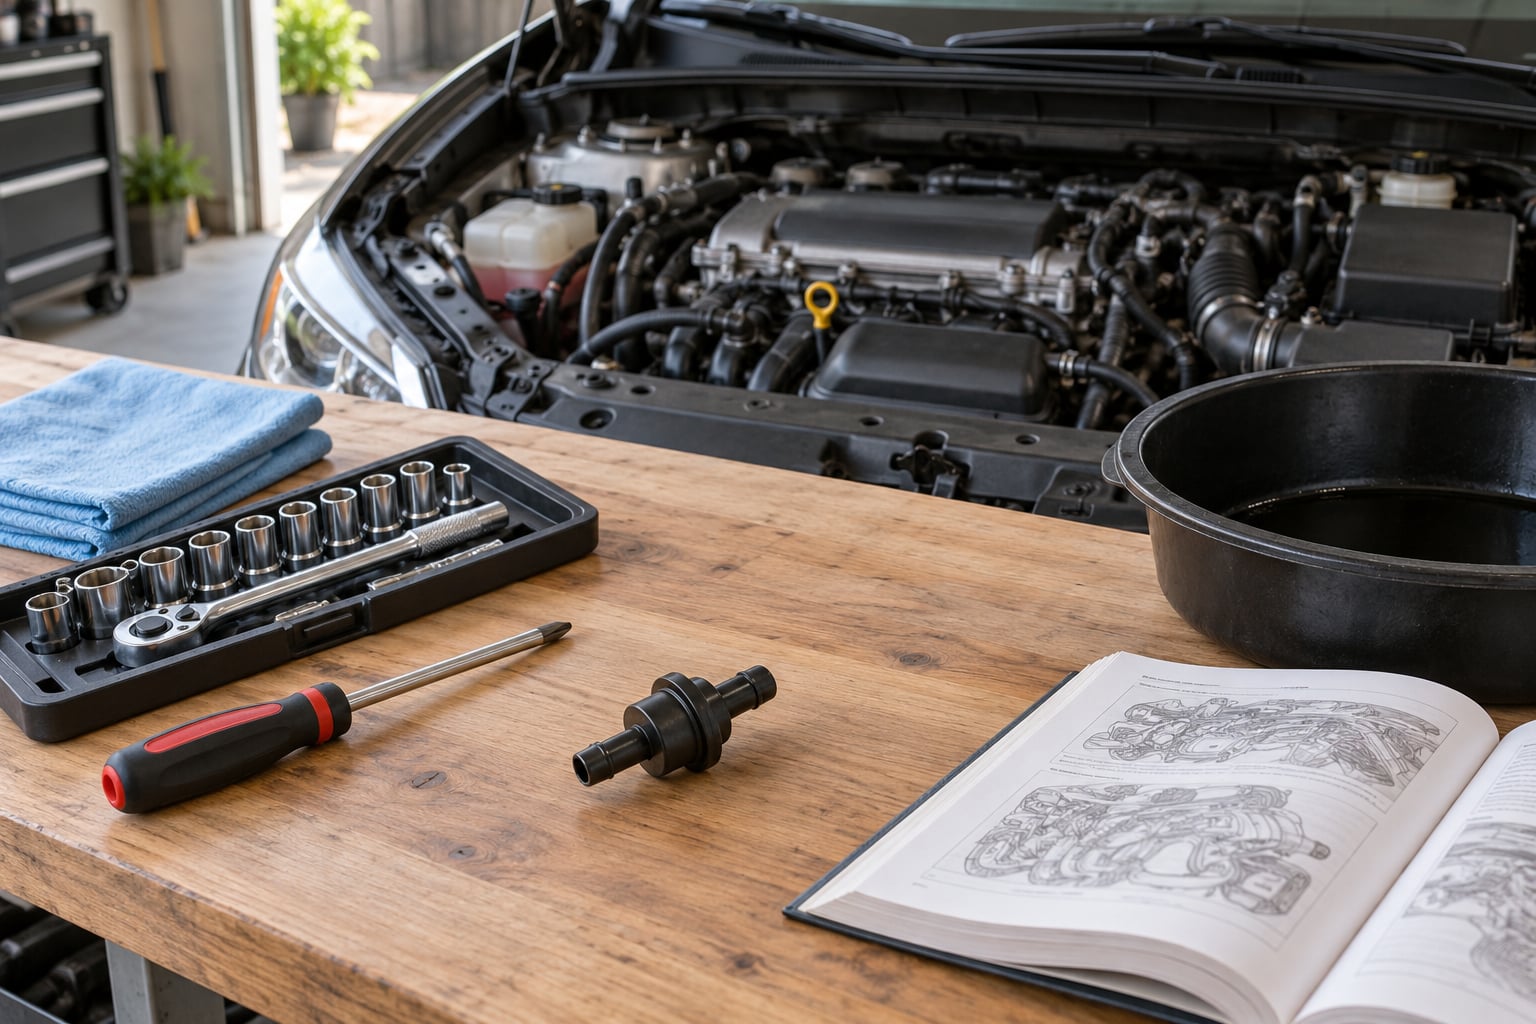
A PCV valve is a cheap part that takes twenty to forty minutes to swap on most cars, and the whole job fits on a driveway with a socket set and a new valve. Learning how to replace a PCV valve yourself means following the order every time: confirm the right part, trace which hose goes where, pull the old valve, inspect what you find, then reinstall without overtightening anything. That sequence matters more than the wrenching.
Whether your engine uses a push-in valve in a rubber grommet, a threaded screw-in fitting, or a bracket-held elbow makes a real difference in the removal steps, so this guide covers all three rather than guessing. Read it end to end before you touch a hose, then park the car on level ground with the engine stone cold.
Table of Contents
What You Need
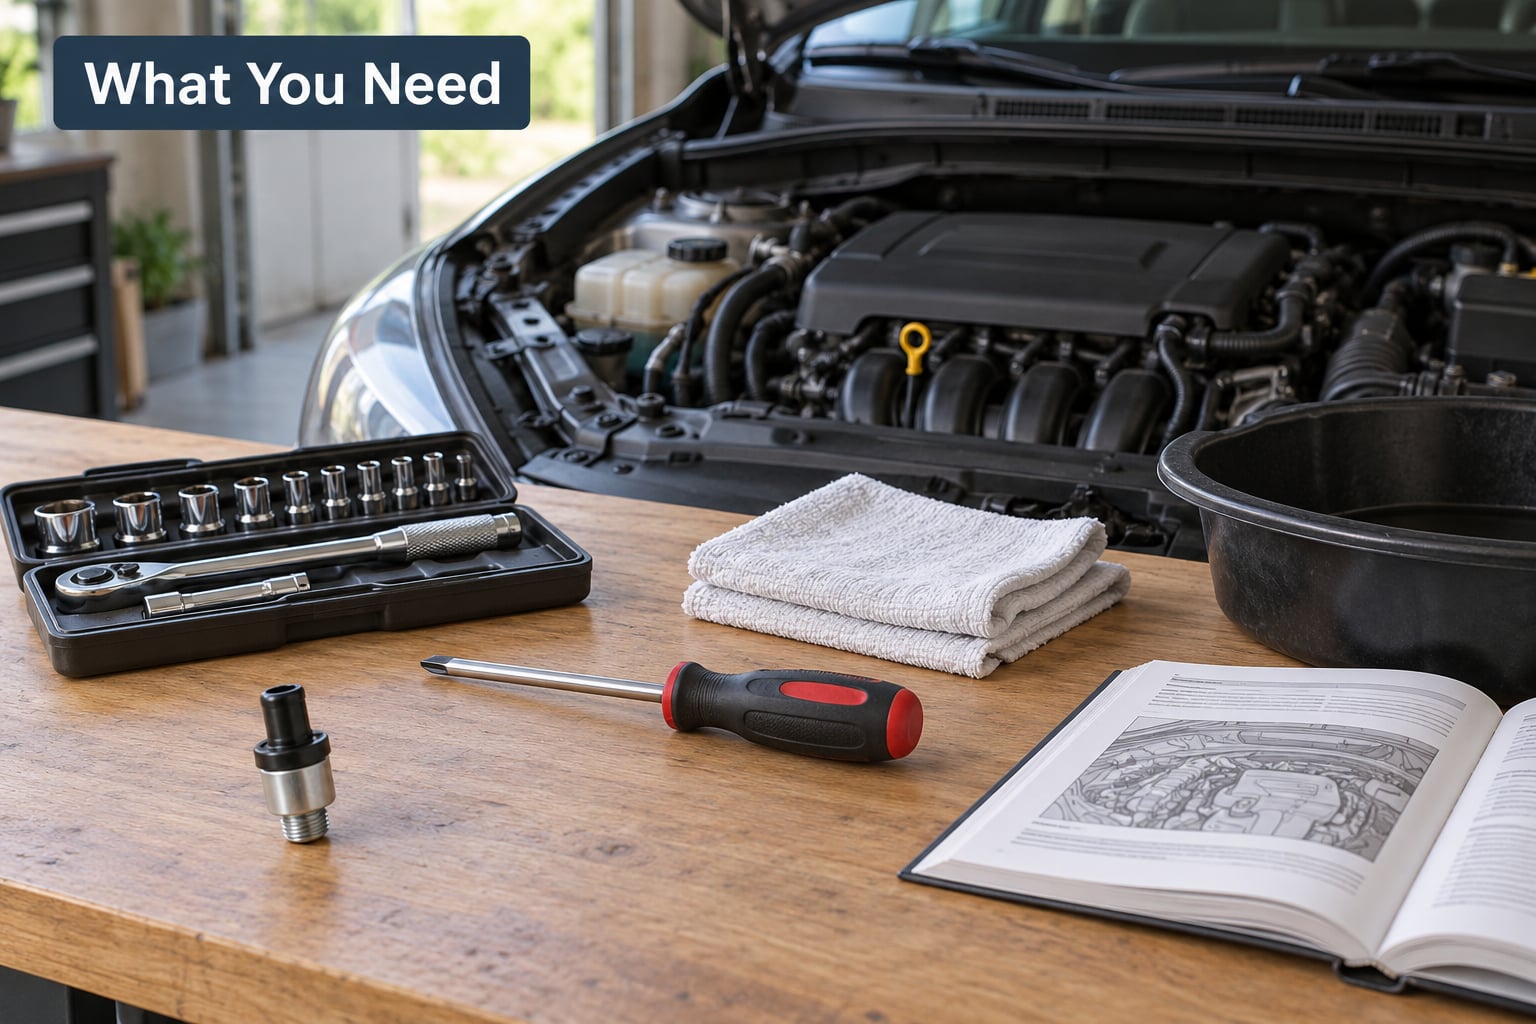
Start by getting the correct replacement valve, matched to your engine by part number from the owner’s manual or the manufacturer’s service information. The shape is not enough, because several styles look nearly identical from a distance.
- The new PCV valve, plus a fresh O-ring or grommet if your engine uses one
- A socket set or nut driver matching the fastener size, or a Phillips and flat screwdriver for slotted screws
- A pair of pliers and a small mirror or a phone camera for tight areas
- Clean shop towels and a drain pan in case the oil fill tube or valve cover holds oil
- A little clean engine oil for lubricating a new O-ring or diaphragm seal when the manufacturer allows it
- The owner’s manual or service information, which tells you where the valve lives and whether it is legal in your area to work on your own vehicle
That’s the whole list. A drain pan earns its place on engines where the valve sits at the bottom of the oil fill tube, since a cup of trapped oil comes out the moment the hose comes off.
How to Replace a PCV Valve: Step-by-Step
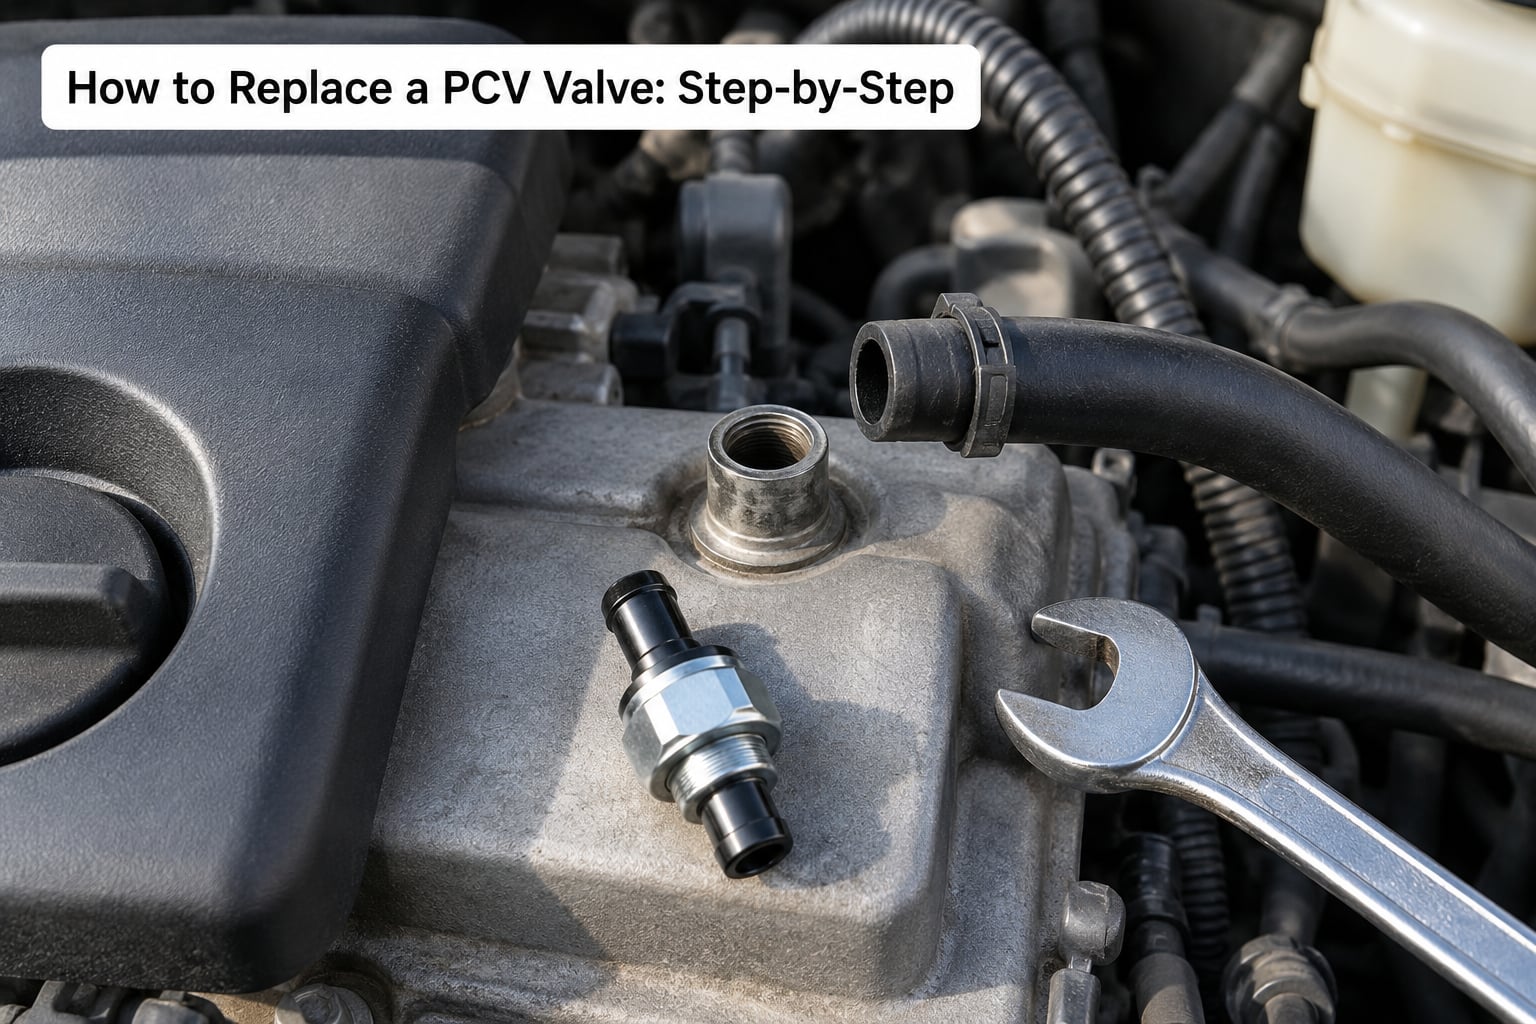
Work through the six stages below in order. Each one tells you what to do and how to confirm it worked, so if a step does not verify, fix it before moving on rather than stacking problems.
Confirm the Engine Is Cold and Safe to Work On
A cold engine protects you from burns and makes oil control easier. Leave the car parked for several hours, set the parking brake, and if the vehicle is on a slope, add a wheel chock on the downhill side.
Disconnect the negative battery terminal when your service information calls for it or when you are working near wiring or under the hood with the key in your pocket. Some engines need the battery disconnected to keep codes from clearing themselves during the job. Wrap the cable end so it cannot arc against anything metal.
How to verify: the engine is cool to the touch, the parking brake is firm, and the car cannot roll. Only then start pulling hoses.
Locate the PCV Valve and Trace Its Hoses
The valve is usually a small plastic or metal fitting on the valve cover or at the base of the oil fill tube, with a rubber vent hose running from it to the intake manifold. Find the exact spot for your engine in the manual or an engine diagram rather than guessing from a photo of a different year.
Before anything comes off, take four or five photos from several angles. Photograph the valve in place, the hose connection, and the routing of every line nearby. When two hoses look identical, a photo is the only thing that gets them back in the right order later.
For the electrical side of a weekend project, my step-by-step spark plug guide follows the same photograph-everything-first habit.
Check the Old Valve and Connected Hoses
Once the hose is off, look at the valve before you discard it. A healthy PCV valve is light, dry or only slightly damp, and its spring-loaded check ball moves freely when you shake it. Thick black sludge, a heavy slug of oil, hardened plastic, or a diaphragm that stays open means it was failing.
Inspect the vent hose and its grommet at the same time. If the inside of the hose is lined with hard brown sludge, the hose is saturating oil and needs replacing rather than going back on.
Match what you see against these symptoms before ordering parts:
- Whistling or hissing at idle usually means the valve is stuck open. Replace it, then check the hose routing.
- Oil residue or mist inside the intake points to the valve or a hose not sealing. Replace the valve and grommet and inspect the hose.
- Rough or unstable idle suggests an erratic or blocked valve. Run a blow-through test, then replace it.
- Excessive oil consumption can come from oil passing an open valve or from worn piston rings. Replace the valve first, then reassess.
- Oil spotted under the car means pressure is pushing past a failed seal. Replace the valve, then check the grommet.
- Check engine light with stored codes points to a crankcase pressure or vacuum issue. Replace the valve, then clear the codes after the repair.
If the shake test gives you a free-rattling ball and a light valve, the part was not the problem, and you can look elsewhere. Forum mechanics on r/MechanicAdvice treat that rattle as a genuine quick check rather than a guess.
Remove the Old PCV Valve
There are three common mounting styles, and each comes apart differently.
Push-in grommet style: pull the vent hose off, then grip the valve body and rock it while twisting until the grommet and valve come out together. If the valve is gummy, a small screwdriver helps lift the edge of the grommet out of the hole first.
Threaded screw-in style: turn the valve counterclockwise by hand until it clears the threads. If a locking tab is present, note its position, then take the tabs off before loosening the valve.
Bracket-secured elbow: remove the bracket bolts, then separate the elbow from the valve cover. Plastic elbows crack easily, so support both sides and never use the fitting itself as the grip.
If the valve will not budge, warmth helps more than force. Start the engine, let it reach full operating temperature, shut it off, then pull the hose and wiggle the valve while the surrounding parts are still warm. Several people on r/MechanicAdvice and r/AskAMechanic also hold a shop vac nozzle over the open port while twisting, since the suction pops a stubborn valve out. Go slow; the goal is a rubber grommet, not a broken oil fill tube.
Install the New PCV Valve
Fit the new O-ring or a new grommet rather than reusing the old rubber, which has already taken a compression set. A very light film of clean engine oil on the O-ring helps it slide and seal. Add thread sealer only if the service information specifically calls for it, and never on a plastic push-in valve.
Seat the valve straight so the hose barb faces the way it originally faced. A barb installed backwards still pushes air, but the hose can kink and the seal will not sit right. Push hoses firmly onto the barbs until they stop, then secure any hose clamp with pliers.
Tighten threaded valves snug with a hand, then a light touch with the wrench. Cracked threads and split plastic are the classic result of overthinking the torque. How to verify: the valve sits square, hoses are seated at the same depth as before, and nothing moves when you gently tug each line.
Refill and Check the Engine for Leaks
Check the oil level on the dipstick and top it up if the service took any oil out of the fill tube. Reconnect the battery, start the engine, and let it idle while you watch the valve area, the hose connections, and the underside of the valve cover for fresh oil.
Listen to the idle. A smooth, even idle with no whistling is the sign the fresh valve is metering correctly. Confirm there is strong suction at the oil filler cap at idle, which means the crankcase is being pulled down rather than pressurised.
If the check engine light was on, clear the stored codes now that the repair is done. Then take a short drive and park again to look underneath the car. Forum owners are consistent on this last point: seepage often shows up a few days later, not in the first minute, so recheck the hoses once more after a week of normal driving.
For the sensor-side of a check engine light, my coolant temperature sensor walkthrough covers reading codes before you start chasing a part.
Common Mistakes
Buying the wrong valve. Cylinder head markings and the year matter more than the vehicle badge. Match the part number from your service information before ordering, and keep the old valve in your hand for comparison.
Mixing up two similar hoses. The crankcase vent line and a fuel vapour or boost line can sit right next to each other. Route by the photos you took, not by memory, and never force a hose onto a fitting that resists.
Reusing the old rubber. A reused O-ring or grommet is the most common leak after a new valve goes in. Fit new rubber every time.
Overtightening. Hand-tight plus a touch is plenty. Brass threads strip, plastic valve covers crack, and the repair ends up worse than the fault you started with.
Sealing the diaphragm in oil. A film is fine, a puddle is not. Wipe the sealing surface clean before assembly.
Leaving the codes in memory. Without a code clear, the light stays on and you have no way to tell whether the repair worked.
Ignoring cracked or hardened hoses. A hose that is brittle, flattened, or stiff will not seal on a new barb. Replace it while the engine is open, and check the oil filler cap gasket and the vent hose while you are in there.
Frequently Asked Questions
What does a bad PCV valve do to an engine?
A bad PCV valve lets crankcase pressure build instead of drawing oil vapors into the intake. That pressure pushes oil past seals and gaskets, contaminates the oil with fuel and moisture, and raises fuel use. Over time it can also cause rough idle, misfires, and sludge in the pan. Replacing a clogged or stuck-open valve restores airflow and takes the pressure off the seals.
How often should a PCV valve be replaced?
Most manufacturers put PCV service somewhere between 20,000 and 50,000 miles, and some allow far more on modern engines. Your owner’s manual schedule wins over any general rule. If the car has a rough idle, rising oil consumption, or a check engine light before that interval, test the valve early instead of waiting for the scheduled service.
Can I replace a PCV valve without removing the intake manifold?
On most engines yes. The valve usually mounts on the valve cover or at the base of the oil fill tube, with a hose running to the intake manifold, so it is reachable from above. A few designs bury it under the manifold or at the rear of the engine. Check your service information first; if the manifold has to come off, that becomes a much larger job.
Why is there oil in the PCV hose after replacement?
A light film of oil inside the vent hose and intake is normal. The valve meters a controlled flow of crankcase vapour, and a small amount of oil travels with it by design. What is not normal is heavy liquid oil pooling in the hose or spraying from a connection. That means a loose hose, a missing O-ring, or a new valve installed backwards.
How do I know which hose connects to the PCV valve?
The valve has one hose leading into it and the hose leaves toward the intake manifold. Trace the hose from the valve rather than guessing at the manifold end, and photograph everything before disconnecting. Follow the owner’s manual diagram for your engine, because some cars run a second smaller breather line to a separate fitting.
Do I need to add oil after replacing a PCV valve?
Only if the job removed some. If the valve sits low in the oil fill tube, a cup or more of oil can come out with it. Pull the dipstick, check the level against the marks, and top up if needed. Never overfill; an overfilled engine can foam, leak, or damage the catalytic converter.
Conclusion
Start by identifying the exact valve your engine uses and laying the new part beside the old one so you can compare shape, barb direction, and mounting style. From there, how to replace a PCV valve comes down to photographing the hoses, pulling the valve, and putting it back together snug rather than tight.
Pull the engine-specific service information before you start, replace the rubber seal every time, clear the codes after the job, and inspect the hoses again after your first few drives. If you would like a similar walkthrough for another sensor on the same engine, the oxygen sensor replacement guide follows the same approach.