
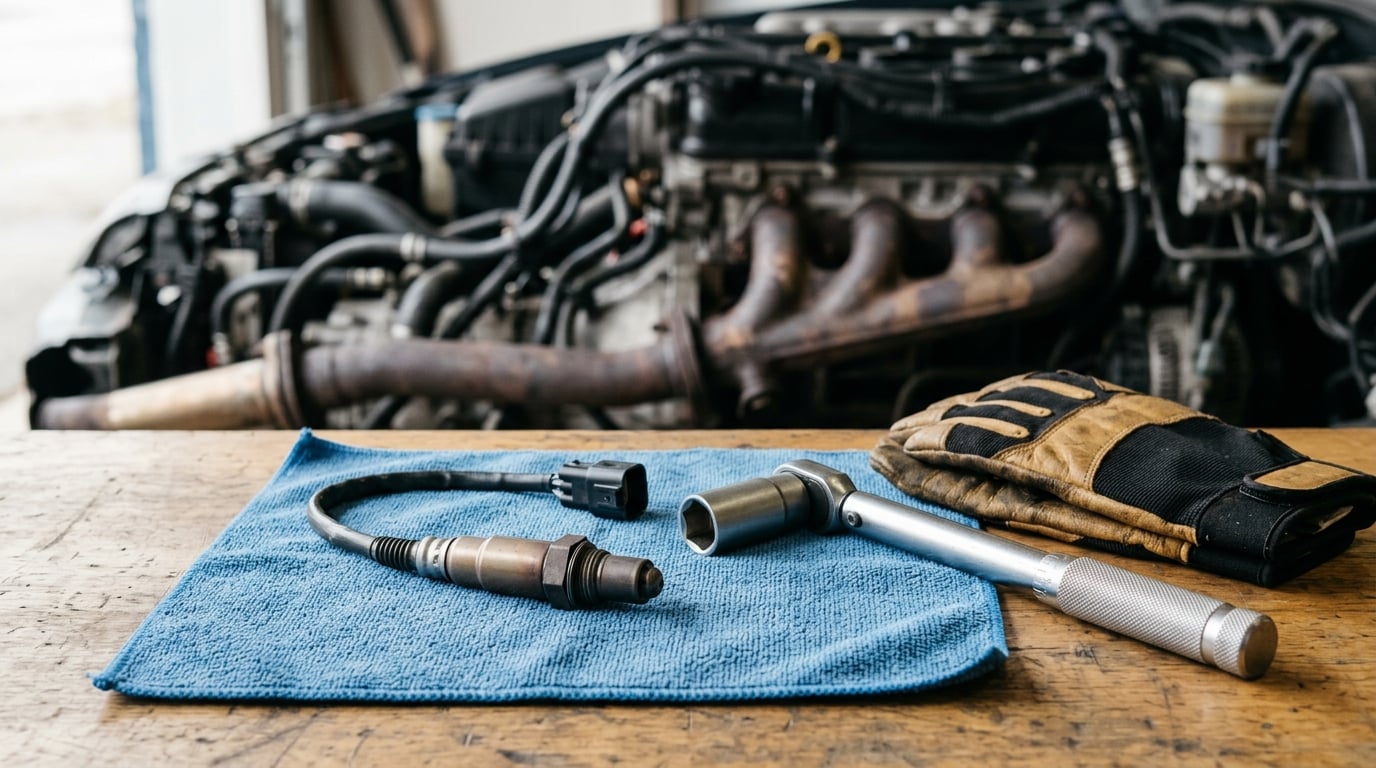
To replace an oxygen sensor, unplug its electrical connector, soak the threads with penetrating oil, back the sensor out of the exhaust bung with a 22mm (7/8 inch) O2 sensor socket, then hand-thread the matching replacement in, torque it to about 35 ft-lbs and clear the fault code. On a BMW this is a one-hour job with basic hand tools, more if the old sensor is seized.
The sensor itself is cheap and the labor is small, so this is one of the more approachable jobs in the engine bay. What trips people up is not the removal. It is fitting the wrong sensor, pinching the wiring harness, or snapping the exhaust bung and turning a simple swap into a welding job.
This guide covers the version most BMW owners actually face: a hex-style sensor screwed into a bung on the exhaust manifold or catalytic converter, with a two or four-pin connector. The same sequence works on most other makes once you swap the socket size and torque figure for your own service manual. Layouts described here hold through 2026 on the common N52, N54, N55 and B-series engines, though your VIN’s specific build is the final word.
What You Need
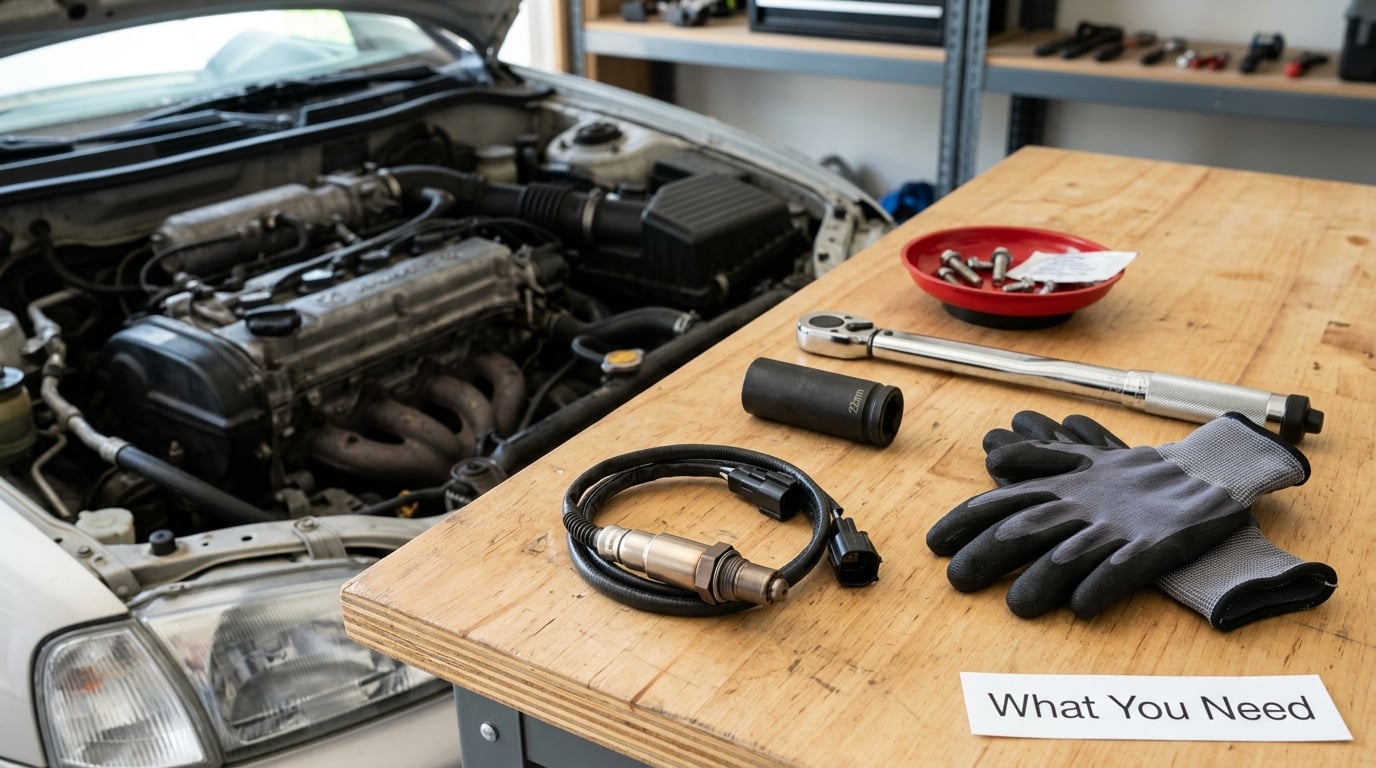
Gather everything before the car goes on the lift. Half of a frustrating sensor job is a cold engine in the rain because a tool was still in the garage.
- The correct replacement sensor. Match the part number on your old sensor, the wire count, the connector keying and the lead length. On BMWs the label is stamped on the sensor body or printed on the box.
- A 22mm (7/8 inch) six-point O2 sensor socket. A regular open-end or 12-point wrench will round the hex. This is the one tool that genuinely matters.
- A ratchet, or a breaker bar and a three-point swivel for leverage.
- A torque wrench covering roughly 15 to 60 ft-lbs, with a deep socket that clears the sensor body and the wiring lead.
- Penetrating oil, sprayed and left to work before you touch the wrench.
- Anti-seize or high-temperature thread compound, preferably copper or nickel-based.
- An OBD2 scanner to read the stored code, watch live data and clear codes after the job.
- A flat-blade screwdriver or pick for the connector lock tab, plus a small mirror and flashlight for cramped areas.
- Zip ties or a heat sleeve and clamp to re-route the wiring the way it was routed.
- Work gloves and eye protection. A downstream sensor on a road-salted truck is genuinely nasty work.
- The service manual or wiring diagram for your chassis, which gives you the torque spec, the routing and the connector pinout.
Have a rag handy too. Old sensors on higher-mileage cars often crumble into a grey ring of rust dust as they break free.
Step-by-Step
1. Confirm Which Oxygen Sensor Needs Replacement
Do not start with the part. Start with the code, because an exhaust leak, a vacuum leak, a dirty mass airflow sensor or dirty injectors all set oxygen-sensor codes too. Read the stored and pending codes first, note whether the fault is on sensor 1 or sensor 2 and which bank, and then look at live data on the scanner before buying anything.
Bank 1 and Bank 2 are not side to side as you look at the car from outside. You are standing at the rear of the engine, facing forward, on the opposite side from the drive belts. Bank 1 is always the bank on that side, and on a V8 that usually means bank 1 is cylinder 1 through 4. Sensor 1 is the upstream, pre-catalytic sensor; sensor 2 is downstream, after the converter.
BMW part numbers and connector colours help, but the wiring diagram is more reliable than either. If the code says P0135, that is a bank 1 sensor 1 heater circuit fault. P0133 means bank 1 sensor 3 on V8s, where a third sensor sits behind the converter. Read the actual number rather than guessing from a photo, because fitting a sensor 1 into a sensor 2 bung gives you a code that looks like a new fault rather than a mistake.
One more gate before the part comes out: check for exhaust leaks near the manifold and around the converter gasket. Fresh air upstream of an upstream sensor makes a perfectly good sensor read lean, and the code comes back within days.
2. Locate the Sensor and Protect the Wiring
On BMWs the upstream, or sensor 1, sits in the exhaust manifold, usually on the underside or the rear face where the manifold feeds into the downpipe, and it is the harder of the two to reach on transverse engines. The downstream, or sensor 2, screws into the catalytic converter inlet or outlet and is usually reachable from under the car with the exhaust heat shield out of the way.
Before you touch anything, photograph the connector and the wire route. Phone photos are the poor man’s wiring diagram, and they are what you will thank yourself for when the new lead needs to go back through a clip on the same path it came off.
Look at the connector and the harness. Unplugged connectors sitting in an engine bay for a decade get green and crumbly, and the pins inside are spring-loaded and easy to bend. If the connector body is already soft or the wire just below it is stiff and discoloured, plan on replacing the sensor and the pigtail section, not just the sensor.
3. Disconnect the Battery and Unplug the Connector
Turn the ignition off, remove the key and disconnect the negative battery terminal first, then the positive. On a battery in the boot, disconnect the negative post first regardless of where the terminal lives. Loosen the hold-down clamp before the cable so the clamp does not swing and slip a wrench across the post.
Leaving power connected while you unclip a fuel-injector-style sensor connector is how pins get bent and how a connector gets a terminal block pushed into the wrong cavity. The extra five minutes of disconnecting the battery is cheap insurance.
Release the connector lock, which on most BMW connectors is a sliding tab or a hinged lever that you squeeze while pulling, and unplug it straight out by the housing. Never pull by the wires. The wires are crimped into the back of the connector and the strain relief is the weakest part of the whole assembly. Wiggle the housing side to side if it feels stuck, then check that the seal is seated in the connector body.
4. Remove the Old Oxygen Sensor
Let the exhaust cool down until you can comfortably hold your hand near the sensor. Hot sensors seize faster, and hot exhaust plus penetrating oil is a combination you do not want anywhere near you. Allow at least an hour of cool-down after a drive, or work on a car that has been sitting overnight.
Spray penetrating oil onto the threads where the sensor enters the bung and leave it. The forum consensus is unromantic and correct: overnight is better than ten minutes, and 24 hours beats both. Heat works too, but heat plus a wrench tends to produce the snapped-stud outcome that costs the most.
Fit the 22mm six-point socket over the hex, make sure it sits fully square on all six flats, and break it loose with steady pressure in the normal left-hand thread direction. Oxygen sensors are not reverse threaded, which is the question most first-timers ask. Once it breaks free, back it out by hand the rest of the way rather than twisting the last quarter turn under load.
Stop immediately if the hex starts to round, if the bung twists in the exhaust, or if you feel the metal move rather than the sensor. That is the moment to back out, soak it again and reassess. Snapping a sensor hex means extracting the bung or replacing the exhaust section, which is a shop job with welding in it.
Keep the replacement sensor in its packaging until the old one is out. The anti-seize on a new sensor is only useful if the thread is clean, and packaging also keeps grit away from the sensing element.
5. Install the Replacement Sensor
Check that the bung threads are clean and free of rust scale. Run a thread chaser or the correct tap through them by hand, then wipe them down. If the old sensor left a crusty ring behind, that crust is what will seize your new one in two years.
Put a thin film of anti-seize on the sensor threads only. Keep it off the sensing tip entirely, because it is a ceramic element that responds to exhaust gas, and a coating of copper on the end of the sensor will give you a sensor that reads strange and a code that makes no sense. Many replacement sensors come with the compound already applied, so check before adding more.
Start the new sensor by hand into the bung. You should get about two full turns of smooth thread engagement before resistance shows up, which tells you the threads are actually lined up and not cross-threading. If it binds during those first turns, back it all the way out and start again.
Tighten it to the torque figure in your service manual, which on most BMW applications lands around 35 ft-lbs. Snug it with the ratchet, then set the torque wrench and pull to the setting. Do not lean on a long breaker bar to get there, and do not go past the spec. The bung is cast steel, not a bolt head, and it cracks or shears if you overtighten it.
6. Reconnect the Connector and Route the Harness
Check the old and new connectors side by side before you plug anything in. Confirm the pin count, the keying and the seal. Then push the connector into place until it clicks and give it a gentle tug to confirm it is fully seated, with the lock tab snapped closed. A connector that looks plugged in and is not seated will run rich or lean and log a heater circuit code the sensor did not cause.
Route the new lead along the original path, away from the hottest parts of the exhaust and clear of moving components such as the driveshaft, steering and suspension travel. Use the original plastic clip or the zip ties you brought, and leave enough slack that the wire is not pulled taut when the engine moves on its mounts.
Inspect the whole length of the harness in the area you just worked. Any place where the cable rubs against an edge or an exhaust bracket will chafe through sooner than the sensor wears out, and a chafed lead is what produces a sensor fault code that comes back a month later.
7. Check for Leaks and Clear the Codes
Do a final look with the car still up: the sensor is seated and torqued, the connector is locked, the wire is clipped, nothing is pinched, and there is no fresh rust dust on the bung face. Reconnect the battery, negative last.
Clear the stored and pending codes with your scanner, then take a drive long enough to hit a full drive cycle: engine to full operating temperature, a mix of city and highway driving with the load changing, some deceleration to part throttle. Fifteen minutes of steady cruising is not a drive cycle. If the light stays off and the codes do not return, the fix held.
Check fuel trim while you are at it. Short-term trims that settle near zero and stay there confirm the sensor is reporting normally. If the same code comes back within a few days, the problem is upstream of the sensor: a leak, a vacuum hose, a mass airflow sensor, an injector, or a connector you are still not fully seating.
Common Mistakes
Almost every repeat visit to this job traces back to one of these.
Buying the wrong sensor position
A sensor 1 part fitted to a sensor 2 bung, or a bank 1 part fitted on bank 2, looks like it works until the code comes straight back. Match the part number, wire count and connector, and check the position against the wiring diagram. Fix: verify position before the old sensor comes out, not after.
Skipping the diagnostic step
An exhaust or vacuum leak produces the same code as a dead sensor, so replacing the sensor fixes nothing and costs you the part. Fix: read the code, check live data, and look for leaks near the manifold and converter gaskets first.
Working on it hot
Hot threads seize faster and the whole area is unsafe to work around. Fix: let the exhaust cool for at least an hour after a drive, or start on a car that has been parked overnight.
Pulling the connector by the wires
The crimp is the weak link and the repair is a new pigtail. Fix: push or pull on the connector housing, release the lock tab first, and never pry the terminals out of the back.
Overtightening
Going well past the spec on a breaker bar cracks the bung or shears it, and now you are welding. Fix: snug with the ratchet, then finish with a torque wrench set to the service manual figure.
Anti-seize on the sensing tip
It ruins the element and produces a sensor that tests strange from day one. Fix: threads only, and check that a pre-coated sensor did not already have compound on it.
Routing the cable against the exhaust
A lead that touches hot metal or chafes on a bracket fails months later with a code that points right back at the sensor you just fitted. Fix: follow the original route, use the clip, leave slack, and inspect the full length afterwards.
Fitting a no-name sensor
Cheap unbranded sensors are a recurring source of new faults in DIY threads, and a brand-new part can absolutely be faulty. Fix: buy an OEM or reputable-brand sensor with a working heater element, and keep the packaging in case you need to return it.
Replacing the sensor and stopping there
Clearing the code without a drive cycle leaves pending codes and you have no idea whether the repair worked. Fix: clear codes, complete a proper drive cycle, rescan, and check fuel trim.
Frequently Asked Questions
Can I replace an oxygen sensor myself?
Yes, on most cars it is a beginner-level job. You need a 22mm O2 sensor socket, a torque wrench, penetrating oil and your vehicle’s torque specification. The work itself takes 30 to 60 minutes if the old sensor comes out freely. The only part that needs real care is protecting the wiring connector and avoiding damage to the exhaust bung when removing a seized sensor.
How long does it take to replace an oxygen sensor?
Budget one hour for a straightforward sensor once the exhaust is cool, plus another hour of cool-down after driving. Most of that time is setup, not the swap. If the sensor is seized, add 30 minutes of soaking and re-attempts, and allow more time on a transverse engine or a truck where a downstream sensor sits under road-salt corrosion.
Can I still drive with a bad O2 sensor?
Usually yes, and mechanics say this is common practice for a short period. The engine computer falls back on a default fuel map, so the car will still run, but fuel economy suffers, emissions rise and the check engine light stays on. Left that way for a long stretch, the extra fuel passing through can damage the catalytic converter, which is far more expensive than the sensor.
How do I get a seized O2 sensor off?
Cool the exhaust fully, spray penetrating oil onto the threads at the bung and let it sit overnight rather than five minutes. Use a 22mm six-point socket that seats squarely on the hex and apply steady pressure, not shock. Skip open-end wrenches and heat. If the hex rounds or the bung starts to move, stop, because the next step is a thread chaser or a welding shop.
Why is my car running worse after installing a new O2 sensor?
Common causes are a connector that looks plugged in but is not fully seated, a wideband air-fuel sensor fitted where a narrowband belongs, the wrong bank or sensor position, an exhaust leak, or anti-seize that reached the sensing tip. Clear the codes, complete a full drive cycle, then rescan and check fuel trim before replacing anything else.
Conclusion
Your first move is identification, not tools. Read the code, work out whether it points at sensor 1 or sensor 2 on bank 1 or bank 2, rule out an exhaust or vacuum leak, and get the vehicle-specific part number and torque figure in front of you. Once those four things line up, the swap itself is 22mm of socket, a torque wrench and about an hour.
If the old sensor will not move and you have soaked it overnight, stop there rather than reaching for heat or more leverage. A bung you cracked turns a cheap afternoon into a welding bill, and knowing when to hand it to a shop is part of doing this job properly.