
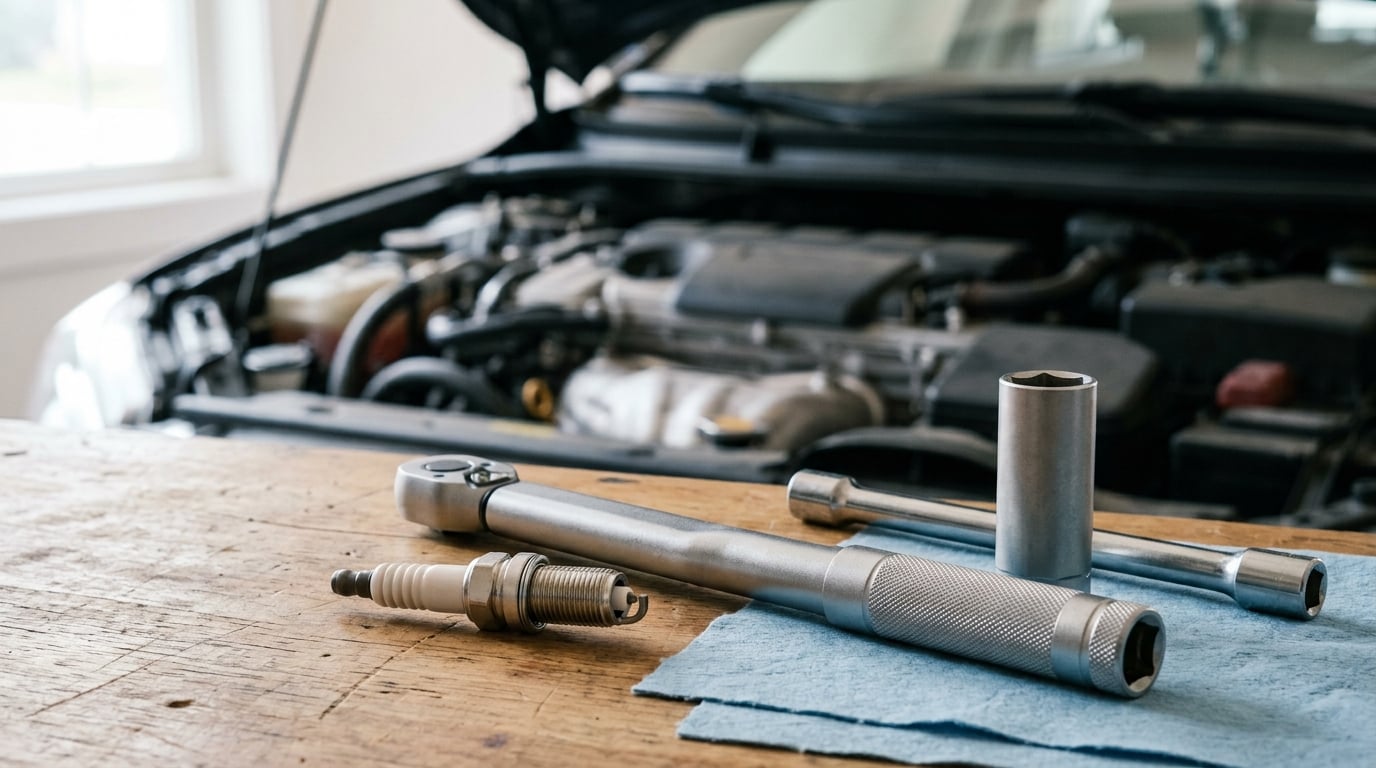
How to replace spark plugs step by step is simpler than it looks. On most BMW four-cylinder engines the whole job takes 45 to 90 minutes with a ratchet, a spark plug socket and a torque wrench, and the hardest part is usually unclogging a vacuum port, not the plugs themselves.
The catch is that BMW engines have used several different plug types and torque figures over the past three decades, and the wrong one can strip an aluminum cylinder head. So the first move is always the same: confirm the plug part number, electrode gap and torque value in the manual for your specific engine before you loosen anything.
This guide covers the whole job, from confirming the correct plugs to reading your old ones for clues about engine condition. It also covers the two things that scare beginners most, cross-threading and over-torquing, and what to do when a plug seizes or snaps.
Table of Contents
- What You Need
- Step-by-Step
- Frequently Asked Questions
- Is it hard to replace spark plugs yourself?
- What happens if a spark plug is not torqued correctly?
- Should I use anti-seize on spark plug threads?
- How often should spark plugs be replaced?
- What should I do if a spark plug is seized or will not come out?
- Should I replace the ignition coils while I am in there?
- Conclusion
What You Need
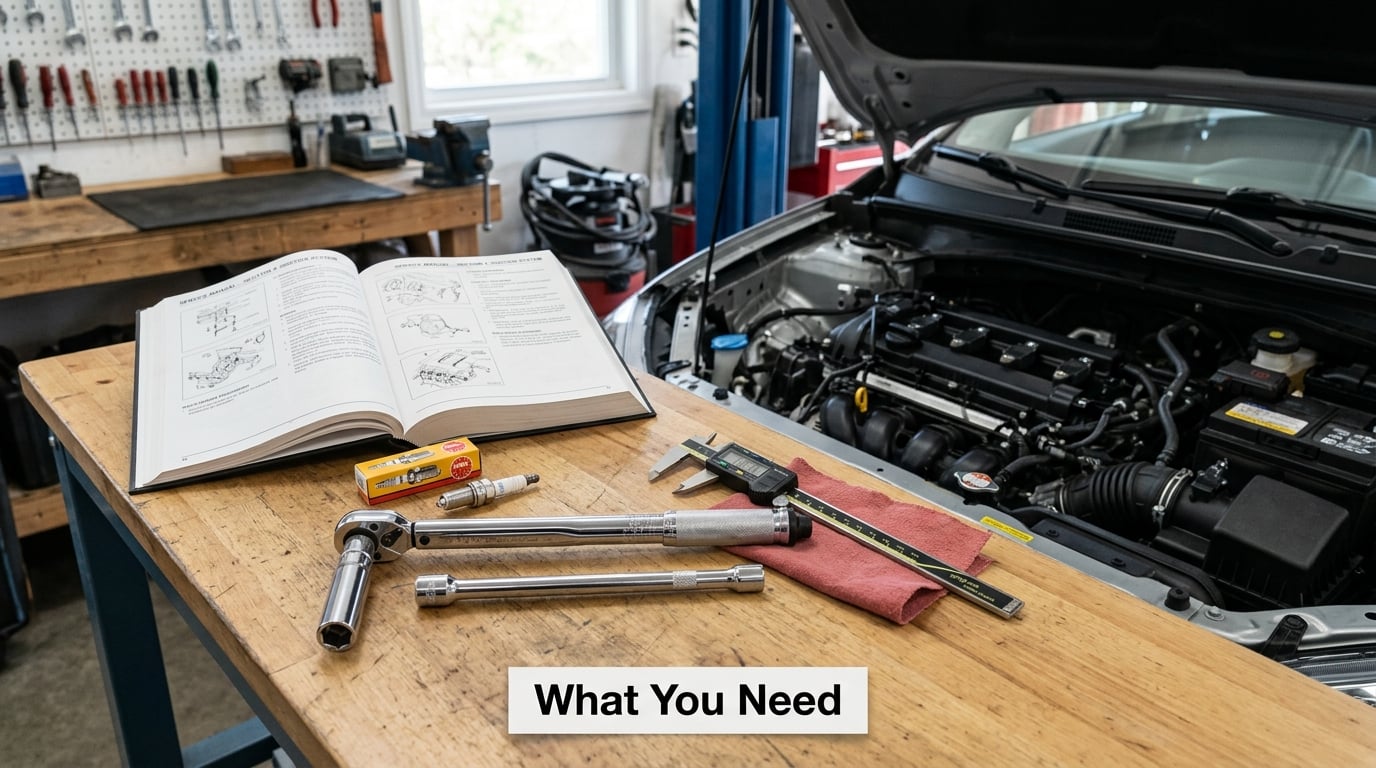
Most of this list is cheap and stays in the garage for the rest of your life. A magnetic socket and a flexible extension are the two items that change the job from fiddly to easy, and a torque wrench is not optional on an aluminum head.
| Tool or supply | What to look for | Why it matters |
|---|---|---|
| Spark plug socket | Rubber insert or magnet, 5/8 inch for most BMW 12 mm plugs, 16 mm for 14 mm plugs on older six-cylinder engines | Keeps the plug from rattling on the way out and from falling into the cylinder well |
| Ratchet | 3/8 inch drive, about 12 inch long | Small enough to work inside a cramped engine bay, big enough to build real torque |
| Extension bar | 6 to 12 inch, and a universal joint or wobble extension | Plugs sit deep; a straight bar will not line up on rear cylinders |
| Torque wrench | 3/8 inch drive, click type, calibrated within the last year | Aluminum threads strip, and gasket-seated plugs that are too tight leak compression |
| Feeler gauge or gap gauge | Blade set or a dial gauge | Only needed for copper plugs, but useful for confirming a shipped spec |
| Caliper or thread gauge | Vernier caliper, or a 12 mm and 14 mm thread gauge | Proves whether your new plug matches the old one before it goes anywhere near the head |
| Old-plug storage | Small box, a piece of cardboard with holes punched in it, or a labelled bag | Lets you line up coils and plugs in their original positions and inspect the old plugs later |
| Consumables | Shop towels, nitrile gloves, penetrating oil, optional copper-free anti-seize | Keeps oil out of the plug well and protects the threads on reassembly |
Parts are the other half. Buy the exact part number your manual or the parts counter lists for your engine, and buy one more than you need. Plugs are cheap compared to a head gasket, and a spare saved a Saturday for me once when a new plug cross-threaded on the way in.
Do not rely on what the old plug looked like. Heat range, electrode type and thread diameter are all specified for the engine, not for the plug that happens to be in it. Brands like NGK, Bosch and Denso all supply the same engines, and a genuine NGK Iridium IX or Bosch platinum plug is the safest default when your manual points to one of them.
Step-by-Step
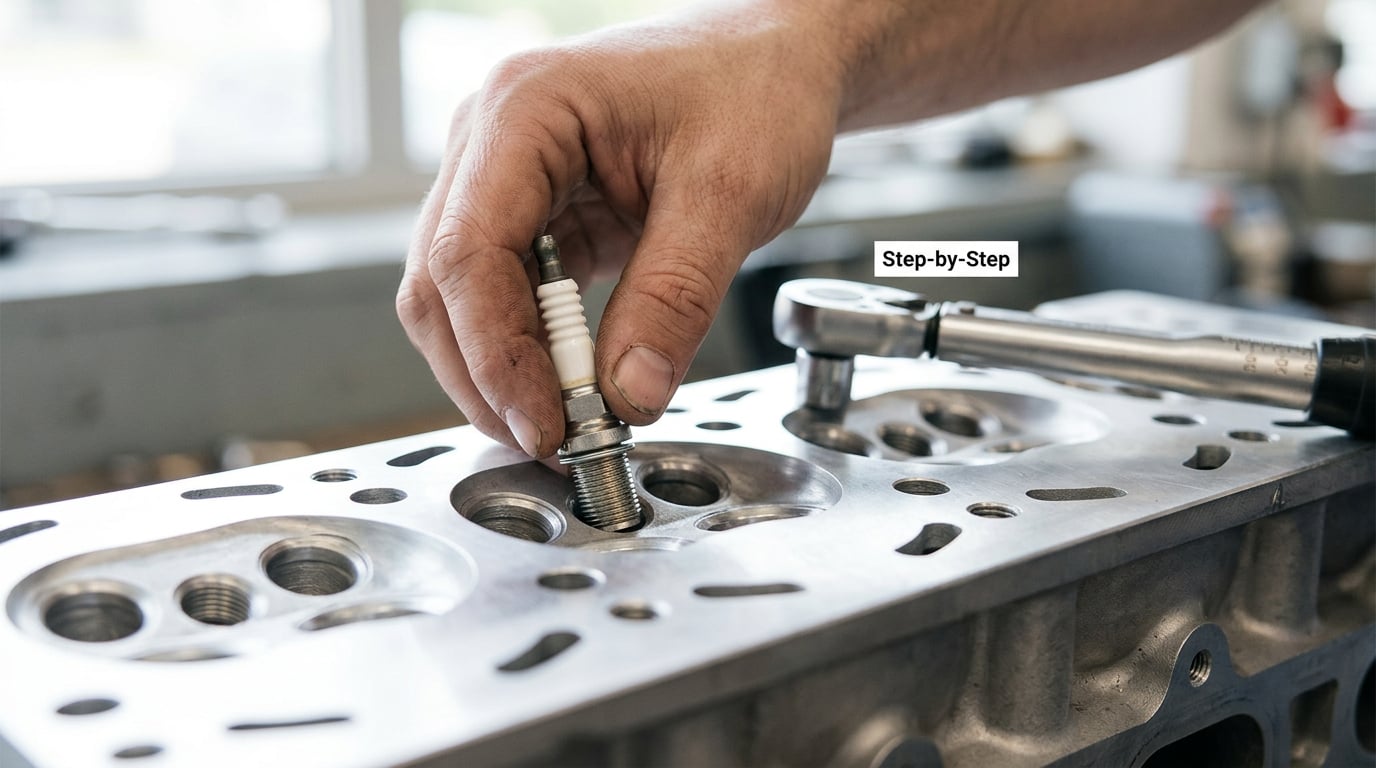
Here is how to replace spark plugs step by step, in the order that keeps damage least likely. Work through one cylinder at a time rather than pulling all four plugs, since the open wells will happily swallow a ratchet or a washer.
Identify the Correct Spark Plugs
Find your engine’s plug part number in the owner’s manual, on the emissions sticker under the hood, or from the number stamped on the old plug. Three attributes have to match: thread diameter and pitch, seat type, and electrode type.
BMW engines have used both 12 mm short-reach taper-seat plugs and 14 mm gasket-seat plugs with a copper crush washer. Threading a 12 mm plug into a 14 mm hole is a fast way to destroy the head, which is why the calipers or thread gauge come out before the socket does.
On heat range, match what the manual specifies. A colder plug than the engine was designed for can foul and short out, and a hotter plug can ping under boost. If you are unsure of the engine variant, match the part number rather than guessing from the coil pack.
On gap, most modern iridium and platinum plugs are pre-gapped at the factory and should be left alone. Only measure copper plugs, and only to the value in your manual. Never pry on a precious-metal electrode to change a gap; a small gauge slip in the wrong direction ruins the plug.
Prepare the Engine Bay
Let the engine cool completely before anything else. A plug that just came out of a running engine is hot enough to burn, and threading a cold new plug into a hot head is asking for a false torque reading and a sealing problem.
Disconnect the battery negative terminal before working near the ignition system. Coil-on-plug systems can back-feed the coils, and you do not want a stray arc or a fried coil pack while you are handling connectors with bare hands.
Clear the bay and lay out a tray. If oil has been weeping onto the intake manifold, wipe it down and check the oil cap and the dipstick tube seals, since a new plug installed over a wet engine bay will just get a greasy film back. Our UV dye guide for finding oil leaks covers that side of it if you would rather find the weep than clean it up every time.
Do not flood the cylinders. Leave the spark plug holes plugged or simply do not prime the injectors, and cover the intake opening with a clean towel while the covers are off.
Remove the Ignition Coils and Old Plugs
Which step applies to you depends on your engine. On coil-on-plug setups, each plug has its own coil sitting in a well in the valve cover. On older distributor-era cars, the coil or cap sends high-tension leads down to individual boots on top of the plugs.
For coil-on-plug, press the connector tab or release, then pull the connector straight back off the top of the coil. Grip the coil body and lift it straight out, slowly, because most coils are a tight friction fit in the well and a fast yank cracks the boot. Then remove the plug boot, which often comes out with the coil in one piece.
On older cars, pull the wire boots off with a wiggle rather than a yank, twisting gently at the base of the boot, and never pull on the wire itself. If the boots are baked into the plugs, a boot puller or a warm rag over the boot saves the wire and your afternoon.
Next, break the plug loose before you ratchet. Hold the socket square on the plug hex and turn counter-clockwise by hand until you feel the threads release, the way the popular BMW Z4 forum walkthrough describes it, then a quarter turn with the ratchet. This alone prevents nearly every cross-thread.
Once free, withdraw the plug slowly and straight. This is where you find out whether you are dealing with a seize, and where a tool gets lost if you are careless. Set each plug in the labelled holder in the order it came out.
Inspect and Install the New Spark Plugs
Read the old plug before you throw it away. A dry light tan or grey deposit is normal. A heavy black soot coating suggests rich running, a weak spark or a failing coil. Oil on the ceramic and threads points at valve stem seals or a bad PCV system, which is a bigger job than plugs. A blistered white insulator means something was detonating and worth investigating before you install new plugs.
Look down the hole with a light before installing. You want clean, dry threads with no old washer fragments or gasket residue sitting at the bottom, and no coolant.
Install the new plug by hand first, then ratchet, in that order. Thread it on until it feels snug with a normal socket, then take it back off and confirm that any sealing washer came up with the plug. On 14 mm gasket-seat plugs, check the crush washer is there. Any gap between the plug shoulder and the head means you are cross-threading, and you should back it out and start again.
If you want insurance on a brand-new aluminium head, slip a short length of small-diameter hose over the ceramic insulator to start the threads by hand. A forum favourite, and it costs nothing.
Tighten in stages. Set the torque wrench to your specification, pull to click, and note the reading so you use the same figure on every plug. Some manuals quote both a dry and a wet value, where wet means a light film of oil or the manufacturer’s approved anti-seize; if yours does, use the value for the condition you actually created. If your manual quotes only one figure, assume a clean dry thread unless it says otherwise.
These are typical published ranges to sanity-check against your manual, not a substitute for it:
| Application | Typical torque range | Note |
|---|---|---|
| Aluminium cylinder head, small 12 mm taper-seat plug | around 15 to 25 ft-lbs | Low end for aluminium threads, which strip easily |
| Aluminium head, 14 mm gasket-seat plug with a new washer | around 20 to 30 ft-lbs | The washer needs compressing, so it is often higher than taper-seat |
| Cast iron head | around 25 to 35 ft-lbs | More forgiving of both under- and over-torquing |
| Thread-locking or pre-torqued application | per manual only | Add-on locking compounds change the required value |
Anti-seize deserves its own caution. Some manufacturers, BMW included in several engine families, specify nothing on the plug threads at all, and others call for a copper-free compound to stop threads seizing in a hot aluminium head. This is genuinely contested, and the reason matters: anti-seize changes the coefficient of friction, so a lubricated thread hits the same torque reading while clamping far harder. That is an over-torque risk hiding in a small tube. Follow the manual for your engine, and keep copper-based anti-seize away from the plug, since copper can migrate onto the electrode.
Reconnect Everything and Test the Engine
Put the coils or leads back on one at a time, matching them to the layout you made at the start. Push each coil firmly until it clicks, and pull the connector until it latches. Then refit the engine cover, the oil cap and any vacuum line you moved, and reconnect the battery negative terminal.
Start the engine and let it idle. What you want is a smooth, even idle with no shaking, no blinking check engine light and no new rattle. If the idle hunts or the engine runs rough, a coil connector that is not fully seated is almost always the cause, so check those before assuming the new plugs are wrong.
Then clear the codes. Most cars need a battery disconnect or a scan tool to reset them, and leaving an old misfire code stored will keep the check engine light on forever. Reset the service interval at the same time so the reminder does not come back in a few hundred miles.
Before the socket goes back in the drawer, the last habit that makes how to replace spark plugs step by step work is a recheck after a short drive: back the nuts off and look at the first plug. Plugs on a hot engine that were left snug by an oily thread can move. This is a thirty-second check that has caught more than one bad install, and it is exactly the kind of verification step that most guides skip.
Common Mistakes
Cross-threading is the fastest way to destroy an aluminium head, and it happens when a plug starts at an angle. The fix is to back it off completely, drop the socket straight down so the plug sits square on the thread, and start again by hand. If the plug keeps resisting, check for a crossed thread with a thread chaser or feeler gauge rather than forcing it.
Over-tightening strips threads and can crack a gasket-seated plug, and a stripped hole means either a rethread insert kit or a head job. Under-torquing leaks combustion into the intake or the oil, and the symptom is a misfire code and a rough idle that gets worse when the engine is warm.
Using the wrong plug is the third big one. A 12 mm plug in a 14 mm hole, or a plug with the wrong heat range, is not a small mistake. Match the part number, not the shape.
The rest are shorter. Damaged coil boots leak and misfire, and a new boot costs a fraction of a coil. Debris or a dropped washer in an open well ends up in the cylinder, so count your parts and keep towels clear of the holes. Working on a hot engine causes burns and bad torque readings. And ignoring the engine-specific instructions on torque, gap and anti-seize is how the same job goes fine on one BMW and badly on another.
Two recovery cases are worth knowing. A plug that will not budge gets penetrating oil down the well, 20 minutes of soak, then another break-loose attempt. Stop and go again, never add torque to a plug that has not broken free.
For a stripped hole, stop driving it and use a rethread insert kit or a tap of the correct diameter. A cross-threaded plug that backed out and melted, causing a serious misfire, was fixed with a rethread kit rather than pulling the head, and that is the normal outcome. If a plug snaps at the hex, extraction kits pull the broken piece out with a thread tap. Access problems are different: on a transverse V6 with rear-facing plugs, the intake manifold has to come off, and that is a two-day job with a new gasket and a leak risk. Know when to hand it to a shop.
Frequently Asked Questions
Is it hard to replace spark plugs yourself?
On most four-cylinder engines, no. You need a ratchet, a spark plug socket, an extension and a torque wrench, and the job takes 45 to 90 minutes. The difficulty is access rather than technique: engine covers, vacuum hoses and connectors hide the plugs, and deep wells need a flexible extension. If your engine is a transverse V6 with rear-facing plugs that sit under the intake manifold, that is a much bigger job.
What happens if a spark plug is not torqued correctly?
Too tight and you can strip aluminium threads, crack the plug, or break a gasket-seated seal. Too loose and combustion gases leak past the threads or the seal, which shows up as a misfire code, a rough warm idle and reduced fuel economy. Both problems are invisible at installation and only show up later, which is why a torque wrench and a recheck after the first drive matter so much.
Should I use anti-seize on spark plug threads?
Follow your manual, because the answer genuinely varies by manufacturer. Several BMW engine families specify no anti-seize at all, while others call for a thin film of copper-free compound to prevent seizing in a hot aluminium head. Anti-seize lowers friction, so a lubricated thread reaches the same torque reading with much higher clamping force. If you use it, tighten to the wet value, not the dry one.
How often should spark plugs be replaced?
Most manufacturers put the interval somewhere between 30,000 and 100,000 miles, depending on the plug. Copper and iridium plugs sit at the lower end of that range, platinum and double-platinum at the upper end. The owner’s manual governs, and it also lists the correct part number. Check the interval before booking the work, because a longer-life plug does not mean you can skip it indefinitely.
What should I do if a spark plug is seized or will not come out?
Soak penetrating oil down the well and give it 20 minutes, then break the plug loose by hand before using the ratchet. If it still resists, add more oil, try again, and stop before you twist the hex off. Applying full ratchet torque to a plug that has not broken free is how the hex snaps. Heating the area and an induction-heater style tool are the next steps, and a broken plug is an extraction job, not a bigger wrench.
Should I replace the ignition coils while I am in there?
Only if they have a reason. Coils fail with age and heat, and on a high-mileage engine a full set at the same time avoids paying for access twice. On a low-mileage car with coils that look clean and no misfire codes, the old coils are usually fine. If a new plug misfires, swap it to another cylinder before condemning anything, since a misfire follows the plug, not the position.
Conclusion
Start by confirming your engine’s plug part number, electrode gap and torque value in the owner’s manual. That single check prevents every expensive mistake in this job, from cross-threading a 12 mm plug into a 14 mm hole to over-torquing an aluminium head because someone guessed instead of looked.
If you worked through how to replace spark plugs step by step as described, a clean install ends with four things: a smooth, even idle with no blinking check engine light, no stored misfire codes after clearing them, a service interval reset so the reminder stays away, and one plug rechecked after a short drive to confirm the threads held under heat.
Cross-threading, over-torquing and the wrong plug type cause nearly all of the damage. Everything else on this page is a nuisance. Take your time with the first thread of each plug, pull the torque wrench to the same number four times, and the job is finished before the coffee goes cold.