
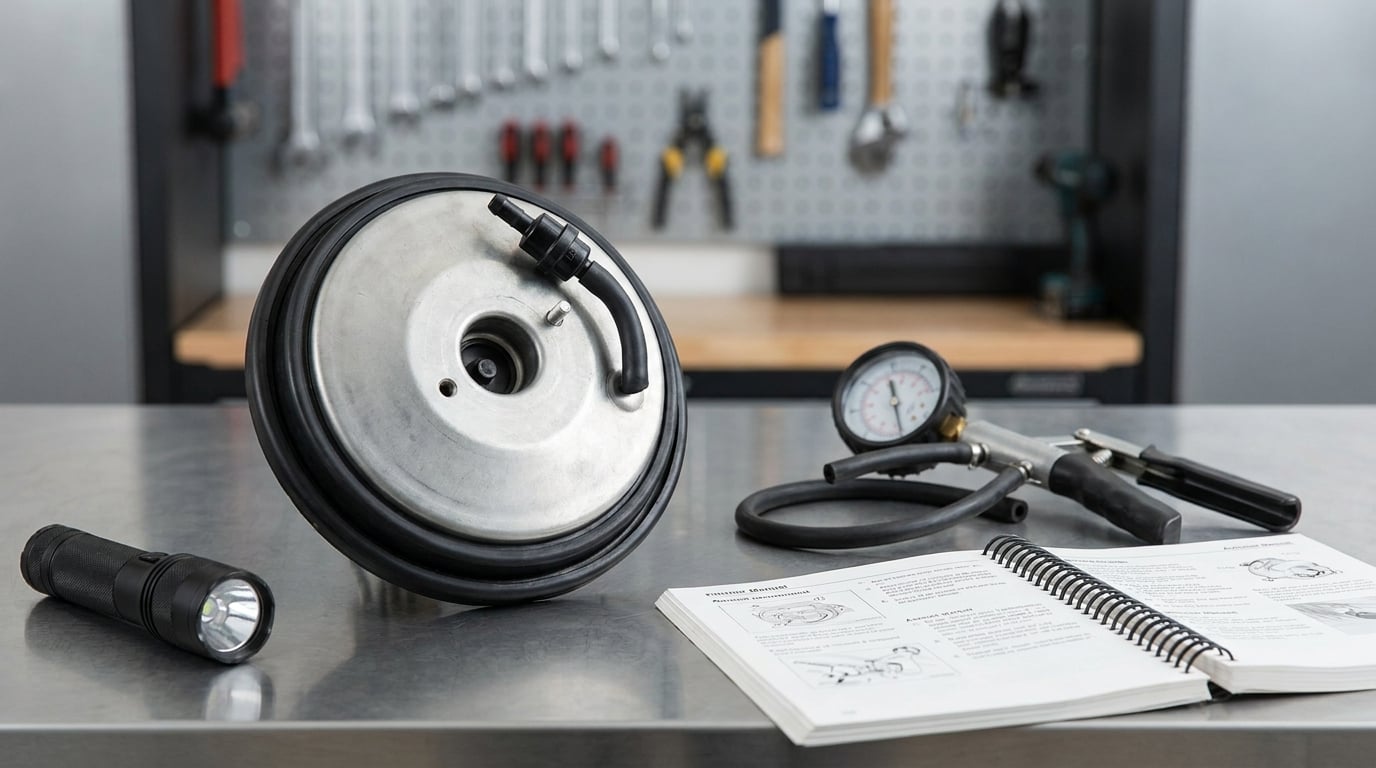
Learning how to diagnose a brake booster problem starts with the pedal, not the parts bin. On most BMWs with a hard or sinking brake pedal, the failed booster is rarely the culprit: a cracked vacuum hose, a stuck-open check valve or a leaking intake manifold sends the same signal and costs a fraction as much. The sequence below walks from symptom to confirmed part, and takes about an hour with basic tools.
Two rules hold for everything that follows. Never road-test a car with a pedal that feels abnormal, and never crack a fitting on a hydroboost system without discharging the accumulator first. A brake system is safety-critical, and a wrong call there is more expensive than a shop visit.
Table of Contents
- What You Need
- Step-by-Step
- Common Mistakes
- Frequently Asked Questions
- Can I drive with a bad brake booster?
- What symptoms indicate a brake booster failure?
- Is a brake booster the same thing as the brake master cylinder?
- Why does my BMW brake pedal go hard with the engine off?
- Can a vacuum leak mimic a failed brake booster?
- Should I replace the brake booster if the check-engine light is on?
- Conclusion
What You Need
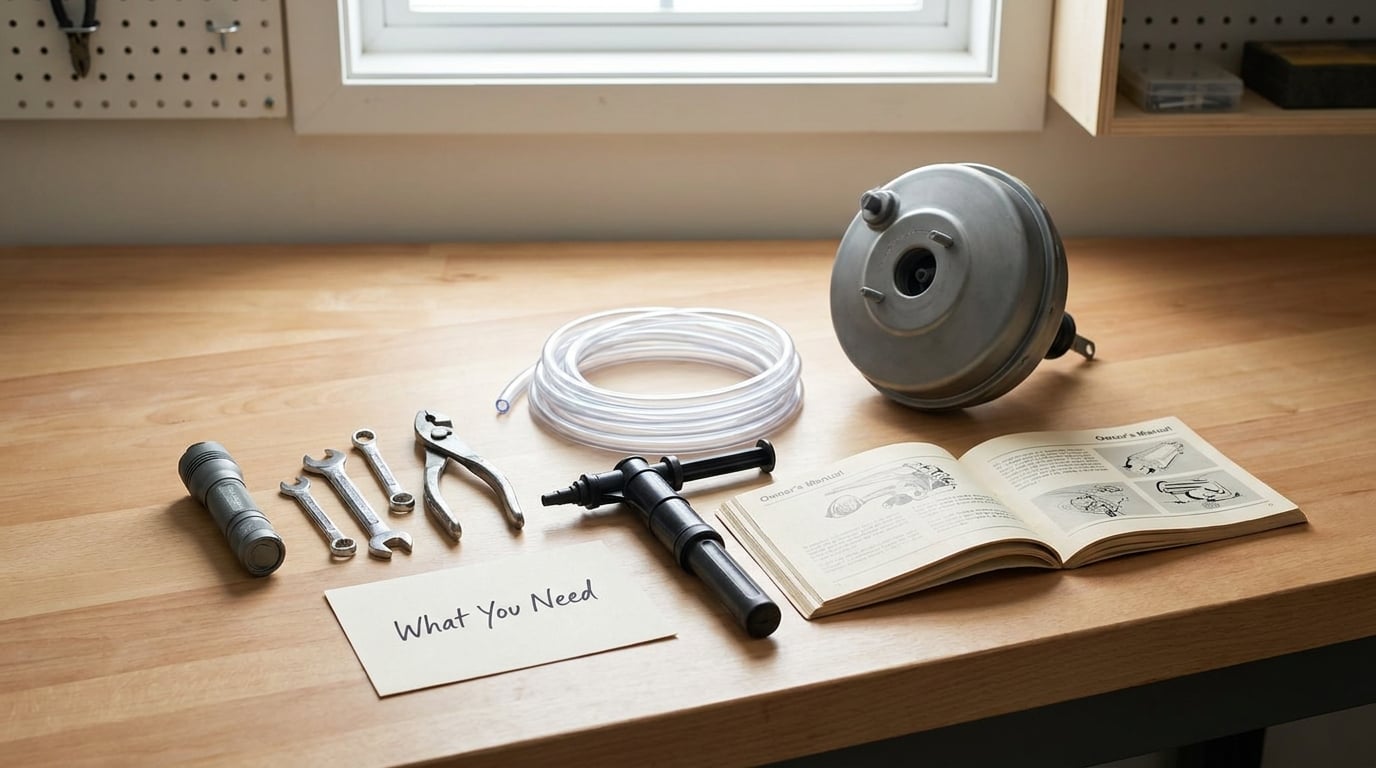
Gather these before you start, because a test you cannot finish halfway tells you nothing.
- Service documentation for your specific chassis. Vacuum routing on a BMW varies a lot between an inline six, a turbo four and a diesel. The manual and the factory wiring and vacuum diagrams tell you where the booster line originates.
- A hand vacuum pump with a gauge. This is the single most useful tool here. It applies a known vacuum to the booster hose so you can see whether the booster holds it.
- A flashlight and a hand mirror. The vacuum hose runs behind the engine on several layouts, where you cannot see it directly.
- Basic hand tools: a ratchet and sockets for the intake and manifold area, a small flat screwdriver, and a wrench for the check valve.
- Clean brake fluid and a bleed kit if you disturb anything at the master cylinder.
- Jack stands and wheel chocks if the car needs to sit with the engine running. Parking brake and transmission in park is the usual alternative.
No tools? Step 1 below is a free test that needs nothing but your foot. Do that one first.
Step-by-Step
1. Confirm the symptom before inspecting parts
With the engine off, pump the brake pedal until it stops getting stiffer, which means the booster’s stored vacuum is drained. Note how the pedal feels at that point. Start the engine, hold the pedal down and feel it again.
Pass: the pedal firms up noticeably once the engine starts, and it feels normal. Assist is working.
Fail: the pedal stays hard or gets harder with the engine running, or it is soft off and stays soft running. That points to either no vacuum reaching the booster or a booster that will not hold it.
Before you condemn the booster, rule out the pedal feel of other faults. Low fluid, contaminated fluid or air in the hydraulic lines all change pedal travel. A stiff pedal clutch is not the booster at all. If the pedal is inconsistent, the car pulls to one side, or braking distance has grown noticeably, stop driving it and get a professional look.
2. Check brake fluid level and condition
Open the reservoir cap with the engine off and the car on level ground. The level should sit between the minimum and maximum marks. A low level usually means worn pads or a leaking caliper or wheel cylinder, not a booster problem.
Look at the fluid itself. Clear amber fluid is normal. Dark, cloudy or milky fluid is contaminated and needs a full flush regardless of the pedal. There is more on this in our guide to what causes a low brake fluid warning light.
Pass: level between the marks, fluid clear, and the fluid has been changed within the last two years. If you are unsure of its condition, our piece on testing brake fluid with a moisture tester covers the check.
Fail: any of the above. Fix the fluid issue and re-run the pedal test from Step 1 before touching the vacuum side. A pedal feel caused by air or water in the fluid will not change no matter what you do to the booster.
3. Inspect for vacuum leaks
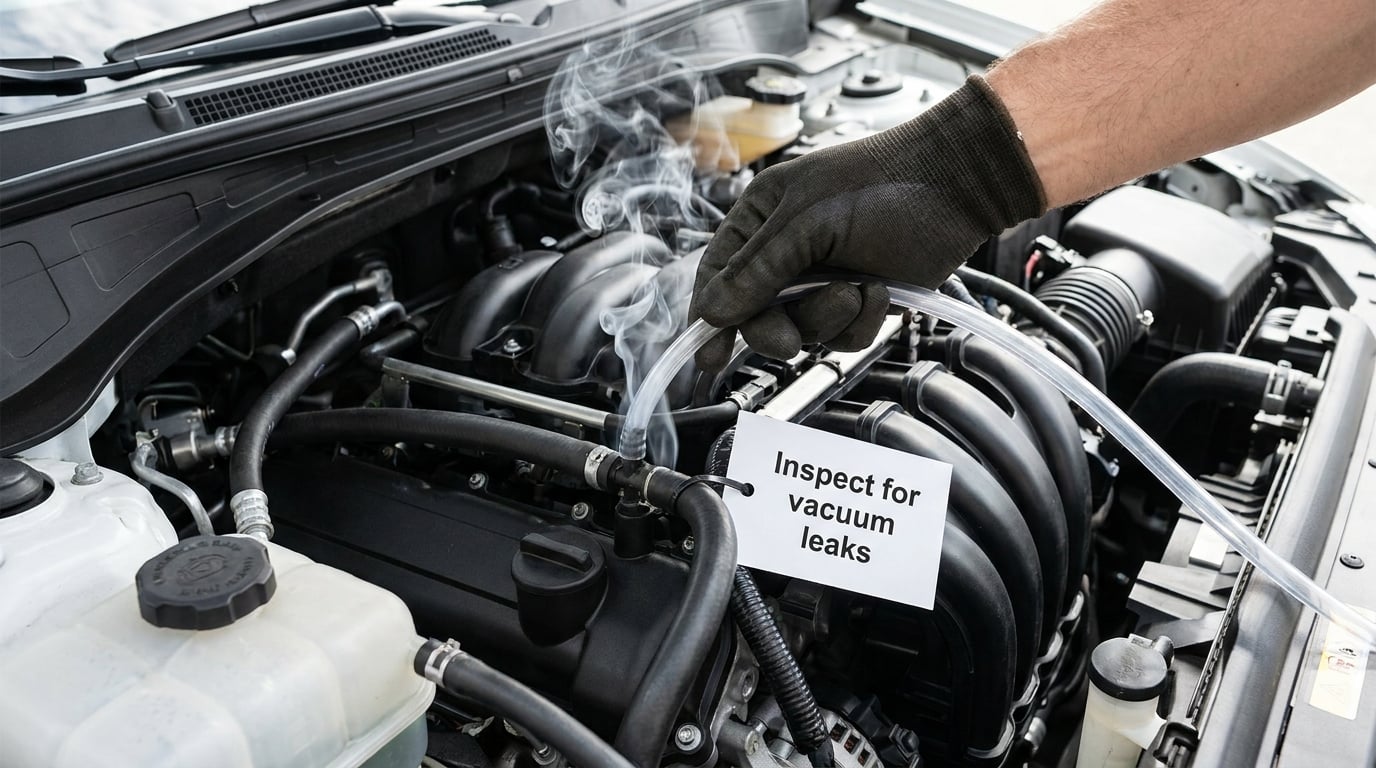
This is the step that saves the most money, and the one most often skipped. Follow the hose from the booster back to the intake manifold or the vacuum pump. On BMWs the line is often a rigid tube plus short rubber sections, and the cracks show up at the rubber-to-plastic joins rather than in the middle of the hose.
- Look for splits, kinks, flattened sections and hoses that have gone shiny or hard.
- Check the check valve where the hose meets the booster shell. It should only allow flow toward the booster, and a hissing sound from the booster when the engine is off means it is stuck open.
- Look for rodent damage. A chewed hose looks like a clean cut with an obvious gap, and the section beyond it is often still in place.
- Inspect the intake manifold and the vacuum lines around it for a split or a loose fitting.
A smoke machine is the fastest way to confirm. Run it low-pressure in the engine bay, engine running, and watch for smoke at the hose, the check valve and the manifold joints. A handheld vacuum tool is the cheaper substitute: block the booster hose with your thumb, pump down, and see whether it holds.
Pass: no visible damage, no smoke, and the hose holds vacuum. Move to Step 4.
Fail: a leak anywhere in that run. Replace the hose or check valve and re-run Step 1. A leak at the manifold is an engine vacuum fault, not a brake fault, and it needs its own fix.
4. Test vacuum supply at the booster
Disconnect the vacuum hose at the booster and hook the hand pump to it. Create vacuum and read the gauge.
Pass: a healthy engine at idle holds roughly 18 to 22 inches of mercury at sea level, and a healthy booster pulls the reading up toward that figure and holds it. A gentle dip when you apply the pedal is normal, because the booster is spending stored vacuum on your foot.
Fail, supply side: the pump cannot pull vacuum at all. That is a leak, a bad check valve, a cracked hose or a failing vacuum pump. Go back to Step 3.
Fail, booster side: the pump pulls vacuum and holds it well when it is applied directly to the booster, but the gauge collapses as soon as you let go. The booster is not holding. On a tandem-diaphragm unit that usually means a failed diaphragm, and the booster is the part that needs replacing.
Keep in mind that engine vacuum falls off with altitude and climbs with a healthy throttle body. A low reading in thin air is not a leak.
5. Perform a pedal-feel and brake-stopping test
Only do this after Steps 1 to 4 have passed, and only on a quiet road with clear space behind you.
Compare four things: the free play before the pedal takes up, the bite of the brakes on first application, how far the pedal travels under gentle braking, and the distance the car takes to stop from a low, safe speed. A working booster gives short free play, a firm first bite, a pedal that firms up rather than sinking, and a stopping distance that matches the car before the fault appeared.
Then do the engine-off comparison one more time. The pedal should be soft with the engine off and firm the moment it starts. If it does not, no amount of road testing changes the diagnosis. If the pedal feels inconsistent while moving, stop the car where it is safe to do so and do not drive it further.
6. Check the check-engine light and related codes
Most vacuum boosters produce no codes at all, because the booster is not an electrical device. A scan tool is still worth plugging in, since the codes it returns can separate an assist problem from an electronic one.
- C0035 points at the brake booster motor control circuit, which only exists on electric-assist systems.
- C0047 and C0586 relate to the booster motor and pressure-sensor circuits on those same systems.
- Uneven idle, misfire and manifold codes point at an engine vacuum leak, which is a common cause of a hard pedal on these engines.
A brake system warning lamp, by contrast, is usually hydraulic: low fluid or a level switch in the reservoir.
Pass: no boost-related codes, which supports a vacuum-side diagnosis.
Fail: boost motor or pressure-sensor codes, which send you to the electric-assist path rather than the vacuum path. The assist motor is tested with a scan tool for commanded operation, a voltage drop on the supply and ground, and current draw in the range the manufacturer lists. On older diesel BMWs a large vacuum leak can also trigger a limp-mode condition.
7. Confirm the diagnosis before replacing the booster
Put the evidence together before ordering anything. A failed booster shows all of these: the pedal is hard or sinking with the engine running, the fluid level and condition are good, the vacuum hose and check valve are intact, the supply side pulls 18 to 22 inHg, and the booster itself will not hold vacuum. Anything missing from that list means you have not found the fault yet.
Air in the hydraulic system is the other classic explanation for a pedal that stays hard after a new booster goes in. If the pedal is soft off and soft running and the booster tests fine, bleed the system properly. Glazed pads are a separate cause of a pedal that travels too far and grabs late, and they need the pedal feel diagnosed as well.
Many owners reach this point with a brand new booster on the shelf and a pedal that has not changed. The fix is almost always upstream: the hose, the check valve, the manifold seal, or a hydraulic problem that was never bled.
Common Mistakes
Replacing the booster first, every time. The booster is the expensive part and one of the least common failures. Most hard-pedal complaints on forum threads trace back to a ten-dollar hose or check valve. Run Steps 1 through 4 before anyone opens a box.
Testing with the engine off only. An engine-off test tells you the booster can hold vacuum. It tells you nothing about whether vacuum is reaching it. The engine-on comparison in Step 1 is the half that gets skipped.
Calling normal hissing a leak. A hiss that stops when the pedal is fully depressed is the booster working. A hiss that continues with the pedal held, or with the engine off, is a leak or a stuck-open check valve.
Judging the booster from a rough idle. A rough idle that worsens when you brake is an engine vacuum leak, usually at the intake manifold, not a booster fault. The booster and the manifold fail with similar pedal symptoms and different fixes, so separate them with the supply-side test in Step 4.
Ignoring a slipping pedal clutch. A disconnected or worn clutch master cylinder behind the pedal gives a hard pedal that no amount of vacuum will change. Check pedal linkage play before condemning anything on the brake side.
Bleeding the wrong thing. If the pedal changed after brake work, air in the lines is the first suspect, not the booster. A firm pedal with a long release, or one that starts to sink mid-stop, points at air or fluid.
Assuming a booster is the whole system. On electric-assist and hydroboost cars, the vacuum tests in Steps 3 and 4 tell you nothing. Check for stored trouble codes first, and on hydroboost, confirm the fluid level and accumulator pressure at the brake fluid reservoir cap before doing anything else.
Frequently Asked Questions
Can I drive with a bad brake booster?
A hard pedal is driveable in the sense that the brakes still work, but it is not safe to rely on. Without assist you are pressing with several times more force, stopping distances grow, and the pedal may sink further under repeated use. If the pedal feels consistent, stays firm under braking, no warning lamp is lit and there is no fluid leak, drive it gently to a shop. If the pedal is inconsistent, sinking, or the car pulls, do not drive it at all.
What symptoms indicate a brake booster failure?
The usual signs are a pedal that is unusually hard, or one that travels a long way before the brakes bite. A soft or sinking pedal, excessive pedal effort compared with how the car used to feel, longer stopping distances, a brake system warning lamp, and a hissing sound from the booster area are also common. A pedal that firms up once the engine starts is strong evidence the booster and its vacuum supply are working.
Is a brake booster the same thing as the brake master cylinder?
No. The master cylinder is the hydraulic component that converts pedal force into fluid pressure, and it is the part that actually holds and moves the brake fluid. The booster is a vacuum or electric chamber mounted behind it that multiplies the force you apply to the pedal, typically three to five times. A failed booster changes pedal effort. A failed master cylinder usually shows a sinking pedal, low fluid, fluid on the ground or a pedal that goes to the floor.
Why does my BMW brake pedal go hard with the engine off?
With the engine off there is no vacuum being generated, so the booster is running on whatever vacuum it stored. A healthy check valve holds that vacuum and the pedal stays soft until you start the engine. If the pedal gets progressively harder each time you pump it with the engine off, the check valve is stuck open or the booster will not hold. Pump the pedal to firm it up, start the engine and compare the feel.
Can a vacuum leak mimic a failed brake booster?
Yes, and it is the most common misdiagnosis in this area. A cracked hose, a rodent-chewed line, a loose manifold fitting or a stuck-open check valve starves the booster of vacuum and produces a hard pedal that feels identical to a failed booster. The difference shows up in testing: a leak means the supply side will not hold vacuum, while a failed booster can be pulled to full vacuum on the gauge but will not hold it once released.
Should I replace the brake booster if the check-engine light is on?
Not on that basis. Most vacuum boosters have no electrical connection and set no codes, so a check-engine light points somewhere else. A boost motor or pressure sensor circuit code on an electric-assist car does involve the booster, but a misfire, rough idle code or manifold vacuum fault on a conventional BMW does not. Read and clear the codes, fix what they point to, then re-run the pedal and vacuum tests before ordering a booster.
Conclusion
Start with a safe road test only if the pedal currently feels normal, then check the brake fluid before touching anything. Follow the vacuum hose to the booster, confirm the supply holds 18 to 22 inHg, and test whether the booster itself will hold that vacuum. Those four results tell you whether you are looking at a hose, a check valve, an intake manifold leak or the booster itself.
If the pedal stays inconsistent after all of that, or the brakes feel unsafe at any point, stop there and hand it to a qualified brake technician. Diagnosing is where the money is saved; guessing on a safety-critical system is where it gets spent.