
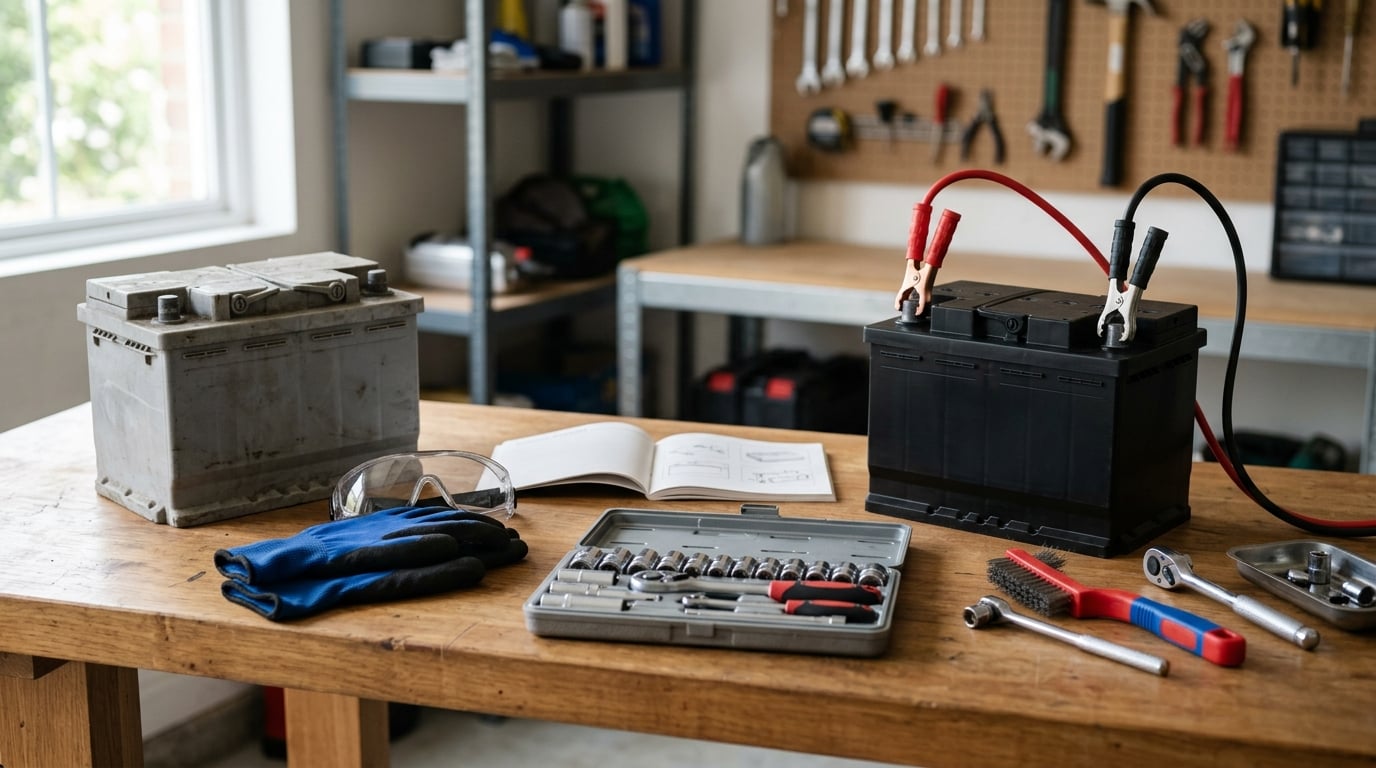
Changing a car battery is one of those jobs that looks far more complicated than it turns out to be. To replace a car battery safely: park on level ground, engine off, parking brake on, gloves and eye protection on, then take the negative (black) terminal off first and the positive (red) one off last. Reconnect in the opposite order. Budget 25 to 40 minutes on most cars.
The order is the whole trick. The negative cable is bonded to the vehicle body, so pulling it first means your wrench can touch the frame or a bracket without completing a circuit through your body. Get that backwards and you are welding a spanner to the car.
Two things trip most people up. The first is the settings reset: the clock, radio presets, alarm code, and window auto-up and auto-down memory often vanish the second the battery is disconnected. The second is assuming a dead battery means a dead battery, when a corroded ground strap or a failing alternator will drain a brand new unit in a week.
Here is the whole job, start to finish.
Table of Contents
- What You Need
- How to Replace a Car Battery Safely: Step-by-Step
- Step 1: Prepare the Vehicle and Check the Battery
- Step 2: Protect Settings and Disconnect the Old Battery
- Step 3: Remove the Battery and Inspect the Area
- Step 4: Clean and Check the Connection Points
- Step 5: Install the Correct Replacement Battery
- Step 6: Reconnect the Battery in the Correct Order
- Step 7: Test the Battery and Vehicle Electrical System
- Common Mistakes
- Frequently Asked Questions
- Conclusion
What You Need
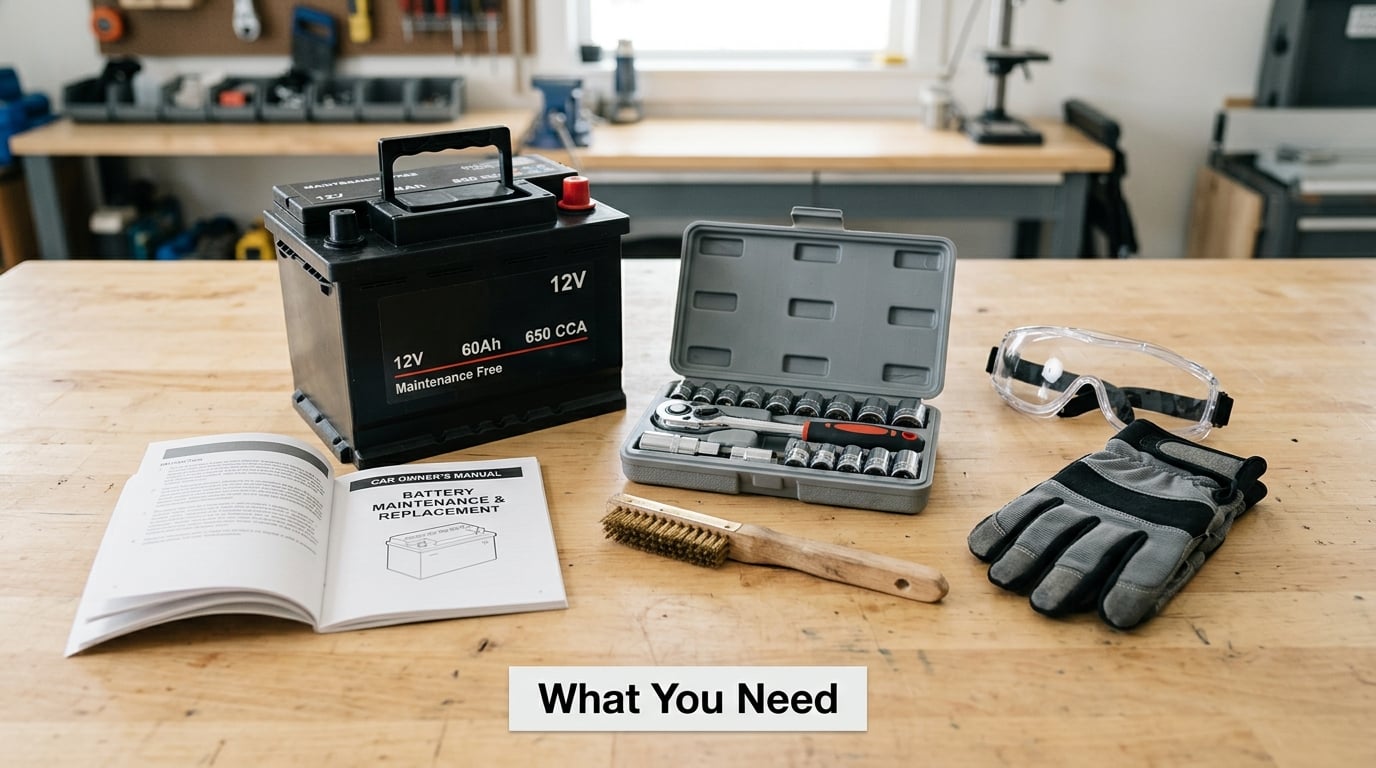
Most of this list costs you nothing beyond the battery itself, and you probably already have two-thirds of it in a drawer.
- The replacement battery matched to your vehicle’s group size, cold cranking amps, and terminal polarity. Confirm the group size printed on the old case, the owner’s manual specification, or the label inside the driver’s door jamb.
- Socket wrench, ratchet, and extension bar with 10mm as the common size, plus a 7mm, 8mm, and 13mm nearby. Terminal nuts are frequently 10mm, but hold-down hardware is often a different size entirely.
- Combination wrenches in the same sizes, useful if a socket will not reach a cable in a tight engine bay.
- Terminal brush or 100-grit sandpaper for cleaning the cable ends and the posts before they go back on.
- Baking soda and water mixed into a thin paste, plus an old rag and a bottle of water for rinsing.
- Dielectric grease, petroleum jelly, or lithium grease to coat the terminals and slow the corrosion that just caused this job.
- Safety goggles and insulated work gloves. Sulfuric acid is corrosive and a charging battery gives off flammable hydrogen gas.
- Cable tie to secure the disconnected cables out of the way so they cannot swing back onto a live terminal.
- Battery memory saver or trickle charger, optional but worth it if your car has a security code you would rather not look up afterwards.
- The owner’s manual, for the battery location, the hold-down torque, and any registration or reset procedure the manufacturer requires.
A multimeter or a battery tester is helpful but not required. Plenty of parts stores will test the old battery and print a result for you before you decide to buy anything.
How to Replace a Car Battery Safely: Step-by-Step
Step 1: Prepare the Vehicle and Check the Battery
Park on level ground, switch the engine off, remove the keys, and set the parking brake. Open the hood and find the battery. On many cars it sits under a plastic cover in the engine bay, under the driver’s seat, or in the boot, so check the manual rather than guessing.
Before you commit to a replacement, look at the old battery. Bulging or split cases, a bulging white plug on top, white or blue-green crust around the posts, or a sour smell all point one way. Age is the other clue: most lead-acid batteries last three to five years, and rarely longer in a warm climate.
Then check the obvious free fix. On r/MechanicAdvice, the single most common fix owners report is not a new battery at all, it is terminals that are loose or furred with corrosion. A terminal cleaning and a proper re-seat can solve a slow crank outright.
Step 2: Protect Settings and Disconnect the Old Battery
Before you touch a spanner, find your radio security code and your alarm or immobiliser code. Photograph your radio presets, note the clock, and write down your seat and mirror memory positions. Some cars also remember the garage-door opener, which is easy to re-pair and awkward to lose.
If you have a memory saver, clip it to the OBD port or the positive post now, before you disconnect anything.
Now take off the negative (black) terminal first. It is marked with a minus sign and usually carries a ground strap to the body or gearbox. Loosen the nut, wiggle the clamp, and lift it off. Cable tie the loose cable to a solid bracket so it cannot flop back down.
Then remove the positive (red) terminal, marked with a plus sign. Some cars use a quick-release clamp that you squeeze and lift rather than a nut and bolt. If yours does, no tool is needed and there is no nut to find.
The reason for the order is simple. With the negative disconnected, the battery is no longer bonded to the car body, so if your wrench bridges from the positive post to the engine bay, the current has nowhere to flow through you.
Step 3: Remove the Battery and Inspect the Area
Remove the hold-down bracket or clamp, which is usually a rod, a hooked bracket, or a small frame that crosses the top of the case. Store the bolts somewhere you will find them. Do not pry the bracket with the battery still loaded, because the case can split.
Lift the battery straight up and out, keeping it upright. A typical unit weighs 40 to 60 pounds, so lift with your legs, and ask for help if yours is tucked somewhere awkward. On r/autorepair, owners describe modern cars where the air box, intake duct, and a front bracket all have to come off first, turning a half-hour job into an afternoon. That is normal, not a failure on your part.
With the battery out, look at the tray. Check the ground strap for fraying or green crust, and look for acid stains or a damp patch under the case. A battery that leaked needs the tray cleaned properly and the old unit gone, not wiped and returned to service.
Step 4: Clean and Check the Connection Points
Wash corrosion off the battery tray with a baking soda and water paste, a rag, and a bottle of water. Neutralise it rather than scrubbing it dry, because the crust is dried acid and it will eat through a new clamp if you trap it back under the connection.
Clean the cable clamps the same way. Rub the inside of the clamp and the battery post with a terminal brush or 100-grit sandpaper until the metal is bright. Wipe everything dry, then dry the tray.
Do not get baking soda paste, water, or acid into an open battery vent tube if your car has one. Some European vehicles route a hose from the battery cover to the body, and that line must stay clear.
Step 5: Install the Correct Replacement Battery
Set the new battery into the tray with the terminals facing the same direction as the old one. If the positive post ends up on the wrong side, the cables will not reach and you will be undoing the whole job. Many groups are handed over from the shelf with the layout reversed, so check before you commit.
Confirm the case size, the cold cranking amps, and the terminal polarity match what your car came with. An AGM battery is required on most start-stop vehicles, and hybrids and EVs use a 12V lithium pack that will not accept a standard lead-acid unit. The owner’s manual settles it.
Fit the hold-down bracket or clamp and tighten it until the battery is solid. An unsecured battery vibrates, and vibration is what shakes terminals loose and kills the ones that follow.
Step 6: Reconnect the Battery in the Correct Order
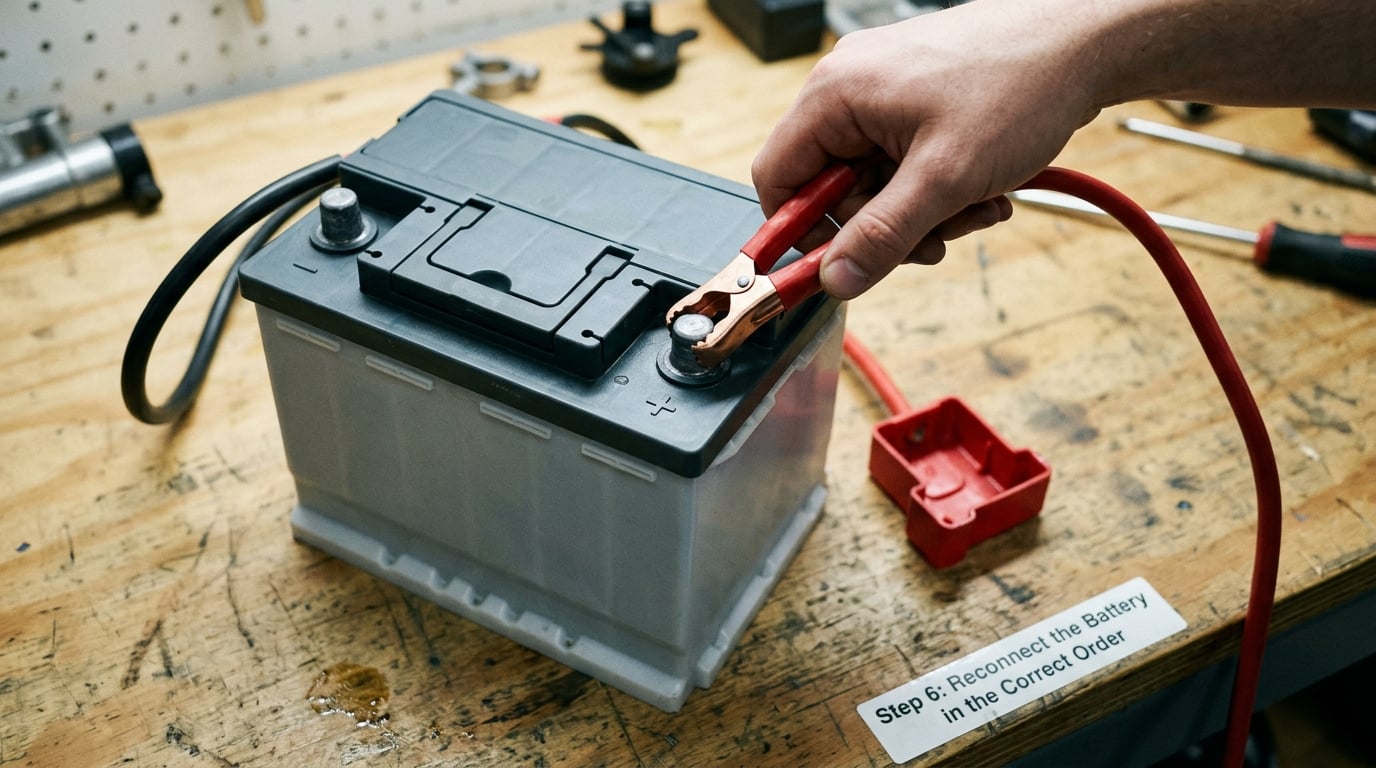
Attach the positive (red) cable first. Fit the clamp, tighten the nut until the clamp is firm against the post and you cannot twist it by hand, and stop there. Overtightening distorts the lead post and turns the next removal into a stuck-hardware job.
Then attach the negative (black) cable last, to the same ground point it came from. Tighten it the same way.
Smear a thin film of dielectric grease, petroleum jelly, or lithium grease over both connections once they are snug. It keeps moisture out of the contact, which is what turns a clean post white in two summers.
Completing the circuit early is the mirror image of the removal order and it is how the whole sequence exists: battery out of circuit while you work, battery grounded last.
Step 7: Test the Battery and Vehicle Electrical System
Put the key in and turn it. The lights should come up to full brightness rather than dimming, the dash should light normally, and the engine should crank without hesitation. A fast crank then a slow one on the next start means the charging system is not topping the battery up.
Leave the engine running while you put a meter on the battery, or let a shop test it. With the engine running, a healthy charging system reads meaningfully above 12.6 volts, and a reading that drops once the engine is off points at the battery rather than the alternator. Drivers routinely take a working car to a shop and find the real fault was a corroded ground strap or a parasitic drain, so test rather than assume.
Now put your settings back. Reset the clock, restore the radio presets, enter the radio security code, re-pair the garage-door opener, and if you lost it, cycle the window switch from the top of the glass to the bottom to restore auto-up and auto-down. Clear any stored fault codes with a scan tool if your car displays them.
On newer vehicles, an AGM battery replacement may need registering with the battery monitoring system so the charging profile matches the new unit. The manual will say so if yours needs it.
Finally, recycle the old battery. Take it back to the parts dealer or drop it at a recycling centre, where you normally get a core charge refund against the new one. It is lead, acid, and plastic, and it does not belong in household waste.
Common Mistakes
Almost every mishap on this job traces back to one of six things.
- Reversing the terminal order. The fix is to disconnect the negative first and reconnect it last, every time. If you have already done it backwards, switch the engine off, disconnect negative first, then positive, reseat both clamps firmly, and reconnect positive first. Owners on r/AskMechanics describe a car that started but behaved oddly, with the alarm triggering and the lights misbehaving, purely from terminals seated incorrectly.
- Loose terminals. A clamp you can twist by hand will arc, heat, and fail. Tighten until it is firm, then check it again after the first drive.
- Using the wrong group size or battery type. Too small physically means it will not seat under the hold-down. Too little cold cranking amps means a slow crank on a cold morning. A flooded battery in a start-stop car means the car will run rough or the stop-start system will disable itself. AGM where a flooded battery belongs is the same problem in reverse.
- Letting a tool bridge the terminals. Take the ring off, and do not leave a socket, a ratchet, or a coin sitting on the battery case where it can touch both posts. A coin on a battery is the classic way to weld a wrench to a car.
- Skipping the charging-system check. A new battery that dies again in a week did not fix anything. Have the alternator and the parasitic draw tested.
- Leaving no memory backup. Find the code first, or hook up a memory saver. This one is annoying rather than dangerous, but it is the complaint people remember longest.
A few final safety points. Keep the battery upright, because sulfuric acid spills out of a tipped case. Work somewhere ventilated, since a charging battery releases flammable hydrogen gas. Skip sparks, flames, and cigarettes. Do not lay metal jewellery, a wrench, or a rag across both terminals. And if the ground is wet or it is raining, wait for dry conditions, partly because wet hands and a steel spanner are a poor combination.
Frequently Asked Questions
Is it safe to change a car battery yourself?
Yes, on a conventional 12V car with a battery in the engine bay or boot, it is a straightforward job. Turn the engine off, park on level ground, set the parking brake, and wear gloves and eye protection. The real risks are a tool bridging the terminals and acid burns, both of which the negative-first order and upright handling prevent. Check your owner’s manual first for start-stop, hybrid, or EV requirements.
Which battery terminal do you take off first?
Take the negative (black) terminal off first, marked with a minus sign, and the positive (red) terminal off last. The negative cable is bonded to the vehicle body, so removing it first disconnects the battery from the chassis. That way, if your wrench touches the engine bay while you are on the positive post, the circuit cannot complete through the car and through you. On installation, reverse it: positive first, negative last.
What tools do I need to change a car battery?
A socket wrench or combination wrench set covering 7mm, 8mm, 10mm, and 13mm, because terminal nuts are usually 10mm while hold-down hardware varies. Add a terminal brush or 100-grit sandpaper, baking soda and water for corrosion, dielectric grease or petroleum jelly, insulated gloves, safety goggles, and a cable tie to secure the loose cables. A battery memory saver is optional but useful.
Will I lose my radio code and clock when I replace the battery?
Often, yes. Disconnecting the battery cuts power to the radio, clock, alarm, seat memory, and often the window auto-up and auto-down settings. Look up your radio security code and alarm code before you start, and photograph your presets. A memory saver or trickle charger keeps a small amount of power flowing during the swap and avoids the whole problem on most cars.
How long does it take to replace a car battery?
Expect 25 to 40 minutes on a car where the battery is plainly accessible. A battery hidden under an air box, behind a trim panel, under a seat, or in the boot can add a lot of time, because owners on r/autorepair describe removing the air box and intake duct before the battery will come out. Corroded or seized hold-down bolts are the other common time sink. Budget extra if either applies.
When should I have a shop replace the battery instead?
Hand it to a shop if the battery sits under an air box, seat, or trim panel you would rather not remove, if the hold-down bolts are seized or rounded, if the terminal clamps are fused onto the posts, or if the car is a hybrid or EV with a 12V lithium pack. Also worth a shop visit if the old battery leaked acid into the tray, since that needs proper neutralising rather than a wipe-down.
Conclusion
The first three actions decide whether this job goes smoothly: confirm you have the right replacement battery, park the car on level ground with the parking brake on, and take the negative terminal off first. Everything after that is a controlled sequence you can stop and check at any point.
Take your radio code before you disconnect anything, keep the battery upright, and grease the terminals when you finish. If the car will not crank again within a week, get the charging system tested instead of buying a second battery. And for anything model-specific, the owner’s manual beats any guide, including this one.