
Learning how to replace a fuel filter is one of the cheapest ways to protect your fuel pump. Relieve the fuel system pressure by pulling the fuel pump fuse, run the engine until it stalls, then disconnect the negative battery cable. Catch the draining fuel, swap the filter with the flow arrow pointing toward the engine, and prime the rail before you crank it.
On a gasoline engine with an external inline filter, the whole job takes about an hour with basic hand tools. The hardest part is not the filter itself. It is making sure no fuel is spraying at your face and that the engine does not start on an empty rail afterward.
Read this guide end to end before you pull anything apart. If your vehicle is a common-rail diesel or the filter lives inside the fuel pump module, stop and hand it to a shop.
Table of Contents
What You Need
Before you buy anything, confirm the filter is a part you can actually replace. Many vehicles built in the last two decades have the filter molded into the fuel pump module inside the tank, where it is a lifetime component that only comes out with the pump.
Three things decide whether this is a Saturday-morning job or a tank drop:
- Fuel type. Gasoline or diesel changes everything, including whether you have more than one filter to change.
- Filter location. In-tank, engine bay, or frame rail along the driver side.
- Service interval. Some external filters are specified at 30,000 miles or two years. Some are never scheduled at all.
Your owner’s manual is the authority here. Look up the fuel filter section and the fuse box diagram before the parts store, not after. If the manual calls for a torque spec on the fuel line bolts or a specific bleed procedure, that number beats anything written on a forum.
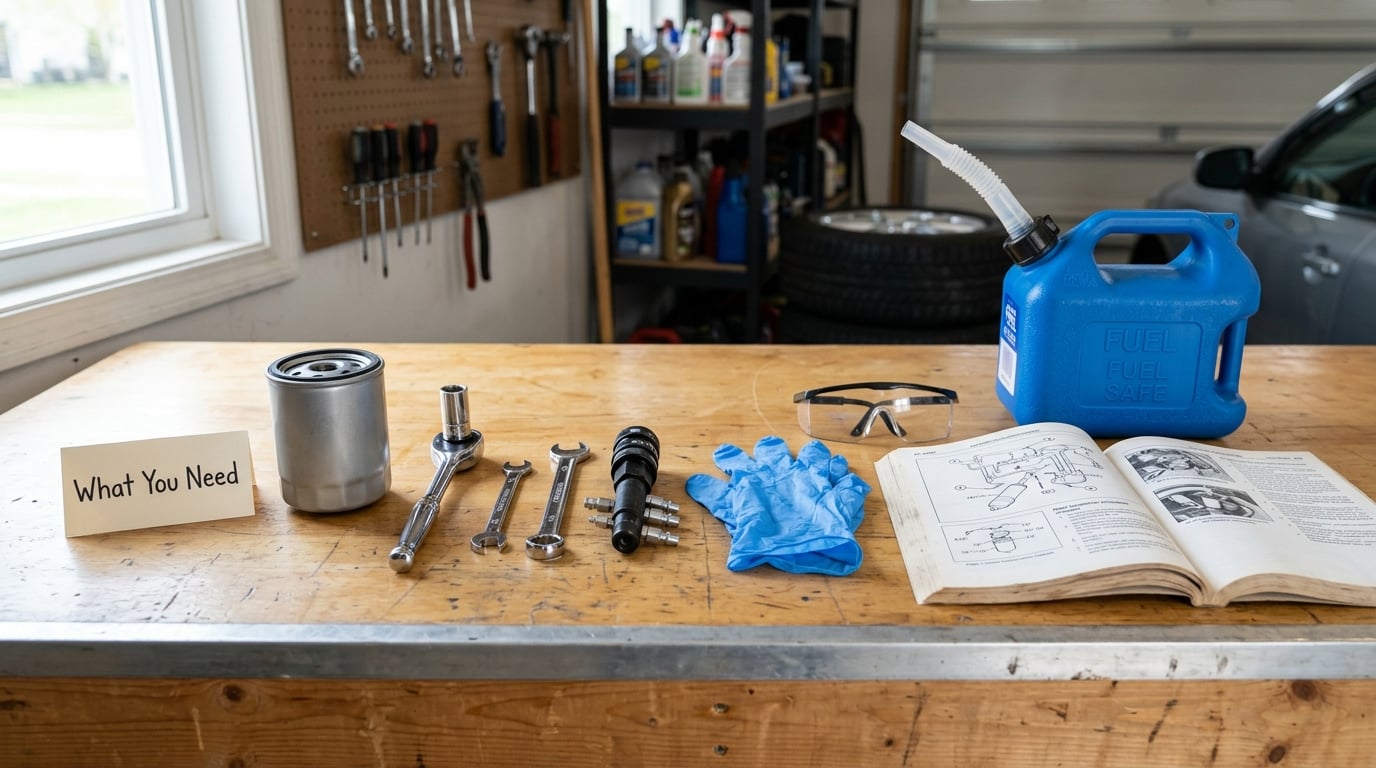
Tools and materials
| Item | What it’s for | Have it ready because |
|---|---|---|
| Replacement fuel filter | The part itself | Match the part number, not the shape |
| Fuel line disconnect tool | Releasing quick-connect fittings | Older tabs are brittle and will snap |
| Open-end wrenches and line wrenches | Threaded fittings | Line wrenches are thin-walled so they won’t crush the line |
| Flat-blade screwdriver | Releasing retainer clips | The common undercar clip style is pry-out only |
| Needle-nose pliers | Spring-lock tabs | Needed on most quick-connects |
| Jack and jack stands | Frame-rail access | Never work under a car held by a jack alone |
| Fuel-safe container or drain pan | Catching drained fuel | Several liters usually come out of the lines |
| Replacement retainer clips | Securing the new filter | Old clips snap during removal and rarely come back |
| Nitrile gloves and safety glasses | Skin and eye protection | Gasoline soaks straight through cotton |
| Rags or a spill pad | Wiping fittings | Dirt in an open line ends up in the pump |
Two optional items earn their keep. A cheap gauge that screws into the fuel rail lets you verify pressure, and r/Volvo owners report roughly 50 psi at startup dropping to about 35 psi on a healthy gasoline system, which gives you a baseline if your car runs rough after the change. An O-ring pick makes resealing a stubborn quick-connect far less frustrating.
Check the correct part two ways. Read the number stamped or printed on the old filter, and cross-check the catalog number against your year, make, model and engine. Wrong-orientation fittings and wrong-diameter lines are the most common reason a new filter will not go on.
Step-by-Step
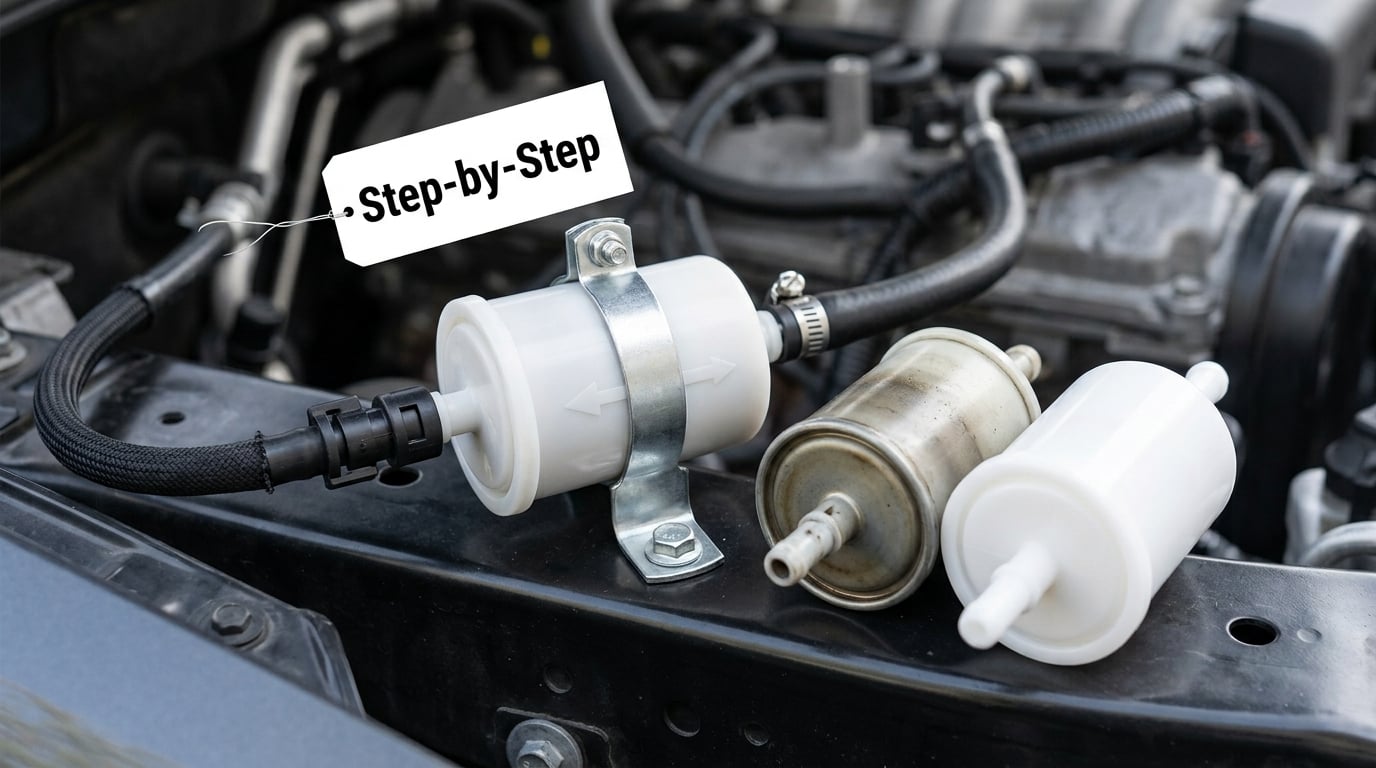
The procedure below assumes a gasoline engine with a serviceable external filter. The steps are numbered so you can work straight down the list.
Step 1: Confirm the Filter and Fuel System
Identify whether you are working on gasoline or diesel before you touch a tool. Gasoline engines typically have one external inline filter, often a spin-on canister, and fuel pressure in the low tens of psi. A diesel may have two filters, a primary water separator and a secondary filter, and common-rail systems run well over 1000 bar of rail pressure.
Do not open a common-rail diesel fuel line without the manufacturer bleed procedure. That pressure will inject fuel through your finger faster than you can react.
Next, locate the filter. Most inline filters sit along the frame rail on the driver side, between the tank and the fuel rail, or under the hood near the fuel rail on some engines. In-tank filters sit on the pump module inside the tank and are rarely serviceable on their own. Diesel water separators usually mount in the engine bay near the firewall.
Note the flow direction before removal. Nearly every filter is stamped or molded with an arrow showing which way fuel travels, and it points toward the engine, never back at the tank.
Step 2: Prepare the Vehicle Safely
Work outdoors or in a well-ventilated garage with the door wide open. No smoking, no sparks, no open flame, and no running engine inside an enclosed space.
Let the engine cool until the exhaust manifold is comfortable to touch nearby. Then park on level ground, set the parking brake, and if the transmission is in gear, shift into park and chock the wheels.
Disconnect the negative battery cable before working near the fuel pump wiring. This stops the pump from firing if something bridges while you have a line open. Some cars also need the hood or trunk released, since the cable is routed through a latch that a closed hood disconnects.
Put on nitrile gloves and safety glasses now, not later. Gasoline penetrates cloth gloves in seconds, and a line that has not been fully depressurized will put a fine mist in the air that you will not see until it hits your eyes.
Step 3: Relieve Fuel-System Pressure
Pull the fuel pump fuse or unplug the fuel pump relay, run the engine until it stalls, then disconnect the negative battery cable. That is the short answer search engines quote, and it works on most gasoline vehicles.
Here is the longer version. Locate the fuel pump fuse in the under-hood or interior fuse box. The owner manual or the fuse box lid diagram will label it, and it is often grouped with other fuel system fuses. Pull that one fuse, and leave it out.
Start the engine and let it run. With the pump dead, the engine will run for a few seconds and then die as the rail pressure drops. One to two minutes is usually plenty. A shorter run keeps the starter from heating up and leaves the engine easy to crank again.
If your vehicle has no accessible fuel pump fuse, or the engine cranks but will not fire at all, use the relay method instead. Disconnect the fuel pump relay or the pump’s electrical connector, then crank the engine in 10 to 30 second bursts until it stops. This is a common fallback on the Cartalk forums precisely because it kills the pump without hunting for a fuse.
Now disconnect the negative battery cable. Once the pump has no power and the engine has died, residual pressure in the rail and lines will be low enough to catch in a pan rather than spray.
Step 4: Drain and Remove the Old Filter
Put your fuel-safe container or drain pan under the filter first. Even fully depressurized lines will give up several liters as they drain, and fuel running across the underside of the car to the ground is both a mess and a fire risk.
Support the fuel lines so they do not hang and tear at the fittings. A length of shop towel looped around the line works fine.
Mark which line goes to which side of the filter before you disconnect anything. A pencil mark on the line and the bracket takes five seconds and saves an hour of head-scratching.
Now release the connections. On a quick-connect fitting, pinch the body of the connector and pull firmly. Older plastic tabs get brittle, so if it resists, use a disconnect tool or the pliers on the body of the connector, never on the hose. On a threaded fitting, use a line wrench of the correct size. On a clamp-on style, slide the clamp along the hose and off the nipple.
Cap or plug every open line the moment it comes off. Plug the low-pressure side, plug the high-pressure side, and check that both plugs actually seated. A speck of rust or a leftover RTV bead is enough to destroy a new filter and a new fuel pump.
Finally, release the filter itself. Slide it out of its bracket, or unbolt its mounting hardware. If a plastic retainer clip snaps, that is normal and expected. Take the broken clip with you when you buy the new filter and replace it rather than trying to reuse the snapped half.
Step 5: Install the New Fuel Filter
Lubricate the O-rings or the seals on the new filter with a thin film of clean engine oil. Dry rubber slides harder, and a seal that folds over when you seat the fitting leaks no matter how tight the fitting is. Do not use petroleum jelly, grease, or any sealant.
Only reuse an O-ring if the manufacturer allows it. If your manual calls for a new seal with every replacement, treat the old O-ring as scrap. The cost difference is trivial next to a leak inside a fuel rail.
Fill the new filter with clean fuel before you install it if the manufacturer instructions call for it. A pre-filled filter bleeds less air into the system and shortens the priming step afterwards.
Install the filter in the bracket with the flow arrow pointing toward the engine. This is the single most common installation error, and a reversed filter can starve the pump or bypass the element entirely. Press it into the bell-shaped bracket until it seats fully, or torque the mounting bolts to the manual’s specification.
Reconnect the fuel lines. Push quick-connects in until you hear and feel the click, then tug gently on the hose to confirm the retaining tab has locked. Fit the retainer clips and confirm both legs are seated in the bracket holes.
Step 6: Reconnect, Prime, and Test the System
Lower the vehicle, remove the jack stands in the correct order, and reconnect the negative battery cable. If you pulled a fuel pump fuse or a relay, put it back now and check that it is fully seated in its socket.
Prime the system by cycling the ignition key. Turn the key to the on position for several seconds, back off, and repeat three or four times. Each cycle runs the pump and fills the filter and rail. Do this with the transmission in park and the parking brake set, and do not hold the key in the start position while you do it.
Now start the engine. It may crank longer than usual on the first attempt, which is normal. A rail that takes three or four cranks to fire usually means air is still in the line.
If it does not fire after several attempts, stop cranking. The most common cause is an airlock, meaning a pocket of air trapped in the fuel rail where fuel cannot reach it. Disconnect the battery, loosen the fuel rail line or the supply line at the rail, and let the fuel run out until it flows solid with no bubbles, then reconnect. On a diesel, run the electric pump or cycle the ignition until the bleed screw shows solid fuel with no air, then close it.
With the engine running, inspect every connection you touched. Look for a bead of fuel forming at a fitting, at the filter seam, and at the bracket. Check again with the engine at idle and again while you rev slightly. Wipe everything dry with a rag first, then look. A tiny drip shows up as a wet rag even when the floor stays dry.
If your vehicle has a maintenance indicator or a filter life countdown, reset it with the owner’s manual procedure or your scan tool. Finally, take a short drive and check the filter area again afterward. Small leaks often show up once the lines are fully pressurized and warm.
Common Mistakes
Almost every fuel filter change that goes wrong comes down to one of these, which is why most of the advice on how to replace a fuel filter really boils down to prep work done before the wrench comes out.
- Wrong part. Matching by appearance rather than part number. A different line diameter or a different fitting thread means it will not seal. Cross-check the catalog number against your year, make, model and engine.
- Reversed flow arrow. The arrow points toward the engine. A reversed filter can starve the pump and shorten its life even though the engine runs.
- Skipped pressure relief. A line opened under pressure throws fuel across the underside of the car. Pull the pump fuse or relay and let the engine die before loosening anything.
- Loose or unlatched quick-connects. A connector that feels seated can still be held by one tab. Push until it clicks and tug to check.
- Contamination in an open line. Every open line gets plugged immediately. A single speck of rust can wipe out a new pump.
- Reusing an old O-ring. Old seals harden and flatten. Follow the manual on which seals must be replaced.
- Forcing the engine to prime itself. Cranking repeatedly on an empty rail floods it and can damage the injectors. Cycle the key instead, or bleed the rail as described above.
- Skipping the leak check. Wipe the fittings dry, run the engine, then look again. A fuel smell means stop driving and fix it.
- Reusing snapped retainer clips. Buy a new set. The clips are cheap and their failure drops the filter onto the road.
One more thing worth knowing: relieving pressure does not drain the fuel lines. Mechanics on r/autorepair point this out often, and it explains why priming is required every time the ignition is switched on. The pump still has to push fuel through a filter that is absorbing liquid for the first few seconds.
Frequently Asked Questions
How often should a fuel filter be replaced?
On vehicles with a serviceable external filter, the common interval is every two years or 30,000 miles, whichever comes first. Many filters built into the pump module inside the tank have no service interval at all and are replaced only when the pump is replaced. Check your owner manual for the specific schedule, and replace sooner if you drive on contaminated fuel or notice hesitation under load.
Can I replace the in-tank fuel filter myself?
Usually not on your own. If the filter is part of the pump module, replacing it generally means dropping the fuel tank, which is heavy, needs a fuel pump module lock ring tool, and involves cleaning a tank full of sludge. That is a shop job. An external inline filter is the opposite: accessible, quick, and squarely a DIY task.
What tools are needed to replace a fuel filter?
A fuel line disconnect tool for quick-connect fittings, line wrenches for threaded fittings, a flat-blade screwdriver or pliers for retainer clips, and a jack with properly rated jack stands if the filter sits under the vehicle. You also need a fuel-safe container to catch the drain, a few rags, nitrile gloves, and eye protection. Replacement retainer clips are worth buying up front.
How do I know which way the fuel filter should face?
Follow the arrow molded or stamped on the filter canister. It points in the direction fuel flows, which is away from the tank and toward the engine. If the canister is unmarked, hold it with the inlet and outlet ports in the positions they occupied on the old filter. Never guess, because a reversed filter bypasses the media and can overload the fuel pump.
Is it safe to drive after replacing the fuel filter?
Yes, once you have confirmed there are no leaks. Wipe the fittings dry, run the engine at idle, and inspect the whole area before you drive. Most cars are fine to take on a normal trip straight away. If you smell fuel, see a wet fitting, or the engine is still hesitating, leave it parked and trace the connections again before turning the key.
What are the signs of a clogged fuel filter?
Hesitation or stumble when you press the accelerator, especially at low speed or from a stop. A rough or unsteady idle, misfires, and reduced power under load are common. You may also see worse fuel economy, louder fuel pump noise, a check engine light, and a harder start or longer crank. A severely blocked filter can starve the pump and damage it, which is the expensive failure to avoid.
Conclusion
The short version of how to replace a fuel filter: verify the part number and the flow arrow first. Relieve the pressure by pulling the fuel pump fuse or relay and letting the engine die. Fit the new filter with the arrow toward the engine, replace the seals and clips, and cycle the key to prime the rail. Then run the engine and inspect every connection before you call it done.
Take old filters and drained fuel to a household hazardous waste facility rather than pouring them on the ground or down a drain. Local rules vary, so check what your area accepts.