
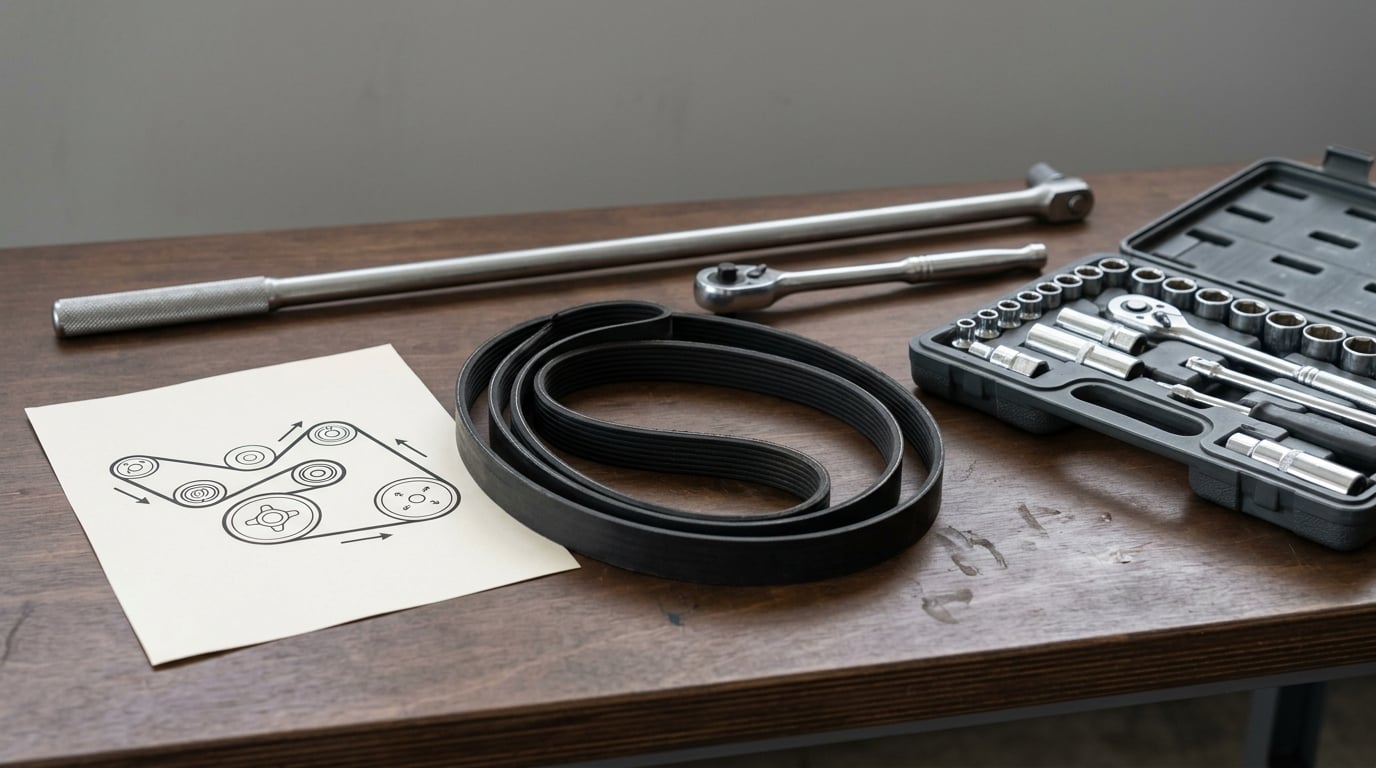
To replace a serpentine belt, you rotate the automatic tensioner with a serpentine belt tool or a long breaker bar to make enough slack, slip the old belt off the pulleys, then walk the new belt onto the same pulleys in the same direction and let the tensioner pull it snug. On a BMW the whole job takes 30 to 45 minutes once the car is up on a jack, and the awkward part is never the belt itself. It is routing, tension and squeezing past the engine mount.
Most people can do this at home with basic hand tools and a phone photo of the routing. What you cannot skip is the owner’s manual, because a belt that looks right but is one pulley off will throw it off in a week and grind the alternator. What follows is the process I would follow, written for BMW owners, and the same layout works on most other transverse four-cylinder cars.
Table of Contents
- What You Need
- Step-by-Step
- 1. Confirm the Belt Type and Replacement Part
- 2. Inspect the Pulleys, Tensioner, and Belt
- 3. Mark the Belt Route and Access the Tensioner
- 4. Relieve Belt Tension and Remove the Old Belt
- 5. Route and Install the New Serpentine Belt
- 6. Apply the Correct Tension
- 7. Test the Installation Before Driving
- Common Mistakes
- Frequently Asked Questions
- Can I replace a serpentine belt myself?
- Do I need to replace the tensioner and idler pulley at the same time?
- How tight should a serpentine belt be after fitting?
- Where can I find a belt routing diagram for my car?
- Why does my new serpentine belt squeal right after I installed it?
- What happens if my serpentine belt breaks while I am driving?
- Conclusion
What You Need
Start with the right part, not the right tools. A serpentine belt is the ribbed rubber loop at the front of the engine that drives the alternator, power steering pump, water pump, A/C compressor and usually the cooling fan. On a BMW it is not the toothed timing belt buried inside the engine, and mixing the two up is a very expensive afternoon.
Your list is short. A new belt in the exact part number for your year, body style and engine, a serpentine belt tool or a breaker bar with the correct socket, a ratchet and socket set, safety glasses, gloves, a flashlight and a phone. Add a 3/8-inch drive breaker bar if your tensioner arm takes a nut and bolt rather than a hex.
| Tool or item | What it is for | Notes |
|---|---|---|
| Correct replacement belt | The part itself | Match the part number for your engine, not just the year and model |
| Serpentine belt tool | Turns the automatic tensioner to release slack | Many auto parts stores loan these for free |
| Breaker bar and sockets | Manual-adjust tensioners and idler bolts | Longest bar you can safely get into the engine bay |
| Ratchet and socket set | Removing brackets, shields and the wheel | Metric sizes, usually 10 mm to 19 mm |
| Safety glasses and gloves | Tensioner spring and sharp rust edges | The tensioner arm can snap back hard |
| Flashlight and phone camera | Seeing the route and recording it | Photograph the old belt before you touch it |
Two things worth knowing before you start. First, most BMW engines use a spring-loaded automatic tensioner that self-adjusts, so there is no tension spec to hit by hand. Some other cars use a manual-adjust tensioner where you loosen two bolts, move the arm, and tighten again. Knowing which one you have decides the whole removal and installation approach.
Second, transverse engines bury the belt behind the engine mount and the undertray, and on a lot of cars you pull the front passenger-side wheel and the splash shield to get a straight shot at the tensioner. Budget extra time for that access rather than assuming the job will go smoothly.
Here is what the belt actually drives, and what you lose the moment it snaps.
| Accessory | What it does | Symptom if the belt breaks |
|---|---|---|
| Alternator | Charges the battery while the engine runs | Battery light comes on, battery drains within minutes |
| Power steering pump | Provides hydraulic steering assist | Heavy steering, groaning, eventual no assist |
| Water pump | Moves coolant through the engine | Temperature climbs, overheating warning, possible engine damage |
| A/C compressor | Runs the air conditioning | A/C stops working, compressor can be damaged if you keep driving |
| Cooling fan | Moves air through the radiator | Fan quits, coolant temperature rises faster |
So the honest answer to whether you can drive without one: you can coast a short distance to a safe place, but you are driving on borrowed time with no charging, no steering assist and no coolant circulation. Get off the road instead.
Step-by-Step
Work on a level surface, set the parking brake, and let the engine cool completely. You will be putting hands near hot exhaust and sharp metal edges. Disconnect the negative battery terminal if you need to reach the belt on a tight bay, and remember to reconnect it before you try to start the engine.
1. Confirm the Belt Type and Replacement Part
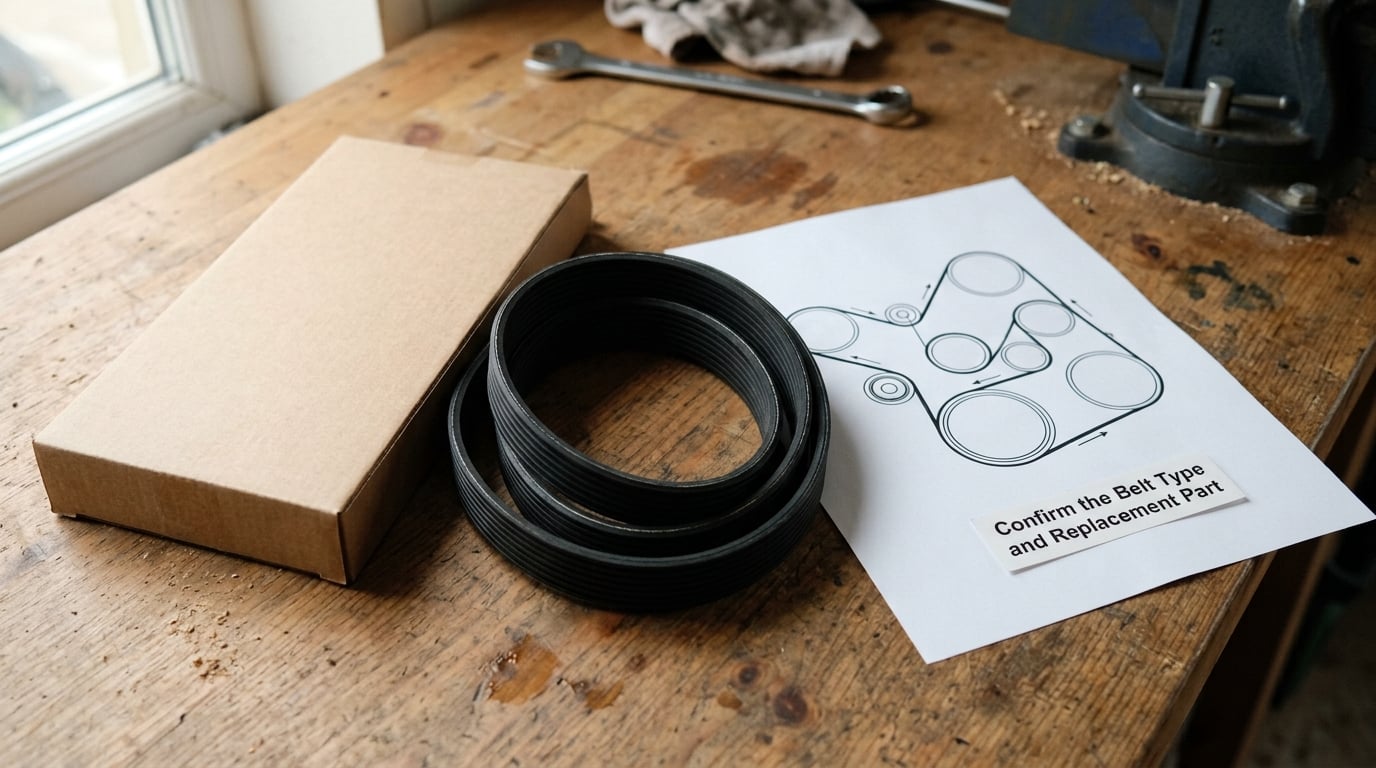
Look at the belt before you buy anything. A serpentine belt is a single loop with ribs on one face and a smooth flat back, and it snaps into matching ribbed grooves. A V-belt sits in a smooth channel and wedges in a V, and a timing belt has teeth on the inside. If what is on your engine has teeth on the inside, you are looking at a different job that involves opening the engine.
Then verify three things on the new belt: the width, the tooth or rib profile, and the overall length. Two different BMW engines in the same car can take belts that look identical in the store and differ by a fraction of an inch in length. Check the part number against your VIN or the engine code stamped on the block, not against the year alone, because a belt for an M-series and one for a four-cylinder are not interchangeable.
Hold the new belt up to the old one before you touch the tensioner. Same width, same profile, close enough on length. If the new belt is clearly longer than the old one, stop and re-check the part number.
2. Inspect the Pulleys, Tensioner, and Belt
Run a flashlight around the whole route with the engine off. You are looking for cracks across the back, frayed cords showing at the edge, a shiny glazed surface, a rib or two missing, or a chunk out of the belt. Any of those means replace it, and a chunk on the ground under the car means find out what it came from.
Check the pulleys the same way. Spin each one by hand. It should spin smoothly and quietly, and it should have no side-to-side wobble. A pulley that is rough, noisy, rusty in the groove or has a flat spot has a bad bearing, and a new belt on that bearing will fail the same way the old one did.
On the tensioner, watch the arm while you rotate it. It should move smoothly through its travel and follow your hand. Most automatic tensioners have wear indicator marks on the pulley face, a pair of lines or an arrow that must sit between the marks. If the arm sits past the marks after you let go, the spring is weak and the tensioner is finished.
This is the moment to decide between belt only and belt plus tensioner plus idler. If your belt is 80,000 miles old, the tensioner and idler are the same age, and the belt went off you rather than fraying evenly, replace them together. If the belt is being replaced as preventive service and every pulley spins clean and quiet, the belt alone is defensible.
Look inside the grooves and on the belt face for oil, coolant or coolant residue. A belt that has been contaminated has its rubber eaten away chemically and it will not survive, even brand new. Clean the pulleys and the surrounding area before fitting anything.
3. Mark the Belt Route and Access the Tensioner
Before removing anything, photograph the belt route. Take several close-ups so you can see every pulley the belt touches, the direction of travel, and the position of the tensioner. Do not trust the under-hood decal alone. On older cars it is faded, covered by a later engine bay retrofit, or it belongs to a different engine variant entirely.
For a proper diagram, the owner’s manual in the glove box is the right place. Beyond that, manufacturers publish them freely: Ford and Chevrolet post routing diagrams and service information online, Toyota’s diagrams sit in the maintenance section of their owner’s manual online, and Honda publishes them through their owner’s manual site. Search your exact year, model and engine code.
Now get access. On most transverse BMW engines, remove the front passenger-side wheel and the plastic splash shield behind it, then pull back or support the engine mount on the side that blocks the tensioner. Support the mount with a jack stand or a rated support. Never hang the engine on the mount bolt.
4. Relieve Belt Tension and Remove the Old Belt
On an automatic tensioner, seat the serpentine belt tool or a breaker bar on the tensioner pulley bolt and rotate the arm in the direction that moves the pulley away from the belt. The arm will move several inches and the spring will fight you. Keep your fingers clear of the gap between the arm and its bracket, because that is where the arm snaps back when you let go.
Once you see daylight, walk the belt off the pulleys one at a time. Do not force it, and do not let it fall into the fan shroud. Take your old belt off from the inside of the system where it gives easily, and keep the routing photo on your phone within reach.
On a manual-adjust tensioner, loosen the two mounting bolts, swing the arm away from the belt, then remove it the same way. If a spring is involved, note where it hooks before you move anything.
5. Route and Install the New Serpentine Belt
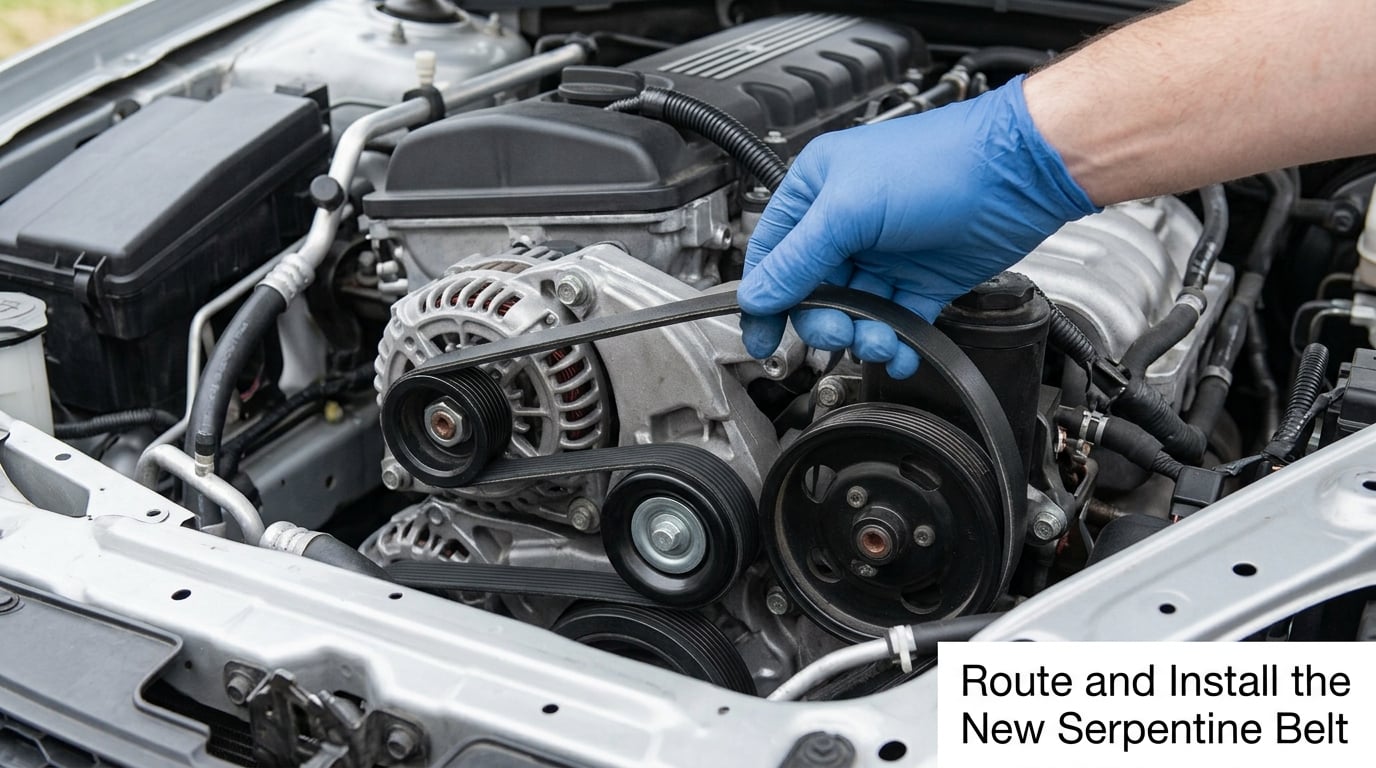
Lay the belt on in the reverse order you took the old one off, starting at the pulley where you freed it. Feed it onto one pulley at a time, walking it around the path. A serpentine belt has to go on in one direction around the system, and it must run the flat of the belt on the outside, never twisted or folded back on itself.
Work slowly and look at the belt at every pulley. It should sit down inside the ribs of the groove with the back of the belt flush against the pulley face. If the belt rides up on the lip of the pulley or you can see a rib sitting proud of the groove, back it off and start that section again. This is the single most common installation error, and it is the one that shows up as a squeal a week later.
Two habits make this far easier. Lay as much of the belt on as you can before you touch the tensioner, so only the last span has tension on it. And if the final span will not reach, you are fighting the tensioner too early. Rotate the tensioner a little more and keep feeding.
6. Apply the Correct Tension
With the belt on every pulley, slowly let the tensioner arm rotate back toward its rest position. Take your time. The arm pulls the belt snug by itself, and if you release it fully in one go the spring snaps the arm home and can walk the belt off a groove.
On an automatic tensioner there is nothing to measure. Once the arm is fully back, check that the wear indicator marks on the pulley sit between the two lines or the arrow is centred, and that the belt deflects slightly under a firm thumb press on the longest span. The manual-adjust type is different: set the deflection, usually a quarter to a half inch on the longest span, or twist that span about 90 degrees and confirm it turns without the belt going slack, then tighten the bolts with the engine running before final torque. Your owner’s manual gives the spec for your car, and that number beats any rule of thumb.
Over-tensioning is a real failure. An arm pushed too far puts heavy side load on the alternator, the water pump bearing and the idler, and it is the belt or the pulley that gives first. Under-tensioning causes slip, squeal and glaze. Neither is worth the thirty seconds it takes to check the spec.
7. Test the Installation Before Driving
Reinstall the splash shield, the wheel and anything else you removed, and reconnect the battery if you disconnected it. Then turn the key and let the engine idle without touching the throttle. Stand to the side of the car and listen for a chirp or a steady squeal, and look at the belt spinning true.
With the engine running you can also confirm everything is being driven. The alternator should charge, the power steering should feel normal, the A/C fan should come on with the climate control, and the temperature gauge should sit steady where it normally sits. An hour of idling with the climate on is a good slow test that flushes the belt into its grooves. Then take a short drive at low speed and listen again.
If the belt jumped a groove, the squeal stops within a few seconds of the engine reaching operating temperature. If it does not, take it back off and check the routing. Owners on r/MechanicAdvice usually find the same three causes when a brand new belt squeals: a wrong length belt, a bad tensioner, or oil or grease on the new belt from handling it with dirty hands.
Common Mistakes
Forcing the automatic tensioner. The arm is spring-loaded and it will move. If it will not, the belt is still under load, you are turning the wrong direction, or there is a second idler still holding tension. Never pry the arm past its stop.
Running the belt backwards or twisted. A belt installed backwards shows its smooth back against the pulleys instead of its ribs. It grips nothing, slips immediately and wears out fast. Pull it off and check the direction of the arrows on the belt face against your photo.
Trusting a diagram for the wrong engine. Under-hood decals get swapped, faded and covered. Confirm the diagram against your engine code before you route anything.
Skipping the pulley and tensioner inspection. A new belt on a seized idler or a tired tensioner is a repeat failure waiting to happen. Spin everything by hand and check the tensioner wear marks.
Under-tensioning or over-tensioning. On a manual-adjust tensioner, set the span deflection to the manufacturer figure or use the 90 degree twist check, then tighten the bolts properly. On an automatic tensioner, let the spring do the work and verify the wear marks instead of pushing the arm past its travel.
Fitting a contaminated belt. If coolant or oil reached the old belt, the new one goes in a clean, dry area. Wash your hands, degrease the pulleys, and replace any belt that got wet in the process.
Driving before checking belt movement. Five minutes of idling and one low-speed drive block catches a misrouted belt before it throws itself into the fan. A belt running one groove off can be ground into pieces in under a mile.
Frequently Asked Questions
Can I replace a serpentine belt myself?
Yes, on most cars it is a beginner-level job if you can work a ratchet and a breaker bar. The belt itself comes off in under five minutes. The real work is access, which on a BMW with a transverse engine can mean removing the front passenger-side wheel, the splash shield and supporting the engine mount. Most people finish in 30 to 45 minutes on a car that is already on a jack.
Do I need to replace the tensioner and idler pulley at the same time?
Only if there is a reason. Spin every pulley by hand and watch the tensioner arm through its travel. If they are smooth and quiet and the wear indicator marks sit in the middle of their range, the belt alone is fine. If the tensioner arm is past its marks, a pulley has a rough bearing, or the old belt came off in pieces rather than cracking evenly, replace the tensioner and idler while everything is already apart.
How tight should a serpentine belt be after fitting?
If your car has an automatic spring-loaded tensioner, there is no spec to set. Let the arm return fully to its stop and confirm the wear indicator marks on the tensioner pulley sit between the two lines or the arrow is centred. On a manual-adjust tensioner, use the manufacturer deflection figure, which is commonly a quarter to a half inch on the longest span, or twist that span about 90 degrees. Check your owner’s manual for the number for your car.
Where can I find a belt routing diagram for my car?
Start with the owner’s manual in the glove box, then check the under-hood decal, which is correct more often than people expect. If it is missing or faded, the manufacturers publish diagrams free online: Ford and Chevrolet post service and routing information by year and engine, and Toyota and Honda host their owner’s manuals with the routing diagrams. Search your exact year, model and engine code, and confirm the diagram matches the engine you actually have.
Why does my new serpentine belt squeal right after I installed it?
Usually one of four things: the belt is one groove off at a pulley, the routing is wrong, the tensioner is not fully returned to its stop, or the belt surface is contaminated. A belt that squeals for a minute and then goes quiet as it warms up is usually fine. A squeal that stays with you needs the belt removed and every pulley checked, including looking for a rib riding on the pulley lip rather than seated in the groove.
What happens if my serpentine belt breaks while I am driving?
You instantly lose battery charging, power steering assist and, on most cars, coolant circulation. The steering gets heavy, the temperature gauge starts climbing and the A/C quits. Pull over somewhere safe and shut the engine off rather than continuing. There is no cooling, so every second of running is heat soaking into the cylinder head. On most engines the pump is driven by the belt itself, so a broken belt means no pump at all, not a reduced one.
Conclusion
Four things do most of the work in learning how to replace a serpentine belt. Confirm the exact belt part for your engine before you buy anything. Inspect the pulleys and tensioner while the engine is open, because a new belt on a bad bearing is a wasted belt. Relieve the tension properly and slowly, with your fingers clear of the spring. Then run the engine at idle and listen before you drive a block.
Photograph the route, follow the owner’s manual rather than a forum post about a different engine, and replace the tensioner and idler if the old belt failed in pieces. If the tensioner arm will not move, or the engine mount cannot be supported safely, stop there and hand the job to a qualified mechanic. The belt is cheap. The engine is not.