
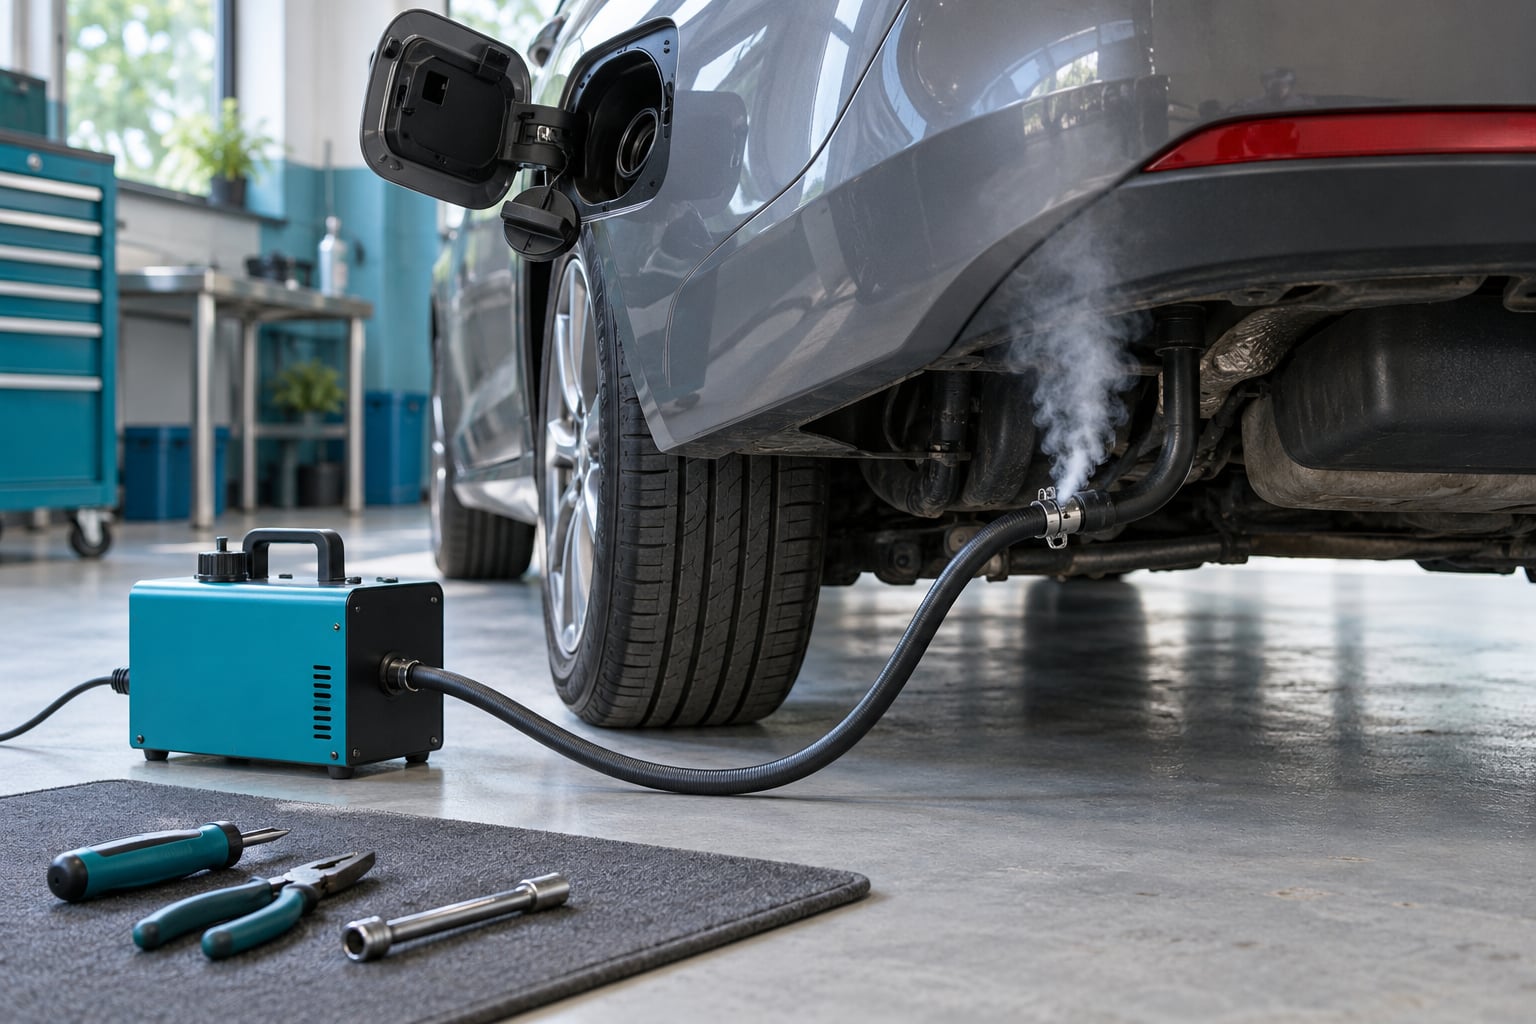
To fix an EVAP system leak, start by reading the code, check the gas cap and filler neck, inspect the vapor hoses by hand, then confirm the fault with a smoke or vacuum test before replacing anything. Most leaks are a loose cap, a dry-rotted hose or a failed valve, and the whole diagnosis takes an afternoon with basic tools. The catch is finding it: without a pressure test, you are guessing, and guessing is how people end up replacing four parts and still have the code.
This guide walks the process in the order that wastes the least time, written for BMW owners but the logic applies to any gasoline vehicle with an evaporative emissions system. Follow the steps in sequence and stop at the first confirmed fault.
Table of Contents
- What You Need
- Step-by-Step: How to Fix an EVAP System Leak
- 1. Confirm the EVAP leak and read the fault codes
- 2. Inspect and tighten the gas cap
- 3. Visually inspect the EVAP hoses and connections
- 4. Locate the leak with a smoke test or vacuum test
- 5. Test the vent, purge and pressure-control valves
- 6. Check the charcoal canister and leak-detection pump
- 7. Repair or replace the failed EVAP component
- 8. Clear the codes and verify the repair
- Common Mistakes When Fixing an EVAP Leak
- Frequently Asked Questions
- Conclusion
What You Need
The owner’s manual is the first tool. BMW service information tells you where the canister, valves and filler neck sit on your specific chassis, and that varies a lot between models.
- Owner’s manual and model-specific service information
- OBD-II scanner that reads stored codes, pending codes and freeze-frame data
- Inspection light, plus basic hand tools and a selection of hose plugs
- An EVAP-approved smoke machine, or a suitable low-pressure vacuum setup for testing a section
- Replacement parts you have confirmed: caps, seals, hoses, valves or O-rings
Before you start, let the engine cool. Disconnect the battery when the manual calls for it or when you are working near fuel tank components, and keep every ignition source away from the area. Fuel vapor is heavier than air and settles low, so no flames, no smoking, no running engine indoors.
If the leak turns out to be in the tank or the filler neck itself, that is a different job. Know when to stop before you drop a tank in a driveway.
Step-by-Step: How to Fix an EVAP System Leak
These eight steps go from the cheapest check to component-level testing. The correct fix depends on where the leak actually is, so work down the list rather than jumping to the part you suspect.
1. Confirm the EVAP leak and read the fault codes
Start by checking the dash for a check engine light, then scan stored, pending and permanent codes before you touch anything. A pending code is often more useful than the stored one, because it shows the failure the car is setting right now.
Save the freeze-frame data too. It captures engine speed, load and coolant temperature at the moment of the failure, which helps you decide whether the code set on a cold start or at idle.
A generic EVAP code narrows very little on its own. Codes that point at the gas cap, the vent valve, the purge valve, the pressure control valve, the leak detection pump, or an open or shorted circuit each send you to a different place. Note the code number and then work on it specifically.
You verify this step at the end by clearing codes and confirming nothing returns, but only after a proper drive cycle.
2. Inspect and tighten the gas cap
Look at the cap and the filler neck for a loose cap, a damaged seal, cracked plastic, dirt in the sealing groove or a worn sealing surface. Run a finger around the inside of the cap where the gasket seats; if it feels rough or hard, that seal will pass vapor.
Tighten the cap until it clicks, then drive the vehicle while watching for the code. Some cars use a dedicated gas cap code and others report the same problem as a broader small-leak code, so the scan result decides which test you run next.
Worth knowing: replacing the cap fixes a minority of EVAP codes. It is cheap and it is the right first move, but do not treat it as the answer.
3. Visually inspect the EVAP hoses and connections
Trace the EVAP lines by hand from the charcoal canister and fuel tank toward the purge and vent valves. Look for disconnected hoses, split or dry-rotted rubber, loose clips, crushed lines, fuel residue on a line that should be clean, or a canister that is not seated properly on its mounting.
Rubber hoses harden from the inside out, so look at the section that stays flexed and the section near the heat source. Squeeze a suspect hose along its length with the clamps off.
Take photos of every connection before you pull it apart. Reassembling an EVAP system by memory is how a perfectly good canister ends up replaced for a hose that was plugged in backwards.
4. Locate the leak with a smoke test or vacuum test
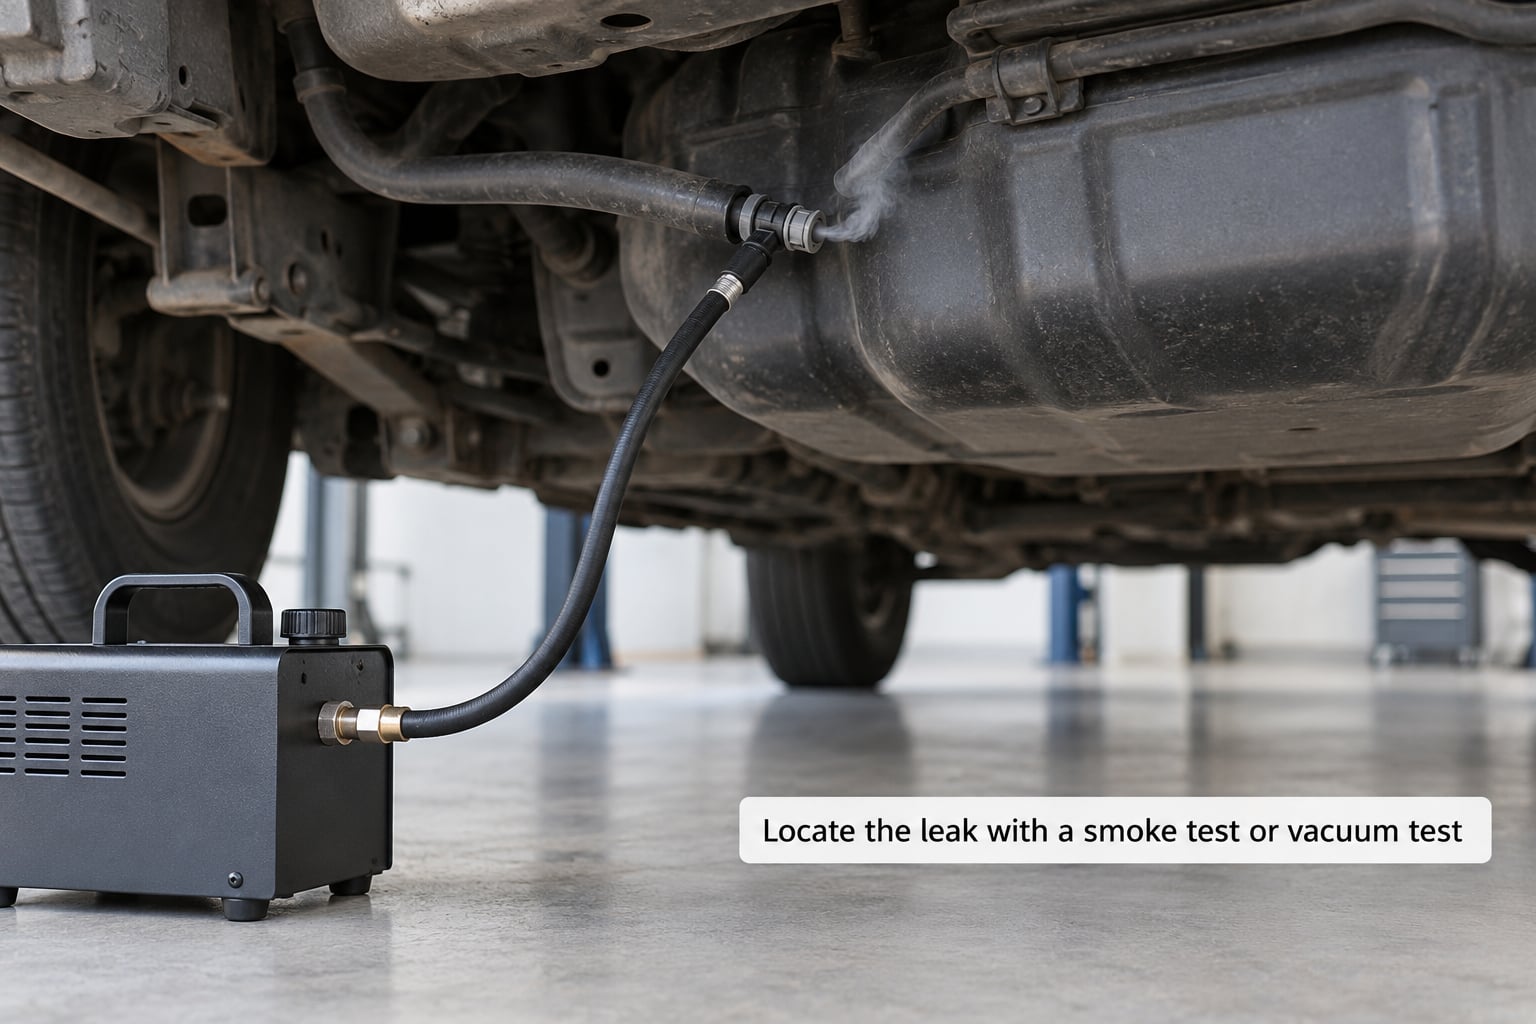
This is the step that ends the guessing. Hook an EVAP-approved smoke machine to the designated test port and watch where the smoke goes. A rising plume, an audible hiss or smoke appearing somewhere it has no business appearing tells you exactly where the leak is.
Where you apply the smoke matters. Depending on the vehicle and the section under test, you either draw a light vacuum or apply low pressure, and you follow the service procedure rather than improvising. Pressurizing the wrong section of a fuel vapor system is how you crack a canister that was only cracked before.
Do not confuse a vapor-side fault with a manifold vacuum fault. If the smoke stays put but the engine is unhappy at idle, that is a different system entirely, and how to find a vacuum leak in an engine covers the diagnostic differences.
On BMWs in particular, treat fuel vapor and pressurized systems seriously. No open flame, no sparks, and do not exceed the pressure the manual specifies.
5. Test the vent, purge and pressure-control valves
An EVAP valve fails in a few ways: stuck open, stuck closed, leaking internally, or electrically dead. None of those look different from the outside, so test rather than guess.
Start with the wiring diagram and a multimeter. Check the command signal and the ground path, because a valve that fails to open usually looks exactly like a valve that leaked.
Use the valve’s own behavior to sort the rest. A stuck-open valve vents the canister to atmosphere when it should be sealed. A stuck-closed valve traps pressure. An internally leaking valve passes vapor when the smoke machine or vacuum is applied to that port only.
Do not replace a valve because a code mentioned EVAP. Use the smoke or vacuum result plus the electrical check together, then confirm proper operation after the repair with no abnormal pressure or vacuum at any port.
6. Check the charcoal canister and leak-detection pump
Look for a cracked canister, a damaged hose, a failed pump diaphragm, a clogged filter or hoses routed to the wrong ports. On many models the canister and the leak detection pump are evaluated as one system, either with the service manual procedure or with a scan tool actuator test.
The leak detection pump is worth naming because it is a common real fix. On Ford, Chrysler and Dodge vehicles it lives under the rear passenger-side wheel well, and a failed unit is a well-known cause of a small-leak code that a new gas cap and a new purge valve will not fix.
Verify the repair by confirming proper pump operation, stable pressure or vacuum, and no fuel vapor escaping anywhere in the section you tested.
7. Repair or replace the failed EVAP component
Now that you know what failed, the repair itself is usually quick. A leaking hose gets replaced, a connection gets reseated, a damaged port gets cleaned if it is cleanable, and a defective valve, canister, seal or pump gets replaced with the correct part.
Use the exact part and fresh O-rings, not a generic substitute. Do not pinch or twist the wiring at the connector, and apply sealant only where the manufacturer specifies a compatible type and location. Too much sealant on a sealing surface creates its own leak.
Finish by confirming the connection is airtight and mechanically secure, with hoses seated to their full stop and clips locked. A hose pushed on halfway will pass a quick test and fail in a week.
8. Clear the codes and verify the repair
Clear the EVAP code, then run a real drive cycle. The computer needs a cold start, a warm-up with mixed driving for 20 to 30 minutes, and several key-on key-off cycles before the EVAP monitor can run its test.
This is why codes come back a few days after clearing them. The monitor never got a chance to test a sealed system, so it flagged the failure again on the next opportunity.
Rescan when you are done. Success means no new code after the monitor completes, and no returning fuel smell or pressure-related symptoms.
Common Mistakes When Fixing an EVAP Leak
Diagnosing from the code alone is the most common mistake. P0456 means a very small leak was detected, not which part leaked. Replacing parts on that basis is how owners end up with a new cap, a new purge valve and a new canister and the same code.
Replace multiple components without testing and you lose the ability to tell what actually fixed it. Change one thing, then re-test.
Testing the wrong section with excessive pressure can turn a hairline crack into a split canister. Stay at the low pressure the service procedure specifies.
Forgetting the gas cap and the filler neck seal is a quick fix people skip because the car is already apart. Check both, and check the seal rather than only the plastic.
Kinked or misrouted hoses cause new failures after a repair that was otherwise correct. Photograph the original routing before anything comes off.
Using non-compatible seals or sealant is another one that haunts owners later. Sealant in the wrong place, or the wrong rubber, will not hold pressure or fuel vapor.
Sealing cracked canister ports with epoxy or JB Weld is a common wrong fix in owner forums, and it will not hold. It buys a little time and fails the next inspection. Replace the damaged component.
Declaring success before the monitor completes is how people end up back at the shop for a second diagnosis on a system that is actually fine. Run the drive cycle first.
For BMW work specifically, use the correct service information for your chassis and engine, and check for software or calibration requirements when the manual specifies them. Some components are not interchangeable across model years even when they look identical. A useful contrast is BMW oil filter housing gasket leak symptoms, another case where a slow leak gets misread until someone pressure-tests the system.
Frequently Asked Questions
Is it safe to drive with an EVAP leak?
Usually yes. An EVAP leak is an emissions and fuel-economy problem, not a safety-critical one, and most cars drive normally with the check engine light on. Drive it normally, but do not ignore a strong fuel smell, a hissing sound near the rear of the car, or a check engine light with codes other than EVAP ones, since those change the answer.
Can I drive with a P0456 code?
P0456 means the computer detected a very small leak in the evaporative emissions system. Your car will drive normally and the fuel economy effect is minor, so commuting is fine. You do need to fix it before an emissions inspection, and an overdue one can leave you with a repair deadline you did not plan for.
Where is the EVAP sensor located?
There is usually no single EVAP sensor. The system uses a fuel tank pressure or vacuum sensor, often on or near the fuel tank, plus a leak detection pump and two valves. On Ford, Chrysler and Dodge vehicles the leak detection pump sits under the rear passenger-side wheel well. Check your service information for the exact layout on your model.
Do EVAP codes clear themselves, and why does the code come back?
Codes can clear themselves once the monitor passes, but a real leak means it will come back. The most common reason it returns days after clearing is that the drive cycle never completed, so the monitor never tested a sealed system. Clear the code, drive a cold start, 20 to 30 minutes of mixed driving, and several key-on key-off cycles, then rescan.
How do you fix a very small EVAP leak?
A very small leak usually means a hairline crack, a dried-out hose or a leaking valve seal rather than a big open hose. Inspect every hose along its length, check the cap and filler neck seal closely, and smoke test the system section by section. If the smoke test cannot find it, suspect a vent valve, a leaking valve diaphragm or a cracked filler neck.
Can you find an EVAP leak without a smoke machine?
Sometimes, yes. Draw a light vacuum on a section and spray soapy water over the hoses, fittings and canister; bubbles mark the leak. Dye injected into the tank will show up at the same point. Both methods miss very small leaks that only low-pressure smoke will reveal, so renting an EVAP smoke machine is still the most reliable route.
Conclusion
Scan the car first, then check the gas cap and filler neck, inspect the accessible hoses by hand, and run a controlled smoke or vacuum test. Those four actions find the large majority of EVAP leaks before any part comes off.
Replace or repair only the component the test confirmed. Then clear the code and complete the full drive cycle so the monitor actually runs, and rescan to confirm the repair held.