
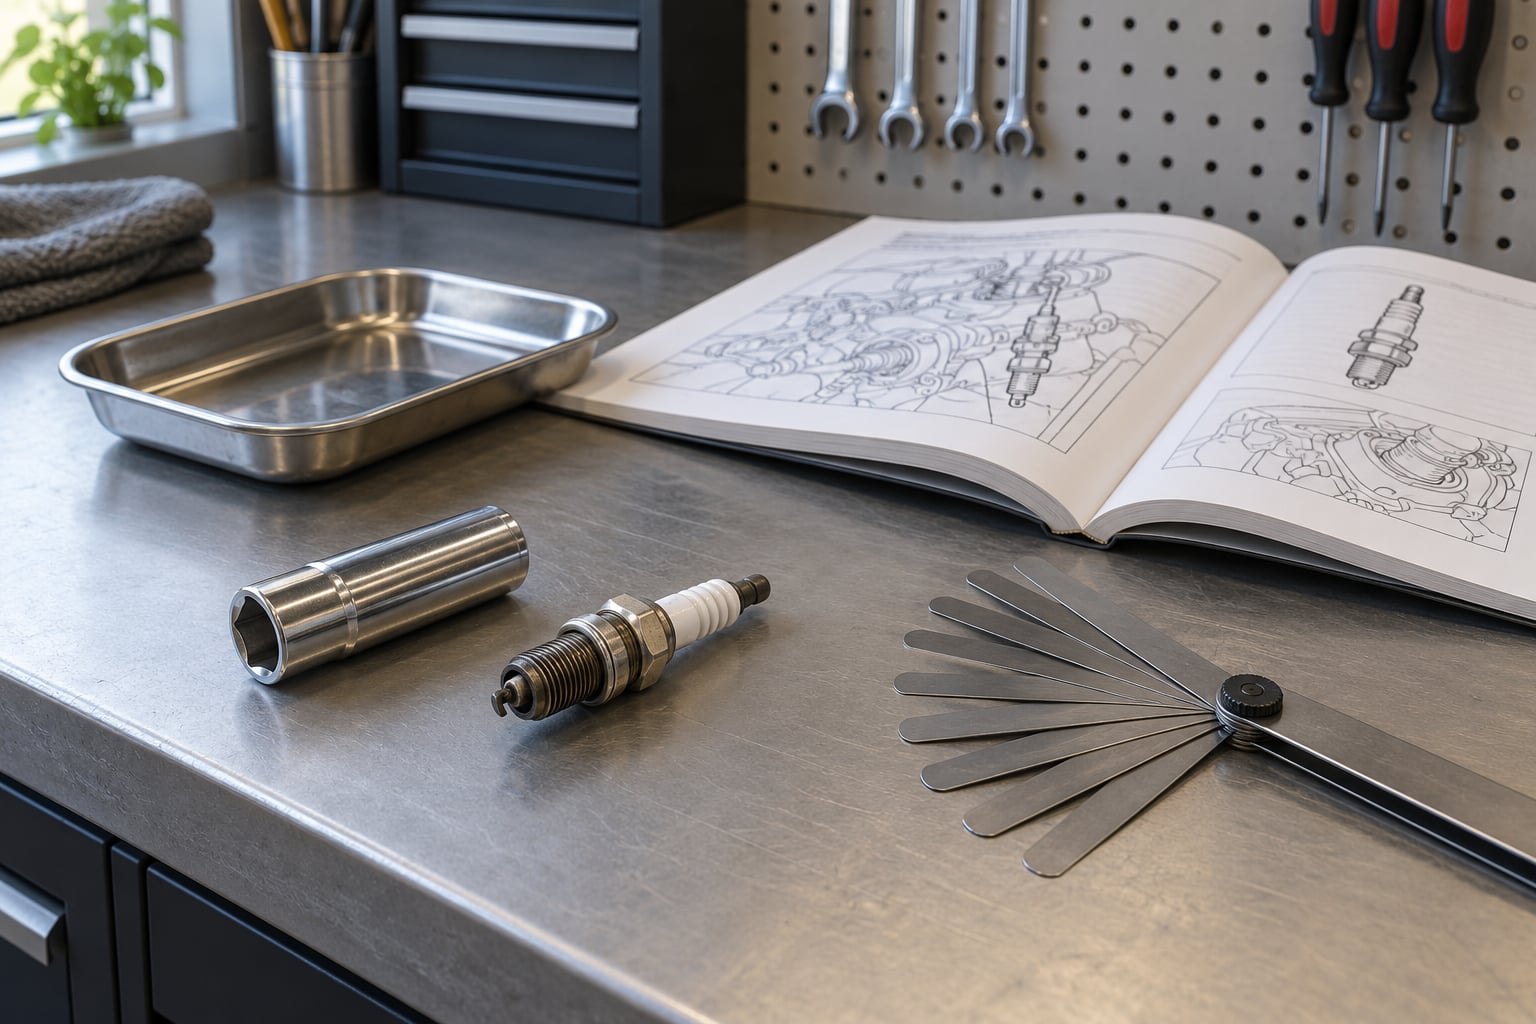
You read a spark plug by pulling it after a hard run, then looking at the color of the ceramic insulator nose and the condition of the electrodes under a bright light. Light tan or gray means the air-fuel mixture burned correctly, dry black soot means it ran too rich, oily residue means oil is burning, and chalky white or blistered porcelain points to a lean condition or overheating.
The whole job takes 30 to 45 minutes on a coil-on-plug engine, needs a socket and a gap gauge, and the payoff is real: the plug is the cheapest window you will ever get into a combustion chamber. This guide covers how to read spark plugs the way a mechanic does, including the comparison step most guides skip.
What You Need
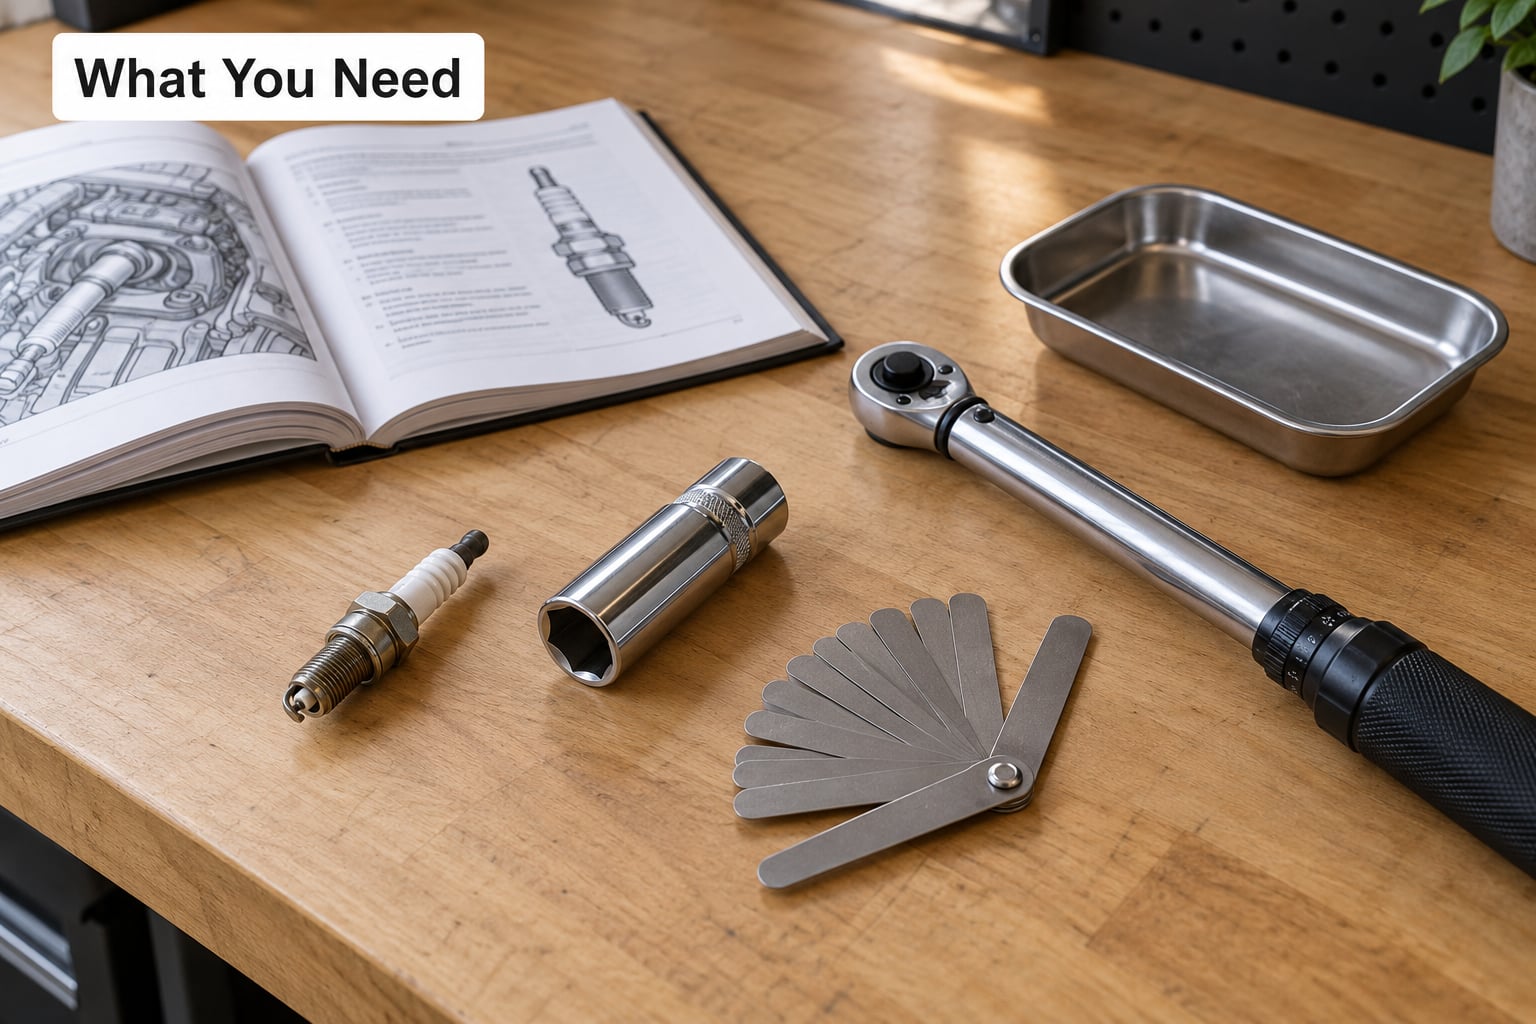
Most of what you need is cheap and already in a home garage. The one thing you should not guess at is the plug specification, because the wrong plug can cost you an afternoon and damage a coil pack.
- The owner or service manual for the exact plug type, gap, heat range and torque.
- The correct replacement plugs, plus any required insulator washers.
- A spark plug socket sized to the plug, usually 13mm or 16mm thin-wall, with a rubber insert if you have one.
- A torque wrench with a small range, or a small torque screwdriver for coil-on-plug engines.
- A gap gauge (feeler gauge) for checking and setting the electrode gap.
- A clean, light-colored tray or sheet of paper and a bright light or magnifying glass.
Before anything else, make sure the engine is stone cold. Working hot risks burning your hand and gives you a misleading plug reading, and the ceramic can crack if the plug has been heat-cycled while still threaded.
Step-by-Step
Confirm the Correct Spark Plug Specification
Find the required part number, gap and torque in the owner manual or manufacturer documentation before you remove anything. The specification usually lists the electrode design, heat range and factory gap, and the torque figure is the number that keeps the threads alive.
Check the gap again when the new plugs come out of the box. Modern iridium and double-platinum plugs often ship pre-gapped at the factory, while copper plugs almost always need setting by hand.
Remove the Spark Plugs Without Damaging Them
Disconnect the negative battery terminal first so a stray current cannot hit a coil while you work. Then take off the ignition coils on a coil-on-plug engine, or pull the plug wire boots straight off by the boot, never by the wire, on an older distributor setup.
- Lower the socket straight down over the plug and turn it counterclockwise by hand to break the thread seal.
- Finish removal with the socket, keeping the plug square to the head so the threads do not cross.
- Place each plug in a marked position so cylinder order is not lost.
A plug that has been on for tens of thousands of miles can seize in an aluminum head. If it resists, stop turning and work it back and forth gently rather than applying more torque, because a broken plug in the head means a helicoil extraction job. Unsure of the process on your car? Our step-by-step spark plug replacement guide walks through the removal in more detail.
Inspect the Plug Before Cleaning or Replacing It
Look at four things: the ceramic insulator nose, the center electrode and ground strap, the threads, and the body of the shell.
Hold the plug to the light with the firing end up so you can see into the combustion chamber side of the insulator. Deposits that look grey at arm’s length are easier to judge when the tip is closer to the light source.
Handle plugs by the shell, never the threaded end or the ceramic, because skin oil on the firing end changes how the plug behaves and can contaminate the reading. Replace any plug with a cracked insulator, chipped ceramic, bent ground strap or damaged threads. A plug that leaves ceramic dust in the plug well has told you something important, and that plug does not go back in.
Read Spark Plug Colors and Deposits
This is the reading most people came for. Match what you see to the row below, then run the check in the final column before you change any parts.
| Appearance | What it means | Likely causes | What to check next |
|---|---|---|---|
| Light tan, brown or gray | Correct air-fuel mixture, clean combustion | Normal operation | Nothing, this is the baseline |
| Dry, soft black soot | Mixture too rich, incomplete burn | Clogged air filter, leaking injector, faulty oxygen sensor, rich warm-up fueling | Check intake air filter, injector balance, fuel trims |
| Wet black or glossy black with oil sheen | Oil is entering the combustion chamber | Worn valve stem seals, failing piston rings, worn turbo oil seals, bad PCV system | Check oil level, compression test, PCV valve |
| Chalky white powder or ash | Coolant or fuel contamination, or a very lean burn | Head gasket leak, vacuum leak, lean running, coolant in the chamber | Pressure test the cooling system, smoke test for vacuum leaks |
| Blistered or glassy white electrode | Plug ran too hot, detonation or pre-ignition | Too lean, too much timing advance, wrong heat range, coolant leak | Verify heat range, check timing, run a compression and leak-down test |
| Speckled or peppered metal flecks | Detonation from spark ignition | Ignition timing too far advanced, knock from bearing or piston damage | Check timing, then a knock sensor and compression |
| Metallic-looking particles in the tip | Foreign debris in the chamber | Head gasket material, hard gasket fragments | Compression test, check for a head gasket failure |
| Sandblasted or eroded electrodes | Arc tracking and abnormal wear | Detonation, worn tip, wrong gap, failing coil | Replace the plug, verify gap and heat range |
| One plug dirtier than the rest | A single-cylinder fault | Failing injector, dead coil, stuck valve, vacuum leak near one runner | Swap coils and injectors, repeat the reading |
Two details catch out beginners. First, a light-colored plug can mean either a clean burn or a lean miss, and the way to tell them apart is the deposit: powdery white ash is contamination or coolant, while a clean insulator with no deposit on a misfiring engine is a lean or spark problem.
Second, direct injection engines build more carbon than port-injected ones, so a soft black tip after a short city drive is normal for many modern cars and is not a fault report on its own. Turbocharged engines add another layer: read the plugs under load and check for speckling, since detonation under boost is the failure that ends engines.
Check the Electrode Gap and Wear
A worn or wrong gap weakens the spark and forces higher voltage, which is how a marginal coil and a tired plug turn into a misfire. Check the gap by slipping the feeler gauge between the center electrode and the ground strap and confirming the correct thickness fits with light drag.
- Gap too small: weak spark, harder starting, fouling under load.
- Gap too large: harder starting, coil stress, possible coil pack failure.
- Rounded, uneven or eroded center electrode: replace the plug instead of resetting it.
Adjust only by bending the ground strap on the correct tool, and never on a modern fine-wire or iridium plug, where bending snaps the center electrode. If you are unsure whether your plug is a serviceable copper type, the plug types and wear comparison is worth reading before you touch the strap. On a BMW the coil-on-plug setup makes the plug swap routine; our BMW spark plug and coil replacement guide covers the engine-specific details.
Compare All Cylinders Before Making a Diagnosis
Pull every plug, not one, and lay them out in cylinder order. One plug proves nothing, which is the single most repeated piece of advice from experienced owners on the major car forums, and the reason is diagnostic rather than fussy: an engine running evenly should produce near-identical plugs.
Sort what you find into one of three patterns.
- All cylinders look the same and look good: the engine is burning cleanly, and the trouble is somewhere else.
- All cylinders look the same and look bad: a global fuel, air or oil problem affecting the whole engine.
- One cylinder stands out: an injector, coil, valve or vacuum leak local to that cylinder, and swapping parts is the fastest way to isolate it.
On a V engine, also compare bank to bank. All the plugs on one side darker than the other points at fuel delivery or an upstream sensor rather than one bad cylinder.
Reinstall the Plugs and Reset the Engine
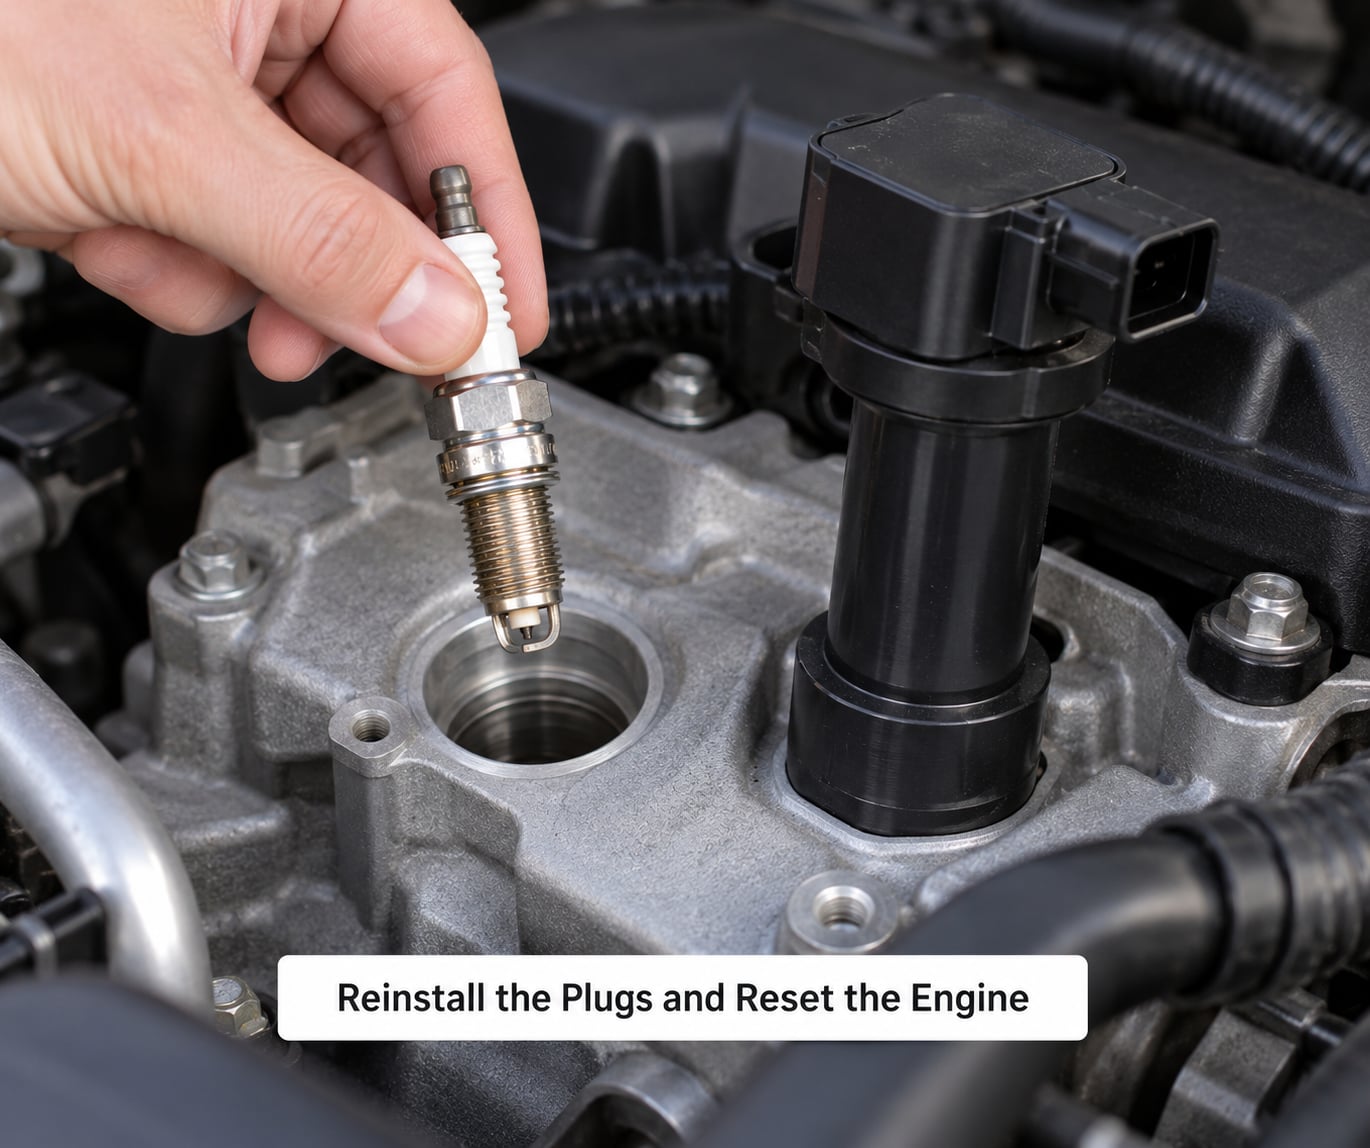
Install the new plugs by hand first, then tighten to the specified torque, or hand-tight plus the extra angle the service procedure calls for. Use a new insulator washer where the manual asks for one, and never reuse a plug that carried a gasket.
Refit the coils or boot wires and reconnect the battery. Clear codes with your scanner so the old misfire history does not confuse the next test, then road test and check for stored codes again. If the engine is running rough, our guide to read BMW fault codes with a scanner helps you confirm whether the misfire is electrical or something else.
Common Mistakes
Reading plugs after idling. Idling produces a much lighter plug than real driving. Drive hard for 15 to 20 minutes, shut down, and pull within seconds so you capture combustion at load.
Cross-threading the plug. Start every plug by hand until it is fully seated. Crossed threads strip the head and destroy the plug well.
Over-tightening in aluminum. Excess torque cracks the head or crushes the gasket sealing surface. Use the manual figure, not feel.
Assuming every black plug has one cause. Dry soot, wet oily black and speckled black are three different faults with three different tests.
Cleaning plugs and putting them back. Light deposits on an otherwise healthy plug can be wiped off, but any plug with rounded electrodes, damaged ceramic or hard contamination should be replaced. Cheap plugs deserve a fresh set whenever the interval comes due anyway.
Installing the wrong heat range. A colder plug than the engine wants can cause pre-ignition in hard use; one that is too hot may not self-clean.
Diagnosing from a single plug. Pull them all and compare. It costs ten minutes and removes most guesswork.
One safety note worth repeating: never pull a plug from a running or just-run engine. Combustion pressure can throw hot gas and fragments out of the open well, and a cracked insulator must never be reinstalled.
Frequently Asked Questions
Can I clean and reuse old spark plugs?
Only in limited cases. A plug with light surface deposits, clean threads and an unworn electrode can be cleaned and reused, but a plug that is cracked, chipped, contaminated with oil or coolant, or has rounded or eroded electrodes should be replaced. Modern iridium and platinum plugs are not really serviceable. Most manufacturers treat the plug as a scheduled consumable, so replacing the full set at the specified interval is the safer habit.
What does a black spark plug mean?
It depends on the texture. Dry, soft black soot points to a rich air-fuel mixture from a clogged air filter, leaking injectors, or a faulty oxygen sensor. Wet or glossy black with an oil sheen means oil is burning, often from worn valve stem seals or rings. Speckled black with metal flecks points to detonation. Check oil level, injector balance and fuel trims before replacing parts.
Should I replace all spark plugs at the same time?
Yes, as a set, even if only one looks worn. Electrode wear and heat range change gradually across the engine, and a single fresh plug next to worn plugs creates uneven combustion. Replace all of them with the manufacturer specification and adjust the gap if the type requires it. Replacing only the fouled plug usually means you are back on the same plugs within a few thousand miles.
How do I know if my spark plug gap is correct?
Use a feeler gauge set on the manufacturer gap, slip it between the center electrode and ground strap, and look for light drag. Too small a gap gives a weak spark and poor starting, too large a gap stresses the coil and can cause misfires. Check every plug rather than assuming they match, and only adjust a serviceable copper plug by bending the ground strap. Fine-wire and iridium plugs are replace-only.
Is oil on the spark plug always a bad engine problem?
Not always. A thin oily film on a small engine, a motorcycle, or a turbocharged engine after hard driving can be normal, because those designs send more oil past the rings. On a modern car engine, heavy oil on the plug or a rising oil level between changes points to worn valve stem seals or rings. Confirm with a compression test and an oil consumption check before calling it a rebuild.
How often should spark plugs be replaced?
Follow the interval in your owner manual rather than a generic rule, because it depends on plug material and service conditions. Copper plugs often need changing far sooner than iridium or double-platinum types, and a car that mostly idles or tows will wear plugs faster than the printed interval suggests. Replacing them on schedule also keeps the gap correct, which protects the coils and the catalytic converter.
Conclusion
Start by laying out every plug in cylinder order and comparing them side by side under a bright light, instead of judging the one you happened to pull first. Confirm the gap and replacement interval in your owner manual, and if one plug is darker, oilier or cleaner than the rest, swap the coil or injector on that cylinder and read again. Persistent or uneven wear after a fresh set goes in is worth a compression and leak-down test before you drive the car any further.