
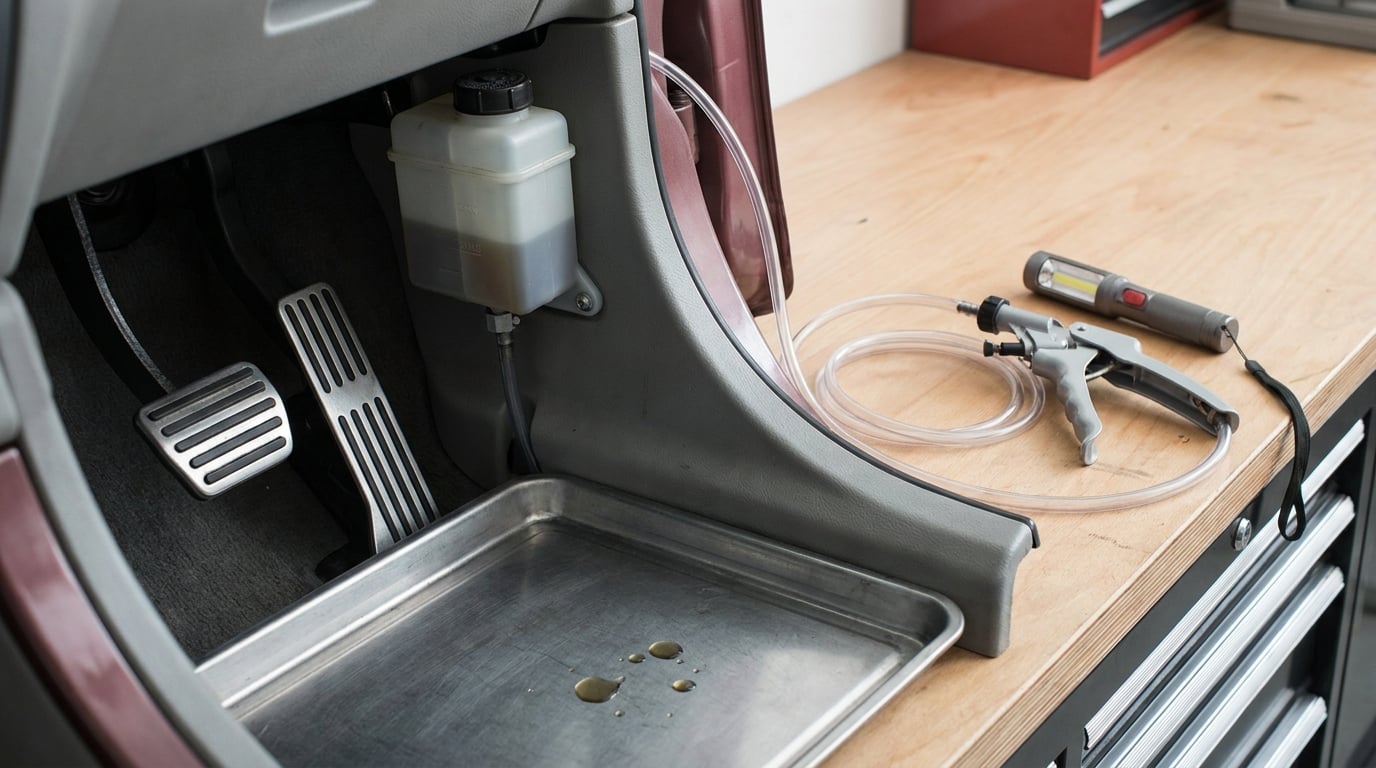
A brake pedal that goes to the floor means the hydraulic system behind it has lost pressure, and the pedal reaches the carpet because nothing is pushing back against your foot. Do not drive the car that way — stop, check the reservoir and the lines under the car, then work out whether the cause is air, a leak, mechanical wear, or a failed master cylinder.
Knowing how to fix a brake pedal that goes to the floor is mostly a Saturday-afternoon job for someone with a jack, a flashlight and a bleeder kit. The one repair I would hand to a shop is a master cylinder swap on a car with ABS, because the bench-bleed step and the modulator bleed decide whether it actually works.
I’ve pulled the diagnostic order together so you don’t start bleeding a system that was never the problem. Work top to bottom and stop as soon as you find the fault.
Table of Contents
- What You Need
- Step-by-Step: Diagnose and Fix a Brake Pedal That Goes to the Floor
- Common Mistakes
- Frequently Asked Questions
- Is it safe to drive with a brake pedal that goes to the floor?
- Can brake pedal adjustment fix a pedal that goes to the floor?
- What causes a soft or spongy brake pedal?
- How much brake fluid do I use when topping up?
- How do I know my master cylinder is bad?
- Why does the pedal still go to the floor after I bled the brakes?
- Conclusion
What You Need
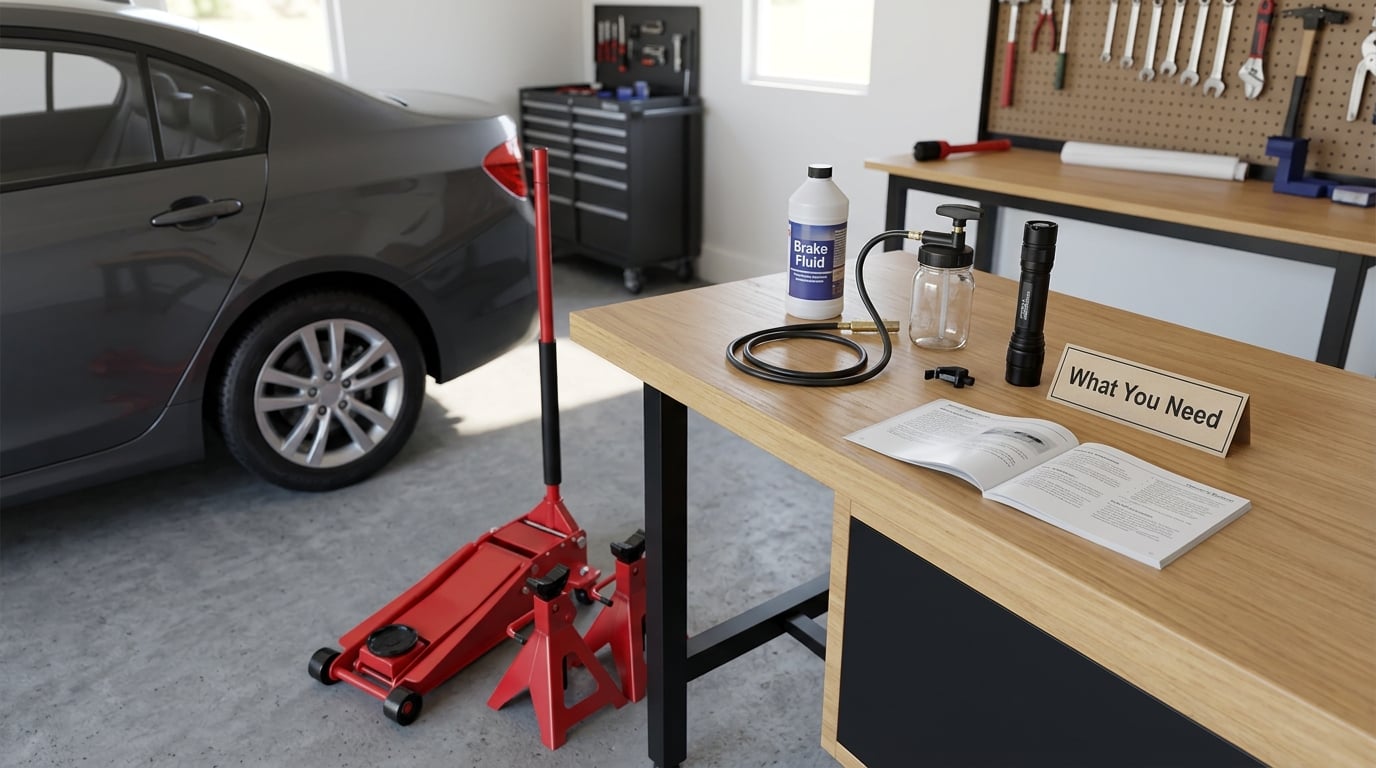
Start with the vehicle’s own documentation. The owner’s manual tells you the required fluid specification, the bleed sequence for that model, and where the pedal free-play gap is supposed to sit. If the car still has its factory service manual in the glovebox, that’s better still.
Then gather these:
- Floor jack and two rated jack stands, plus wheel chocks. Never work under a car held up by the jack alone.
- Wheel chocks for the corner opposite the one you’re working on.
- Brake fluid matching the spec on the reservoir cap — DOT 3 or DOT 4 on most cars. If the fluid has been open for a while, buy a fresh sealed container.
- A hand bleeder kit or a second pair of hands. The cheap vacuum pump kits are unreliable; a one-person kit with a reservoir jar works.
- Basic hand tools: a brake bleeder wrench, a line wrench, a ratchet set, a flashlight and a torque wrench if you’re removing hard lines.
- Clean lint-free rags and a plastic bottle to catch fluid. It eats paint, and it will find your shoes.
- Paper towels and a spray bottle of brake cleaner for the threads on the bleeder screws.
The skill level is modest: reading a fluid level, working a bleeder screw, and knowing how to support a car safely. Diagnosis takes patience rather than strength, because the whole game is noticing which component the symptom points at.
Step-by-Step: Diagnose and Fix a Brake Pedal That Goes to the Floor
1. Confirm the symptom and check for immediate danger
Not every long-travel pedal is a fault. On many cars the pedal sits a few inches up and firms up in the first inch or two of travel — that is normal. The problem is when the pedal travels much further than it used to, feels spongy rather than firm, or creeps downward while you hold steady pressure at a stop light.
How to fix a brake pedal that goes to the floor starts with knowing which of the three sensations you actually have, because each one points at a different part of the system:
| What the pedal does | What it usually means |
|---|---|
| Spongy, goes down under steady pressure, returns slowly | Air or fluid vapor in the lines, or a master cylinder bypassing internally |
| Sinks gradually over months, level looks normal, nothing on the driveway | Master cylinder seal failure — the classic internal leak |
| Long travel, firm once it gets there, no fade | Severely worn pads, a collapsed hose, or rear drum stop adjustment |
| Stiff with the engine off, soft with the engine running | Booster or vacuum supply problem |
| Does not come back up, pedal stays down | Sticking caliper or a collapsed flexible hose |
| Level drops between fills, puddle under a wheel | External leak — caliper, wheel cylinder or line |
Stop driving immediately if the pedal reaches the floor, the brake warning light comes on, you hear fluid moving, or you see fluid under the car. Push the brake pedal to the floor, leave the parking brake on, and switch off the engine rather than coasting to the shoulder. If the pedal is still usable at low speed and you are a few minutes from a safe place, drive it straight there and stop. Otherwise call a tow.
2. Inspect the brake fluid reservoir and visible hydraulic components
With the car on level ground, engine off and cold, look through the reservoir at the engine bay. The level should sit between the MIN and MAX marks. Check that the cap is the right one for the car — some caps have a float or a screen that shows level through the top — and look through the plastic for debris, dark fluid, or separated liquid sitting on top.
A drop of fluid on the underside of the reservoir cap is a common and easy-to-miss leak point. If the fluid is dark, cloudy or smells burnt, it’s been cooked; that is covered in more detail in our guide to how to tell if brake fluid is contaminated.
Then get under the car with a flashlight and trace the system. Look at each caliper, especially the inboard side where the piston seal lives and where fluid runs down rather than dripping where you’d see it. On a car with rear drums, look for fluid at the backing plate. Run your hand along every hard line, feeling for a wet patch or crusting white corrosion, and look at the rubber hoses near the wheel wells for a bulge, a wet sheen, or a hose that has gone soft. Owners on the BMW and general-model forums keep finding leaks at the flexible hose and the caliper body rather than where they’d expect, so our guide to checking calipers for leaks is worth a read before you start.
A low level is not the same as fluid loss. If the level is below MIN and there’s no visible leak, fluid is leaving somewhere you can’t see — inside the master cylinder, inside a caliper, or into a hose that only seeps. Don’t just top it off and drive away; the low brake fluid warning light is telling you something real.
3. Find and remove air from the hydraulic brake system
Air compresses. Liquid doesn’t. Every bit of air in the system has to be pushed through the pedal stroke before the fluid column can transmit pressure, which is why a pedal full of air feels spongy and sinks while you’re pressing it. Pump the pedal quickly a few times and it firms up momentarily as the seal flares — that flare-and-fade pattern is a strong hint of air rather than a leaking cylinder.
Air usually gets in when a line, caliper, wheel cylinder or master cylinder is opened, when a hose is disconnected, or when fluid level drops low enough to draw air past the reservoir ports. Wet fluid also makes steam at rotor temperatures, and steam pockets do the same job as air — that’s vapor lock, and it shows up on a hot car after a long descent.
To bleed, follow the sequence in the manual and start at the wheel farthest from the master cylinder, working toward the closest. On most cars the order is rear passenger, rear driver, front passenger, front driver.
- Park on level ground, engine off, parking brake on, transmission in park or first. Keep the reservoir topped up as you work — an empty reservoir pulls in fresh air and undoes the whole job.
- Fit the bleeder hose to a bleeder screw, check the reservoir, and give the pedal three or four firm pumps to push fluid and air toward that wheel.
- Crack the bleeder screw a quarter turn. Let fluid run and watch the hose for bubbles.
- Close the screw the moment the flow slows to a dribble and no more bubbles come out. Then pump the pedal again, reopen, and repeat until nothing but solid fluid leaves the screw.
- Move to the next wheel. On a car with ABS, bleeding only the four wheels often leaves a pocket of air in the modulator, which needs a scan tool or a specific bleed sequence — see step 5.
Spray the bleeder screw threads with cleaner before you touch the wrench, and cap every nipple afterwards. Grit in a bleeder screw is a leak you created, and it will put you right back here next month.
4. Check for mechanical wear or a failed master cylinder
If the fluid is at the correct level, there is no external leak, and the pedal still sinks, the fault is most likely inside the master cylinder. A failed primary or secondary cup seal lets fluid bypass back toward the reservoir instead of pushing out to the wheels, so pressure never builds and the reservoir still looks full. That’s the internal bypass every owner on the forums eventually learns to recognise, and it’s the most commonly missed cause because nothing ever appears on the driveway.
There are two quick tests to separate it from air. Press the pedal down firmly and hold it for 30 seconds. If it sinks slowly and continuously, the master cylinder is leaking. If it holds firm, the problem is air, fluid condition or something mechanical. If the pedal creeps down over minutes at a stop light and quick pumping firms it up temporarily, that again points at the master cylinder seal.
To confirm it, isolate the master cylinder: with the pedal held, clamp the four flexible hoses one at a time with hose clamps so no fluid can pass. If the pedal now holds firm with a clamp on, the leak is downstream in that circuit. If it still sinks with every hose clamped, the master cylinder itself is the fault. This test takes about fifteen minutes and saves people from throwing parts at a problem they haven’t found.
Mechanical causes sit alongside that. A pedal pivot bushing worn dry or a pedal box out of adjustment can give you long travel and a pedal that doesn’t return; the bushing can usually be lubricated and the free play set with the booster pushrod. A stiff pedal with the engine off and a soft one with it running points at the booster or the vacuum supply — a failed check valve, a cracked hose, or a bad diaphragm. Those are legal DIY work, but removing the master cylinder or booster from under the brake booster on many models is a job I’d leave to a brake shop.
5. Repair the confirmed cause and verify brake operation
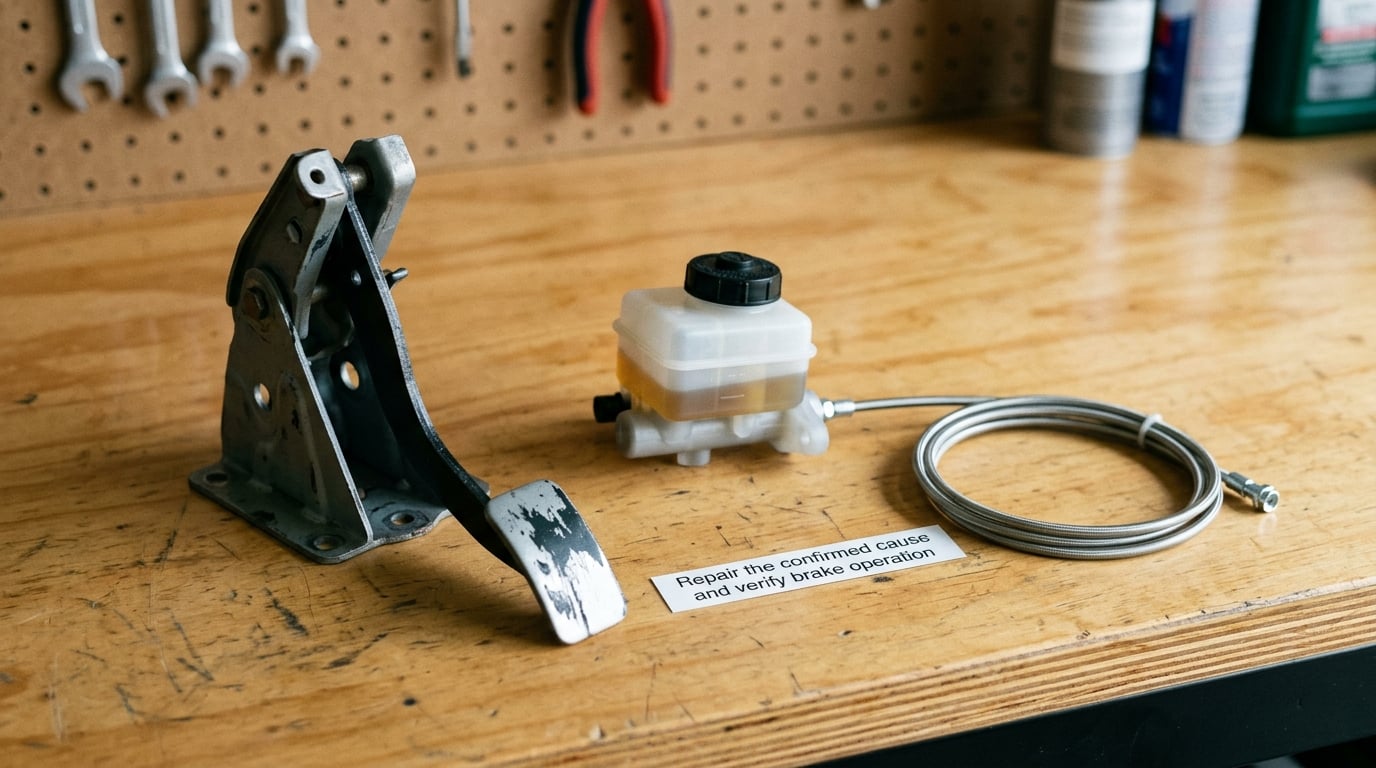
Now fix what you found, not what you suspect:
- Air or old fluid — flush and bleed until each screw runs clean with no bubbles, keeping the reservoir full the whole time.
- External leak — replace the failed caliper, wheel cylinder, hose or line. Never patch a brake line or use a rubber repair sleeve. A hard line gets a new double-flare fitting or, better, a stainless section.
- Failed master cylinder — bench bleed the new unit before it goes in. Fill the ports, work the piston slowly by hand, and repeat until fluid comes out of every port with no air. Skipping this is the number one reason a fresh master cylinder still leaves the pedal on the floor.
- Worn pads or collapsed hose — replace the pads and reset the piston; the internal bypass port that resets a caliper piston is often blocked by an anti-rattle clip, so check it as you go. Replace a collapsed hose outright.
- Booster or pedal assembly — replace the failed vacuum check valve, hose or booster, and lubricate the pivot bushing. Set pushrod free play to the manual’s spec.
Verify before you trust it. The pedal should be firm in the first inch or two and stay firm under a firm 30-second hold. Check the reservoir level again, then the driveway, then look underneath the car while it sits. Take a short low-speed test in a quiet area: gentle stops from about 20 mph building in speed, checking that the pedal height and feel are identical every time. If the pedal still creeps, the warning light is on, stopping distance feels longer, or a wheel stays hot, stop and get it to a shop.
One more thing owners ask about constantly: on cars with ABS, air trapped in the modulator will not leave through the wheel bleeders. Get the fluid warm, the pedal pumped, and use a scan tool’s bleed procedure if your vehicle supports one; otherwise the shop has to bleed it the hard way.
Common Mistakes
These are the errors I see repeated over and over, and each one either leaves the pedal sinking or makes the repair unsafe:
- Topping off the fluid without finding the cause. If the level keeps dropping, fluid is leaving the system somewhere. You are adding fluid to a leak and hiding the evidence.
- Leaving air in the system. A bleed that stops when the fluid looks clear, without watching for the last bubble, is not finished. A reservoir allowed to run empty mid-job guarantees another pass.
- Skipping the bench bleed on a new master cylinder. Air trapped in the ports is the reason a brand-new cylinder still sinks right after installation.
- Ignoring a visible leak. Fluid on the caliper, at the hose or along the line is the diagnosis, not a detail. Our leak check walkthrough shows where fluid collects.
- Using the wrong fluid. DOT 5 silicone is not interchangeable with DOT 3 or DOT 4, it holds moisture, and it can foam under ABS pump cycling. Use what the cap or manual specifies, and never mix types.
- Over-tightening fittings. A hard line crushed by an over-torqued nut will weep or burst. Snug, then snug a little more.
- Patching brake lines. No clamps, no sleeves, no tape. A failed line gets replaced properly.
- Test-driving hard right after the repair. Firm pedal first, then slow stops in a clear area, then a bedding-in period before anything more demanding.
- Assuming pedal adjustment fixes a hydraulic fault. Setting free play on a pedal that is sinking under pressure changes nothing about the leak behind it.
For prevention, use the fluid type and change interval from your manual, inspect the reservoir level at every oil change, and have the lines and hoses checked with the brakes off when the car is on the lift. Most pedal-to-the-floor faults announce themselves weeks or months early as a softer pedal, a whoosh at first touch, or a level that needs topping up between services. Catch it there and it’s a small job.
Frequently Asked Questions
Is it safe to drive with a brake pedal that goes to the floor?
Not really. A pedal that reaches the floor means the system is losing hydraulic pressure, and how much you have left can change from one stop to the next. If the pedal still bites and the car stops straight, drive it slowly to a shop or your home. If it bottoms out with no resistance, do not drive it at all — have it towed.
Can brake pedal adjustment fix a pedal that goes to the floor?
Only if the cause is purely mechanical. A dry pedal pivot bushing or an out-of-spec pushrod gap can give you long travel and a pedal that does not return. But if the pedal sinks under steady pressure, the fluid is low, or the level keeps dropping, adjustment will not help — that is a leak, air, or a master cylinder seal failing.
What causes a soft or spongy brake pedal?
Three things, in rough order of frequency: air or steam in the hydraulic lines, fluid that has absorbed moisture and boiled into vapor, and a master cylinder whose internal seal is letting pressure bleed back to the reservoir. External leaks at a caliper, wheel cylinder or hose are the fourth cause. All four feel the same under your foot, which is why you diagnose by testing rather than by feel alone.
How much brake fluid do I use when topping up?
Add fluid a little at a time and never past the MAX mark. The reservoir is small and the fluid between MIN and MAX is the working volume for pad wear and thermal movement, so overfilling leaves nowhere for the expanding fluid to go. Use only the specification on your reservoir cap or in the manual, and use a sealed container if the fluid has been open.
How do I know my master cylinder is bad?
Three signs: the fluid level stays full and no fluid appears anywhere, the pedal sinks slowly through a firm 30-second hold, and quick pumping firms it up for a moment before it fades. To confirm, clamp the flexible hoses one at a time while holding the pedal down — if it still sinks with all four clamped, the master cylinder is leaking internally and no amount of bleeding will fix it.
Why does the pedal still go to the floor after I bled the brakes?
Usually one of four reasons. The bench bleed was skipped on a new master cylinder, so air sits in the ports. A wheel is never reached by a manual bleed, usually because a bleeder screw is seized or the caliper is stuck. Air is trapped inside the ABS modulator, which needs a scan tool bleed. Or the fault was never air at all — a leaking master cylinder or an external leak, which bleeding will never touch.
Conclusion
The first action is the one that isn’t mechanical: stop driving the car if the pedal reaches the floor, the warning light is on, or you can see fluid. Park it on level ground, chock a wheel, check the reservoir level, then look at the calipers, hoses and lines with a flashlight.
From there it narrows quickly. Low level or a puddle means an external leak. Full level, no leak, and a pedal that creeps down under a firm hold means a failing master cylinder. Firm after pumping, slow to return, and a whoosh on first touch means air or contaminated fluid. Once you know which of those you have, the repair is a bleed, a line or hose, a component swap, or a master cylinder with a proper bench bleed. If the fault is hydraulic and you cannot pin it down, or it involves the booster, have a qualified brake professional take it apart — the diagnosis is cheaper than the guess. That is the whole of how to fix a brake pedal that goes to the floor: find which of those four faults you have before you spend money.