
A failing manifold absolute pressure sensor throws the engine’s whole fuel calculation off, and the symptoms of a bad MAP sensor show up long before anything dramatic happens: a rough idle that wanders, hesitation when you press the accelerator, a check engine light, and fuel economy that quietly drops. On many cars the sensor itself is not even the problem, so knowing what to look for matters more than knowing what to buy.
Here is how the symptoms of a bad MAP sensor differ from a vacuum leak or a failing oxygen sensor, how to test the sensor and its wiring safely, and when a replacement is the right call.
Table of Contents
- What Is a MAP Sensor and What Does It Do?
- Symptoms of a Bad MAP Sensor
- Why Does a MAP Sensor Fail?
- How to Recognize Symptoms of a Bad MAP Sensor Without Guessing
- How to Test a MAP Sensor
- MAP Sensor Repair and Replacement Options
- MAP Sensor vs. MAF Sensor: Why the Distinction Matters
- When to Replace the Sensor or Visit a Mechanic
- Frequently Asked Questions
- What to Do First
What Is a MAP Sensor and What Does It Do?
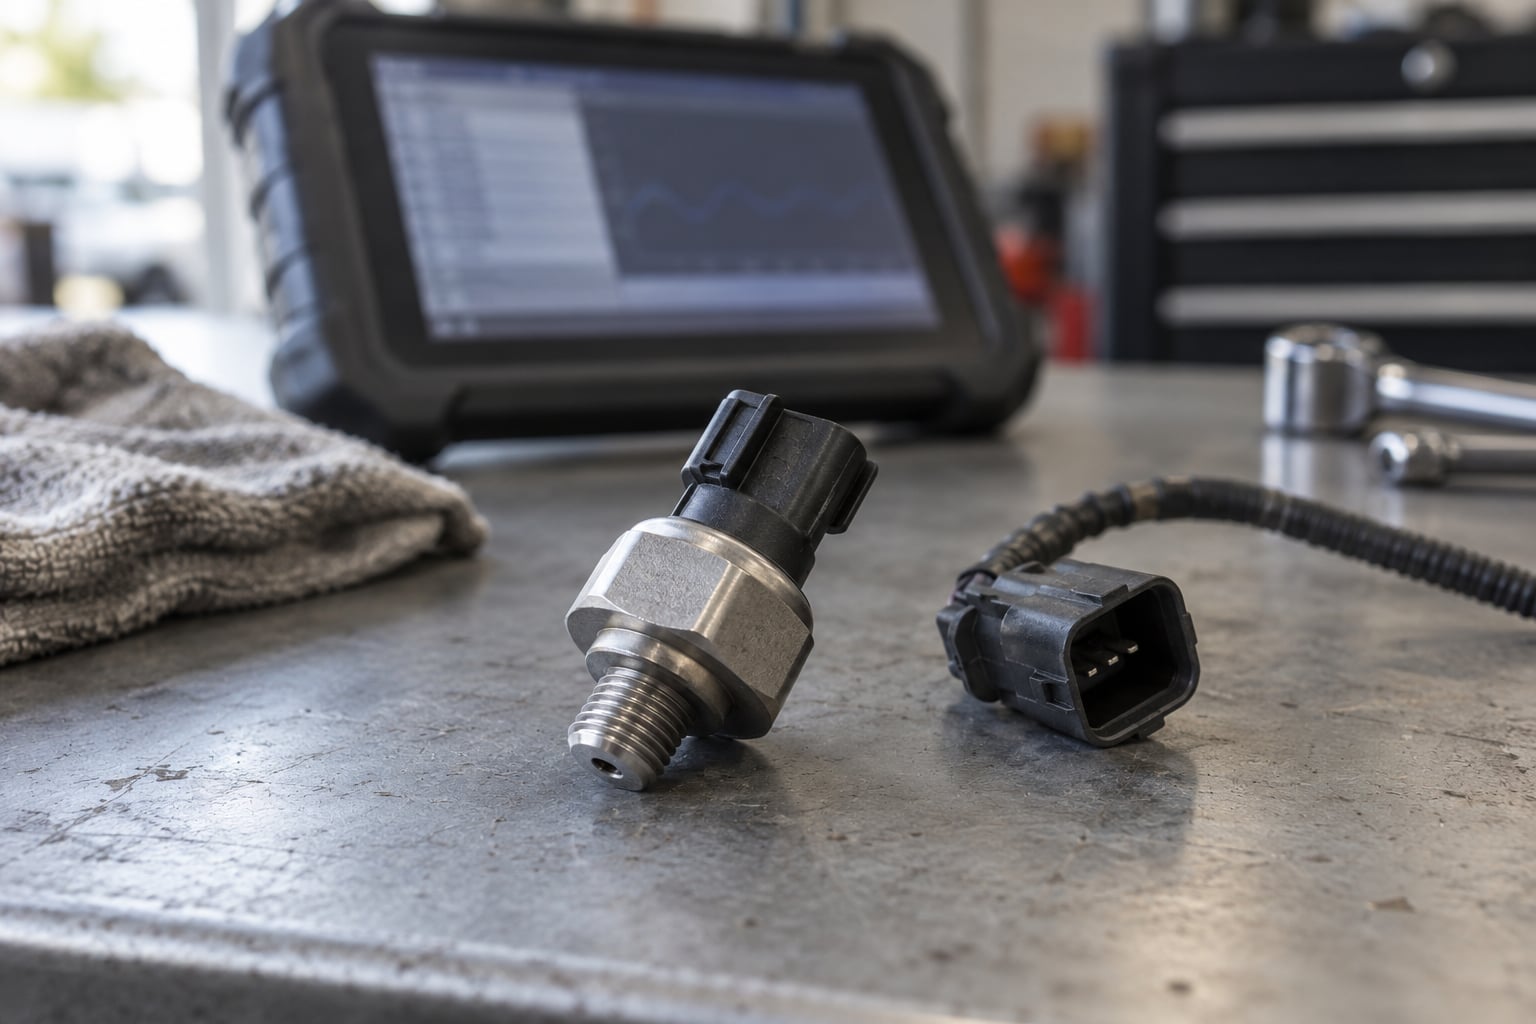
A MAP sensor is a pressure transducer bolted to the intake manifold or mounted near it. It measures the vacuum (or pressure, on a boosted engine) inside the intake and reports it to the engine control module as an electrical signal.
The module uses that number to work out engine load. Load is the basis for almost every other calculation the engine makes: how long each fuel injector stays open, how much ignition advance to use, when to open the EGR valve, and whether a turbo should be making boost.
Inside the sensor is a pressure-sensitive diaphragm linked to a silicon strain gauge. When manifold pressure changes, the diaphragm flexes, the resistance in the gauge changes, and the output voltage moves with it. Most sensors run on a 5V reference from the module, with the signal voltage riding between roughly 0 and 5V.
The MAP sensor is also the module’s barometric pressure reference at key-on, key-off, which is why a failed sensor often makes a car start badly on a cold morning but run fine once it is warm. Not every car uses one. Plenty of BMW, VW, Audi and newer Toyota models rely on a mass air flow sensor instead, which measures air directly rather than inferring it from pressure.
Symptoms of a Bad MAP Sensor
The symptoms of a bad MAP sensor cluster around mixture and load, because that is exactly what the sensor feeds into. Most drivers notice two or three of these together rather than one on its own.
- Check engine light on — usually accompanied by a stored code in the P0105 to P0109 range.
- Rough or wandering idle — the revs hunt up and down while the vehicle is parked, and sometimes stall after a couple of minutes of idling.
- Hesitation or stumble on acceleration — a noticeable pause before the engine picks up speed, especially from a stop.
- Poor fuel economy — a rich or lean mixture burns the wrong amount of fuel for the load the module thinks it sees.
- Black exhaust smoke or a strong fuel smell — a sign the module is flooding a rich mixture.
- Hard starting or a crank-and-stall pattern — common after the sensor has warmed up but clears once it cools.
- Stalling at stoplights or under load — the load reading jumps or drops erratically.
- Failed emissions test — misfire and mixture problems push hydrocarbon and NOx readings out of limits.
What Each Symptom Tells You About When the Fault Shows Up
| Symptom | When it is most noticeable | What it usually points to |
|---|---|---|
| Check engine light | Any time, often at key-on | Confirmed electrical or signal fault |
| Rough idle | Warm idle, in gear or at a stoplight | Erratic load reading at low load |
| Hesitation on acceleration | Part throttle, from a stop | Load signal lagging or flat |
| Poor fuel economy | Across a full tank of driving | Long-term fuel trims out of range |
| Black smoke or fuel smell | Startup and idle | Module reading high load, flooding |
| Hard start | Cold, then fine once warm | No valid barometric reading at start |
| Stalling | Idle or steady driving, sometimes after two minutes | Signal dropout under load |
| Emissions failure | At the test station | Misfire and mixture combined |
Turbocharged cars add a symptom cluster of their own: boost that comes on late or spikes unexpectedly, and codes like P0234 or P0238. If your engine makes boost and the problem only shows up under load, weight the boost-control side of the diagnosis heavily.
Why Does a MAP Sensor Fail?
Most failures trace back to one of a handful of causes, and several of them are cheaper to fix than the sensor.
- Diaphragm or strain gauge damage — the internal element cracks or flexes incorrectly, giving a reading that is out of calibration or drifts with heat.
- Contamination — oil, coolant, or carbon wash from an over-oiled or worn engine reaches the port and fouls the sensor.
- Cracked connector or vacuum leak — a split hose or a loose fitting lets unmetered air into the manifold, so the sensor reports pressure that never existed.
- Damaged wiring — a chafe, a stretched pigtail, or a wire broken inside its insulation can pass a continuity check and still fail under heat or vibration.
- Mounting problems — a loose bracket or a missing gasket lets the sensor see air from outside the intake.
- Heat and moisture — an intermittent fault that appears on a hot day after a long drive and vanishes when the car cools is a strong hint at internal or connector corrosion.
On cars that share a MAP sensor with the barometric and intake air temperature readings, a single failed element can also set codes for components that are perfectly fine.
How to Recognize Symptoms of a Bad MAP Sensor Without Guessing
The honest answer is that a MAP sensor cannot be diagnosed from symptoms alone, because the same list shows up for a dozen other faults. What separates them is data and timing.
Use the codes to narrow the fault
| Code | Plain meaning | Most common cause |
|---|---|---|
| P0105 | MAP sensor circuit malfunction | Open circuit, failed sensor, bad connector |
| P0106 | MAP signal out of range | Drifting sensor, wrong calibration, vacuum problem |
| P0107 | MAP signal low | Short to ground, wiring damage, vacuum leak drawing a false low |
| P0108 | MAP signal high | Short to voltage or reference, blocked port |
| P0109 | MAP signal intermittent | Heat, vibration or moisture in the circuit |
P0106 and P0109 are the two that get misread most often. A P0106 on a healthy engine is very often a vacuum leak or a blocked port rather than a dead sensor. Related codes matter too: P0171 and P0172 point at a fuel trim problem that the module may be reacting to, and a MAF-equipped car will more often show P0102 or P0103 instead.
Watch when the symptom shows up
Idle only? Look at ignition, vacuum, and idle air control. Only under load? Look at wiring, fuel delivery, and boost leaks. Only when cold? Look at the barometric reference, the coolant temperature sensor, and moisture in the connector. A fault that appears at exactly the same engine temperature every time is a mechanical pattern, not random bad luck.
One common false lead shows up on forums constantly. Owners chase a MAP sensor for weeks when the actual culprit was a camshaft position sensor, because the rich smell, slow crank, and stalling look identical from the driver’s seat. A scope showing an erratic crank or cam signal settles that argument quickly.
How to Test a MAP Sensor
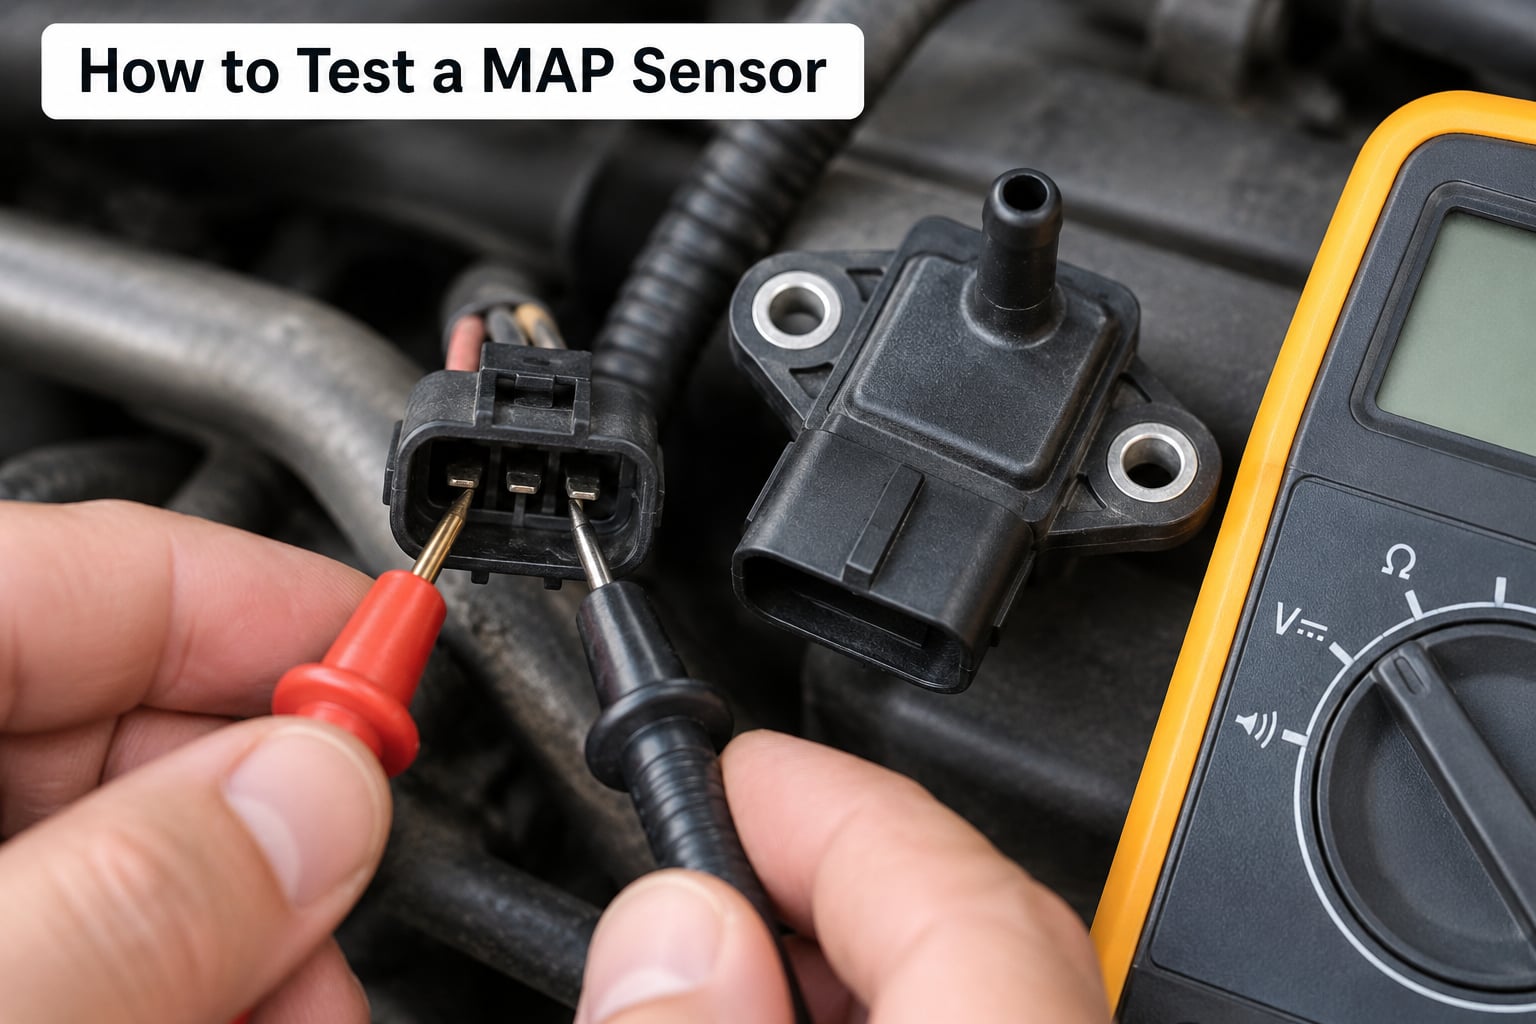
Work from the service information for your vehicle first. Pin layouts, reference voltages and pressure specifications differ widely between engines, and a fixed number copied from another car is worse than no number at all.
1. Inspect the sensor, the connector, and the intake tract
Unplug the connector and look at the terminals for spread, corrosion, or a green tint from coolant. Check the wiring where it passes near hot exhaust parts and moving components. Then check the vacuum port and hose on a hose-fed sensor: look for cracking, softening, or a port that is blocked with carbon.
2. Read live data with a scan tool
With an OBD-II scanner showing live data, watch the MAP reading at key-on before the engine starts, at warm idle, at steady cruise, and at wide-open throttle. Typical behaviour on a healthy naturally aspirated engine is a reading near atmospheric pressure with the key on, a strong drop toward vacuum at idle, a mid-range value under steady load, and a rise above atmospheric pressure at full throttle. Turbo engines sit higher at full throttle than atmospheric.
Now do the correlation test. Add a little throttle: the MAP value should climb smoothly and follow the engine. Shift into neutral and rev it while parked: the value should swing the other way. A reading that sits frozen, that jumps around with no throttle change, or that sits at one extreme is a failed signal.
3. Check fuel trims
Short-term and long-term fuel trims should stay within a few percentage points of zero on a healthy engine. Large positive trims mean the module is adding fuel to correct a lean reading, and large negative trims mean it is cutting fuel after a falsely rich one.
4. Measure reference voltage, signal, and ground
With the connector attached and the ignition on, back-probe the reference wire and confirm it holds close to 5V. Confirm the ground side shows near zero volts and low resistance to a chassis point. Then back-probe the signal wire while watching the scan tool reading change as you apply light vacuum to the port. The voltage should move smoothly and in the direction the service manual specifies for that engine.
5. Try a vacuum pump and a wiggle test
For a hose-fed sensor, apply a hand vacuum pump or a regulated air source to the port and watch the scan tool. The value should follow the applied vacuum. Next, wiggle the harness and the connector while watching the same value, and heat the area with a heat gun if the fault is intermittent. A reading that drops out under either test points at the circuit, not the sensor. Also compare the sensor against a known-good unit or check it against service-manual specifications before buying a replacement.
A crude A/B test shows up in a lot of owner threads: unplug the sensor, plug the vacuum port, and drive. If running with the sensor removed and the port blocked is clearly worse, the sensor was probably doing its job. Expect extra codes to set, and clear them afterwards.
MAP Sensor Repair and Replacement Options
| What you found | Action | Typical effort |
|---|---|---|
| Corroded terminals, intact sensor | Clean with contact cleaner, add dielectric grease | Under an hour |
| Cracked hose or loose fitting | Replace the hose and reseat the fitting | Under an hour |
| Damaged harness or broken conductor | Repair or replace the affected section, restore the seal | A few hours |
| Sensor reading out of range or unresponsive | Replace the sensor, then clear codes and relearn | An hour or two |
| Blocked port or heavy carbon | Clean the intake and port before fitting a new sensor | Depends on access |
Replacement itself is usually straightforward on a naturally aspirated engine: disconnect the electrical connector, undo the bolts or the single fitting, take the old gasket or O-ring off with it, fit the new one, and torque it to specification. Turbo and intercooler-equipped layouts are a different story, with the sensor often tucked underneath or behind piping.
After the repair, clear the stored and pending codes with a scan tool rather than pulling a battery fuse. Then complete a full drive cycle that includes a cold start, a warm idle, part-throttle driving, and wide-open throttle. The module only marks a code as resolved once it sees the values make sense across those conditions, which is why owners so often find the light still on after a perfectly good new sensor.
If you also need to service the air meter on a MAF-equipped car, our guide on how to clean a mass air flow sensor without damage covers doing it without ruining the sensing element.
MAP Sensor vs. MAF Sensor: Why the Distinction Matters
The distinction changes which part you are testing, which tools pay off, and how you read the numbers. A MAP sensor infers air quantity from pressure; a MAF sensor measures the mass of air moving past it directly.
| Feature | MAP sensor | MAF sensor |
|---|---|---|
| What it measures | Intake manifold pressure or vacuum | Air mass flow |
| Typical location | Intake manifold or intake pipe | Intake pipe after the air filter |
| Fuel calculation method | Speed-density, using load | Direct mass measurement |
| Doubles as | Barometric pressure reference at key-on | Usually a separate baro sensor |
| Codes when failed | P0105 to P0109 | P0101 to P0103 |
| Most useful test | Vacuum pump plus live data correlation | Live data versus commanded load, often plus cleaning |
| Common on | Older domestic and Japanese engines, many diesels | Many European cars, including a lot of BMW models |
The symptoms overlap almost completely, because both feed the same fuel and load decisions. Where they differ is sensitivity: a MAF element is delicate, fine enough that oil contamination and a dirty filter cause real problems, while a MAP sensor is more affected by vacuum, heat, and port condition. Engine temperature data also matters here, since a MAF-equipped car usually reports intake air temperature separately.
When to Replace the Sensor or Visit a Mechanic
Replace the sensor when the live data test is clearly abnormal, the reference voltage and ground check out, the wiring and connector are sound, and a vacuum leak has been ruled out. That combination points at the sensor itself with reasonable confidence.
Take it to a shop when the sensor is buried under intake piping or a turbocharger, when the wiring is damaged in a section you cannot reach cleanly, when the fault only appears on the road and never in the driveway, or when codes keep coming back after a new sensor and a cleared code. Intermittent faults that will not reproduce on the hoist are expensive to chase for exactly that reason.
Do not wait on a car that is running rich enough to smell like fuel, running lean enough to misfire under load, or burning so much fuel that it fails an emissions test. Rich running loads the catalytic converter with unburned fuel, and sustained lean running under load risks detonation damage to the piston. If the module has dropped into a reduced-power mode, treat it as a trip to the shop rather than a long drive. Our piece on what limp mode is and what causes it explains how to tell which mode your car is in.
One more caution: if the check engine light comes with a fuel trim or misfire code, work through the air intake and exhaust side as well. Our guide to what a bad oxygen sensor does to gas mileage covers the other half of the mixture picture.
Frequently Asked Questions
Can I drive with a bad MAP sensor?
You can usually drive short distances, but it is not a good idea to leave it. A wrong load signal means the engine runs rich or lean, which raises fuel consumption, can cause misfires, and over time can overheat the catalytic converter. If the vehicle runs rough or stalls, park it and diagnose before the drive home.
Will a bad MAP sensor trigger the check-engine light?
Usually, but not always. Codes P0105 through P0109 cover the MAP circuit and signal range, and most failures set one of them. A sensor that reads slightly off can fool the module completely, because the values stay inside a plausible range. Many owners drive a car with a lazy idle and no light at all.
Can a MAP sensor cause poor fuel economy and a rough idle?
Yes, and those two symptoms together are a classic pairing. A falsely high load reading makes the module inject more fuel than the engine needs, which shows up as poor fuel economy, a rich smell, and sometimes black exhaust smoke. A falsely low reading starves the mixture, causing a lean stumble and hesitation under load.
Why would a new MAP sensor still set a trouble code?
Because the sensor was rarely the only problem. An unresolved vacuum leak, damaged wiring, or a blocked port keeps producing the same signal problem. The code also stays set until the module sees correct values across a full drive cycle, so clear the codes and complete a warm idle, part-throttle, and full-throttle cycle before judging the repair.
Is cleaning a MAP sensor better than replacing it?
Cleaning helps when the port is carbon-blocked and the sensor itself still reads correctly, which is worth trying before buying parts. A cracked diaphragm or a failed strain gauge cannot be fixed with cleaner. If live data stays abnormal with a clean port, sound wiring, and a good reference voltage, replacement is the sensible next step.
Can a vacuum leak mimic a bad MAP sensor?
More often than most people expect, and that is why it deserves testing early. A cracked hose or broken manifold lets extra air past a sensor that measures vacuum, so the module misjudges load and mixture. The result is a P0107 or P0106 code, a lean stumble, and elevated fuel trims, all of which look exactly like a failed sensor.
What to Do First
Write down when the problem happens: at idle, under load, when cold, or only after the engine has been running a while. Read the stored and pending codes before touching a single bolt.
Then inspect the connector, the wiring near hot and moving parts, and the vacuum port and hose. Watch the MAP live data with a scan tool while you work the throttle, and check that the value moves smoothly instead of sitting frozen or pinned at one extreme. Confirm the 5V reference and a clean ground before buying anything.
Only when the wiring, the vacuum supply, and the readings all point at the sensor itself should you replace it, and then clear the codes and complete a full drive cycle before calling the repair done.