
To clean a mass air flow sensor, disconnect the negative battery cable, unplug the sensor, loosen the mounting screws and lift it out of the intake duct, then spray both sides of the sensing element with a dedicated MAF sensor cleaner in short bursts, let it air-dry completely, and reinstall it. The whole job takes 20 to 40 minutes and needs nothing more exotic than a screwdriver, a socket set and a can of sensor cleaner.
The reason people get nervous about this job is that the element is fragile and the sensor is not cheap to replace. A spray of the wrong solvent can strip the hot wire or dissolve the RTD film outright, and then the cleaning that was meant to save money has cost you the whole part.
So this guide leans hard on two things: what to use, and when to stop cleaning and swap the sensor instead. If you own a BMW, a Mercedes or any other European car with a mass-metered intake, read the mistakes section before you spray anything.
Table of Contents
- What You Need
- Step-by-Step: How to Clean a Mass Air Flow Sensor
- Common Mistakes and What to Do Instead
- Frequently Asked Questions
- What are the symptoms of a dirty mass air flow sensor?
- Can I clean a MAF sensor with throttle body cleaner or brake cleaner?
- How long should a MAF sensor sit after cleaning before reinstalling?
- Does cleaning a MAF sensor really work, or should I just replace it?
- Do you have to reset the ECU after cleaning the MAF sensor?
- Conclusion
What You Need
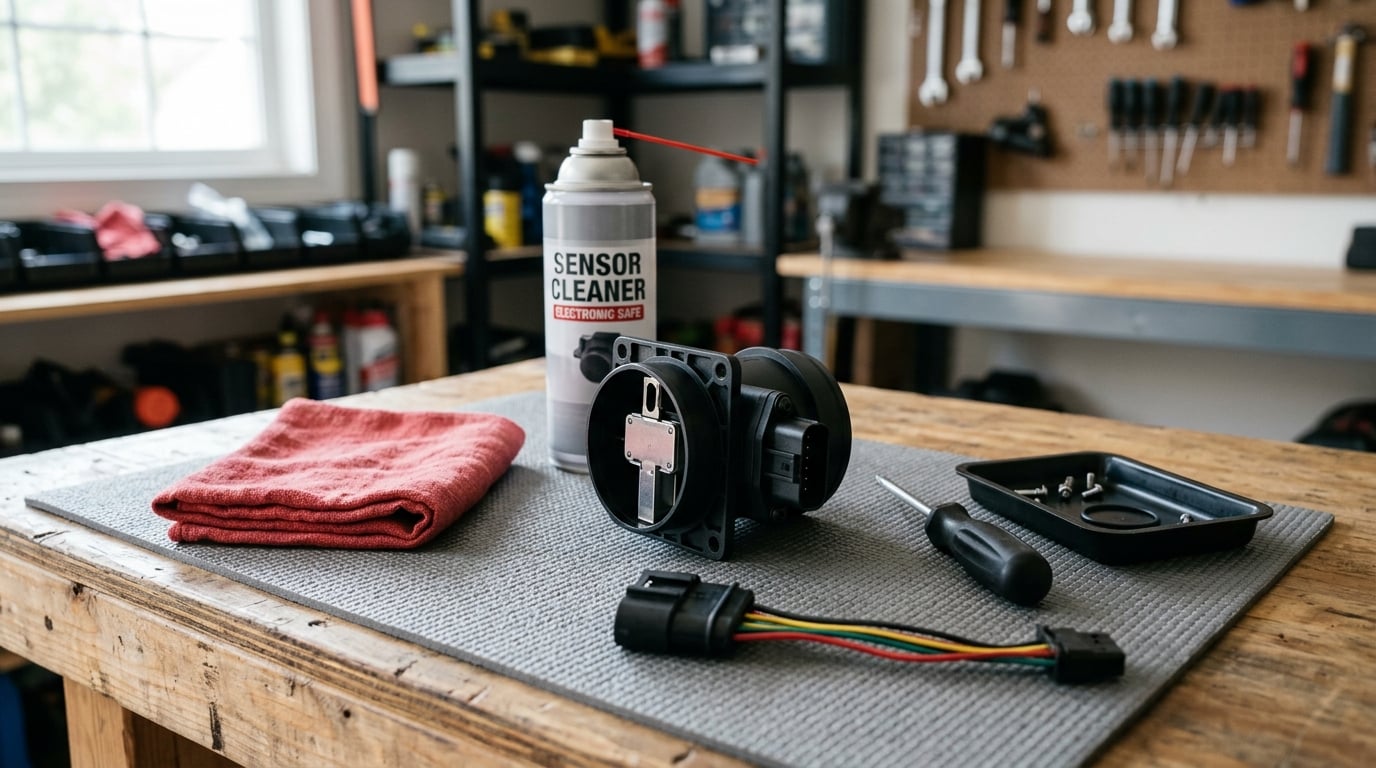
- Dedicated MAF sensor cleaner. This matters more than any other item on the list. A product formulated for mass air flow sensors (CRC 05110 is the one most people name) is designed to dissolve light oil and dust film without attacking the element. Never brake cleaner, carb cleaner or throttle body cleaner.
- Socket set or screwdriver. Most MAF sensors use Torx, Philips or a hex head, usually two fasteners.
- Clean shop rag or paper towels. One to catch the screws, one to set the sensor on while it dries.
- Nitrile gloves. Your skin oils land straight back on the element you just cleaned.
- Compressed air, low pressure only. Optional, for blowing residue off the housing and the connector pins.
- A phone or laptop with an OBD scanner. Optional but worth having, so you can read a code and confirm the fix.
- Your owner’s manual or service information. The torque spec for the sensor bolts, the element type, and any manufacturer cleaning prohibition.
Two extras people find useful: a plastic tray or a folded rag to catch the sensor if you drop it, and masking tape to label the sensor’s orientation and its connector before it comes out.
Step-by-Step: How to Clean a Mass Air Flow Sensor
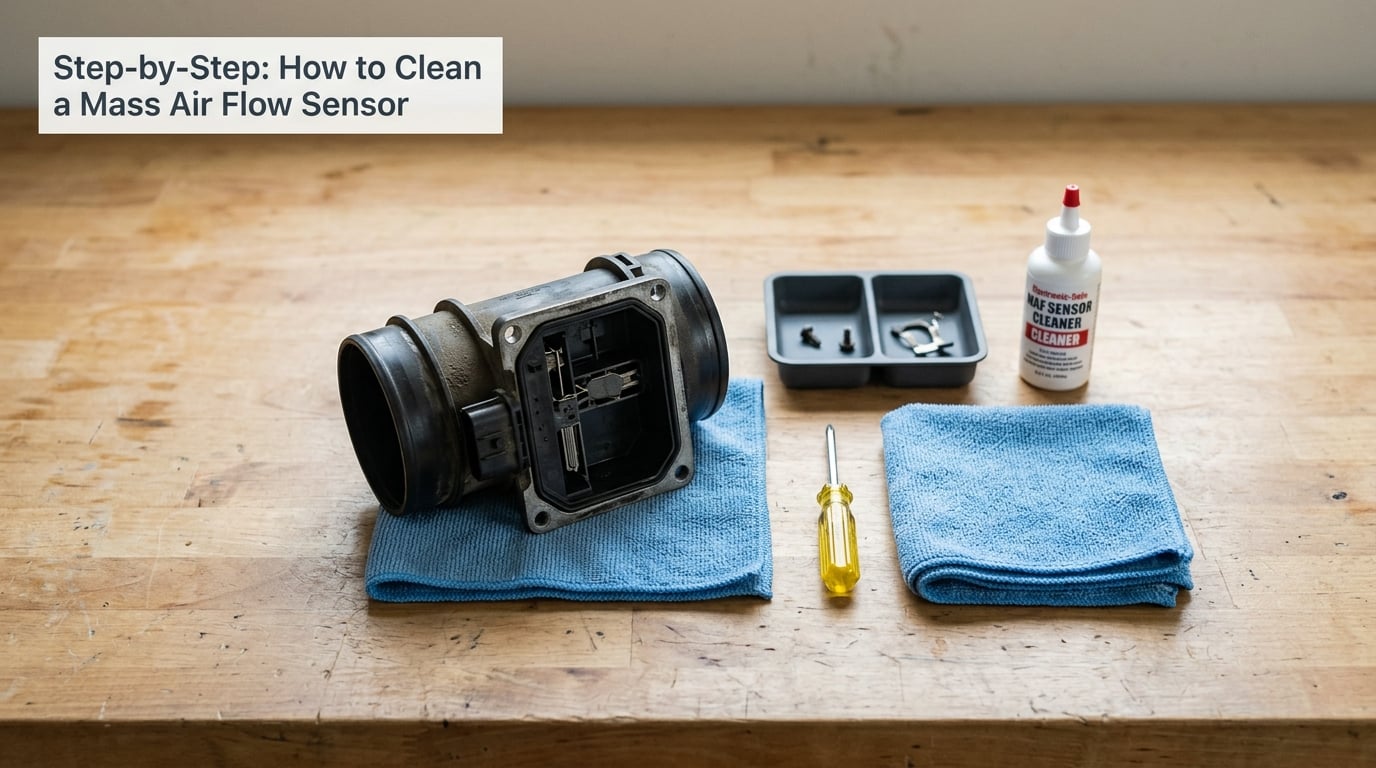
Step 1: Identify the Sensor and Check the Condition
The MAF sensor sits in the intake tract between the air filter housing and the throttle body. On a BMW it is usually on the intake duct just downstream of the airbox, held by two screws, with the electrical connector on the side facing you.
Before you plan to clean it, decide whether cleaning is even the right move. Pull the connector, lift the sensor out and look at it. A light grey dust film on a hot-wire element is normal and harmless. An oily, dark, sticky coating is a dirty sensor and responds well to cleaning. A cracked housing, a connector with green or white corrosion on the pins, a sensor that moves loosely in the duct, or a visibly damaged element is not a cleaning job.
On hot-film and RTD-style sensors you will see a small circuit board or film instead of two exposed wires. Treat those more gently. There is nothing to scrub, and the film is thinner than the wire on a hot-wire element.
Step 2: Disconnect the Battery and Sensor Connector
Switch the ignition off, remove the key, open the hood and disconnect the negative battery cable first. The owner’s manual will say whether you need a memory-saver or whether codes will reset, and in most cases resetting the battery is a deliberate part of this procedure rather than a side effect.
Then find the sensor’s electrical connector. Press or lift the locking tab, then pull the connector straight off the sensor. Do not pull on the wires coming out of the housing. A connector that needs real force to release, or one that looks heat-damaged, is a sign to stop and price a replacement connector before going further.
Set the connector where dirt cannot fall into it. Plug a cap over it if the sensor comes out of the housing rather than staying on the duct.
Step 3: Remove the Sensor Carefully
Loosen the two mounting screws and keep your shop rag under the intake duct. This is where sensors go missing, into the gap between the engine and the strut tower, and they are not pleasant to fish out.
Mark the sensor’s orientation with tape before it comes free. The duct is not perfectly round on some cars, and reinstalling it rotated can restrict airflow and produce a code of its own.
Lift the sensor straight out along the axis of the duct. Do not twist it, do not lever it, and do not pull on the connector or the wire loom. If it binds halfway out, stop and look for a second clip or a retaining tab you have not released.
Step 4: Clean the Contaminated Sensing Element
Hold the sensor so the cleaner runs off it, never back toward your face. Work outdoors or with the windows open, and keep the can upright and roughly 10 to 15 cm from the element.
Apply 10 to 15 short bursts per side. The aim is to wet the element, not to soak or flood it. Cover the sensing wires or film, the small temperature sensor next to them, and the exposed edge of the circuit board on hot-film units. Pay attention to the area around the wires where oil collects and runs down.
Let the solvent do the work, then dab or lightly wipe away the loosened residue with a lint-free cloth or a cotton swab. Do not scrub. Do not brush. Do not use a fingernail, a pick or compressed air at high pressure against the element. A single blast of shop air at close range can snap a hot wire outright, and compressed air is only for the housing, the connector and the duct, never for the sensing face.
You can also clean without removing the sensor, and plenty of owners do it. Cradle the duct, spray through the vented end of the housing, and run the engine. That method works well on light dust and it skips the battery disconnect, but it does nothing for a sensor with a heavy oil film, and it risks driving contamination straight past the element into the throttle body. Removing it is the version I would use on a European car.
Step 5: Let the Sensor Dry Completely
Set the sensor on a clean rag in a dust-free area, element facing up, and give it at least 10 minutes. Twenty is safer if you sprayed heavily. The solvent has to evaporate fully; any moisture left on the element when the engine starts can cause a misfire, a lean reading and sometimes a fresh code.
Low-pressure compressed air held well back is fine to nudge residue off the housing and pins. Heat is not. No hairdryer, no oven, no hot garage, and no sunlight baking the connector.
When you reinstall it, the sensor should feel completely dry to a fingertip, with no solvent smell near the element.
Step 6: Reinstall and Test the Sensor
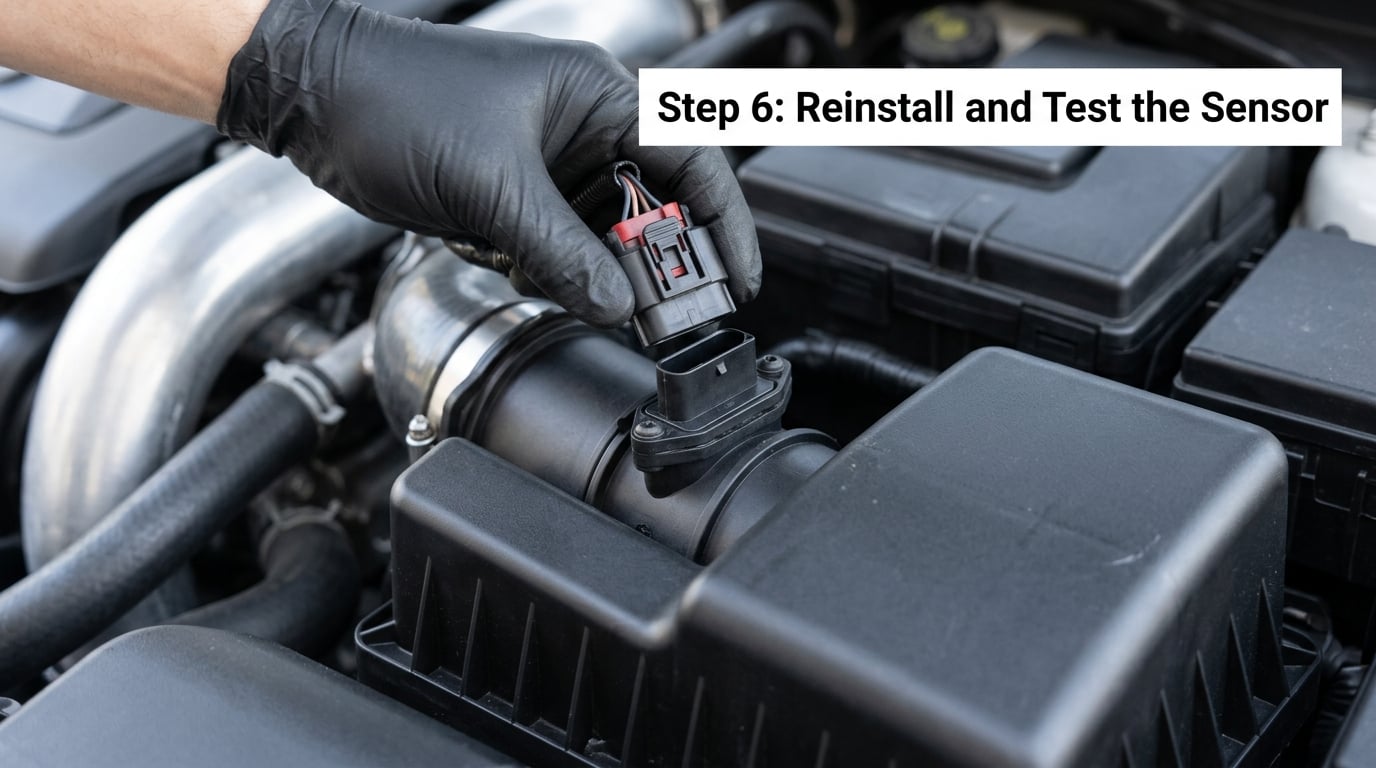
Put the sensor back in the same orientation you taped, seat the gasket if it uses one, and tighten the screws to the torque in your service information. Overtightening distorts the housing and cracks it, which leaks unmetered air into the intake and undoes the whole job. Reconnect the plug until the locking tab clicks.
Reconnect the negative battery cable, turn the key on and watch for the check engine light. If your scanner can read codes, clear them, then let the engine idle. The idle should settle, and there should be no hesitation when you lift off the gas.
On many cars the ECU relearns its fuel trims over a drive cycle, so the honest test is 15 to 20 minutes of mixed driving with a few full pulls, spread over a day or two. If the same code comes back within a few weeks, the sensor was probably failing rather than dirty, and cleaning is not going to fix it.
Common Mistakes and What to Do Instead
Every one of these has come up on owner forums, and most of them turn a 40-minute job into a replacement sensor. The habit is the problem in each case, not the effort.
- Spraying brake cleaner or carb cleaner on the element. It attacks the wire or film and can destroy the sensor permanently. Use dedicated MAF sensor cleaner only, and never brake cleaner.
- Scrubbing the element with a brush, swab or cloth. It snaps hot wires and lifts the film on hot-film units. Soak with cleaner and let it drip off, then dab gently.
- Spraying into the intake with the engine running and the filter off. It pushes contamination past the sensor into the throttle body. Remove the sensor and clean it on the bench, or accept a partial result.
- Touching the sensing element with bare fingers. Skin oils are exactly what you just cleaned off. Wear nitrile gloves and hold the sensor by its housing.
- Blowing the element out with high-pressure compressed air. This breaks hot wires, and it is the single most common self-inflicted failure. Air dry, or use air only on the housing and connector.
- Reinstalling while the sensor is still wet. You get a misfire, lean running and sometimes a new code. Full air dry, 10 to 20 minutes minimum.
- Cleaning a cracked, loose or corroded sensor. The fault is mechanical or electrical, so the clean is wasted time. Replace the sensor and check for intake leaks.
- Skipping the code clear after cleaning. Old codes mask whether the fix worked. Clear them, then drive a full relearn cycle.
Two more worth calling out. Do not use isopropyl alcohol as a substitute for MAF cleaner; it dissolves grease poorly and people end up scrubbing instead of soaking. And do not hold off on cleaning because the car has a check engine light but no obvious symptoms; a mass-metered engine running rich on a contaminated sensor can quietly cost you several miles per gallon with no light on at all.
The rule of thumb from long-term owners is simple. Clean a MAF the same way you change oil, not as a last resort. A BMW owner on one forum reported three cleanings that took a sensor from 66,000 miles to 119,000. Treating it as scheduled maintenance is what makes cleaning worth doing at all.
Frequently Asked Questions
What are the symptoms of a dirty mass air flow sensor?
A dirty MAF usually shows up as a check engine light, often with P0101 for the mass air flow circuit or P0170 and P0173 for fuel trim. You may also notice a rough or dipping idle, hesitation or stumble when you press the gas, and fuel economy that drops without any warning light. On turbocharged or supercharged engines, misfires under boost are another common sign. Symptom-only diagnosis is unreliable, so read the codes before buying a sensor.
Can I clean a MAF sensor with throttle body cleaner or brake cleaner?
No. Throttle body cleaner, carb cleaner and brake cleaner are not formulated for a mass air flow sensor and can dissolve or physically damage the hot wire, the RTD film or the traces on the circuit board. Use a dedicated MAF sensor cleaner instead. If you have already sprayed an aggressive solvent on the element and the reading dropped afterwards, stop cleaning and plan on a replacement.
How long should a MAF sensor sit after cleaning before reinstalling?
Give it at least 10 minutes, and 20 if you sprayed generously, with the element facing up in a dust-free area. The solvent has to evaporate completely. Reinstalling a damp sensor can cause a misfire, a false lean reading and a fresh trouble code that looks like the cleaning failed. A fingertip test on the sensing face should come back dry with no solvent smell.
Does cleaning a MAF sensor really work, or should I just replace it?
Cleaning works when the element is oily or dusty but electrically healthy, and that is the most common case after a long stretch on an unfiltered road or with an oiled reusable air filter. It will not fix a sensor that has a cracked housing, a corroded connector, damaged wires or a dead hot film. If the code returns within a few weeks of a careful clean, treat that as a failing sensor and replace it.
Do you have to reset the ECU after cleaning the MAF sensor?
Clearing codes is worth doing, and on many cars the battery disconnect already resets them. The ECU then relearns its adaptive fuel trims over a drive cycle, so give it 15 to 20 minutes of mixed driving with a few full pulls rather than judging the result in the driveway. Some manufacturers publish a specific idle and throttle relearn procedure, so check the service information for your model.
Conclusion
Start by pulling the sensor and looking at it. A light dust film is not a problem, an oily coating is cleanable, and a cracked housing, corroded connector or damaged element is a replacement. If it is cleanable, use a dedicated MAF sensor cleaner in short bursts, keep your hands and your air gun off the sensing face, and let it dry fully before it goes back in the duct.
Then clear the codes and drive it properly before you judge the result. If the same code comes back within a few weeks, the sensor was failing, not dirty, and no amount of cleaner will change that. This guide was updated for 2026 and follows the procedure most owners and forums use successfully.