
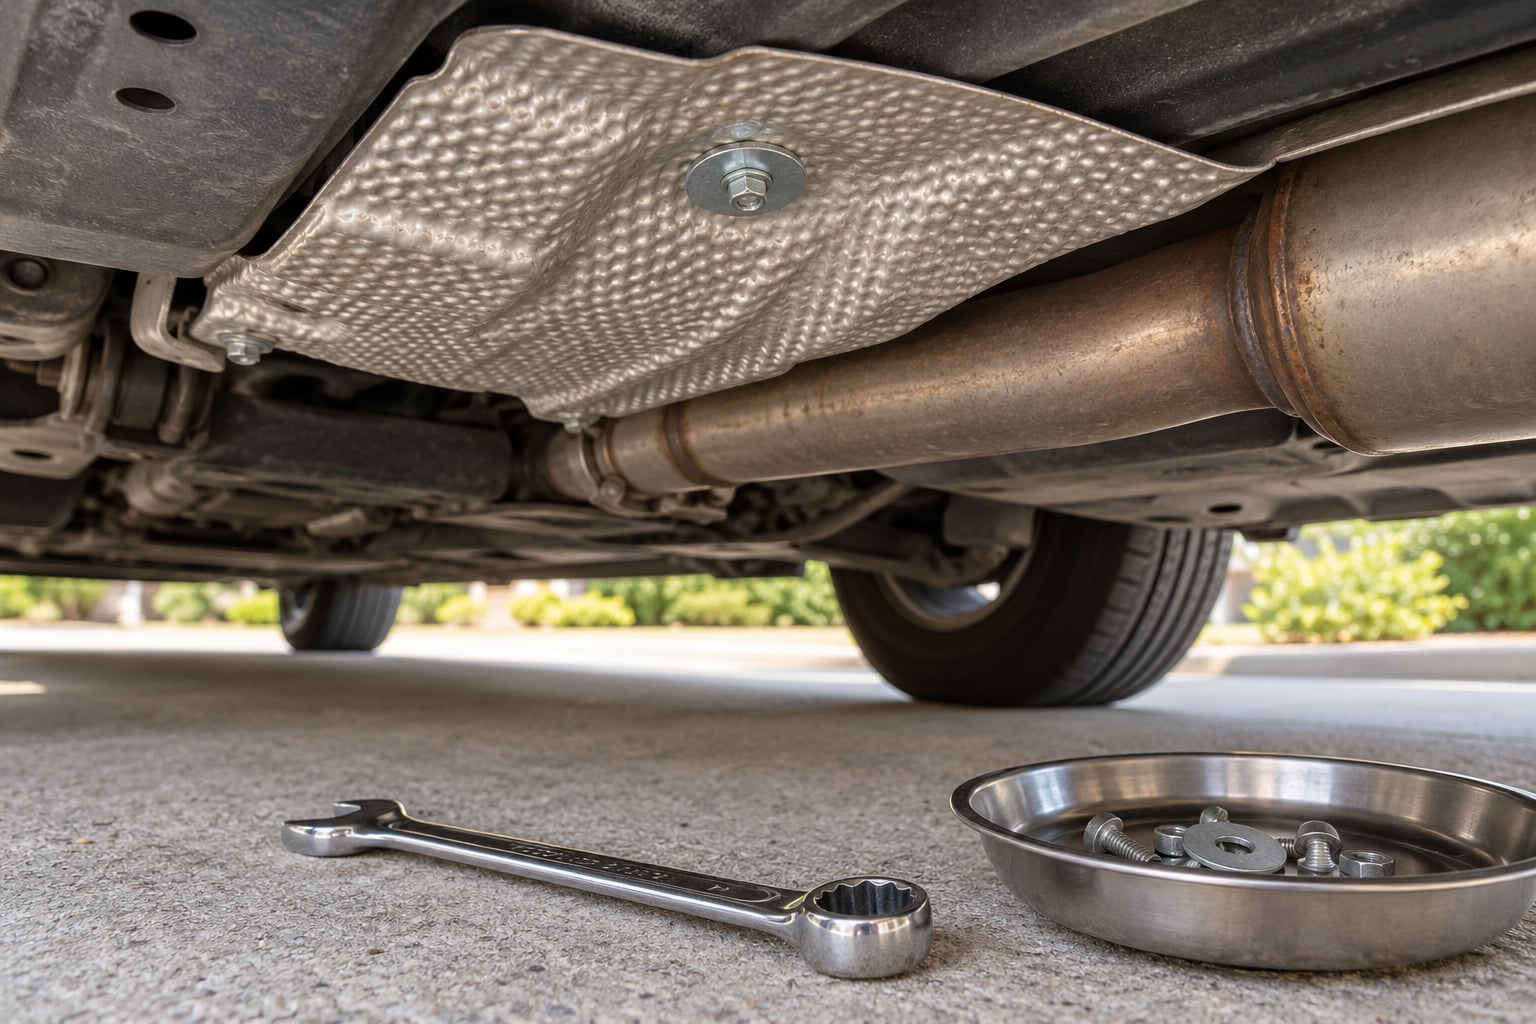
How to fix a rattling heat shield comes down to one thing: find the loose point and restore the clamping force. The noise is almost always a retention problem, not a damaged exhaust. Retighten or replace the fastener, bridge an enlarged hole with an oversized fender washer, or wrap the shield and pipe in a stainless hose clamp. Most of this takes an hour with basic hand tools on jack stands.
The one thing you do not do is take the shield off. That thin stamped plate sits between your exhaust and the parts that matter, fuel lines, wiring harnesses, radiator hoses and the cabin floor. Remove it and you have a heat problem waiting behind your rattle problem.
Most of the noise is harmless. A tinny metallic sound on cold start that quiets at steady cruise is almost always a shield moving against the pipe. A shield that has actually fallen off, or one hanging by one corner, is a different story and can drag on the road or break your exhaust.
Table of Contents
What You Need
Gather this before the car goes up on stands. You can get most of it from a hardware store and the rest from your owner’s manual or the parts counter with the vehicle’s year, make and model.
- Owner’s manual for your specific vehicle, mainly for the jacking points and torque specifications.
- Wheel chocks, one per wheel on the side that stays on the ground.
- Jack stands, rated above your vehicle’s weight.
- Torque wrench, so you can hit a fastener snug rather than gorilla-tight.
- Original-style fasteners or their nearest equivalent, in the size the shield uses. Many older shields use quarter-inch hex bolts with nyloc nuts, while newer ones use small plastic retainers.
- Oversized fender washers for holes that have rusted out bigger than the bolt.
- Stainless hose clamps for shields that slide along the exhaust pipe.
- Heat-resistant gloves and eye protection.
- Penetrating oil for fasteners that have fused into place.
- A flashlight and basic hand tools: ratchet, sockets, pliers, a pry bar, a flat blade and a marker.
The exact fastener size and how much of the exhaust you have to disassemble to reach the shield vary a lot between vehicles. The transmission tunnel and fuel tank shields are the worst to access, and if working under there is new to you, budget more time than the repair itself.
If you are doing this in a detached garage in winter, heating a detached garage for working on cars matters more than usual. You want the space comfortably above freezing and well ventilated, because a cold steel shield with bare hands on it is miserable and slippery.
Step-by-Step: How to Fix a Rattling Heat Shield
1. Confirm the Rattle Is a Heat Shield
Start by proving what is making the noise before you buy a single part. Have a helper put the transmission in park with the parking brake set, then hold the shield or press on it while the engine idles. If the noise stops or changes pitch when they press, you have found it.
A second quick test is the bump test. Drive slowly over a series of small bumps at idle and listen. Exhaust hangers and mounts have their own duller thud, and a rattle that comes with a change in engine speed is coming from the exhaust side. Forum threads on r/AskMechanics and subaruoutback.org keep circling the same point: people buy a shield before they know which one is loose, and then guess wrong.
Where the shield sits tells you a lot. The shield above the catalytic converter, the one over the transmission tunnel, the fuel tank shield and the muffler shield all fail the same way, and each rattles at a slightly different pitch.
Do not run the engine if you suspect an exhaust leak rather than a loose shield. A leaking gasket or cracked pipe means unburned fuel and hot exhaust where it should not be. Stop there and get it looked at.
2. Let the Exhaust Cool and Lift the Vehicle Safely
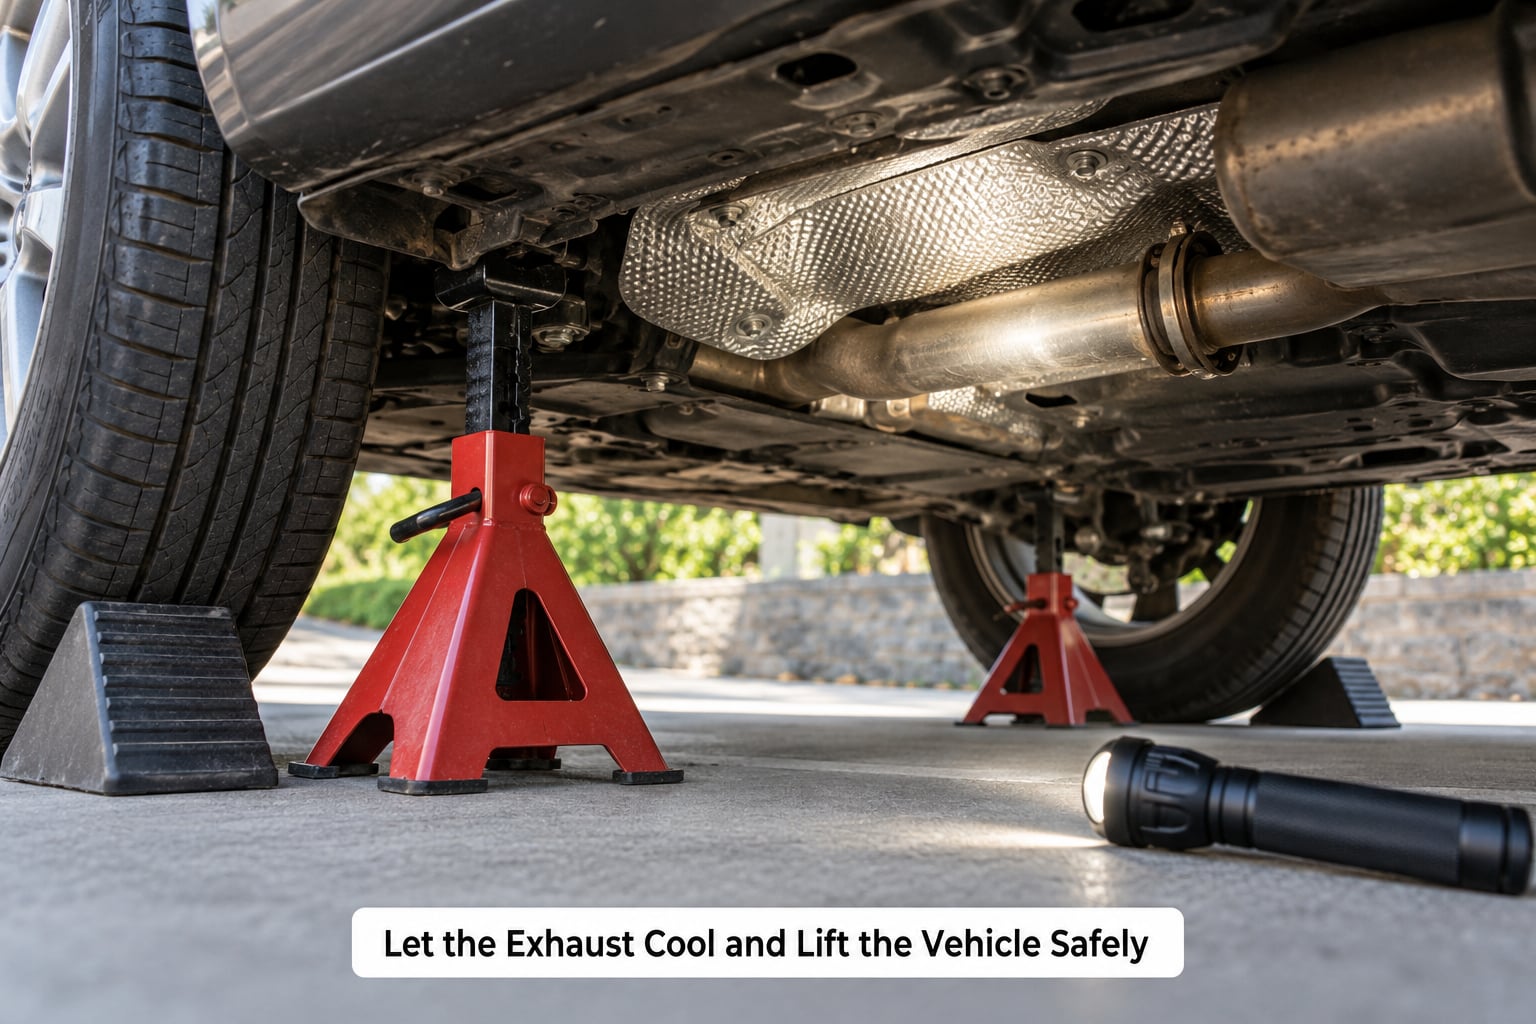
Give the exhaust at least an hour or two after a drive. Exhaust shields hold heat long after everything else has cooled, and thin sheet metal gets sharp as it cools.
Park on level concrete, set the parking brake, put the transmission in park, and chock the wheels that stay down. Then follow your owner’s manual for the jacking points. A floor jack alone is not a support, no matter how quickly you are working.
Set the stands, lower the vehicle onto them, and rock it hard to confirm nothing moves before you slide underneath. If you need to reach the tunnel or tank shield, watch your head on the way in.
3. Locate the Loose or Damaged Fastener
With the vehicle supported, work along the exhaust and inspect every mounting point. You are looking for a few specific things, and once you have seen each one you will not miss it.
- Stretched or enlarged holes. Corrosion eats the edge of a soft aluminum hole until the shield shifts around the bolt instead of clamping flat. This is the most common root cause.
- Rusted bolts and nuts. They often snap in the head when you try to remove them, which is half the job right there.
- Cracked tabs or weld points where the shield is bolted to the exhaust bracket or hanger.
- Missing retainer clips. Some shields rely on plastic or spring clips that snap off or dissolve away, leaving the plate just resting on the pipe.
- Rub marks where the shield edge has been scuffing the pipe or a body bracket bright.
Run your hand along the shield edge and look for a bright spot. That is where the vibration is happening, and it tells you which direction the shield is moving.
4. Choose the Correct Repair
Once you know the failure, match the repair to it. Four methods cover almost every heat shield rattle, and the differences come down to cost, tools and how long it lasts.
- Retighten the fastener when the hardware is intact and the hole is still the right size. Penetrating oil, the correct socket, snug to the manufacturer specification.
- Renew the fastener when the bolt, nut or clip is rusted through or stripped. Match the original size and add a locking washer if the original had one.
- Bridge the hole with an oversized fender washer when corrosion has enlarged it. The washer spreads the load over sound metal and gives the bolt something to bite.
- Wrap the shield and pipe in a stainless hose clamp when the shield has no usable mounting point at all. Feed the shield tab into the clamp, tighten with a screwdriver until firm, and stop before you crush the aluminum. Owners on r/MechanicAdvice argue about this one constantly, and the sensible answer is snug, then back off a touch.
When a shield is broad and the clamp cannot wrap it, feed one clamp’s band through the other to make a longer loop before tightening. If the shield is bent, cracked across a crease, or torn more than a few millimetres, replace it instead of repairing it.
Do not reach for high-temp silicone or adhesive as a standalone fix. It is proposed constantly in forums and rejected just as often, because the joint sees repeated heat cycles and the adhesive lets go long before the metal does. Use sealant only on a mating surface you cannot mechanically fasten.
Never drill into an exhaust component, a flex line or a brake line. If you want to add a rivet or screw to hold a shield, the surface has to be structural underbody metal, and you need a pilot hole a fraction under the fastener size so it threads properly.
5. Secure the Heat Shield
Fit the shield back without forcing it. If it will not sit flat on its bolts by hand, something is bent or a bracket has moved, and forcing it will just create the same rattle in a new place.
Work the fastener in by hand first, then snug it with the ratchet. Tighten to whatever the manufacturer or shield specification calls for, and use a torque wrench rather than feel. Overtightened thin shield tabs strip, warp, and snap, and a warped shield is harder to fix than the rattle you started with.
For a washer repair, drop the oversized fender washer over the existing bolt first, then reinstall the nut or screw and tighten it evenly. For a clamp repair, wrap the clamp around the pipe and the shield tab together so both are held in the same loop. Neither method needs a specific torque value from me, because the hardware size and the shield material decide that.
If the fastener threads into a tapped hole in the underbody, run it down gently and confirm it is biting metal rather than spinning in an oversized hole. Spinning means you need the washer method or a shorter screw.
6. Check the Repair Before Driving
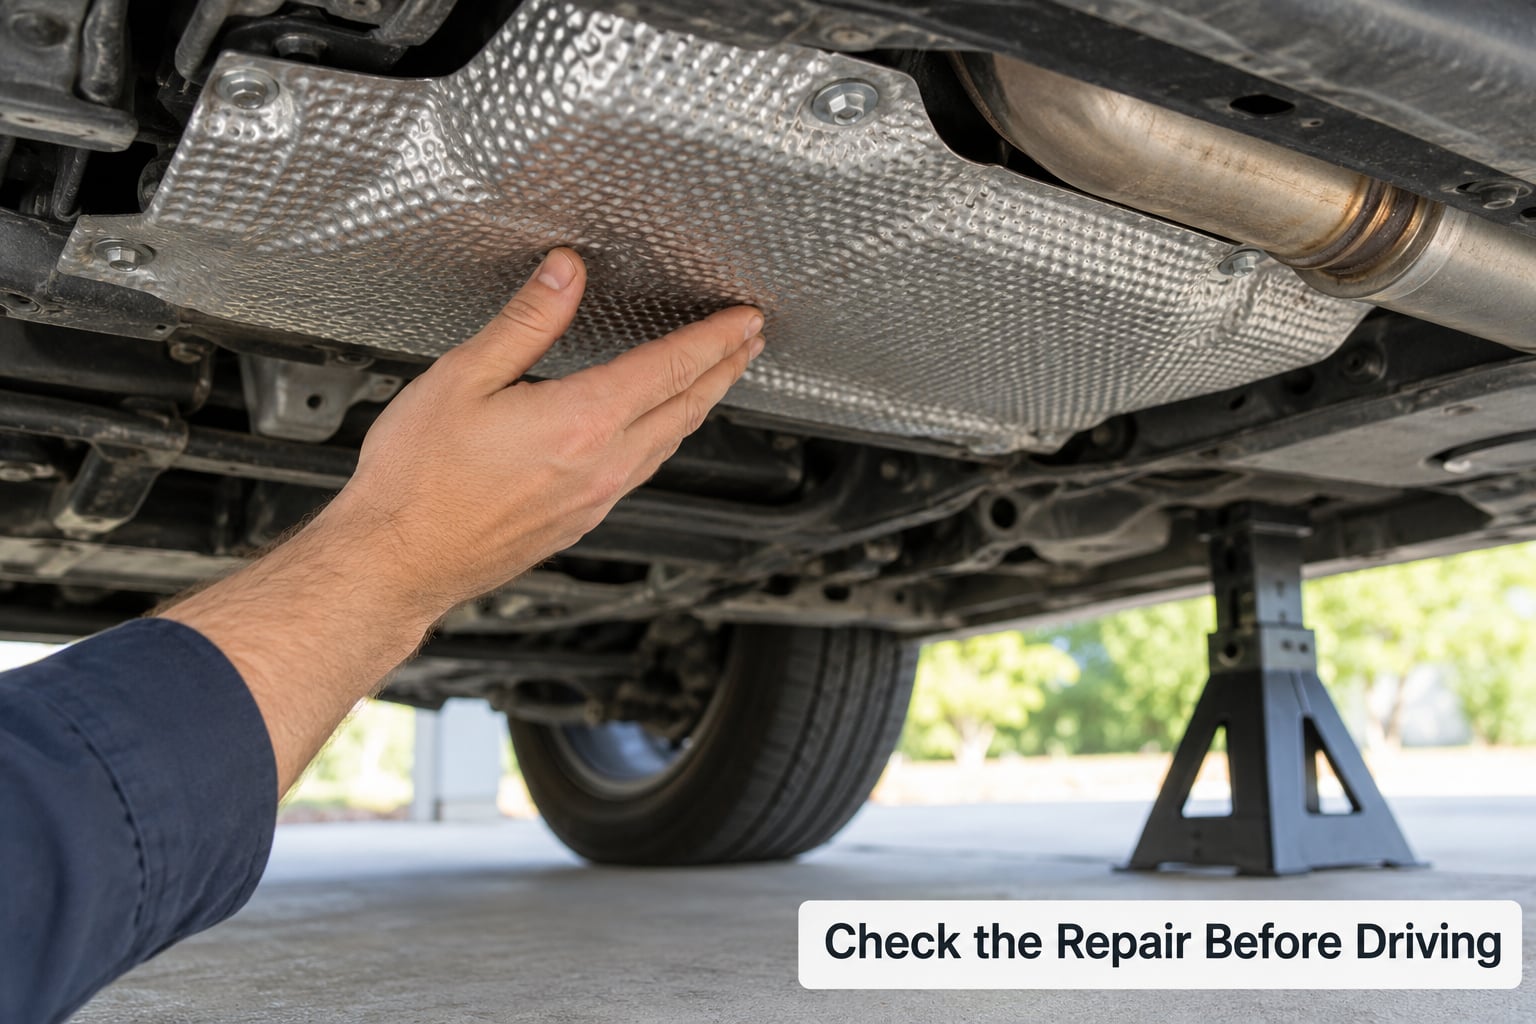
Before you lower anything, look at the shield from more than one angle. Push gently on it in a few directions and confirm it does not move, does not contact the exhaust pipe, and does not sit closer than it was before. A shield that flexes but does not clatter is fine; one that clicks when you push it is not.
Then lower the vehicle the way you raised it. Take the jack pressure off first, swing the stands clear, and never go underneath a car that is resting on a jack alone. Give the stands a shake to be sure they are fully released.
Do a short stationary test first. Idle in park and listen, then rev the engine through a couple of ranges while a helper watches underneath. Then a low-speed drive over the same bumps that produced the noise before. If the rattle is gone, the fix held.
Common Mistakes to Avoid
A few errors turn a fifteen-minute job into a return trip to the shop. Each of these is avoidable.
- Tightening against a twisted panel. If the shield is cockeyed, the bolt loads the edge instead of the hole. Reset the alignment first.
- Overtightening a thin shield tab. Sheet metal tears and warps long before a proper torque is reached.
- Using unsuitable screws. Household screws and drywall screws have no head strength or corrosion rating for an exhaust bay. Use automotive-grade stainless fasteners.
- Working under a jack alone. The most expensive mistake on this list, and the least avoidable.
- Ignoring an exhaust leak. If the noise comes with a burnt smell, a ticking from the manifold area or visible dripping, stop and get the exhaust inspected.
Once it is quiet, treat the mounting holes. A light coat of corrosion inhibitor on bare metal around each bolt head slows the next failure, and checking the shields after every oil change or wheel rotation catches a loose one before it rattles for months. Road salt does this damage quietly, so it helps to look at the underside a few times a year.
Frequently Asked Questions
Is it safe to drive with a rattling heat shield?
Usually yes. A tinny rattle from a shield that is still attached is noise, not danger, and you can drive to a shop or your driveway without worry. What is not safe is a shield that has fallen off or is hanging by one corner, because it can drag, damage the exhaust, or come loose on the road. Never run the engine if you smell fuel or raw exhaust.
Can I use screws or zip ties to secure a heat shield?
A screw or pop rivet works well when the shield can be fastened to a structural underbody member, using a pilot hole a fraction smaller than the fastener. Zip ties rated for high temperature are a genuine temporary option that will get you home, though they melt and loosen quickly. Skip any fastener that cannot survive exhaust temperatures.
Why does my heat shield rattle only when the engine is cold?
Cold metal is tighter and transmits engine vibration more sharply, so a shield with any play is louder at start-up and while accelerating from a stop. As the exhaust warms, the shield expands and sits differently against the pipe, so the noise often quiets down at steady speed. A rattle that never goes away usually means a real gap or a broken mount.
Should I replace the entire shield or repair the loose fastener?
Repair the fastener whenever the shield itself is intact. Retighten the hardware, renew it if rusted through, or bridge an enlarged hole with an oversized fender washer. Replacing the whole shield is only necessary when the plate is cracked, bent sharply, or has no sound metal left around the mounting hole. Accessing the shield often costs far more than the part.
When does a rattling heat shield indicate a serious exhaust problem?
Treat it as an exhaust problem, not a shield problem, if the noise follows the engine RPM exactly, if you smell burning or raw fuel, if you see dripping from a pipe or flange, or if a hanger looks cracked. A shield rattle comes and goes with road input and load instead. If the exhaust section itself is hanging or detached, do not drive the car.
Conclusion
The first thing to do is locate the loose point, not replace the whole shield. Have someone press on it while the engine idles, find the stretched hole, missing clip or rusted bolt, then fix the retention with the original fastener, an oversized fender washer, or a stainless hose clamp tightened until firm.
Use automotive-grade hardware that can handle exhaust temperatures, tighten to spec rather than to feel, and never work under a jack alone. If the metal is severely rusted, if an exhaust section has come loose, or if you suspect a leak, hand it to a shop. The shield protects fuel lines, wiring and your cabin floor, so it is worth putting back properly.