
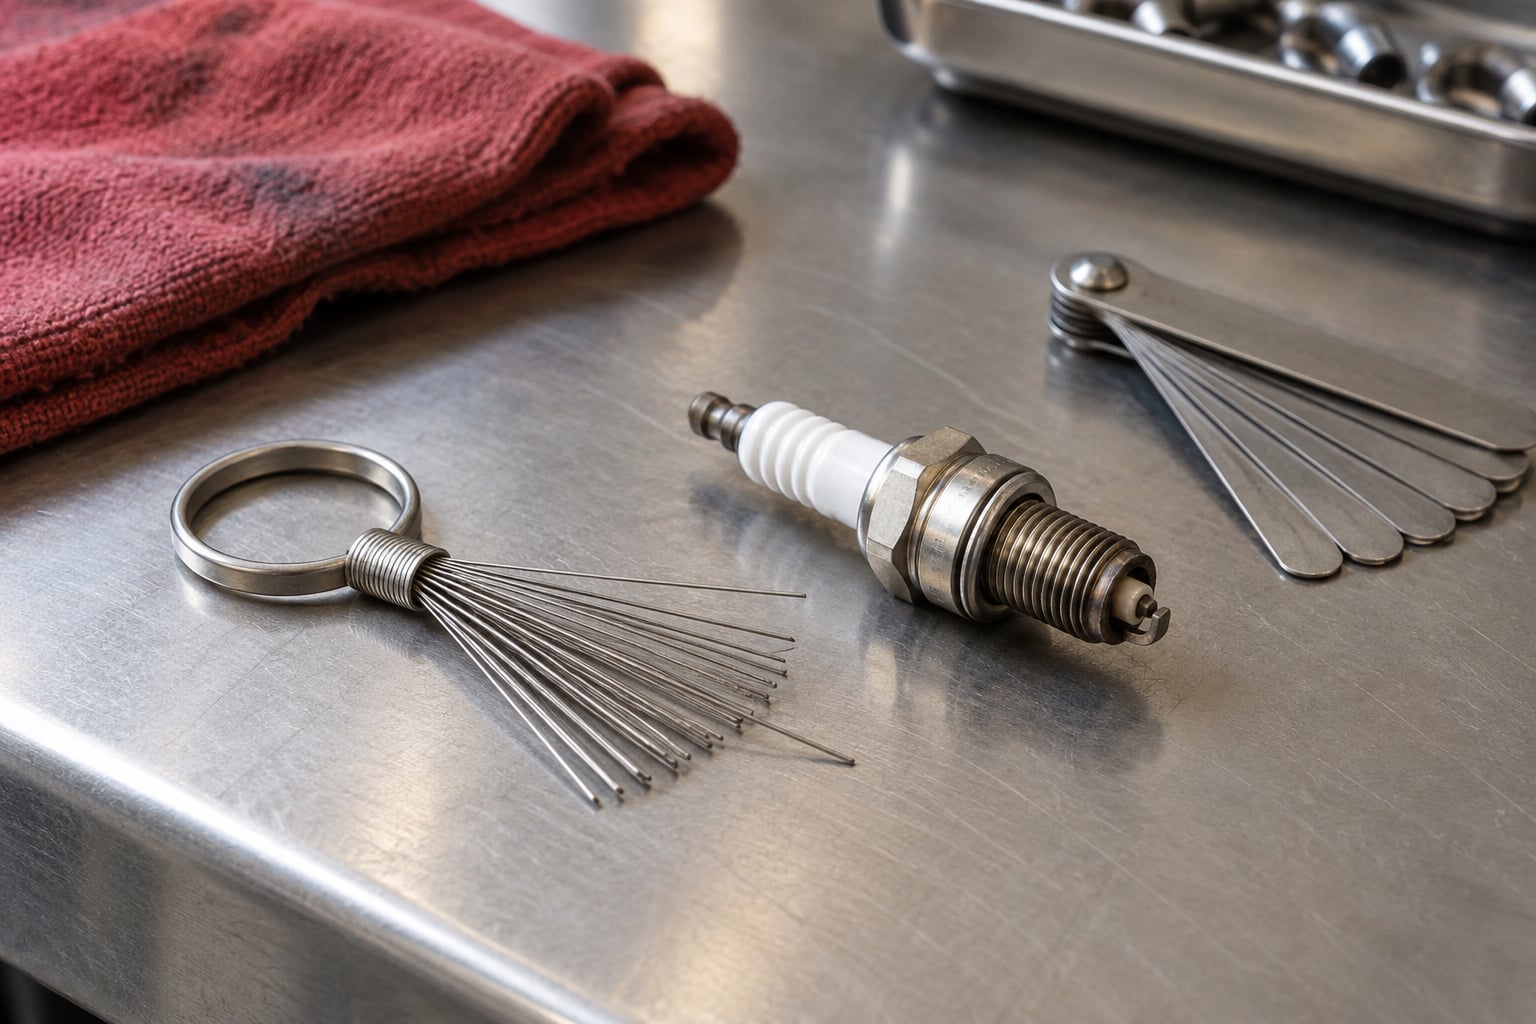
Gapping a spark plug means measuring the space between the center electrode and the L-shaped ground electrode, then nudging that ground electrode until the distance matches what BMW specifies for your engine. On a BMW the measurement is usually printed in millimetres, and the coil has to fire across that space every time the engine starts. Get it right and starting, idle and fuel economy all improve. Get it wrong and you get hard starting, misfires and a plug that erodes early.
The whole job takes about ten minutes per plug on most BMW four-cylinder engines, and most of it is careful. The single most useful thing you can do before touching anything is find your engine’s specified gap, because there is no universal BMW number that covers the whole range.
If you have not done a plug change yet, our how to replace spark plugs step by step on a BMW walkthrough covers removal and reinstallation in more detail. This guide stays on the measuring and adjusting.
Table of Contents
What You Need
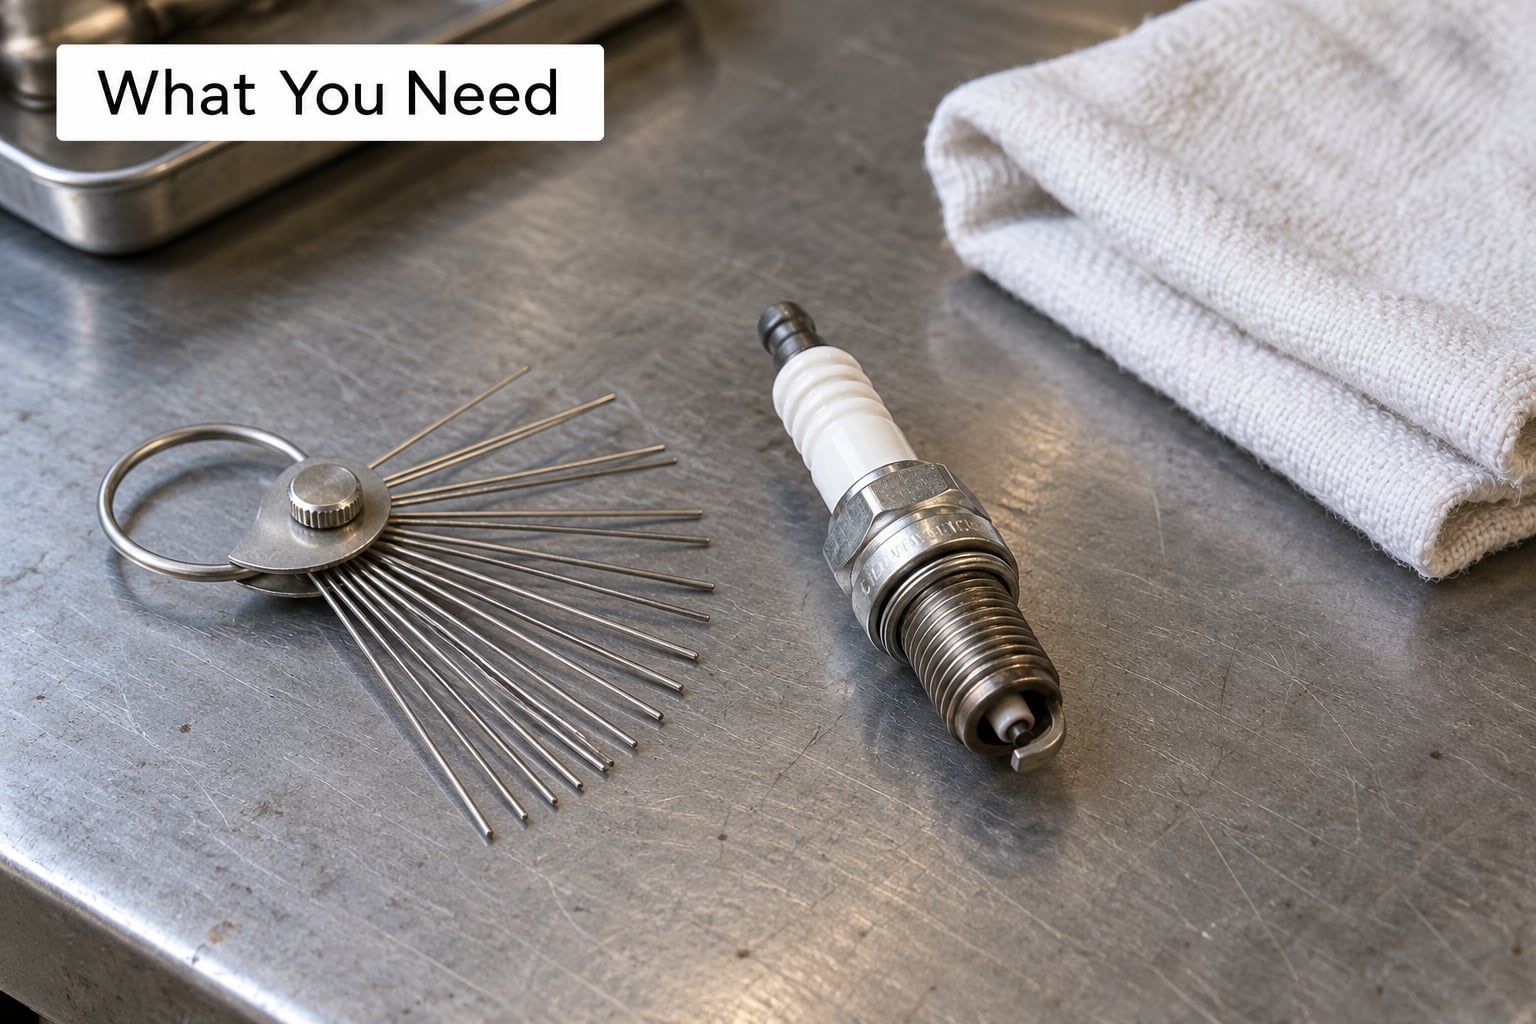
Gather everything before you pull the first plug. Working with half a toolkit on the fender is how sockets end up in the intake.
- The gap specification for your engine, from the owner’s manual or the service documentation.
- A spark plug gap tool. A wire-style gauge with a fold-out feeler blade covers most BMW jobs and is the most accurate option for the money.
- A feeler gauge set if you want an independent cross-check on the reading.
- A spark plug socket, ratchet and extension.
- A torque wrench with a range that covers the plug spec, usually roughly 20 to 30 Nm on BMW petrol engines.
- A small amount of anti-seize compound for the threads only.
- A clean lint-free rag and nitrile gloves.
On tool accuracy, a wire-style gap gauge is the most accurate of the common choices because the blade is a fixed, calibrated thickness with a rounded tip that settles into the gap rather than forcing the electrodes apart. A blade-style gauge is cheaper and fine for older copper plugs. A combination gauge gives you both ends of the range in one tool, which is handy if you also maintain a mower or generator.
A feeler gauge measures the gap but does not adjust it, which makes it the right tool for verifying somebody else’s work and the wrong tool for setting your own. Use both: the gapper to set, the feeler set to confirm.
How to Gap Spark Plugs on a BMW: Step by Step
1. Confirm the Correct Gap for Your BMW Engine
Before anything else, establish the target number. BMW specifies the gap per engine, and it changes across the range, so assuming one figure for the whole brand is the most common reason a fresh set of plugs runs badly on day one.
Look in the owner’s manual under the maintenance or spark plug section. If the manual does not list a figure, check the under-hood emissions or vehicle data sticker, then the manufacturer service documentation. The plug packaging is worth reading too, since aftermarket plugs often print the recommended gap for the vehicle they are sold for. Write the number down and keep it in front of you.
BMW documentation commonly gives the gap in millimetres rather than thousandths of an inch. If you own an inch-based gauge, work out the conversion before you start and write the equivalent on the same piece of paper.
2. Remove the Spark Plugs Without Damaging Them
Let the engine cool completely. A plug removed from a hot head can warp, and you cannot feel the gap accurately on a plug that is still warm to hold.
Disconnect the ignition components in whatever order your engine uses, and keep the plugs in the order they came out if it has a coil-pack or cylinder sequence. That ordering matters on inline-six engines, where a swapped pair is a real diagnostic headache later.
Once a plug is out, plug the hole with a clean rag before you work on it. Grit that falls into an open cylinder will be found later, and it will be expensive. Pull the old plug only far enough to clear the head; dropping it means starting the removal again.
3. Inspect the Plug and Reset the Electrode
Look at the tip before you measure. On a used plug you are checking for a rounded or eroded center electrode, deposits on the ground strap, cracks in the ceramic insulator, and a ground strap that has been bent out of shape.
If the electrode is already bent sideways, reset it to a flat, even position before measuring. Most gap tools work along one axis only, so a crooked electrode produces a reading that is technically correct and physically wrong.
If the insulator is chipped or the electrode looks burned away, replace the plug rather than trying to nurse it back. A used plug can also tell you a lot: heavy black oil fouling points to a valve seal or piston problem, while dry white or tan deposits usually mean the mixture is running lean. Fix that cause before blaming the gap.
4. How to Check the Existing Spark Plug Gap
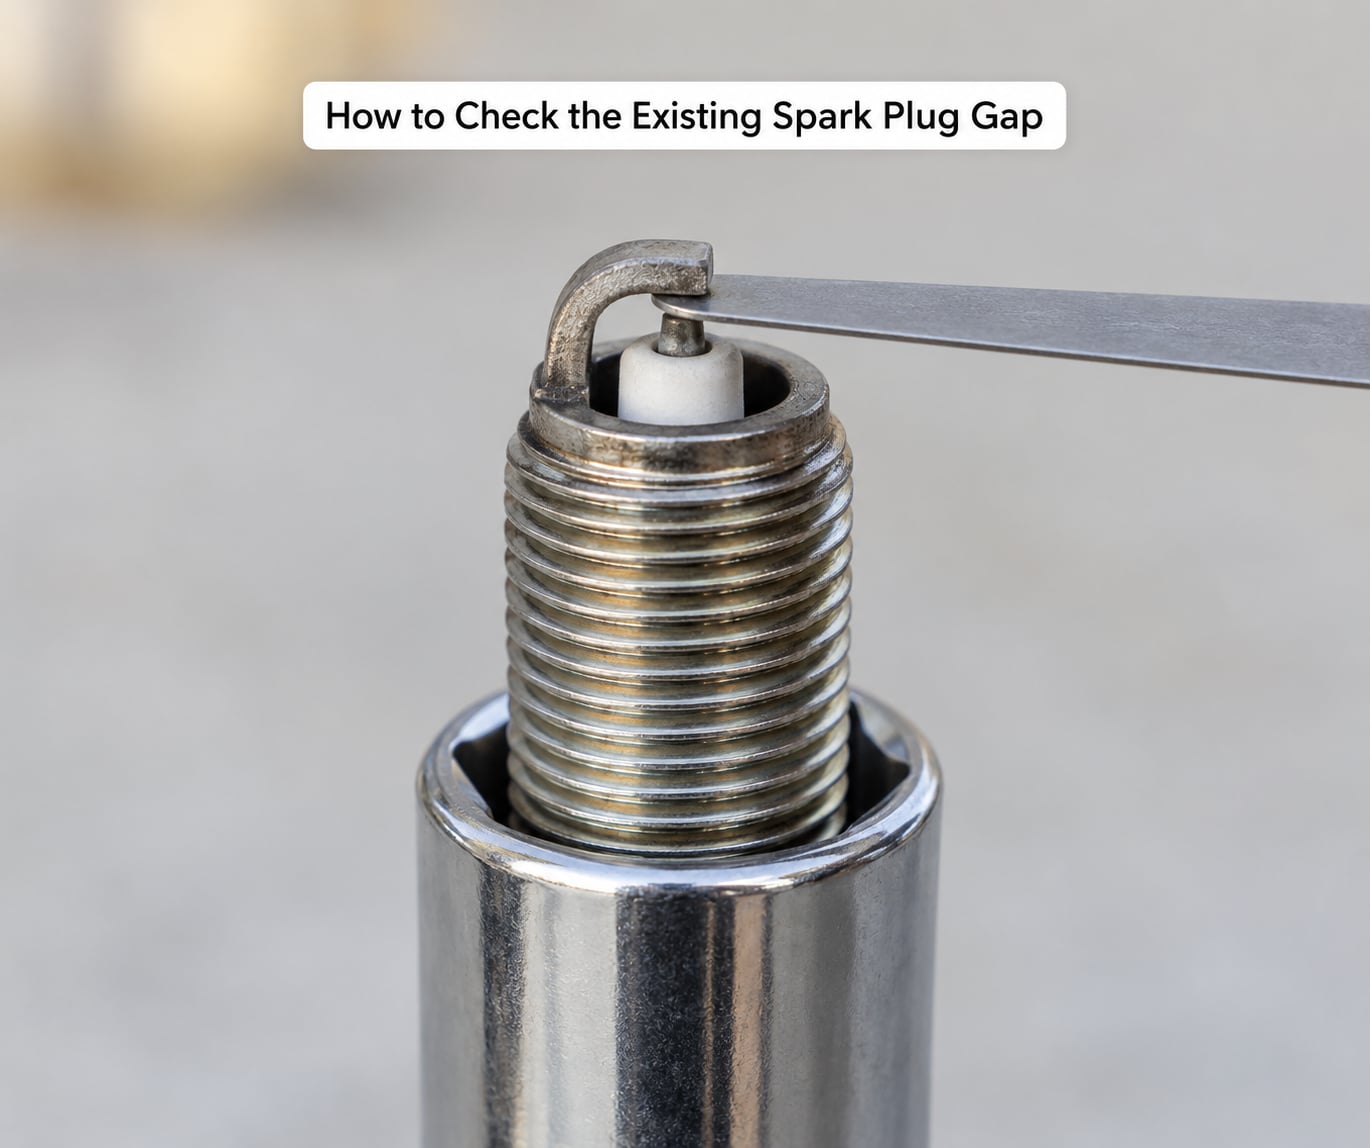
Seat the plug upright in the socket so the electrode is not touching anything. Take the wire-style gauge and slide its blade into the gap between the center electrode tip and the ground electrode.
The correct reading feels like light, even drag as the blade passes through. If the blade drops loose with no resistance, the gap is too wide. If it binds and will not pass, or you have to force it, the gap is too narrow. That drag sensation is the whole technique, and it is worth learning on a plug you already trust.
Run the blade through from both the side and along the axis of the electrode. If the two readings disagree noticeably, the ground strap is not sitting square and you need to straighten it before setting the gap.
5. Adjust the Gap: How to Gap Spark Plugs to Spec
To close a gap that is too narrow, drop the correct blade into the space and use the foot or lever on the gapper to press the ground electrode heel downward. Move it in small increments and re-measure each time. The blade acts as both a spacer and a stop, so it cannot be squeezed past by accident.
To open a gap that is too wide, hook the gapper’s slot over the ground electrode and press gently away from the center electrode. Press, do not pry. Levering against the electrode adds a surprising amount of gap in one movement, and you will overshoot. If the tool has no foot for widening, the flat of the gauge body against the electrode heel works, in small pushes.
Keep every bit of the movement in the plane of the electrode. Pushing sideways is the classic beginner error: the plug goes in, the coil fires across a bent electrode, and you get a misfire that has nothing to do with the number you set.
6. Verify the Gap and Reinstall the Plugs
Measure again from a different angle, and confirm the part number on the ceramic matches the plug your engine takes. Look down the bore of the plug and make sure the electrodes are not touching.
Install the plug by hand first, threading it straight before the wrench touches it. Then tighten to the specified torque. A plug whose electrode has been worked on is more fragile, and cross-threading or over-tightening can crack the insulator and give you a plug that looks fine until it is under load.
A thin film of anti-seize on the threads is sensible on BMW engines, because the plug sits deep in an aluminum head. Keep it off the ground electrode and off the threads of the shell itself.
Start the engine and listen. Steady idle, no hesitation on throttle and no flicker at the dash means the work is done. Our BMW spark plug and coil replacement guide covers what to look for if the idle is not right.
Common Mistakes
These are the errors that come up again and again, in garages and on owner forums alike.
- Pressing on the center electrode instead of the ground electrode. The center electrode is the small post the spark jumps to, and it is not what you move. The ground electrode is the L-shaped strap sitting over it, and only the strap is designed to flex.
- Prying instead of pressing. The gap moves much further than you expect from a lever action. Press in small steps and measure constantly.
- Bending the electrode sideways. The plug will install and the gap will read correct, but the spark crosses an uneven surface and the engine will not settle.
- Re-gapping a plug that should never be re-gapped. Iridium, platinum and twin-tip plugs have fine-wire or thin-tip electrodes that are damaged by bending. Small engine manufacturers are explicit about this: if the plug is not at spec when it arrives, fit a different plug rather than adjusting it.
- Assuming one gap for every BMW. The specification belongs to the engine, not the badge. Check the manual for yours.
- Overtightening after bending. A plug that has been worked on and then torqued hard is the classic way to crack an insulator.
- Skipping the final check. Verify from more than one angle, with a second tool if you have one, before the plug goes back into the head.
- Reusing a fouled or damaged plug. Oil-soaked or eroded plugs do not come back with a bend.
One more worth knowing: a wire-style gauge should enter the gap without forcing the electrodes apart. If it has to be levered in, you are measuring something other than the gap.
Frequently Asked Questions
Do you need to gap spark plugs before installing them?
Yes, if the plug is not supplied at the correct gap. Check every new plug with a gap gauge before it goes in, because tolerances between manufacturers vary and some aftermarket sets arrive closer to the low end of spec. Plugs sold as pre-gapped still deserve a quick check with a feeler gauge. If the reading is already correct, leave the electrode alone rather than bending it unnecessarily.
Can I gap a spark plug without a gap tool?
You can measure with a feeler gauge, but adjusting without a proper gapper is a poor idea. Bending the ground electrode with a screwdriver or a coin tends to move it sideways and gives you no way to control how far it travels. The cheap wire-style gauges exist precisely to stop that happening. If you must make a tiny correction, press rather than lever, and re-measure after every small move.
How do I know if my spark plug gap is right?
It should slide into the space between the center electrode and the ground electrode with light, even drag. No resistance at all means the gap is too wide, and resistance that stops the blade means it is too narrow. Compare that against your engine’s specified figure, and check from more than one angle so a crooked electrode does not fool you. That drag feel is the only verification most people ever need.
What is the correct spark plug gap for a BMW?
It depends on the engine, not on the model name. Look in the owner’s manual maintenance section for the spark plug gap figure, then confirm it in the service documentation or on the under-hood emissions sticker. BMW often states the value in millimetres, so check what your gauge is measuring before you compare. Never carry a number over from another BMW, because the same model year can use different plugs in different markets.
What happens if the spark plug gap is too wide?
The ignition coil has to produce a higher voltage to break down across the gap, and past a certain point it simply cannot. You get hard starting, misfires under load, rough idle and higher fuel consumption, and a plug that keeps firing poorly tends to erode faster at the tip. A gap that is too narrow gives the opposite symptom: a weak spark that may not ignite the charge at all. Both are fixed the same way, by measuring and resetting to spec.
Conclusion
Start by finding the specified gap for your BMW engine rather than any generic figure. Seat the plug upright, slide the gauge blade through the space and read it by feel: light drag means correct, loose means too wide, binding means too narrow. Press the ground electrode heel in small steps to close it, press gently away from the center electrode to open it, and never pry.
Check the measurement from a second angle before the plug goes back in, thread it by hand, and tighten to spec. If the electrode is damaged, or the plug is an iridium, platinum or twin-tip type that has been bent before, replace it rather than trying to reuse it.