
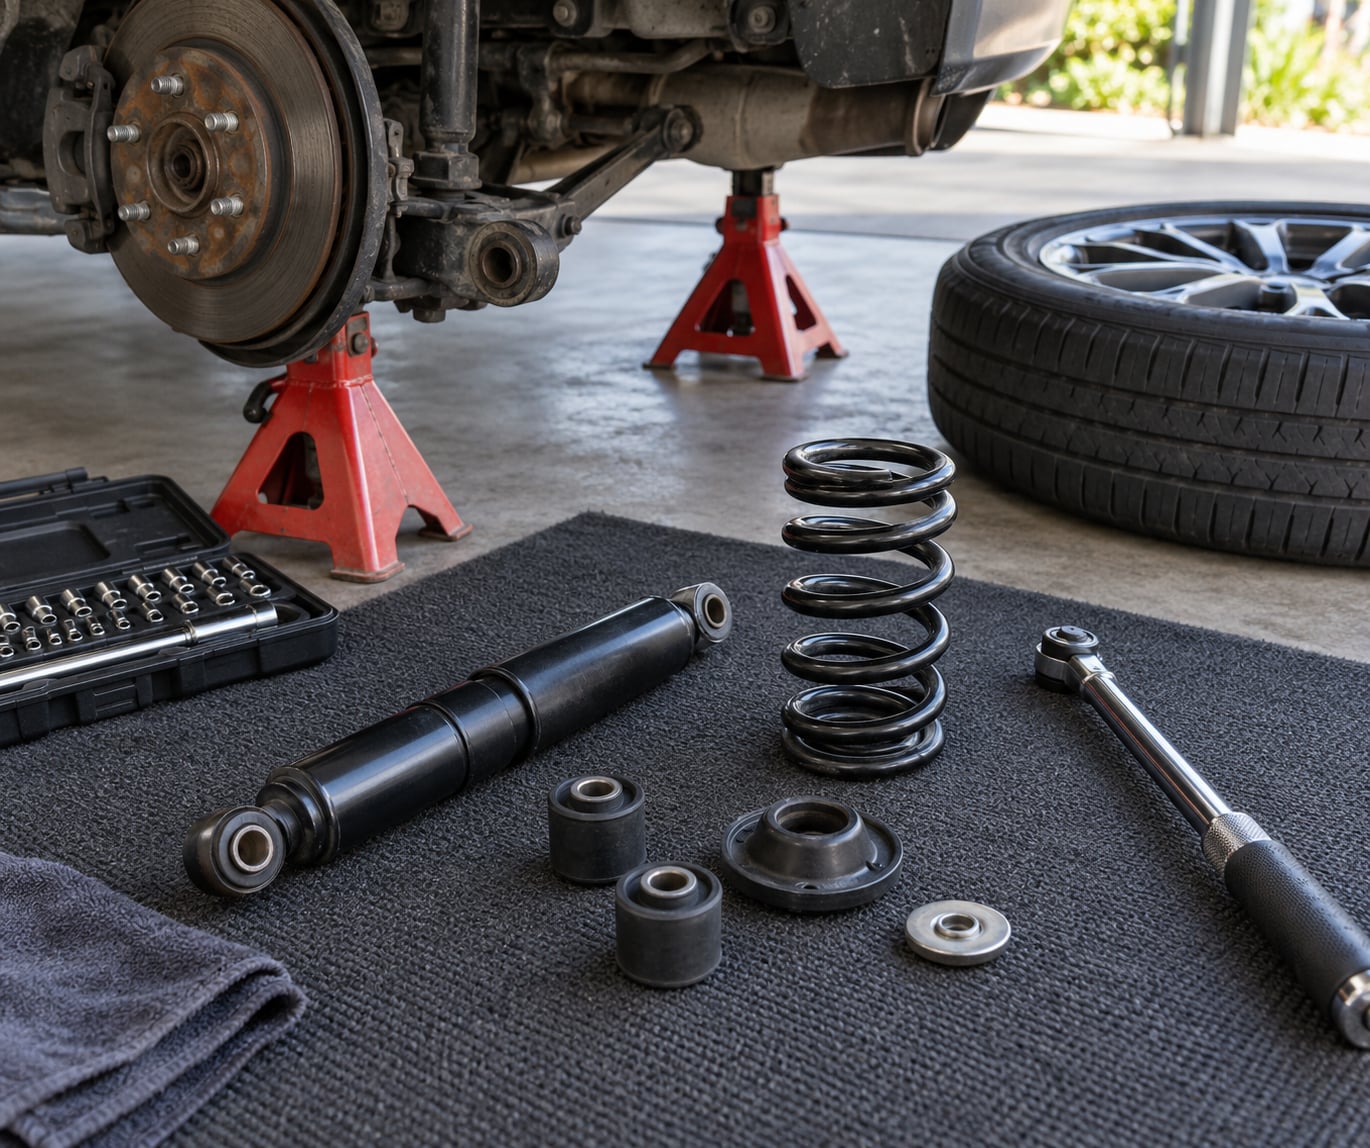
Replacing rear shock absorbers is one of the tidier suspension jobs on a BMW: support the car, take off a rear wheel, undo one upper and one lower fastener per side, swap the unit, and torque it back to the service manual figure. With hand tools and a clear floor, expect roughly two to three hours for both sides.
The catch is that a rear shock is load bearing. The moment its lower bolt comes out, the axle or control arm wants to drop onto whatever is under it, so the whole job runs on proper support and a torque wrench. Here is how to replace rear shocks on a BMW without turning a two-hour job into a new control arm. If you are not sure the dampers are the actual problem, work through the seven signs of worn shocks and struts first.
Table of Contents
- What You Need to Replace Rear Shocks on a BMW
- Step-by-Step: How to Replace Rear Shocks on a BMW
- 1. Confirm the Correct Rear Shocks and Hardware
- 2. Prepare the Vehicle and Work Area
- 3. Remove the Rear Wheels and Access the Shock Mounts
- 4. Support the Suspension and Remove the Old Shocks
- 5. Install the New Shocks and Reassemble the Suspension
- 6. Tighten Mounts to the Manufacturer’s Specifications
- 7. Check the Repair and Break In the New Shocks
- Common Mistakes That Ruin a Rear Shock Job
- Frequently Asked Questions
- Conclusion
What You Need to Replace Rear Shocks on a BMW
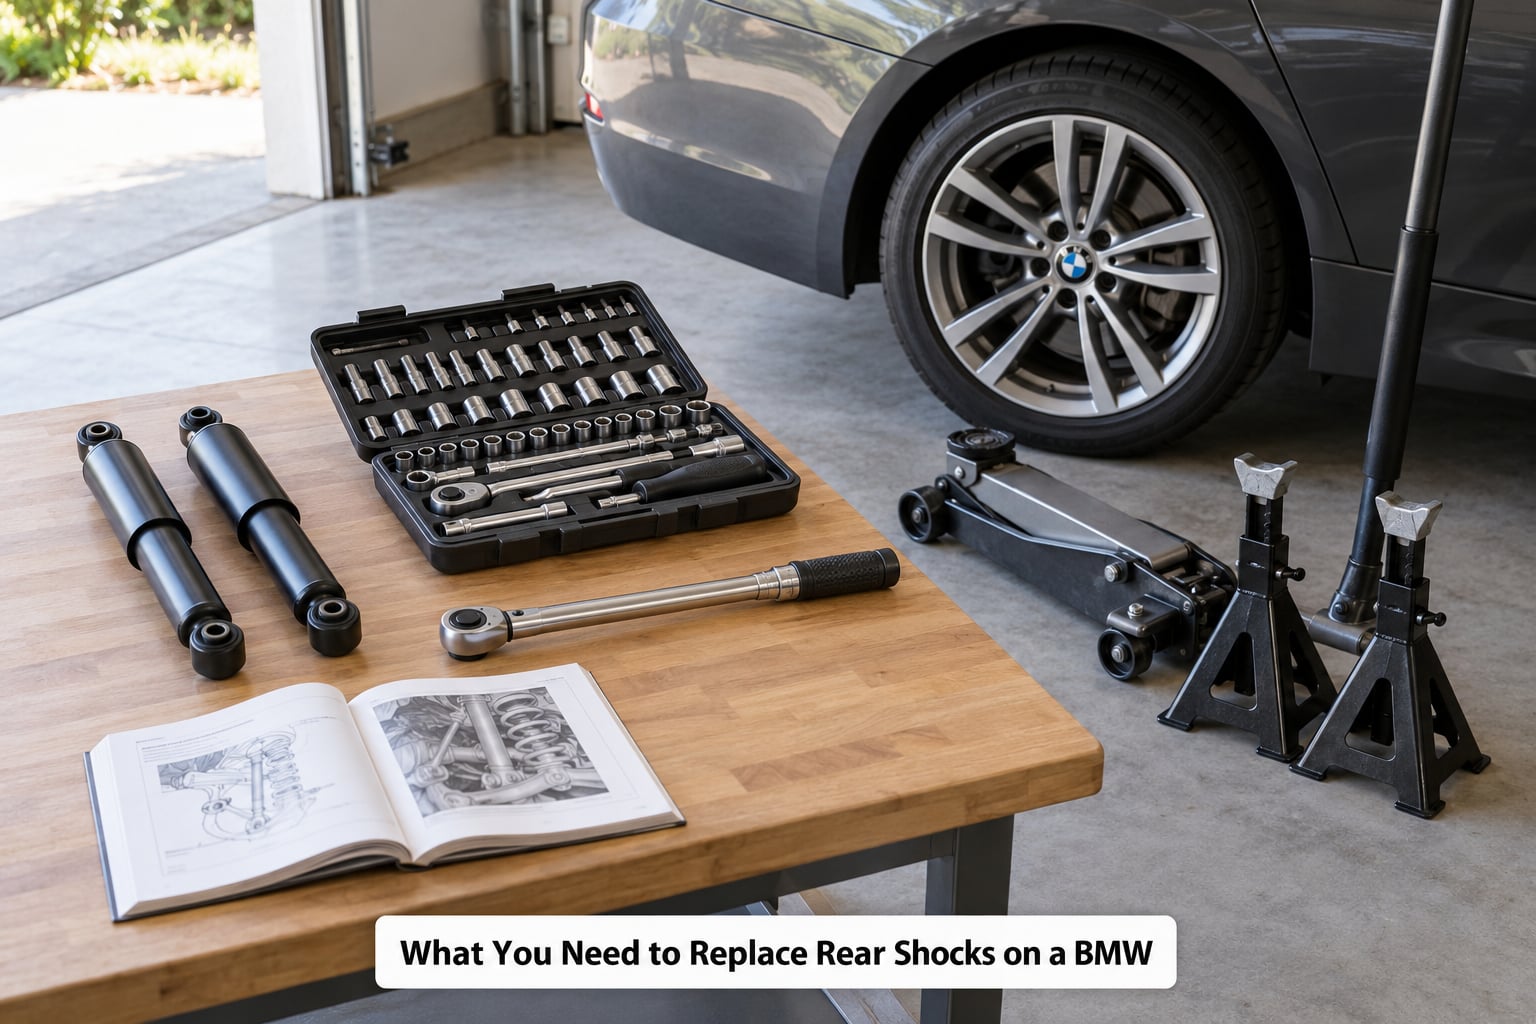
Start with the parts, because ordering the wrong rear shock is the one mistake you cannot fix with a longer breaker bar. Shocks are matched to model year, body style and rear suspension design, so the sedan, wagon and SUV versions of the same nameplate are not interchangeable.
- The replacement shocks — matched to the vehicle by its VIN, chassis code or original equipment part number, not by year alone.
- Matching hardware — upper and lower bushings, washers, insulators and any dust boots or bump stops the manual calls for.
- Service information — the manufacturer repair manual or an equivalent source giving the mount points and torque values for your car.
- Socket set and ratchets — a metric set usually covers most BMW fasteners, and Torx bits are common on this platform. Carry both a 3/8-drive ratchet for tight spots and a 1/2-drive ratchet when a fastener is tight.
- Torque wrench — a click-type wrench in the low-to-mid range for the mounts and a separate wheel torque wrench for the lug nuts.
- Floor jack plus jack stands, rated for the vehicle, and a rear support such as a tripod stand, axle stand or a second jack under the axle housing.
- A spring compressor — only if your car uses rear struts with the coil spring on the damper. Pure rear shocks use separate springs and need no compressor.
- Penetrating oil, anti-seize, a wire brush and a drip tray for soaked fasteners and fluid from old shocks.
- Safety glasses, gloves and a good light — a drop light matters more than you expect when the upper mount is behind a trunk liner.
If you are not sure whether your car takes shocks or struts at the rear, look at the top mount. A separate coil spring sitting on a perch in the body or on the axle means shocks. A coil spring clamped directly to a damper that forms a structural part of the suspension means struts, and that job needs a compressor.
Step-by-Step: How to Replace Rear Shocks on a BMW
1. Confirm the Correct Rear Shocks and Hardware
Look up the rear suspension layout for your exact model before touching a spanner. Some BMWs mount the top of the shock inside the boot or trunk behind a liner, some mount it in the wheel arch, and some attach it to the axle tube with a separate bracket.
Note the spring location too. If the coil sits on a separate perch, the spring can usually stay in place while the shock comes out. If the coil is captured by the damper, stop there and read how to replace struts yourself instead, because the compression step changes everything.
2. Prepare the Vehicle and Work Area
Park on a level, hard surface with enough room to work behind the car. If your service procedure calls for it, disconnect the battery negative terminal before work that involves steering or electronic components, and reconnect it before the final test drive.
Break the wheel bolts loose while the wheel is still on the ground, then set the parking brake and chock the front wheels. Lift the car, swing the rear stands under the factory support points, and lower the vehicle until the rear axle or control arm just rests on them.
3. Remove the Rear Wheels and Access the Shock Mounts
Take the wheel off and support the car properly with the stands alone carrying the weight. Never work with a car balanced on a jack, and never rely on the sill.
Remove the trunk liner or boot trim panel if the top mount lives inside the car, and note how every clip and fastener sits before pulling it apart. From the wheel well, move aside the wheel arch liner and any splash shield. Keep the brake hose, ABS wiring and any sway bar link out of the way without tugging on them, and photograph the shock position before anything comes off.
4. Support the Suspension and Remove the Old Shocks
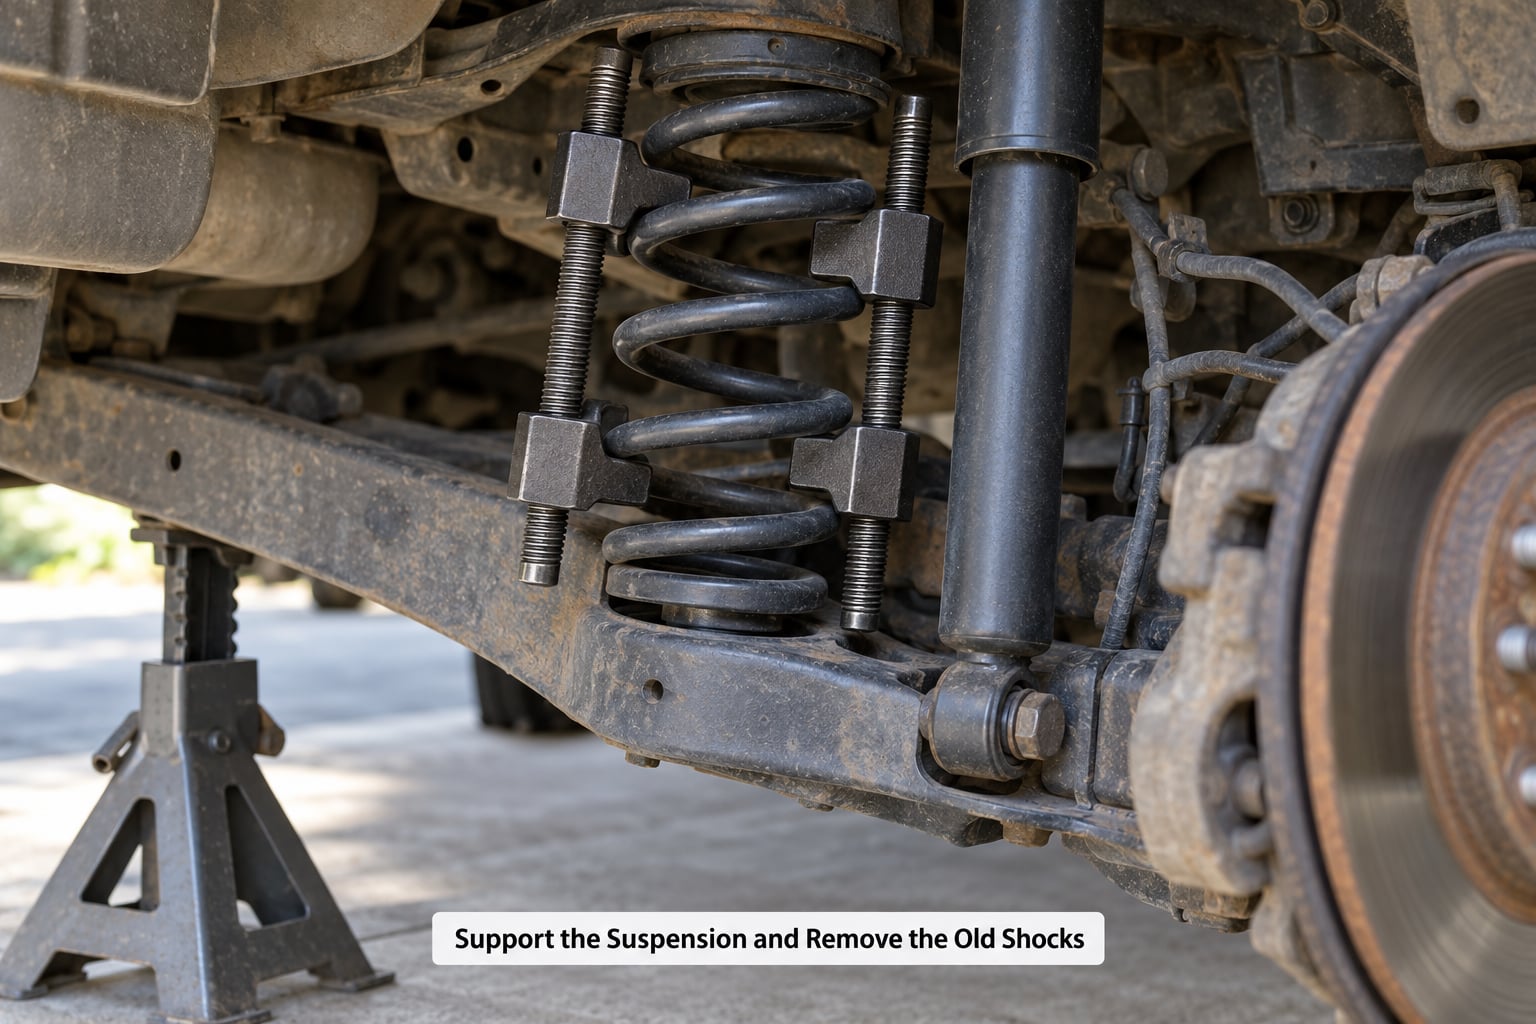
Support the axle or control arm before loosening anything. A jack under the axle housing or a tripod stand under the spring perch means the suspension cannot drop onto the brake line when the shock is out.
Soak the upper and lower fasteners with penetrating oil and give it ten minutes. Remove the upper mount first, holding the shock body so it does not spin with the nut, then release the lower fastener. If the lower nut will not break free, add more penetrating oil and work it back and forth a fraction of a turn rather than leaning on a long handle and risking the stud.
Pull the shock straight out along its axis. If it binds, the bushing is still carrying load or a washer is caught on the mounting pin. Never pry against the piston rod, and never use the shock as a lever.
5. Install the New Shocks and Reassemble the Suspension
Prime the new shock before it goes in. If it is gas charged, compress and extend it slowly several times so oil coats the piston rod and the gas pressure equalises. Skipping this step is how brand new shocks fail in a month.
Fit the new dust boot, bump stop and any spring insulator, following the manual’s stack order for the upper mount: eyelet, inner washer, rubber bushing, outer washer, then the head of the fastener. Getting that stack in the wrong order is a classic source of rattles that people blame on the new shocks.
Install the lower eye or clevis first, then the upper mount, keeping the shock in the same orientation as the old one. Some bodies have a built-in preload or camber offset, and a shock fitted upside down will pull the car out of alignment. Tighten the fasteners by hand all the way before touching a wrench.
6. Tighten Mounts to the Manufacturer’s Specifications
Use the values from your service manual rather than a generic number, because torque differs by mount point and by model. Snug the upper mount, position the shock, then torque the lower mount while the suspension is still supported, checking that the shock sits at the same angle as before.
Some designs specify the final torque with the suspension at ride height and the car loaded, which is why you should not leave every fastener hanging while the car is on the stands. Finish with a light re-check once the vehicle is back on the ground.
7. Check the Repair and Break In the New Shocks
Refit the wheels, lower the vehicle, and torque the lug nuts in a star pattern with the car resting on its wheels. Before driving, push and release one corner of the car at a time — our bounce test guide covers the technique — and confirm the vehicle sits level, then look underneath for a wet shock, a loose bushing or a brake hose pinched against the spring.
Drive slowly for the first few miles. The car may feel slightly different in its cornering for a short settling period as the new dampers bed in, and exhaust rattles can become more audible once the rear end is controlled again. Get an alignment within a few hundred miles if the car pulls or the steering feels off, and keep heavy loads and long highway runs for after that first check.
Common Mistakes That Ruin a Rear Shock Job
Buying shocks by year instead of by part number. Suspension design and spring rates change mid-model-year, and body styles differ. Match by VIN or OEM part number, and replace both sides so damping stays even.
Letting the suspension hang. With the axle unsupported, the weight of the car lands on the brake hose and the lower control arm bushing. Support the axle or control arm before the final fastener comes out, and keep that support in place until the new shock is torqued.
Forcing a seized lower nut. Soak it, use the correct socket on a 1/2-drive ratchet, and apply short bursts. A long cheater bar on an old nut is how studs snap, which turns a two-hour job into a hub or control arm replacement.
Torquing while the suspension is hanging. Bolts tightened with the suspension drooped or the car off the ground often finish up loose at ride height. Follow the manual on the order and position for final tightening.
Over-torquing the upper mount. The top nut on many of these shocks also clamps the piston rod. Too much torque can damage the rod seal or the internal valve, and you get a slow oil weep from a brand new shock.
Skipping the post-install checks. A leak, a rattling stack or a car that sits lopsided will not fix itself. Check level ride height, inspect for wetness, confirm the brake hose is clear of the spring, and re-torque after the first drive.
Two smaller habits pay off too. Squeeze a drop of anti-seize on the wheel studs before the wheel goes back on, and keep a drip tray under the old shock so oily fluid does not stain your driveway.
Frequently Asked Questions
Can I replace rear shocks myself?
Most owners can, as long as they have a floor jack, rated jack stands, a socket set and a torque wrench, and they follow the service manual. The job is straightforward on a car with separate rear springs. If your BMW uses rear struts, the coil spring has to be compressed, which needs a proper compressor and more care. Get a suspension technician to do it if a fastener will not free up or the axle must be dropped.
How long does it take to replace rear shocks?
Plan on two to three hours for both sides on a level surface with hand tools, once the vehicle is supported and the wheels are off. Home mechanics commonly report 30 to 60 minutes per side. Seized fasteners, a trunk liner that fights you, or a rusted lower nut that has to be cut off can easily double that, so budget an afternoon on a high-mileage car rather than an hour.
Do I need an alignment after replacing rear shocks?
Not always, but it is worth doing shortly afterwards. Alignment changes ride height and rear shock performance affects how the car sits, and a worn shock on one side can leave the rear tracking slightly off. If the car pulls, the steering wheel sits off centre, or the rear looks lower on one side, get an alignment within a few hundred miles of the repair. Otherwise have it checked at the next service.
Do rear shocks need to be replaced in pairs?
Yes. Replacing one shock at a time leaves the other side damping the same worn behaviour, and a matched pair keeps the car balanced in cornering and braking. It also means you only lift and support the car once. If budget forces you to do one side first, drive gently and keep the load light until the second side is done.
Do I have to replace the springs at the same time?
No, not unless they have settled or broken. On a car with separate rear springs, the spring usually stays in place and only the damper and its bushings are replaced. Inspect the spring while you are in there: look for rust, a broken seat or a free length that no longer matches the opposite side. If the car is old, replacing rear springs at the same time is a reasonable upgrade.
What are the signs of bad rear shocks?
The usual signs are excessive bounce after a bump, a clunk over expansion joints, nose dive under braking and body roll in a corner. Worn shocks also show up as uneven rear tire wear and reduced grip on a wet road. Push one corner of the car and release it; if it keeps oscillating instead of settling, the damper is likely done. A wet shock body or a failed dust boot is a clear replacement signal.
Conclusion
To replace rear shocks, match the parts to the exact car first, support the suspension before the last fastener comes out, and torque every mount to the value in your service manual. Work one side at a time, photograph the original hardware, and take the time to soak anything rusted before you fight it.
If the car does not sit level afterwards, the ride stays unsettled, or you find a leak or a knock from the rear corner, have a qualified suspension technician inspect it before driving normally. Whatever the outcome, check the rest of the rear suspension while it is still apart, because a bump stop that is crushed or a bushing with split rubber will feel exactly like a shock problem at first.