
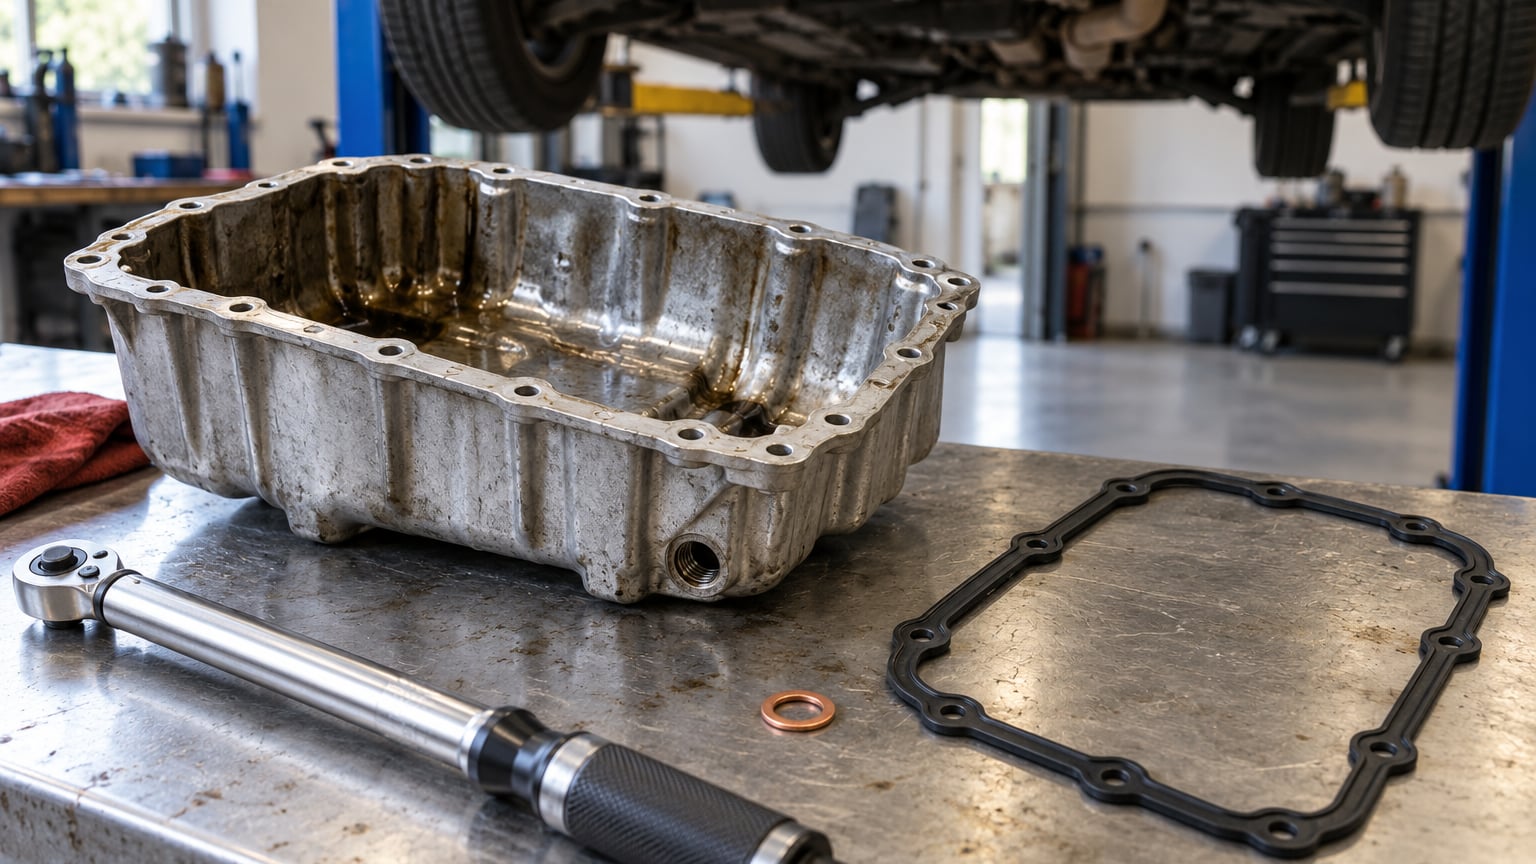
How to replace an oil pan gasket on a BMW comes down to access rather than the seal itself: it is a weekend job on most rear-wheel-drive models and a Saturday-sized project on the transverse-engine cars. You drain the oil, support or lower the engine so the pan clears, clean both sealing faces until they are bare metal, fit the new gasket, and torque the bolts in the pattern the manual gives you.
The catch is that BMWs are not one design. A straight-six in an E90 or E46 comes down with the pan bolts accessible from below. An inline-four sitting in a transverse bay may need the subframe dropped, and some turbo models hide a couple of bolts behind the exhaust or a heat shield. Identify your engine code before you buy anything, because the gasket, the drain plug washer and the oil filter all change with it.
If you are not sure whether the drip under the car is even coming from the pan seam, start with BMW oil filter housing gasket leak symptoms. A weeping filter housing gasket and a failed pan gasket look almost identical from underneath, and replacing the wrong one means doing the job twice.
Table of Contents
- What You Need
- Step-by-Step Oil Pan Gasket Replacement
- 1. Confirm Whether Your BMW Uses a Serviceable Gasket
- 2. Gather the Correct Parts and Protect the Engine
- 3. Drain the Engine Oil Safely
- 4. Support the Vehicle and Remove the Oil Pan
- 5. Remove the Old Gasket and Inspect the Sealing Surfaces
- 6. Install the New Oil Pan Gasket
- 7. Refill the Engine and Check for Leaks
- Common Mistakes
- Frequently Asked Questions
- Conclusion
What You Need
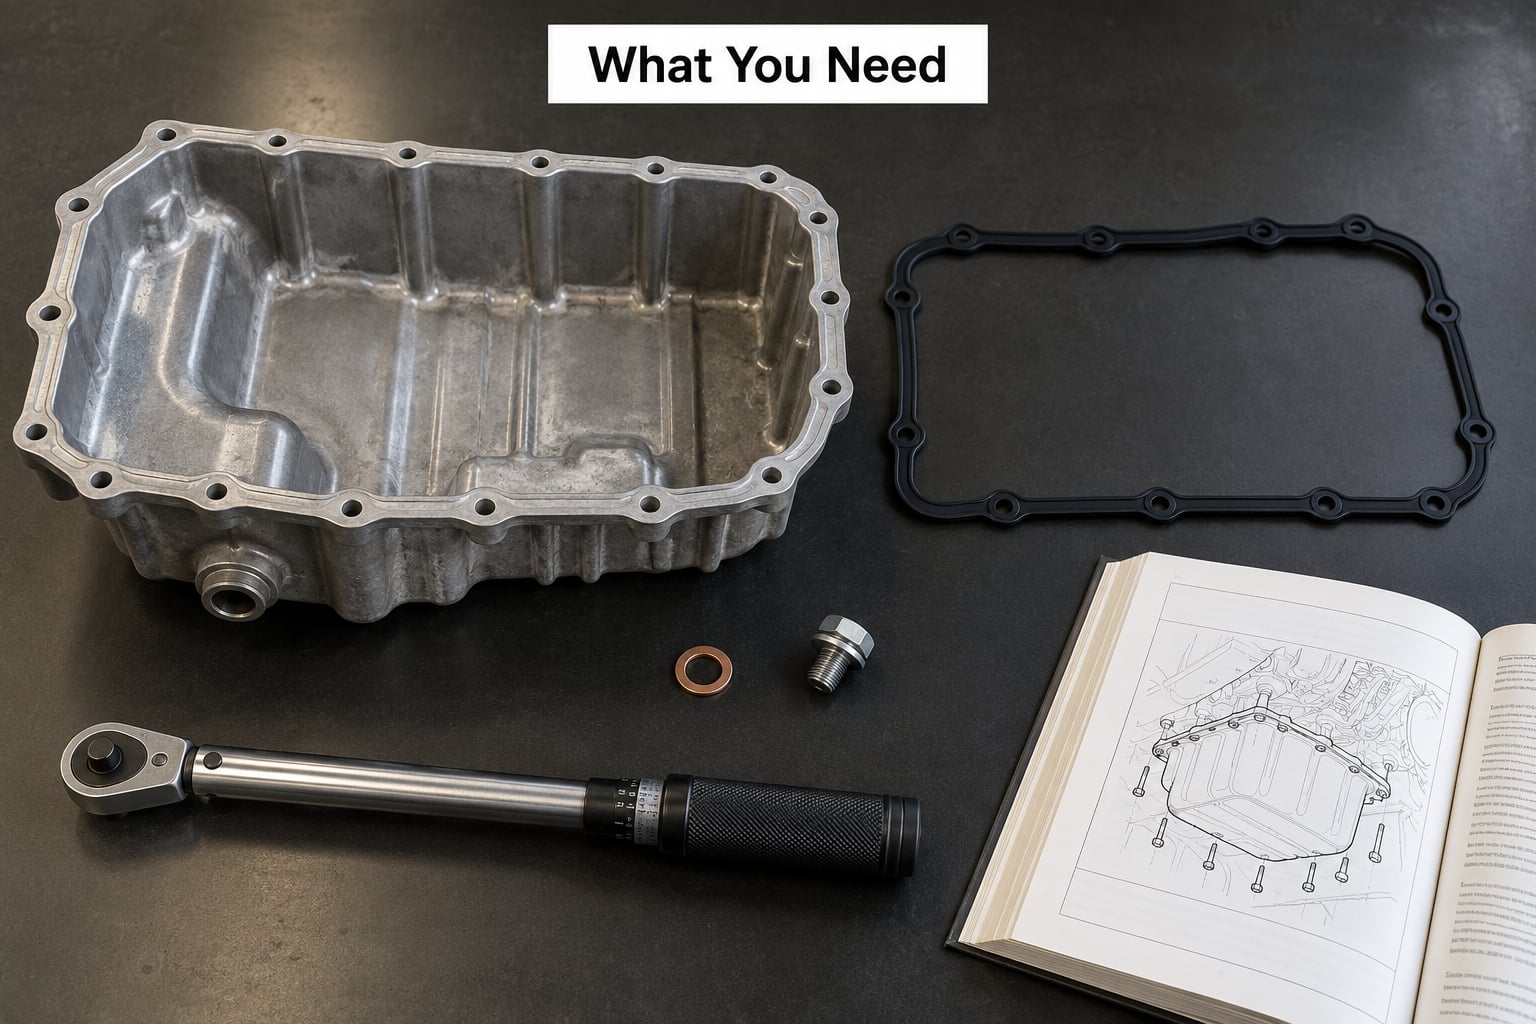
Start with the correct gasket for your VIN, not a generic rubber ring. BMW used molded rubber gaskets, formed-in-place RTV designs and integrated plastic windage trays across its range, and the three do not go back together.
- Oil pan gasket for your engine code, plus the drain plug washer (BMW often specifies a copper or bonded sealing washer).
- Engine oil and the correct quantity, plus a fresh oil filter if the housing is in reach.
- Sealant only if the manual calls for it — a formed-in-place gasket design needs RTV, a molded rubber design does not.
- Ratchet and socket set covering the pan bolt size, which is commonly E12, E14 or a Torx depending on the era.
- Torque wrench with a range that includes the specified low pan-bolt figure, plus an inch-pound or small Newton-metre range if the manual quotes it.
- Gasket scraper or plastic pick, a non-marring pad, and brake cleaner or degreaser.
- Oil drain pan of at least 8 litres, plus a funnel and absorbent rags.
- Jack and rated jack stands or a lift, and a wheel chock. If access demands it, an engine support bar or a lifting table.
- Lighting — a decent inspection lamp matters more than any single tool.
- BMW service manual for your model, for the torque figures, bolt sequence and tightening passes.
Two rules on parts. Buy the OEM or a direct supplier that prints the engine code on the box, and never reuse the old drain plug washer. A crushed copper washer costs nothing and causes half the leaks people chase twice.
Step-by-Step Oil Pan Gasket Replacement
1. Confirm Whether Your BMW Uses a Serviceable Gasket
Not every BMW pan bolts on with a separate rubber gasket. Some engines — certain K-series and newer four-cylinder units — came from the factory with formed-in-place gasket sealant and no removable gasket at all, and the correct fix there is fresh RTV on a cleaned flange rather than a new rubber ring.
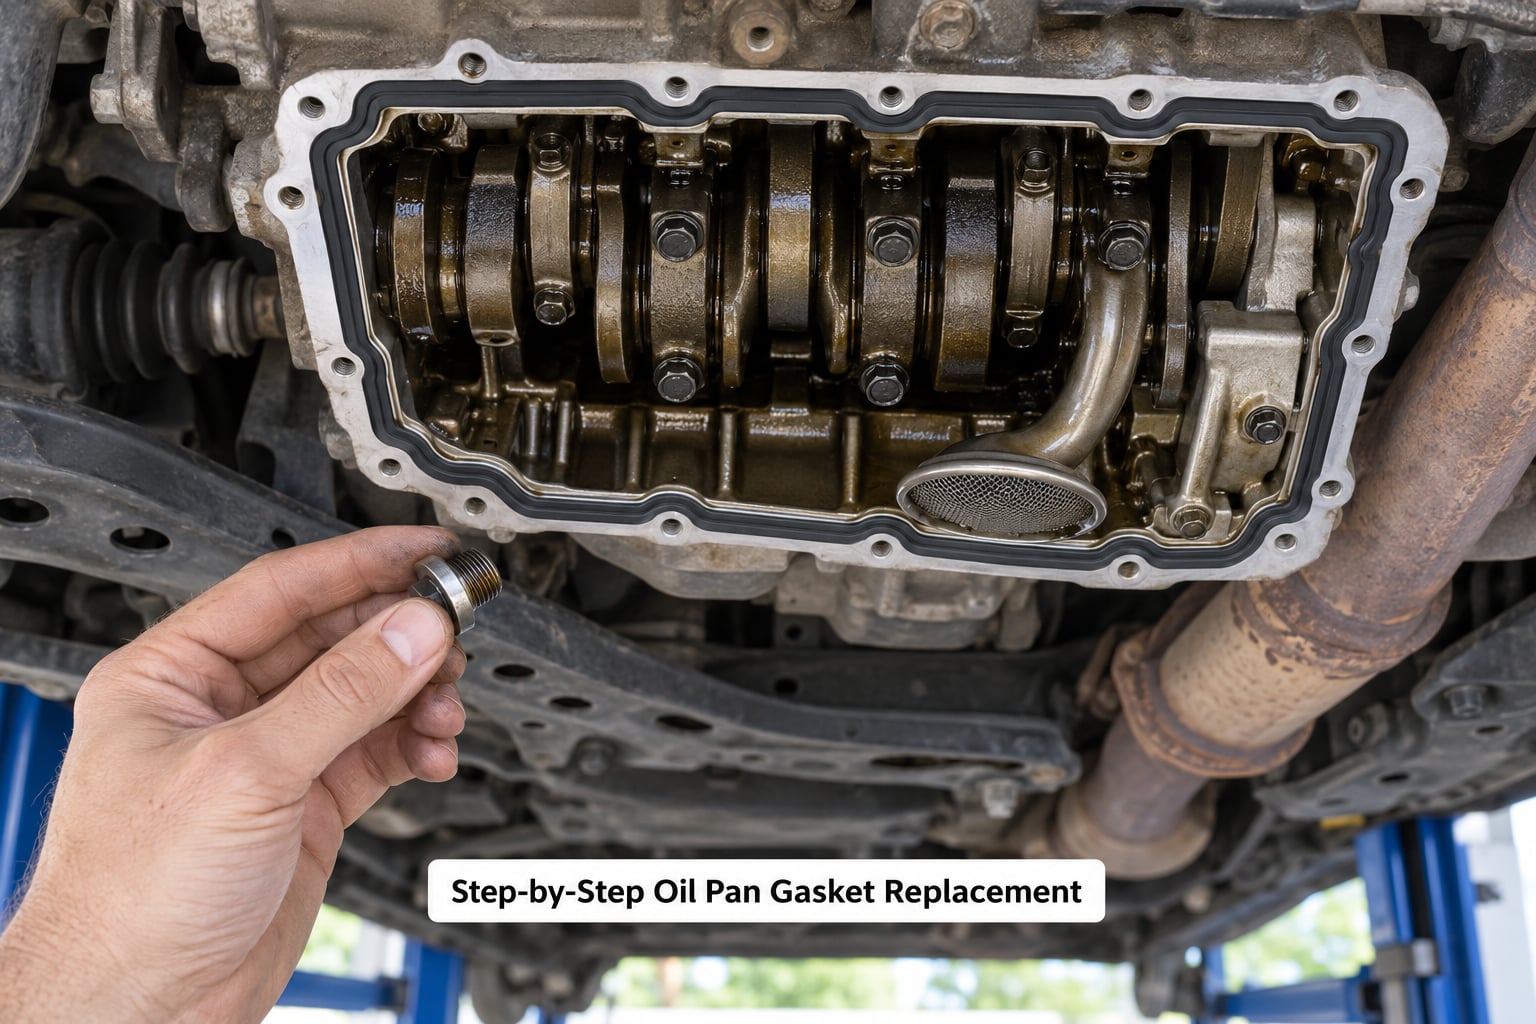
Look under the car at the joint between the engine block and the pan. A separate gasket leaves a visible rubber or fibre strip at the seam, often held by small tabs or clips, and each pan bolt passes through the flange into the block. If the flange is clean bare metal with no strip, no clips and a smooth bead of dried sealant, you are looking at a formed-in-place design. A plastic windage tray integrated into the pan is a separate complication; on those engines the gasket often comes as a kit with the tray.
This matters because BMWs share body shells across very different drivetrains. A 328i and a 328xd in the same generation can have completely different lower ends, so the model year alone is not enough to order a gasket. Pull the VIN, confirm the engine code, then match the gasket to that code.
2. Gather the Correct Parts and Protect the Engine
Lay the parts out on a clean surface before the car goes up on the stands. Confirm the gasket matches the engine code, that you have the right drain plug washer, and that you know the specified oil quantity for your engine — it differs across BMW’s four- and six-cylinder families and changes again with the oil filter cartridge versus spin-on housing.
Get the service manual open to the oil pan section before you start. Write down the pan bolt torque figure, the tightening sequence and the number of passes on paper. Every figure you need is in there; torque values vary enough between engine codes that guessing is the fastest way to crack an aluminium pan.
On the sealant question, read the manual note for your gasket. If it is molded rubber or fibre, it seals on compression alone and extra RTV actually gets squeezed out of the channel and into your fresh oil. If it is a formed-in-place design, RTV is required and the bead has to be continuous.
3. Drain the Engine Oil Safely
Warm the engine until it reaches normal operating temperature, then shut it off. Warm oil runs out faster and cleaner, and it cuts down the sludge that clogs the pickup screen.
Position your drain pan under the plug, remove the plug, and let the oil go. This is the messiest part of the job — expect several litres to leave a sump that has not been emptied in a while. Let it run far longer than feels necessary, then check the level before you go further. If the pan still holds a visible puddle, oil will spill the moment you tip it off the flange.
Work gloves and eye protection are not optional here. Used engine oil on a hot exhaust is a burn hazard, and BMW V-shaped engines route exhaust components close to the drain area. Let the engine sit until the header pipes are cool enough to touch bare-handed.
4. Support the Vehicle and Remove the Oil Pan
Rear-wheel-drive BMWs are usually the straightforward case: jack on level ground, chock the rear wheels, support on rated stands at the specified points, and drop the pan working upward from underneath. Watch your head with the exhaust and heat shields, and support the subframe so the car cannot rock while you work.
Transverse-engine cars are the ones that turn a two-hour job into a full day. Before removing the first bolt, walk a hand around the flange and find out how many bolts you can actually reach with a socket. If the rear bolts sit behind the subframe or the front ones tuck under the steering rack, you have an access decision to make.
Where access is tight, an engine support bar that loads the engine mounts and lets you raise the powertrain slightly is often less invasive than dropping the subframe — the subframe on these cars carries the steering rack, so removing it means alignment work afterward. On some models, or with V-shaped engines where the sump sits between the block and the gearbox, lowering the engine is not enough and a shop with a table hoist makes more sense than a weekend.
Remove the pan bolts in a crisscross pattern rather than left to right, so the pan separates evenly. Expect to unbolt the oil pickup baffle or windage tray as well on modular engines. Then break the joint: break it with a light tap and a flat blade on a designated bolt head or lip, working around the flange. Never drive a screwdriver into the sealing face, because that scratch becomes a leak path the moment you torque the bolts down.
5. Remove the Old Gasket and Inspect the Sealing Surfaces
This is the step that decides whether the repair lasts. Lift the old gasket straight off and peel away any clips or tabs. Scrape the residue off both the pan flange and the block mating surface with a plastic pick or a proper gasket scraper, working carefully around the corner radii where sealant collects.
Then clean both faces with brake cleaner and a non-marring pad until you can see bare, uniform metal across the entire joint. Forum threads about oil pan work repeat the same point constantly — a scraper alone leaves a film that looks fine until the fresh oil hits it, and that film is enough to keep weeping for months.
Look closely at the flange while it is open. Check for cracks, especially around the bolt holes, for corrosion that has pitted the surface, and for warping you can see with a straightedge laid across it. Aluminium flanges deform easily on an over-torqued pan, and a warped or cracked flange will defeat a brand-new gasket every time. If the metal is damaged, the answer is a new pan or a new block-side surface, not a second gasket.
While the pan is off, check the oil pickup tube and its screen for sludge and for damage. If anything flexed when the pan came away, replace the tube rather than refitting it.
6. Install the New Oil Pan Gasket
Dry-fit the new gasket on the pan first. Check that it sits flat with no twist, that every bolt hole lines up, and that no corner is stretched. Some gaskets come with installation aids or SnapUps-style holders; on a tight transverse engine they earn their keep, because a gasket that slides halfway around the flange while you reach for a bolt will leak even with perfect torque.
If the corner is hard to reach, run a short piece of stiff wire through the bolt holes so the gasket hangs in position while the pan comes up. It looks improvised and it works.
Fit the pan without sliding it sideways across the flange, guide the bolt holes together by hand, and then run every bolt in until they are all hand-tight before you touch the torque wrench. Hand-tight first matters: tightening as you go pulls the pan into alignment at one corner first, which is how gaskets get pinched.
Tighten in the sequence the manual gives, or spiralling outward from the centre if it does not specify. On long six-cylinder pans a spiral from the middle beats a plain crisscross, because it pulls the flange down evenly along its length. Work in three passes — roughly a third, two-thirds, then full torque — and clean the threads before the final pass. Old thread-locker residue in the hole gives you a false reading and leaves the bolt under-torqued while the tool says otherwise.
Refit the drain plug with a new washer, tightened to spec and not muscled. Then, if your engine uses it, add the drain plug sealing washer and the specified torque only. On some BMWs the plug takes a copper washer plus a small dab of sealant on the thread; on others it is dry. Follow the manual.
7. Refill the Engine and Check for Leaks
Refit the oil filter or cartridge, reinstall the pickup baffle and windage tray, and put any underbody shields, exhaust sections and the subframe back on. Refill the engine with the specified oil and quantity — BMW fill quantities are for a cold engine on level ground, so set the car down before you read the dipstick.
If you applied RTV, respect its schedule. The bead skins over in roughly half an hour, but full cure takes much longer, and starting into a wet bead is a common way to get an immediate leak that sends you back under the car. The manual’s cure time wins over anything you read on a forum.
Start the engine and let it idle while you watch the seam from underneath. A leak shows up fast — fresh oil beads along the joint, then drips. Keep an old sheet of cardboard under the car so you can see a drip without crouching into it, and watch the drain plug area specifically, since that is where a crushed washer shows up first.
Then recheck after the first drive and again once the engine is fully warm. Some seepage only appears at operating temperature when the metal has expanded. If the oil-pressure warning lamp comes on, or the level drops between two checks, stop driving. Low oil pressure on a V-shaped BMW can destroy the engine in minutes, and the usual cause is a leak you were still deciding about.
Common Mistakes
Most repeat leaks come down to five things, and all of them are avoidable before the wrench comes out. Knowing how to replace an oil pan gasket is mostly about not making them.
Installing the wrong gasket type. A molded rubber gasket and a formed-in-place design are not interchangeable. If your pan has no gasket channel or tabs, you need RTV, not a rubber ring. Fitting a rubber gasket to an FIPG flange is why some people leak twice.
Leaving old gasket material behind. Scraping alone is not cleaning. Use brake cleaner and a scuff pad until both faces look like bare metal all the way around the joint.
Over-torquing. Aluminium pans crack, and threads strip. Over-torquing is the most common way to turn a gasket job into a pan replacement.
Adding sealant where none is called for. RTV squeezed out of a compression gasket channel ends up in the oil. A corner dab on a formed-in-place design, where the manual asks for it, is a different matter entirely.
Letting the gasket shift or skipping the sequence. A pinched corner or a bolt torqued out of order leaves a gap no amount of extra torque will close. Hand-tight every bolt first, then spiral out from the centre in passes.
Skipping the leak check. Some leaks only appear warm. Check under the car after the first drive and again after twenty minutes of normal running.
Before you start the engine, run through this: correct gasket fitted with no twist, both faces clean, new drain plug washer in place, every bolt hand-started and torqued in the manual’s sequence, filter and any baffle refitted, oil filled to the specified level on level ground. After the first drive, check the seam and the plug, then check the level again.
Frequently Asked Questions
Can I replace my oil pan gasket myself?
On most rear-wheel-drive BMWs, yes, if you are comfortable with a drain pan, a torque wrench and working under a raised car. The gasket itself is simple; the work is access. Transverse-engine models may need the subframe dropped or the engine supported, and V-shaped engines with a windage tray are heavier jobs. If you would rather not strip it, an independent shop will do it faster.
How long does it take to replace an oil pan gasket?
Budget two to four hours on a straight-six or V-eight with open access, and half a day on a transverse four-cylinder where the subframe or steering components come out. First-timers should add another two hours for the access surprises nobody warns you about, and for the slow, careful drain. Refill and leak checking take the last thirty minutes.
Can you change an oil pan gasket without removing the engine?
On most BMWs, yes. The engine usually stays bolted in place and is supported, raised slightly or left alone while the subframe comes down around it. The exceptions are V-shaped engines whose sump sits between the block and transmission, where the pan may only come out with the powertrain lowered on a table, and modular engines where the plastic windage tray is part of the gasket kit.
Is a drain plug washer the same as an oil pan gasket?
No, and the two are confused constantly. The drain plug washer seals one small threaded plug at the bottom of the pan. The oil pan gasket seals the joint between the pan and the engine block. A weeping plug washer drips straight down from the plug; a failed pan gasket shows oil creeping along the seam and usually a trail behind the car.
Do I need to replace the oil pan, or just the gasket?
Just the gasket, as long as the pan is sound. With the pan off, check the flange for cracks, corrosion and warping, and inspect the pickup tube for damage. A cracked or badly warped aluminium flange will leak with a perfect gasket fitted, which is when the pan, not the seal, is the actual problem. A stained but intact pan can be cleaned and reused.
How urgent is a leaking oil pan gasket?
Treat it as urgent rather than cosmetic. Oil collects on the exhaust, which is a fire risk, and a falling level starves the engine of oil. On a V-shaped BMW, running it low can destroy the engine quickly. Keep driving it only far enough to reach a safe place, then fix it. If the oil-pressure warning lamp lights, stop the engine immediately.
Conclusion
The first thing to settle in how to replace an oil pan gasket is which seal your engine actually uses. Pull your VIN, confirm the engine code and look up the correct oil pan gasket and service manual for it before you touch a spanner. That one decision determines how you reassemble it.
With the pan off, treat the sealing surfaces as the important part. Scrape, clean and inspect both faces properly, then torque the bolts in the manual’s sequence with a new drain plug washer. Refill to the specified level and check under the car again after the first drive and once the engine is warm.
If you are still chasing an oil leak on the same car, the oil filter housing gasket leak symptoms guide will tell you whether you are looking at the wrong joint. And when the job is done, the step-by-step spark plug guide and the serpentine belt replacement walkthrough are the two jobs worth doing while the car is still on the stands.