
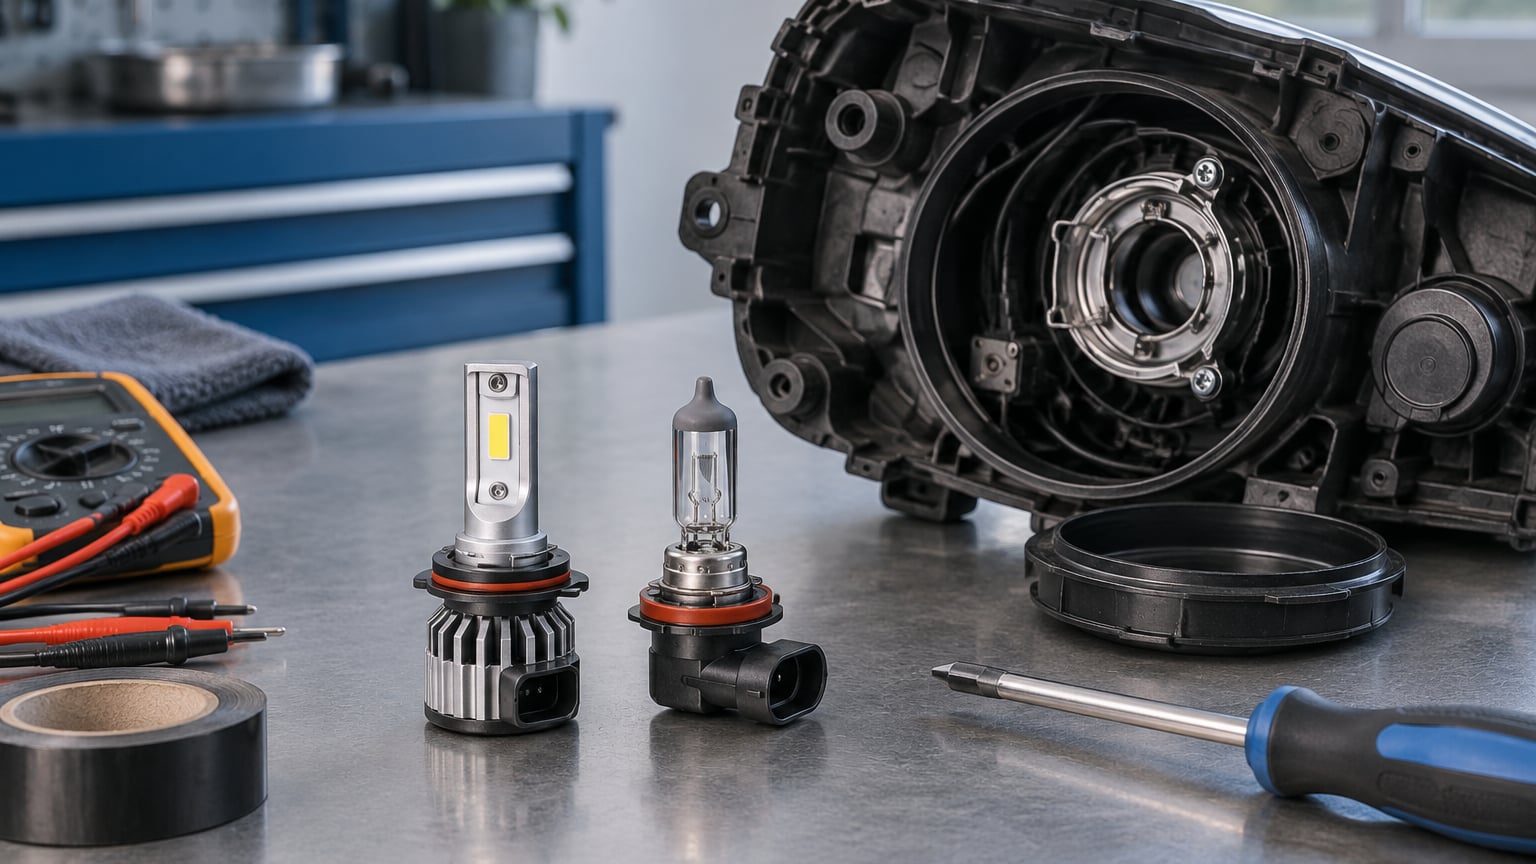
Installing LED headlights takes 30 to 60 minutes on most cars, and on a lot of vehicles it is nothing more than a plug-and-play swap. You pull the dust cover off the back of the headlight assembly, unplug the factory connector, twist out the halogen bulb, twist in the LED bulb with the chips facing the sides, plug it back in, and switch the lights on to test.
How to install LED headlights safely comes down to three things most guides skip: confirming the bulb base before you buy, setting the chip orientation right the first time, and re-aiming the beam afterward. Get those right and the job is routine. Get them wrong and you get flicker, a dashboard bulb-out warning, or a beam that blinds the car in front of you.
Below is the full sequence, from compatibility check to night road test, plus the failure modes people actually hit. If your car uses HID or has a headlight wiring diagram that looks unfamiliar, read step 1 first.
Table of Contents
What You Need
Before you order anything, gather the parts and tools. Most of this list you already own.
- Compatible LED replacement bulbs matched to your vehicle’s bulb base, plus a spare
- The vehicle owner’s manual, especially the lighting section and the bulb specification chart
- Basic hand tools: a set of Torx and standard hex keys, a ratchet with sockets, and plastic trim tools that will not scratch paint
- Protective gloves and a clean rag for the bulb glass and the connector
- A multimeter or test light to confirm a live circuit before and after
- Optional aiming equipment: a tape measure, masking tape, and a level garage wall or driveway
- Optional anti-flicker hardware (a CAN-bus decoder or relay harness) if your car is roughly 2010 or newer
Now the important part, which is confirming compatibility before the box arrives. A bulb that looks like it fits is not the same as a bulb that fits. You are matching four separate things: the bulb base, the connector, the electrical load, and the color temperature.
Find the base code on your owner’s manual bulb chart, and confirm it against the marking printed on the bulb you pull out. Most manuals list a code like H11, 9005 or H13/9008 right next to a small bulb illustration.
| Bulb base code | Common nickname | Typical application | Fitment note |
|---|---|---|---|
| H11 | H11 | Low and high beam, fog lights, many Japanese and Korean cars | Not interchangeable with 9005 even though both are popular bases |
| 9005 / HB3 | High beam | High beam on most European and domestic cars | Shares a base family with 9006 but the connector and wattage differ |
| 9006 | Low beam | Low beam on most European and domestic cars | Will not seat correctly in a 9005 socket; never force it |
| 9012 / HIR2 | HIR2 | High beam on some German and Japanese cars | Physically larger than 9005 and not a swap |
| H13 / 9008 | H13 | Both beams from one bulb on older domestic cars | A dual-filament bulb; low beam filament lives inside the base |
| HB1 / 9004 | 9004 | Both beams, older Japanese trucks and sedans | Also a dual-filament design |
| H7 | H7 | Low beam, fog lamps, older European cars | Thin base, easy to confuse with H8 |
| H9 | H9 | Fog lamps and low beam on some cars | Longer and narrower than H8 |
| H8 | H8 | Fog lamps, low beam on some models | Shorter than H9; check length before buying |
| H4 | H4 | Motorcycles, some older trucks and cars | Very common base, easy to match |
On color temperature, most halogen replacements sit around 3000 Kelvin, which reads slightly warm. LED bulbs from about 5000 to 6500 Kelvin look white to slightly cool and suit most people driving at night, because a whiter beam picks out lane markings and debris better.
On wattage, a halogen H11 low beam pulls about 25 to 30 watts. A quality LED bulb of the same base draws 10 to 20 watts. That big drop in current is the reason modern cars start complaining after a swap, which we cover in the troubleshooting section.
Step-by-Step: How to Install LED Headlights
Work through these seven steps in order. The whole process on a car with accessible engine bay takes under an hour; allow more time if the headlight assembly has to come out completely.
1. Check Your Vehicle and Bulb Compatibility
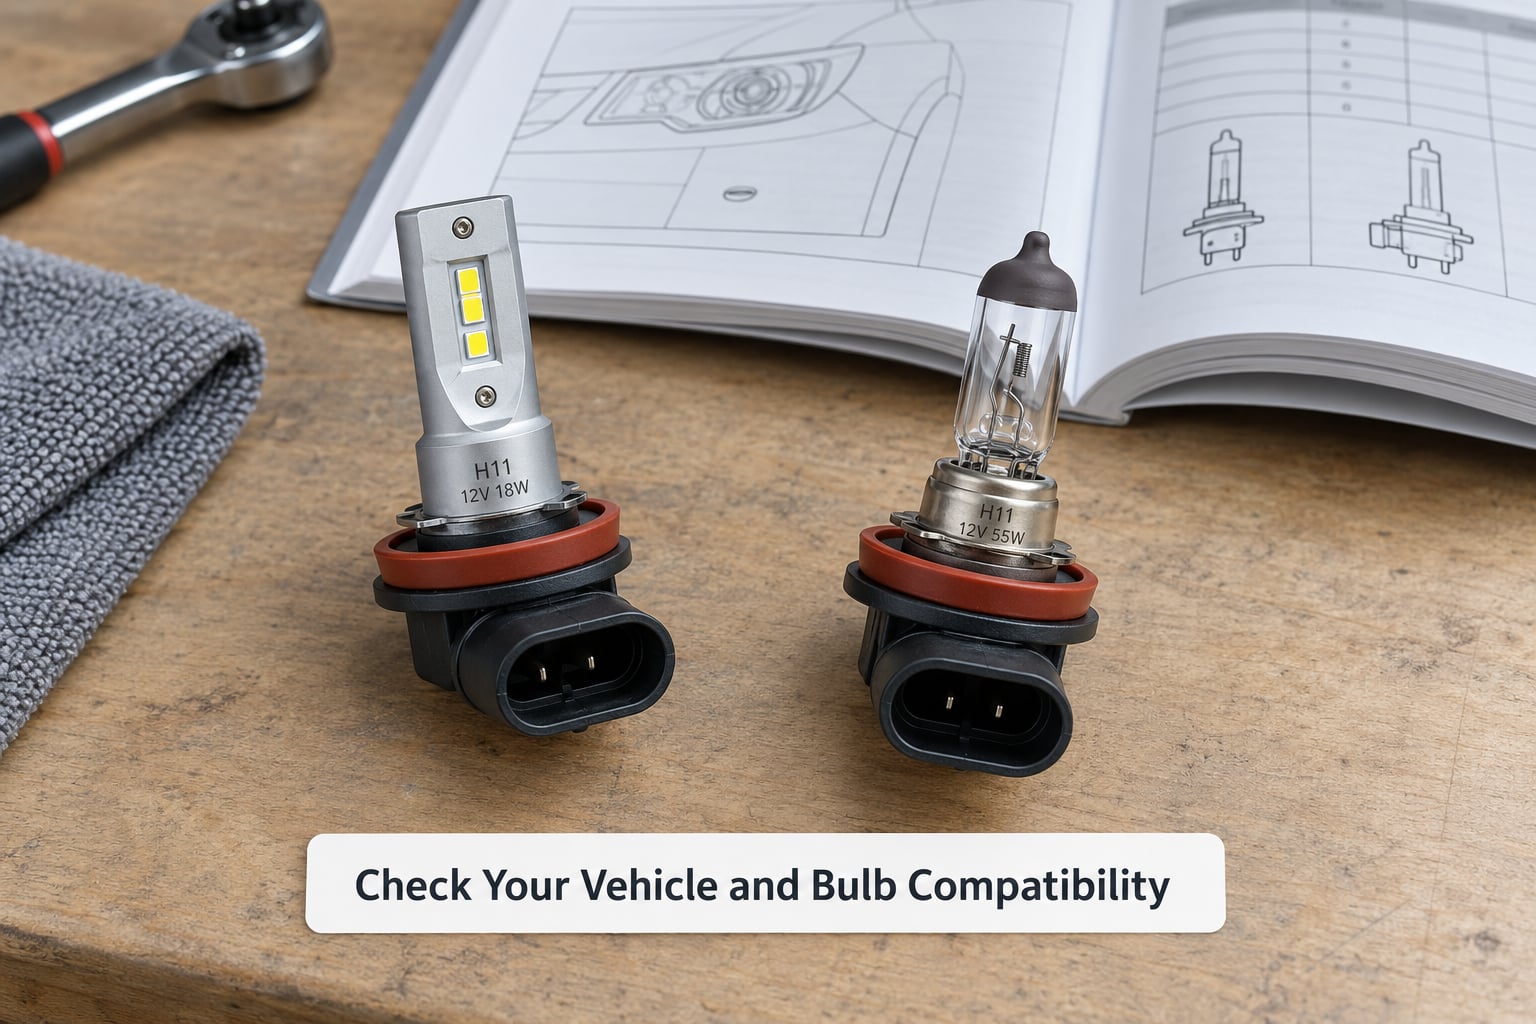
Confirm the replacement bulb type before you unbolt anything. Check three sources: the owner’s manual lighting section, the marking on the bulb already in the car, and the vehicle’s door jamb label, which often lists bulb types for that exact build.
Then check the connector, not just the base. Two bulbs can share a base code and still have different plug bodies, which is why an H11 LED and a 9005 LED are never a swap even though both are common three-prong looking parts.
The expected result here is simple: one bulb code in your hand that matches the manual, the old bulb, and the plug you are about to pull. If those three do not agree, stop and buy the bulb that matches all three.
A physically similar bulb can still be electrically wrong. 9005 and 9006 share a base family but differ in wattage and connector shape; 9012 is larger again. Forcing a mismatched bulb either will not seat or will sit crooked and shine down the road instead of forward.
2. Park the Car Safely and Protect the Interior
Park on level ground, in daylight if you can, with the transmission in park and the parking brake set. Switch the engine off and give the headlight a few minutes to cool; halogen and HID assemblies get hot enough to burn skin.
Next, open the hood and disconnect the negative battery terminal. Use a wrench to loosen the clamp, then tuck the cable away from the terminal so it cannot flop back and touch it. This kills power to the headlight circuit and the memory in many modules, so expect your radio, clock and window one-touch to need resetting afterward.
Some people skip the battery disconnect for a simple bulb change, and on an older car with no bulb monitoring it is usually fine. On any car from roughly 2010 onward, disconnect it. The extra two minutes saves you from a short circuit while your hands are inside the housing.
Before you touch the front of the car, lay a blanket or drop cloth over the bumper and fender, and put a cardboard panel under the headlight area. Bolts and trim clips fall, and a scratch in a headlight lens is the one mistake you cannot polish out.
The expected result: engine off, negative terminal disconnected and tucked away, paint protected, and the back of the headlight assembly reachable.
3. Remove the Headlight Assembly
Most cars let you reach the bulb from inside the engine bay. Look for the back of the headlight housing behind the radiator shroud or near the fender liner, and look for a round dust cover held by a clip, a twist lock, or a row of small screws.
On some vehicles you remove only that cover. On others you have to pull the whole headlight assembly out first, which usually means removing a Torx bolt or two from inside the engine bay and another from the front, then pulling the assembly forward just enough to reach the connector at the back.
Know which kind you have before you start pulling. If the assembly comes out, expect one or two electrical connectors on the back that you must unplug, plus a parking light or turn signal bulb socket that hangs off the same loom. Photograph the connectors before you unplug anything, because matching the factory plugs back to the right socket is easier when you have a reference.
Put every bolt in a labeled tray or a magnetic mat in the order you removed it. Headlight assemblies are usually torqued down last, and the top bolt on many cars is longer than the bottom one.
The expected result: the back of the headlight is exposed, or the assembly is sitting on a padded surface where it will not crack or roll onto the paint.
4. Disconnect the Old Bulb and Inspect the Socket
Release the factory electrical connector. Most use a small tab you press while pulling, or a sliding lock. Press the tab and pull straight out, never twist the connector, because the wires are anchored right behind it and twisting pulls them out of the housing.
Now release the bulb itself. Many halogen bulbs twist a quarter turn and lift out. Others are held by a wire clip, a plastic retainer, or a spring that presses the bulb against the contacts.
With the bulb out, look at the socket before you put anything new in it. You are looking for green or white corrosion, discoloration or brittleness on the plastic from heat, cracks, or terminals that look bent or blackened. Pull the connector’s metal terminals straight out very gently if they back out at all; don’t pry them.
Also look at the dust cover seal. If it feels hard, gummy or torn, replace the cover rather than forcing it back on, because that seal is what keeps water out of the headlight.
Light corrosion on the plug is worth cleaning before the LED goes in, since a high-resistance connection leads to heat and more flicker later. A light smear of dielectric grease on the connector body helps keep moisture out. Do not smear grease on the electrical contacts themselves.
The expected result: an empty, clean socket and a set aside for the old bulb that looks sound enough to put back if you ever sell the car.
5. Install the LED Bulb in the Correct Orientation
Hold the LED bulb by its base and collar. Do not touch the heat sink, the cooling fins, or the little circuit board at the back, because skin oils and fingerprints conduct heat and raise the junction temperature, which shortens bulb life.
Line the base up with the socket and follow whatever motion the retainer requires: a quarter turn for a twist-lock base, straight in for a clip-held base. Seat it fully, then reinstall the retainer so the bulb cannot work loose over bumps.
Now the part everyone asks about: set the chip orientation correctly. Look straight down the bulb from the front, and place the LED chips horizontally, at 3 and 9 o’clock, facing toward the fenders rather than up and down.
- Correct: chips at 3 and 9 o’clock, matching where the halogen filament sat
- Wrong: chips at 12 and 6 o’clock, which throws a narrow horizontal band of glare straight up and down the road
Retrofit LED bulbs have fins or a fan on the back, and those parts need clearance. If the dust cover will not close, or you have to force the connector to seat, the bulb is oriented wrong or is too deep for that housing. Bulbs with an active cooling fan often need 20 to 40 mm of clearance behind the lamp opening, so check that before you buy for a tight engine bay.
If the bulb has adjustable mounting tabs, set them so the shroud sits flush and centered in the housing. A tilted bulb leaks and throws its beam at the pavement.
The expected result: the bulb is flush, centered, fully seated, and the dust cover closes without pressure.
6. Reassemble and Test the Headlights
Plug the factory connector back in until it clicks, refit the dust cover, and reconnect any parking light or turn signal sockets that came loose. If you removed the assembly, set it back on its locating pins and torque the bolts in the reverse order you took them out, starting with the bolt that goes in last.
Reconnect the negative battery terminal and tighten the clamp. If your car lost its radio, clock or window presets, power the ignition on and reset them before you drive.
Then test everything, with the car parked facing a wall so you can watch the beam. Switch on low beam, then high beam, then the turn signals, parking lights, fog lights and daytime running lights. Most cars run daytime running lights off the same headlight circuit, so a problem there can show up as flicker with the headlights switched off entirely.
What to look for during the test:
- Both sides light at the same brightness
- No flicker when the engine is idling
- No bulb-out or headlamp warning on the dash
- No hyper-flash from the turn signals
- No warning codes stored that need clearing with an OBD-II scanner
If a bulb does not light at all, do one thing before anything else: unplug the connector, rotate the bulb 180 degrees in the socket, and plug it back in. A few LED bulbs are polarity sensitive, and a bulb installed in the wrong direction simply does nothing.
If one side works and the other does not, it is almost always a connector that is not fully clicked home or a bulb that is seated at an angle, not a failed bulb.
The expected result: every circuit works, the beam looks even, and nothing flickers with the engine running.
7. Check Beam Pattern and Aim
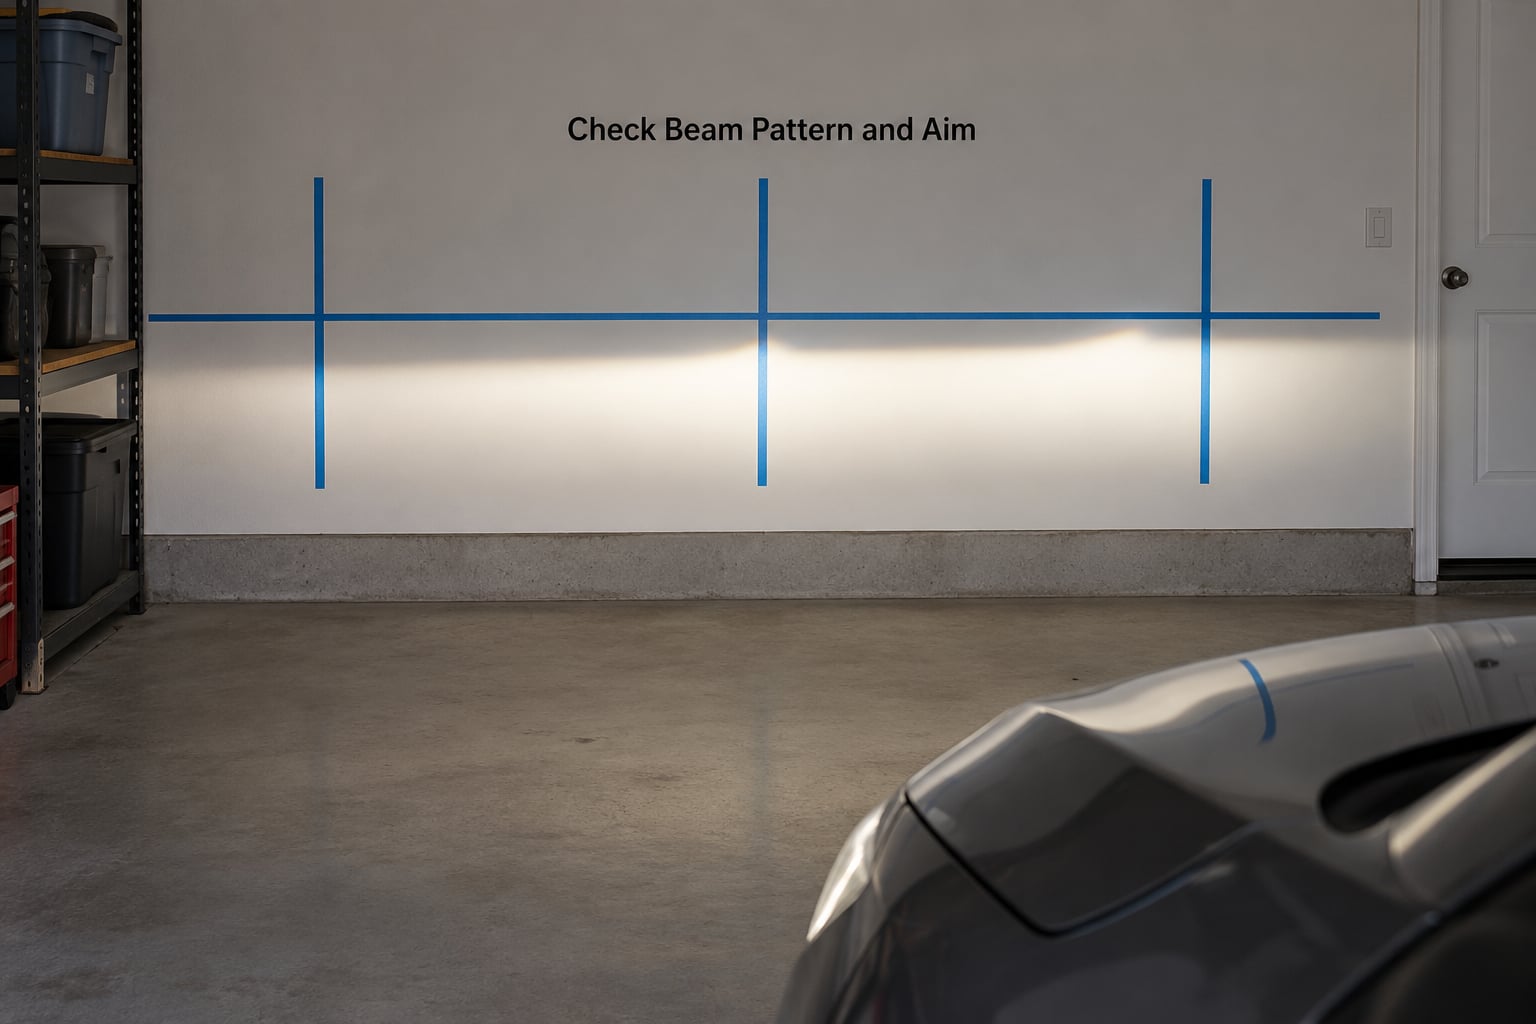
Turn the car on level ground facing a flat wall, and mark the height of the lamp centers on the wall with masking tape. Park about 7.5 m (25 ft) back, which is the reference distance most headlight aiming procedures use.
You want an even pattern with a sharp horizontal cutoff on low beam, and the brightest part of the beam just below the center mark, usually about 5 cm (2 in) lower than the bulb center. The light should land on the wall and the road ahead, not upward into the windshield of the driver coming at you.
Compare the two sides. One side noticeably brighter or aimed higher usually means a bulb is tilted, or that pair of LED chips is not facing the sides, or the suspension is sitting differently than it will under load.
A wall check is a sanity check, not a legal adjustment. Loaded, regulated alignment needs the vehicle at ride height, tires at spec pressure, and a proper measuring system. If your car requires that level of aiming, or if you are also aiming fog lights, book it with a shop. Our step-by-step on how to aim headlights correctly walks through the home method in more detail.
Common Mistakes
Almost every LED headlight install problem falls into one of these buckets. Match your symptom, then apply the fix.
Buying the wrong bulb base
Symptom: the bulb will not fit, or it fits but the beam is off-center and pointing down.
Fix: confirm the base code against the owner’s manual, the marking on the old bulb and the door jamb label before buying. Never trim a locking tab to make a 9005 fit an H11 socket. A filed tab means a bulb that is tilted, unsealed and out of legal alignment.
Forcing the connector
Symptom: the connector will not go in fully, or it goes in but the light flickers when you hit a bump.
Fix: release the locking tab properly instead of pushing the plug in by force. A connector that only goes in halfway is the single most common cause of flicker after a clean install.
Reversing the bulb
Symptom: nothing lights on that side.
Fix: rotate the bulb 180 degrees. Some LED drivers are polarity sensitive, and the symptom is a completely dead bulb rather than a dim one.
Chips at 12 and 6 o’clock
Symptom: oncoming drivers flash you, and you get glare on the inside of the windshield in daylight.
Fix: set the chips to 3 and 9 o’clock, matching the halogen filament position, and re-check the aim afterward.
Blocking the cooling path
Symptom: the dust cover will not close, or the connector will not seat because the fan or heat sink is fouling the housing.
Fix: use a bulb sized for that housing, keep the cooling fins clear, and leave the 20 to 40 mm of clearance a fan-cooled design needs. Bulbs that cook themselves from the back do not last.
Flicker at idle that clears on high beam
Symptom: the lights pulse or shimmer with the engine idling, and the problem disappears on high beam or once you are moving.
Cause: on most cars from about 2010 onward, the headlight circuit is controlled by the body control module using a PWM signal and it checks the current draw to decide whether a bulb has burned out. An LED bulb draws far less current than the halogen it replaced, so the module sees a current it does not recognize and pulses the circuit to test it. That pulsing is the flicker. Daytime running lights often share the same circuit, which is why some cars flicker only when the headlights are off.
Fix, simplest first:
- Reseat both connectors and confirm the bulb is fully seated. Cheap fix, solves a surprising share of cases.
- Add a CAN-bus decoder or an anti-flicker adapter matched to your make and model. This is the correct fix on most modern cars.
- Fit a relay harness that draws power directly from the battery, with an inline fuse, on older cars or when the decoder does not help.
- Check for stored bulb-out codes with an OBD-II scanner and clear them, since the light stays on until the code is cleared even after the flicker stops.
On some European cars and trucks, a generic decoder changes nothing, and owners on those forums report exactly that. If a decoder does not fix the flicker, the relay harness is the route that works, and it is also the only option that stops the module from pulsing the circuit at all.
Using a load resistor on a headlight
Symptom: you fitted a resistor and now there is a smell of hot plastic near the connector.
Fix: a resistor converts the extra energy into heat, and a lot of it. Bolt it to bare metal, keep it away from plastic housings and wiring looms, and never wrap it in tape. Headlights rarely need a resistor at all; they need a decoder or a relay, because those fix the problem without making the connector hotter.
Never testing the other circuit
Symptom: low beams are perfect, but high beams, fog lights or the turn signals were never switched on after the install.
Fix: test every circuit on the wall before you drive at night. A high beam that does not come on is far better to find in a driveway.
Ignoring condensation
Symptom: moisture inside the lens after a bulb change, or a lens that was already cloudy.
Fix: make sure the dust cover is seated and its seal is intact, and that the connector is fully clicked in. A little condensation on the inside after a warm drive usually clears on its own. If it does not, the housing is venting through a failed seal rather than through the bulb opening, and how to restore foggy headlights covers restoration versus replacement.
Frequently Asked Questions
Can I install LED headlights myself?
Most people can. On an accessible car with a halogen headlight, the job is 30 to 60 minutes and needs basic hand tools, the owner’s manual, and the correct bulb for your base code. Allow extra time if the whole assembly has to come out, and skip it entirely if your car uses HID or has complex projector wiring. Take it to a shop if you are not confident working around a 12 volt battery and connector.
How do I know which LED bulbs fit my car?
Check three sources and make sure all three agree: the bulb specification chart in the owner’s manual, the code printed on the bulb currently installed, and the bulb label on the door jamb. The code looks like H11, 9005, 9006, 9012 or H13/9008. Also confirm the connector shape, because a similar base does not guarantee a matching plug, and check whether your headlight housing is a reflector or a projector before you buy.
Why do my LED headlights flicker after installation?
Flicker on newer cars usually means the body control module is pulsing the headlight circuit because it does not recognize the low current draw of an LED bulb. Common triggers also include a connector that is not fully clicked home and a bulb that is loose in its socket. Reseat everything first, then add a CAN-bus decoder or anti-flicker adapter matched to your vehicle, and clear any stored bulb-out code.
Are LED headlights legal for road use?
In the US, replacement bulbs sold for road use carry a DOT/SAE marking, and Europe uses UNECE approvals such as R112 and R128. Bulbs without those markings are legal to own but not legal to drive with, and they are the usual reason someone gets pulled over or fails inspection. Match the base code, keep the beam aimed correctly, and avoid colour bulbs, which are the most common problem. Rules vary by state and country, so check locally.
Do LED headlights need to be aimed after installation?
Yes, aim them after any retrofit. A correctly installed bulb should not need adjusting, but a housing that was already slightly out of adjustment, or a bulb seated at an angle, will throw its beam lower or higher than before. Park on level ground facing a flat wall about 7.5 m back, mark the lamp centres, and check that the brightest part of the low beam sits just below the mark. Loaded, regulated aiming needs a shop.
What should I do if condensation forms inside the headlight?
A light mist on the inside of the lens after a bulb change is normal and usually clears on a warm, dry drive. If it stays, the cause is a failed seal somewhere other than the bulb opening, such as a dust cover that is not seated or a cracked connector boot. Reseat the cover and connector, then check the lens for haze or crazing. Persistent condensation means the housing is compromised and the assembly usually needs replacement.
Conclusion
Start with the fitment check, because it decides whether the rest of the job is pleasant or wasted. Confirm the bulb base against your owner’s manual and the old bulb, match the connector, and pick a bulb rated for your housing type.
Then work the sequence in order: disconnect the negative battery terminal, protect the paint, get access to the back of the assembly, unplug the connector, swap the bulb, and set the chips at 3 and 9 o’clock. Keep the cooling fins clear so the bulb can breathe, seat the retainer fully, and refit the dust cover without forcing it.
Before driving, test low beam, high beam, fog lamps, parking lights and turn signals against a wall, and confirm the beam is even with a clean cutoff line. If the lights flicker at idle, work from the simplest cause outward, starting with connector seating before you buy any adapter.
If the headlight assembly is glued, the wiring is unfamiliar, the vehicle uses HID, or the aiming needs to be done under load, stop and hand it to a qualified lighting technician or a shop. Your owner’s manual is the authority on your car, and following it will never be the wrong call.
While you are in the garage, it is worth getting the rest of the car sorted too. when to install winter tires is the other seasonal job drivers leave too late.