
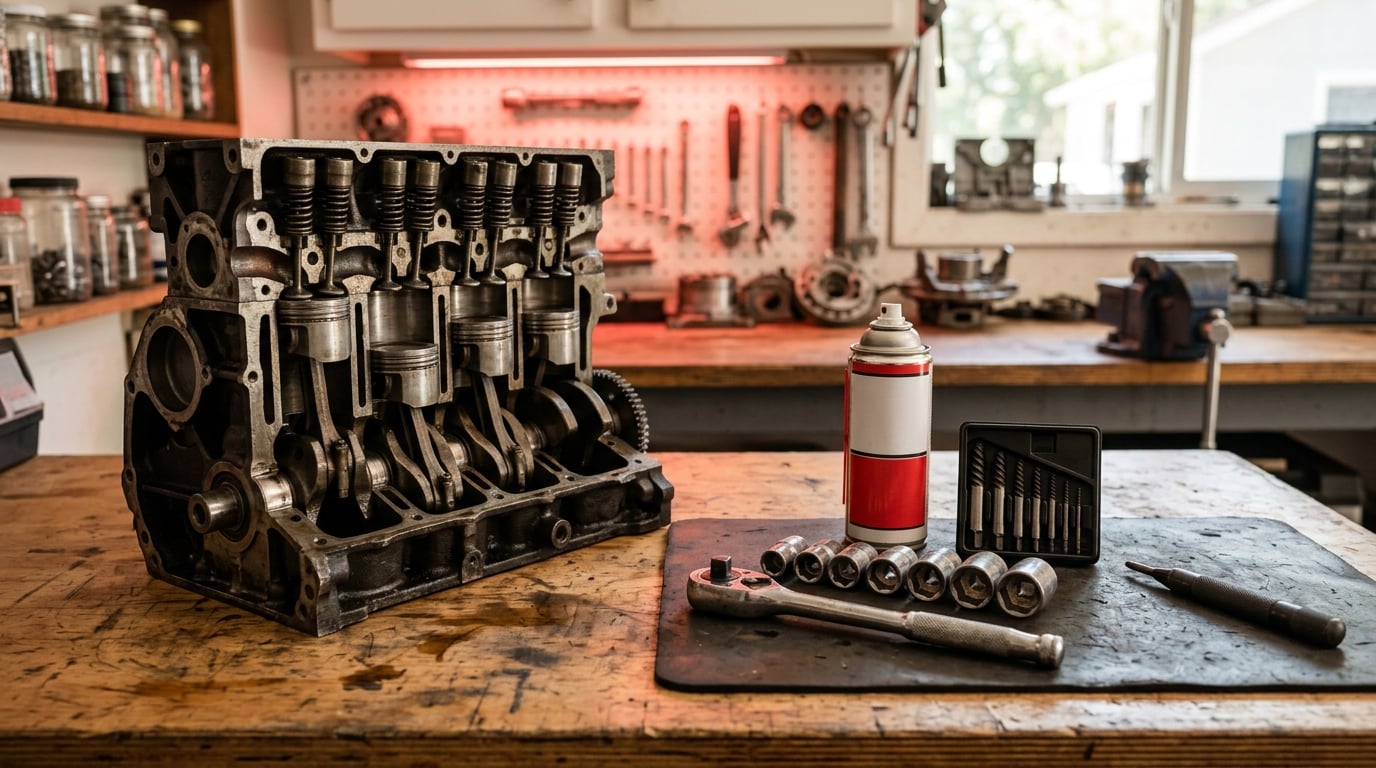
How to remove a broken bolt from an engine block comes down to one thing: how much metal is left in the hole. A stub that stands proud comes out with a wrench or Vise-Grips. A bolt broken flush needs an extractor. One broken below the surface needs drilling. A rusted-in fastener usually needs heat, and heat on an aluminum block is a decision worth thinking about twice.
These jobs almost never show up on a calm Saturday. They show up halfway through a head gasket, an exhaust manifold, a starter, or a motor mount, when the fastener snaps and the rest of the engine is already apart.
Two things before you touch a socket. Let the engine cool completely, and if there is any chance you will be welding, disconnect the negative battery terminal and move fuel lines, oxygen sensors, and wiring looms well away from the work area. Bring eye protection and gloves you would not mind ruining.
Quick answer: Weld a nut on when any metal is exposed above the block. When the bolt is flush or recessed, drill a pilot hole to the depth the extractor specifies, screw in a fluted or multi-spline extractor, and back it out counterclockwise at low speed. On aluminum, reverse direction the moment it breaks loose so you do not chew the threads in the casting.
What You Need
Most of this list is stuff a garage already has. The one thing worth buying before you break a bolt, rather than after, is a decent set of extractors.
- Penetrating oil. PB Blaster, Kroil, or a similar product. WD-40 is a lubricant first and a penetrant second, so it is not my first choice for a seized stub.
- Ratchet, sockets, and extensions. You want at least 6 inches of straight reach into whatever hole you are working in.
- Breaker bar or pipe wrench. Leverage matters more than torque rating once the bolt has already proven it will snap.
- Locking pliers (Vise-Grips). The fastest path when a little metal is still sticking out.
- Ball peens hammer and a flat punch or center punch. For shock-loading the stub counterclockwise.
- Bolt extractor set. Fluted or spiral extractors, plus multi-spline extractors, in sizes that cover the bolt diameters you actually have. Cheap sets are where broken extractors come from.
- Drill and bits. A small pilot bit, a tap-size bit for drilling out, and a left-hand (reverse) drill bit for aluminum.
- Tap handle and matching tap. Needed if you plan to drill out and re-cut threads.
- Thread repair insert such as a Heli-Coil, with the manufacturer-specified drill and tap sizes, for holes that are already damaged.
- Welding nut or a scrap nut of the correct thread, plus access to a MIG or TIG welder. A shop will do this part for you if you do not weld.
- Heat source and protection. An oxy-fuel torch, propane torch, or induction heater, a sheet of steel or a fire blanket to shield nearby parts, and a fire extinguisher within reach.
- Torque wrench for putting the replacement fastener back to specification.
- Consumables. Cutting fluid or coolant while drilling cast iron, plus gloves, eye protection, and a vacuum or magnet to catch chips.
Cast iron versus aluminum changes the rules. Cast iron tolerates localized heat far better and does not care much about a little extra torque on the surrounding threads. Aluminum threads strip, gall, and smear easily, and an aluminum casting can crack from uneven heating. On aluminum I work cooler, slower, and always add cutting fluid.
Step-by-Step
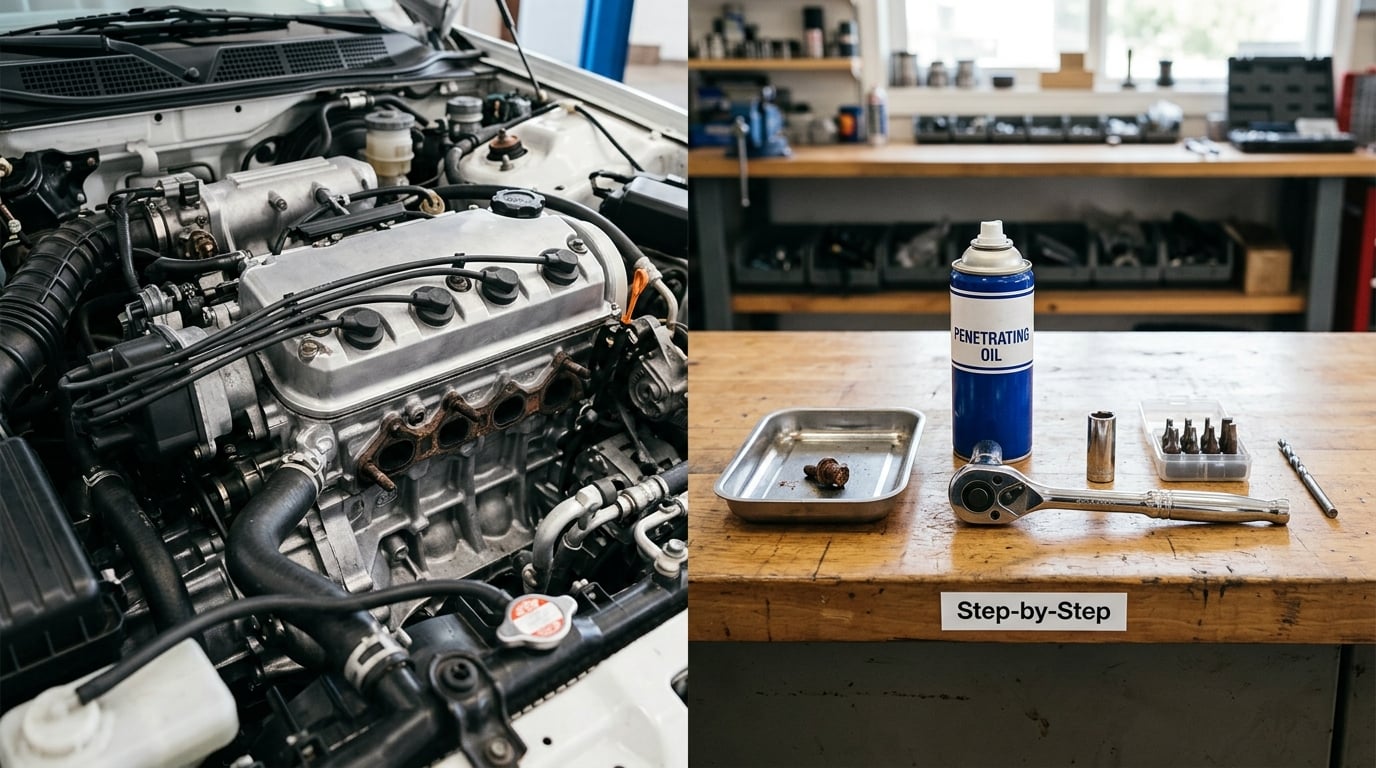
Identify the Bolt and Check the Cause
Start by answering three questions: how much bolt is left, what is the block made of, and why did it break.
Look at the stub and classify it. Proud means at least a few millimeters stand above the surface and a socket can get a grip. Flush means the break is level with the mating face. Recessed means the break is below the surface and you are looking down a hole with no purchase at all.
Then find out why it snapped, because the cause changes the method. Over-torquing leaves a galled, torn stub. Corrosion at an exhaust port or a water jacket leaves a rust bond that has to be broken. Heat cycling from a gasket job lets the fastener seize during removal. Cross-threading or a wrong tool leaves the head rounded rather than sheared.
Know the size before you buy anything. Measure the bolt diameter with calipers or a thread gauge, and confirm coarse versus fine pitch. A metric 10 mm coarse and a metric 10 mm fine bolt look identical from the outside and need completely different extractors.
Also look at the surrounding threads. Shine a light down the hole before you start. If you can see torn, flattened, or shiny-smeared aluminum threads, plan on tap damage repair from the beginning rather than being surprised at the end.
Clear the Area and Work the Bolt Stub Loose
The least destructive methods only work if you can actually see and reach the bolt. Before anything else, remove the washers, gasket material, and the bracket or manifold sitting over it. If the bolt is a cylinder head bolt or an exhaust manifold bolt on a job you’re mid-way through, removing the head or manifold may be the only way to get straight-line access. That is a normal outcome, not a defeat.
Clean the area with brake cleaner and a rag, then paint penetrating oil directly on the visible stub and around the hole mouth. Give it real soak time. Most people give it fifteen minutes when the job needs overnight. Reapply every few hours, and turn the stub a quarter turn by hand each time to pull fresh oil into the threads.
Then work it with the least aggressive tool that has a chance:
- Try a six-point socket first. It is the only socket profile that fits a rounded hex corner, and it still works on a partially stripped head.
- If a quarter inch or so is still proud, clamp locking pliers on it and turn slowly counterclockwise, keeping the pull axial and straight.
- Tap the edge of the stub with a center punch or chisel while turning it counterclockwise with a wrench. Shock-loading breaks the rust bond without adding much side load.
- Strike the bolt sideways with two hammers, one on each side, alternating taps, to flex the casting and break the corrosion bond. This works best on a flange surface where the bolt passes all the way through.
For a stud rather than a bolt, there is another trick worth knowing: run a second nut down the stud tight against the casting, then turn both nuts together. The extra nut takes the load off the seized threads. The same idea works on a bolt if you have a matching nut and enough stud left.
As soon as the fastener moves, stop and reverse direction. Run it back in snug by hand before you take the tool off. This is the single most common way people destroy an otherwise recoverable aluminum thread set.
Use Penetrating Oil and Controlled Heat
Heat and penetrating oil solve two different problems. Penetrating oil dissolves the corrosion that glues the stub to the casting. Heat expands the surrounding metal faster than it expands the bolt, which breaks the grip.
Apply the heat locally and keep the duration short. A propane torch run in slow passes around the hole, or an induction heater on the bolt itself, is better than holding one spot until the casting discolors. Move constantly, and keep an eye on nearby plastic intake runners, wiring connectors, O-rings, and painted surfaces. Those go first.
On cast iron, you have considerably more latitude before you need to worry about the block. On aluminum, my rule is that the casting should never get hot enough to discolor, and if you cannot heat one fastener without heating a big chunk of the engine around it, skip the heat and change methods. Many shops will not heat an aluminum block at all for exactly that reason.
If you weld, disconnect the negative battery terminal first and move the ground clamp away from the engine if you can. Fuel lines, vapor, oxygen sensors, and ABS wiring do not belong anywhere near an arc. Keep the area clear and have something rated to put a small fire out within arm’s reach.
For a stud that runs clear through the casting, a torch on the exposed end until the bolt itself goes cherry red, followed immediately by a hard quench, can drive it out from thermal shock. This is a shop technique, it makes a mess, and it is not one to try near your fuel rail.
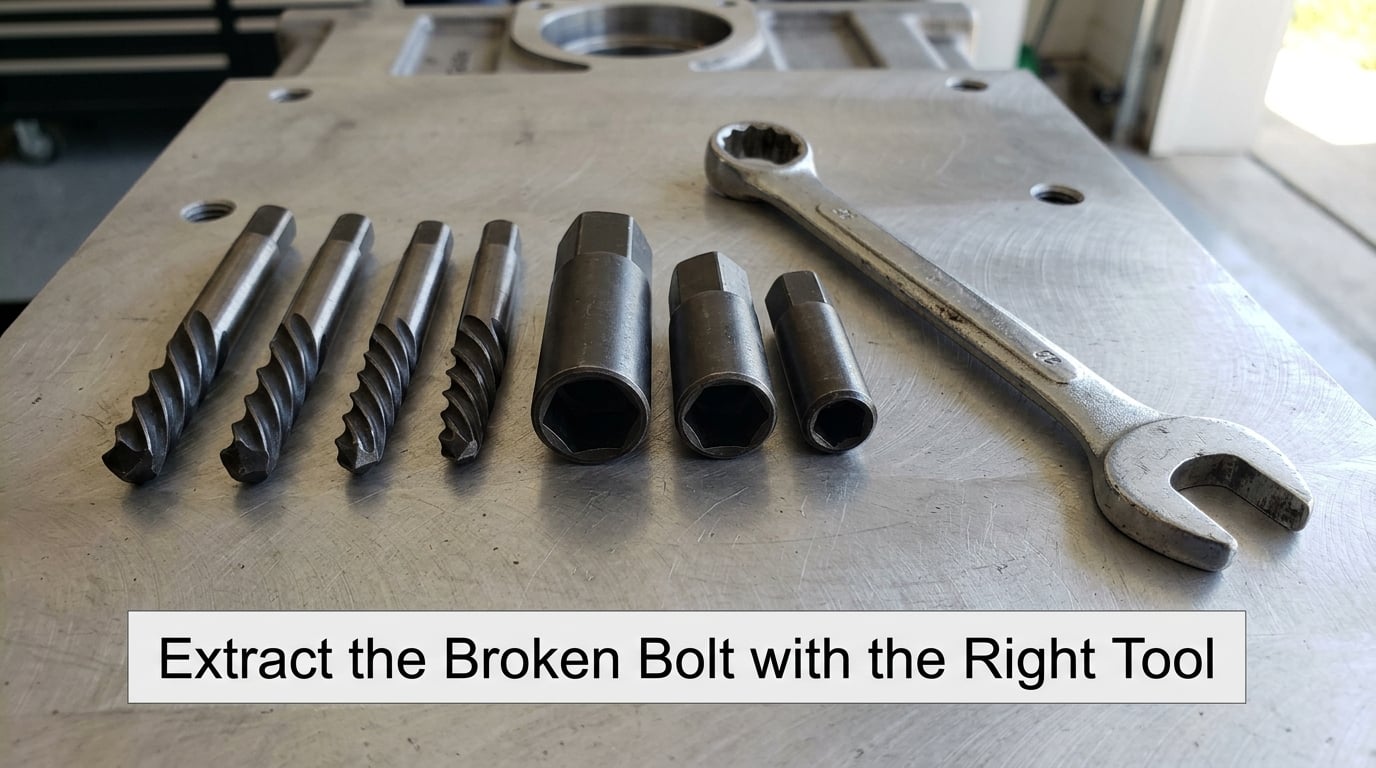
Extract the Broken Bolt with the Right Tool
This is where the position of the stub decides everything. Here is the routing I use:
- Stub stands proud, not rusted solid: wrench, pliers, or a cam-style stud remover on the exposed threads.
- Stub is flush, casting is clean: fluted or multi-spline extractor. This is the classic case and the highest success rate.
- Stub is recessed: drill first, then extract. The drill gives you something to bite into and clears chips.
- Stub is flush or proud and rusted solid: drill it out, or weld a nut on. Shop veterans are blunt about this one: extractors on a rusted-in stub usually snap and leave you worse off than when you started.
- Hole is already damaged: drill out, tap, install a thread insert.
The three-step extractor process. First, center punch the stub so the bit starts dead center. Second, drill straight down to the depth the extractor instructions specify, usually about half the length of the broken bolt, and not deeper, so the extractor has room to expand. Third, thread the extractor into the pilot hole and back the drill out counterclockwise at low speed with steady light pressure.
That last step is where extractors die. Speed up, lean into it, or switch the drill to forward by accident and you will grind the spiral into a slug instead of reverse-driving it. When the extractor bites and the bolt starts to turn, stop the drill and finish with a wrench.
Left-hand drill bits are the alternative for flush aluminum, where a forward-spinning drill smears the hole walls and a conventional extractor just welds itself in. The same drill, the same bit, the reverse switch flipped, and the bolt comes out backward. Reverse bits also work on studs and on bolts where the extractor keeps snapping.
Welding a nut onto the stub is the most reliable method there is, and the reason is not really the nut. The weld puts a bright, hot, clean nut exactly where the wrench needs one, and the heat does the actual work by burning off corrosion and expanding the casting around the shank. On cooling, the shank contracts and grips less. If the bolt is a head bolt and you have already decided to pull the head, take the head off and every remaining bolt first. Straight-line access turns a two-hour fight into a ten-minute one.
Drill a small pilot hole first to let the shank vent steam and shrink on cooling. Clean the stub and the bolt face to bright metal, set the nut flat, and weld around the outside of the nut with a stringer bead rather than dumping metal into the hole. Let it cool completely, then take the nut off with a wrench. One more detail: many people find the bolt backs out during the cooling cycle, so resist the urge to quench it with water.
Drill and tap is the method that leaves you with usable threads. Drill the bolt out entirely, work the hole clean, then run a tap through it. It is slower and it leaves you with a fresh hole rather than the original fastener, but the block ends up in a better state than it started.
A thread repair insert is the step after that when drilling has left the hole oversized or the threads torn. Drill to the insert’s specified size, tap, screw the insert in, break the tail off, and chase it with the matching tap. It costs a few dollars and takes ten minutes, and it turns a scrapped block back into a repairable one.
One more fallback for small fasteners near a bolt hole: cut a straight slot across the head with a rotary tool and drive it out with a screwdriver, back and forth. It is crude, it only works on screws and small bolts, and it saves you from drilling a big hole in a place you would rather not have one.
Know When to Stop and Use a Professional
There is a point where the next tool is more likely to damage the block than to save the bolt. Stop and take it to a machine shop when any of these are true:
- You have no straight-line access, and the drill, the extractor, and the torch all do not fit the space.
- Your hole is visibly oval or off-center, so no extractor will hold and the drill is wandering.
- The extractor has snapped off, and you have now got a second broken tool in the hole.
- The bolt is recessed deep in a cylinder head or block with no room to back a drill out.
- The surrounding aluminum threads are already stripped and the hole is not holding an insert cleanly.
- You have burned through an afternoon and two methods without forward progress.
A machine shop has induction heaters, magnetic particle inspection, tapping heads, EDM for the truly buried ones, and a working fixture. That is a real difference in capability, not just a difference in hourly rate. The strongest argument for stopping early is that every extra failed attempt eats more of the surrounding material, and once a hole is truly gone, the options get expensive fast.
If you do go to a shop, describe the fastener, the position of the stub, the block material, and what you have already tried. Vagueness at the counter is what turns a straightforward extraction into a guess.
Common Mistakes
Using the wrong extractor size. Extractors are sized to the bolt diameter, not the hole. Too small and the spiral shears off; too big and the bolt head splits before the extractor ever bites. Buy a set that covers common metric and SAE sizes rather than one loose piece.
Applying uncontrolled heat. Especially on aluminum. Local passes, constant movement, and a shield over everything you do not want glowing. Overheating the casting around the hole can cause real problems that outlast the bolt you were trying to save.
Drilling off-center. This is the mistake that turns a bad day into a trip to the machine shop. Center punch first, use a self-centering pilot bit or a split-point bit, and use a short piece of larger drill bit as a guide if the space is awkward. Keep the drill running straight and vertical, with cutting fluid, and never lean on it.
Turning the drill forward into the bolt. A forward spin grinds metal into the hole instead of extracting it. On aluminum the same error smears the walls and closes the hole. Check the drill’s direction before you touch the trigger, and once the extractor bites, back off to a slow, steady reverse.
Ignoring an oval hole. The moment the wall of the hole deforms, an extractor will not grip. Stop, go up one drill size, and re-center rather than leaning harder on a tool that does not fit.
Welding without disconnecting the battery and without clearing fuel lines, sensors, and wiring. Arc flash through a wiring harness is a fast way to turn a bolt job into an electrical one.
Forcing a wrench on a rounded head. An air wrench or a breaker bar at full bore can snap a stubborn bolt that would have come out with patient shock loading. Slow, axial, and repetitive beats fast and aggressive.
Ignoring the condition of the remaining threads. After the bolt is out, chase the threads with a tap before you fit anything. If the tap runs rough or the hole will not hold a thread, install an insert then. A new bolt torqued into a wrecked hole will fail later, usually in the worst possible place.
What to do when the extractor itself snaps. Do not try a bigger extractor on the same hole. Either go up a drill size and use a smaller extractor for the second piece, or finish the job by drilling out and tapping. Once two broken tools are stacked in one hole, stop and get a shop involved.
Frequently Asked Questions
Can I remove a broken bolt from an engine block without removing the engine?
Usually, yes, if the hole is straight-line accessible. Exhaust manifold bolts, starter bolts, motor mount bolts, and valve cover bolts can often be handled in place with penetrating oil, heat, and a fluted extractor. Cylinder head bolts and fasteners deep in a recessed hole frequently need the head or manifold off first, because no drill or torch fits the space. Removing the part also gives you straight access, which is the single biggest factor in whether extraction succeeds.
Should I use heat to remove a broken bolt from an engine block?
On cast iron, often yes. Localized heat expands the casting faster than the bolt and breaks the corrosion bond, and cast iron tolerates it well. On an aluminum block, be cautious: the casting can crack, and nearby plastic parts, seals, and wiring will melt long before the block does. Shield everything nearby, keep the torch moving, and if you cannot heat one fastener without cooking the whole area, choose a different method.
What size bolt extractor do I need?
Match the extractor to the bolt diameter, not to the hole. A 10 mm bolt takes a 10 mm extractor, and the coarse and fine versions of a given metric size are not interchangeable in an extractor set. Measure the bolt with calipers or take it to a thread gauge before you buy. Buying a small multi-size set is cheaper than a second attempt, because extractors sized wrong either slip or split the bolt head.
Does penetrating oil loosen a broken bolt?
It helps, but it is not a solvent that dissolves the bolt. Penetrating oil works its way into the corrosion layer between the stub and the thread, then you have to add mechanical action: a wrench, shock loading with a punch and hammer, or heat. Apply it, leave real soak time (overnight is better than fifteen minutes), and turn the stub by hand each time you reapply to pull fresh oil into the threads.
What if the bolt extractor hole is stripped or damaged?
Stop forcing it, because a stripped extractor will only add a second broken tool. Two paths work. Drill out the remaining slug and tap the hole, which gives you fresh threads and often a fresh hole. Or install a thread repair insert: drill to the insert’s specified size, tap, screw it in, break the tail, and chase it. Inserts are inexpensive, quick, and turn a hole you were about to write off into a repairable one.
Conclusion
Identifying the fastener is the whole first move. Measure the stub, see whether it stands proud, sits flush, or sits down inside the hole, and know whether you are in cast iron or aluminum. Then work up from the least aggressive method that fits your situation: penetrating oil and a wrench, an extractor, a left-hand drill bit, a welding nut, then drill and tap.
Escalating is not giving up. A professional extraction with an induction heater and a tapping head takes an afternoon and protects a block that three more failed attempts would not. The bolt is replaceable. Most of the damage people regret doing to a block was done in the last twenty minutes of trying something they already knew would not work.