
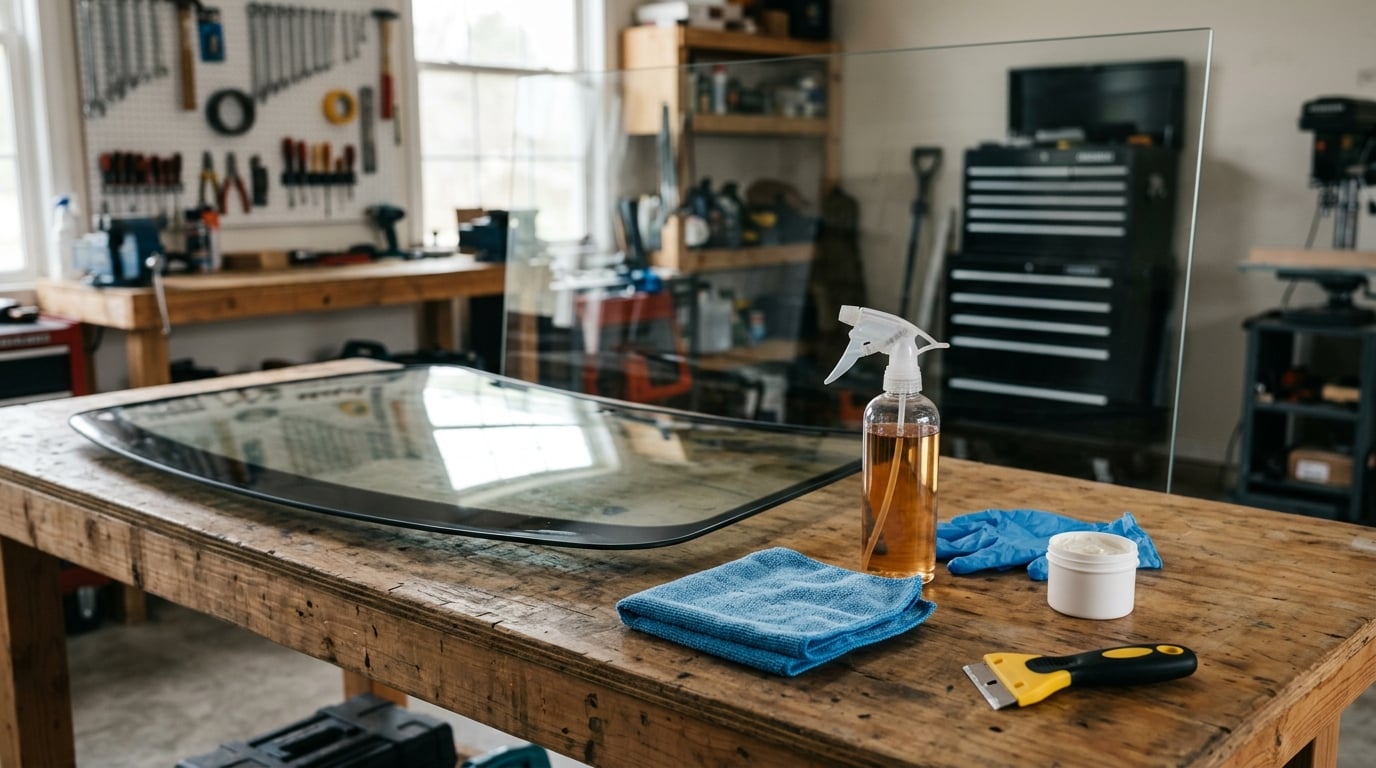
Most wiper marks on a windshield are not scratches at all. They are a film of rubber, road grime, and mineral residue ground into the glass by a worn blade, and that film wipes off with the right cleaner and a clean microfiber cloth. The trick is knowing which kind of mark you have before you pick a product, because the method that clears residue will do nothing for etched glass.
Run a fingernail across the mark first. If the nail glides over with no catch at all, it is a surface film. If it snags in a groove, the glass itself is abraded and needs compounding, and that is a different job with a different stopping rule.
Here is how to remove wiper marks from glass, ordered from least to most aggressive, so you can stop as soon as the marks go.
Table of Contents
What You Need
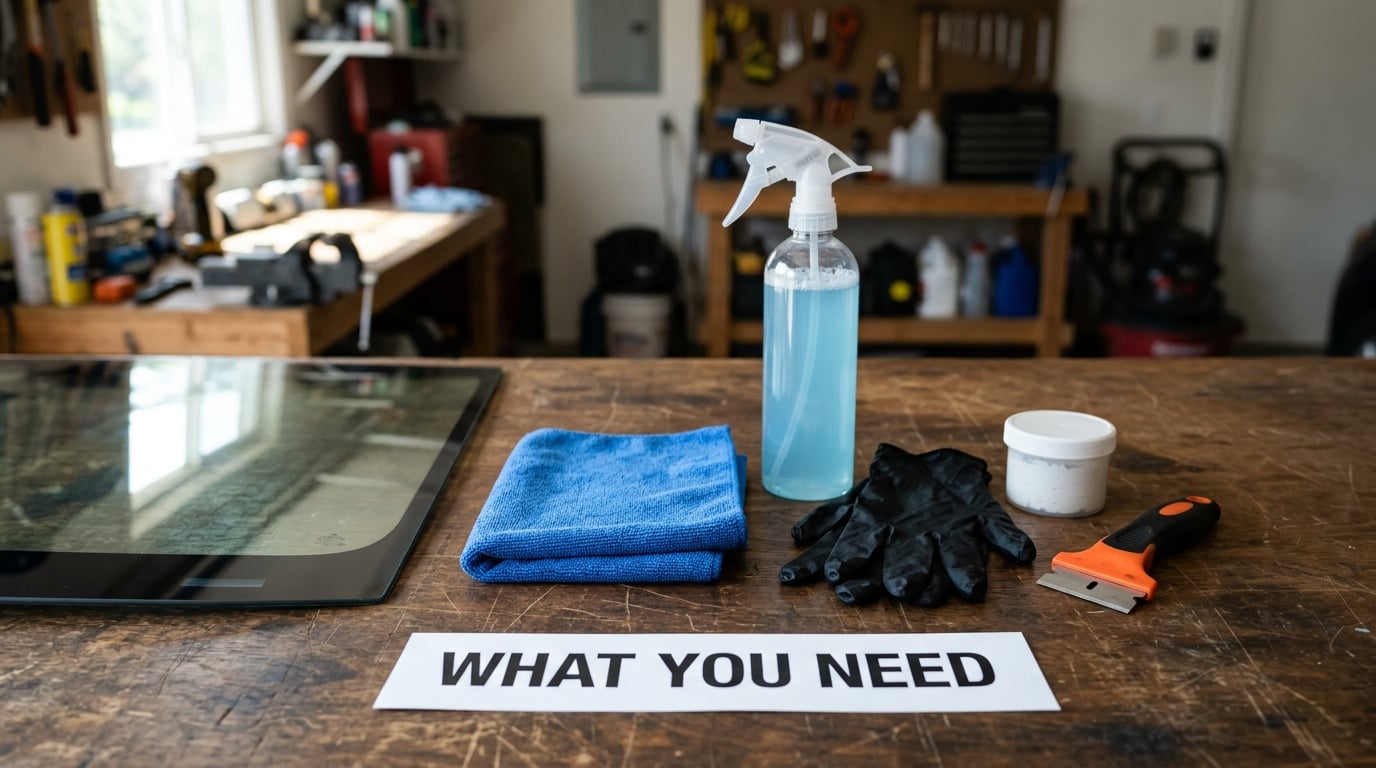
Start with the cheap items and only add the abrasive step if the mark survives them. Buying the compound first is how people end up with a tub of cerium oxide and a problem they still have.
- Glass cleaner or isopropyl alcohol. A diluted 70 to 90 percent isopropyl alcohol solution breaks down rubber film and tree sap faster than most off-the-shelf cleaners. Stoner’s Invisible Glass and Rain-X style ammonia-free formulas are all safe on a windshield.
- Two or three clean microfiber towels. Grit trapped in a towel is what creates new micro-scratches. Never use a paper towel on dry glass, and never reuse a towel that has been on the floor of the car.
- Clean water and a bucket. Washing grit off before you touch the glass with anything abrasive is the step people skip and then regret.
- Clay bar and clay lubricant. For hardened mineral and water spots that have bonded to the surface. The clay grabs the deposit, not the glass.
- Plastic razor scraper. Shallow-angle scraping lifts bug residue and sap films. Use plastic, hold it flat rather than upright, and skip it if you have a coated or tinted windshield.
- Mild glass polish or automotive scratch remover. Products formulated for glass, not for car paint. Cerium oxide powder mixed into a slurry is the DIY standard for etched marks, and 1Z Glas Polish, Meguiar’s DACP, and Zaino are the names that come up most often from people who have done this.
- Painter’s tape. To mask off rubber trim, the black frit border, and any paint before you touch a machine to the glass.
- Nitrile gloves. Your skin oils are not the problem here, but they do show up in the finished result and they are annoying to clean off glass.
Leave the cupboard chemistry alone. Household bleach, oven cleaner, ammonia-based products used in a closed garage, and scouring powders like Bon Ami or Bar Keepers Friend will etch or permanently haze an automotive windshield. The glass in a shower door is a different material and a different job.
Step-by-Step: Removing Wiper Marks Without Making Them Worse
Step 1: Wash and Dry the Windshield Properly
Wash the windshield with car shampoo and plenty of water before anything touches it with friction. Loose grit dragged under a cloth is the fastest way to turn a film problem into a scratch problem.
Work in the shade on a surface that is cool to the touch. Dry with a clean microfiber towel using straight, overlapping passes rather than tight circles, which is how you leave swirl marks in the finish.
How you know it worked: run your hand across the dry glass. It should feel consistent, with no gritty patches and no raised edges. A clean windshield still shows marks at this stage if the marks are etched, and that is useful information, not a failure.
Step 2: Try Glass Cleaner and a Microfiber Cloth
Spray the marked area and let the cleaner sit for a few seconds so it can cut into the film. Wipe with straight strokes, folding the towel to a clean face on every pass.
Isopropyl alcohol on a towel beats a full spray here, because it dissolves the rubber that worn blades deposit. If the arc-shaped band starts to fade as you work, the mark is residue and you can stop at this rung.
How you know it worked: mist the glass with water and look at it against a dark background. A residue mark disappears. An etched mark turns into a dull, hazy band that catches the light, and misting or rain will make it obvious.
That wet-glass test matters more than it sounds. Etching changes the surface optically, not just chemically, so light scatters in slightly different directions across the damaged band. On dry glass in flat daylight the scatter is invisible. Under a misted windshield, a rain film, or oncoming headlights at night, the same band lights up as starburst glare and rainbow prism patterns, which is why owners often say the glass looks permanently dirty no matter how much they clean it.
Step 3: Use a Mild Automotive Polish for Stubborn Marks
If the film survived cleaner, the next rung is a clay bar for bonded mineral deposits, then a glass polish for light etching. Work on a test patch in the lower corner of the windshield first, out of your primary view, and give it a proper look in daylight before you commit to the whole panel.
For a hand application, put a pea-sized drop of polish on a clean microfiber pad, not directly on the glass, and work in small overlapping circles with light pressure. Keep the surface slightly damp. The compound should stay on the glass long enough to break down and haze, then come off with a clean section of towel.
For a cerium oxide slurry, mix the powder with water to roughly the consistency of thin milk. It should run slowly off the pad. A slurry that splatters and runs dry is the single most common way people scratch a windshield instead of fixing it, because dry cerium oxide is abrasive by design.
Mask off the black frit border and any rubber trim with painter’s tape before you go near it with a machine, and stay well clear of the camera housing area on windshields that carry driver-assistance sensors.
How you know it worked: after each section, rinse and dry, then view the glass from the driver’s seat and from outside at a low angle. The mark should have lost its sharp edges and its rainbow. If instead the whole area turns uniformly milky, you have gone too far, and you should stop and let a professional assess it before adding more heat or pressure.
Step 4: Rinse, Buff, and Inspect the Result
Remove all polish residue with a clean damp towel followed by a dry one, then a final pass with a dilute alcohol solution to cut any remaining film. Buff until the glass stops dragging under the towel.
Check the result in daylight from the driver’s seat, then again at night facing a light source. Marks that are gone at both angles are gone. A windshield can look fine in the driveway and still throw starbursts at night, so the second check is the one that matters for safety.
Inspect with the wet-glass test once more. If misting the glass brings back a dull band, the damage is below the surface and you are looking at compounding or replacement, not cleaning.
Step 5: Prevent the Marks from Returning
Most repeat cases come from the blade, not the glass. Once the marks are gone, work through this list and you are unlikely to face the same job next spring.
- Replace the wiper blades on schedule, usually every 6 to 12 months, and any time they start leaving a streak on clean glass.
- Wipe the rubber edge with isopropyl alcohol on a microfiber cloth every month or so. A blade that is shedding rubber is sanding your glass on every sweep.
- Never run the wipers across a dry or dusty windshield. Use the washer fluid first, and use it properly, since a dried-out jet leaves its own streaks.
- Check the wiper arms and the area right at the base of the blade. On some cars an exposed spring or a metal clip touching the glass is the real cause of a single deep line, and one owner traced months of scratching to exactly that.
- Apply a glass sealant or hydrophobic coating after polishing. It makes water bead instead of sheet, which reduces the visual impact of light etching and gives road film less to cling to.
- Use a plastic ice scraper on a pre-wetted windshield, in one direction. A metal blade on frozen glass is a gouge, not a clean.
- After winter, wash the glass properly rather than letting road salt and de-icing residue dry on it. Salt film holds moisture against the surface and etches over time.
One honest limit worth knowing: if a worn blade has created a distinct wear region across the swept arc, cleaning will not restore that band. A detailing expert put it plainly, the marks are from wear and no amount of washing takes them off. That is the signal to move up the ladder rather than keep re-cleaning.
Which Method Fits Which Mark
Here is the escalation ladder in one view. Work down only as far as the marks require.
| Method | What it fixes | Time | Risk |
|---|---|---|---|
| Wash and dry | Loose dirt and dust film | 10 minutes | None |
| Isopropyl alcohol on microfiber | Rubber residue, sap, bug film | 10 minutes | None |
| Glass cleaner and buffing | Build-up traffic film and haze | 15 minutes | None |
| Clay bar with lubricant | Hard water spots and mineral deposits | 20 minutes | Low, works only on clean glass |
| Plastic scraper at a shallow angle | Dried bug residue and sap | 10 minutes | Low on uncoated glass |
| Glass polish by hand | Light etching and dull haze | 30 to 60 minutes | Low with light pressure |
| Cerium oxide slurry by hand | Moderate etched marks | 1 to 2 hours | Medium if it is allowed to dry |
| Dual-action polisher with cerium oxide | Deeper etching and wiper scratches | 2 to 4 hours | Medium, heat can distort the laminate |
| Professional glass restoration | Everything short of a gouge or a chip | Half a day | Low for you, cost is the trade |
| Glass replacement | Chips, pitting, deep gouges, distortion | Scheduling plus fitting | None, but the laminate must be replaced as a unit |
Machine polishing without ruining the glass
Once you are using a machine, the numbers matter. A detailed write-up on a Corvette forum, still the most specific process description anywhere on this topic, lays out the settings that make the job predictable: a rotary between 1000 and 1500 RPM or a dual-action polisher around 4000 OPM, roughly 20 pounds of down force, and sections no larger than 1.5 inches square.
Keep the slurry thick and add water only to control heat, clean the pad between sections, and keep the glass lubricated the whole time. Water is doing two jobs here, carrying the compound so it can break down, and pulling heat out of the glass.
Heat is the thing that can permanently damage the job. A windshield is two panes of glass with a plastic PVB interlayer bonded between them, and heat from polishing can warp that interlayer and leave a wavy, lens-like distortion that is worse than the mark you started with. Keep moving, mist often, and put your palm on the glass; if it is too hot to hold comfortably, stop.
Use a dual-action polisher as a beginner’s tool. A high-speed rotary carries a real risk of shattering old or thin glass, and on vintage or irreplaceable windshields the rule flips, more RPM and much less pressure, because that glass can flex. Never press in the center of a panel that has no frame support behind it.
Common Mistakes That Make Wiper Marks Worse
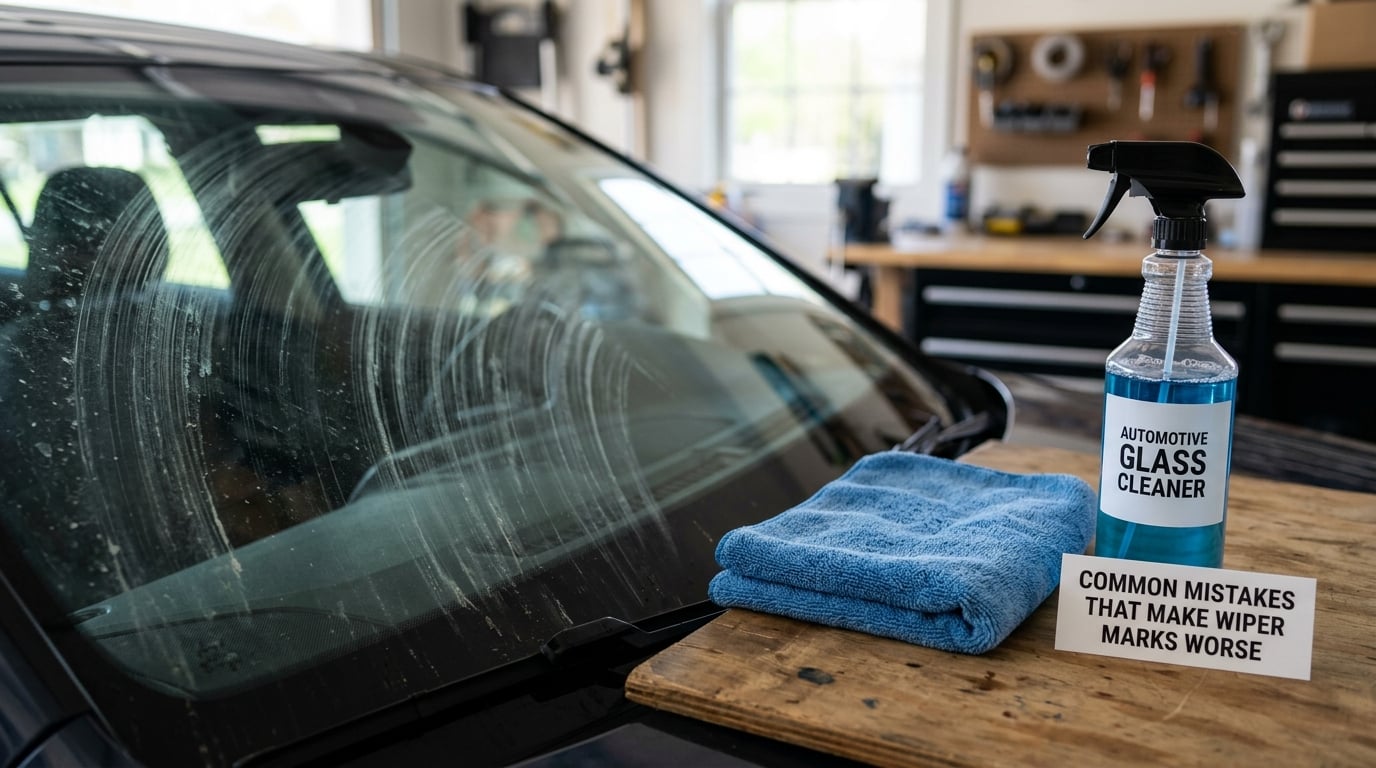
Almost every failed attempt traces back to one of these. The pattern is always the same: an aggressive method applied to a problem that needed a gentle one, or a gentle method used on a problem that needed abrasion.
Wiping dry glass with a paper towel
Paper fibers and whatever grit is on the glass act like sandpaper under pressure. This is how people manufacture a full windshield of micro-scratches while trying to clean one. Always work wet, and always use microfiber.
Using a magic eraser on a dirty face
Magic erasers do lift bug residue and light film, and that is the whole of the case for them. Used on glass that has grit on it, or scrubbed hard, the melamine face leaves micro-scratching. If you want to try it, do the corner test first, use a clean face, and use light pressure. This is the most asked-about household method in this whole topic and the answer is conditional rather than yes or no.
Using toothpaste
Toothpaste is a very mild abrasive, far too mild to level glass, and the additives leave a haze that has to be cleaned off afterward. A cheap chuna or lime powder works the same way, and the person who recommended it on the Team-BHP thread was clear that it removes gummy film but does not remove scratches. Neither is worth the risk of micro-scratching.
Using vinegar, baking soda, or WD-40
Vinegar is a weak acid that will clean film and is harmless on a windshield, but it does nothing to glass that has been abraded. Baking soda is the same idea and is mildly abrasive at the same time, which is a poor trade. WD-40 can make a light mark look less obvious for a day or two and leaves an oily film that makes the glass worse under night lighting.
Mixing chemicals together
Bleach plus vinegar makes a gas. Oven cleaner plus ammonia makes a gas. Neither belongs anywhere near a car, and the windshield is a bad place to find out.
Polishing until the glass turns uniformly hazy
Past a certain point, more compounding removes more glass and produces a lens effect rather than clarity. There is a stopping rule, and it is this: if the fingernail catches deeply enough that you can feel a canyon, or the mark sits in your primary view, stop and get a professional opinion. A wavy windshield is dangerous and a replacement is safer.
Frequently Asked Questions
Will a magic eraser scratch my windshield?
It can, and it depends on the state of the glass. A magic eraser is safe on a clean face for bug residue and light film. On glass with grit on it, or with firm scrubbing, the melamine face leaves micro-scratching that shows up badly at night. Test a corner, use a clean face, and keep the pressure light. If the mark is etched rather than a film, it will not touch it either way.
Does toothpaste remove scratches from car glass?
No, not in any way that is worth the risk. Toothpaste is a very mild abrasive that cannot level glass, and it leaves a haze you then have to clean off. A low-cost lime powder used the same way removes gummy surface film but does not remove scratches either. Use toothpaste on teeth and use a proper glass polish on glass.
Is vinegar safe for removing wiper marks?
Vinegar is a mild acid and it is safe on an automotive windshield without diluting concerns about the coating. It is genuinely useful for dissolving film, sap, and light mineral haze. What it cannot do is remove glass that has been physically abraded, because no amount of acid dissolves the silica itself. Use it as a cleaning step, never as a scratch remover.
Can cerium oxide damage a car windshield?
Yes, in three specific ways, and all three are avoidable. Used dry, it acts like sandpaper and micro-scratches the glass. Used with too much pressure or a high-speed rotary, the heat it generates can warp the plastic interlayer inside the laminate and leave permanent distortion. Used without testing, it can level more glass than you intended. Keep the slurry wet, keep the pad moving, and work in small sections.
Why do my wiper marks only show when the glass is wet?
Because the damage is optical rather than dirty. Etching or micro-scratching changes the way the glass surface bends light in that band, so on dry glass in flat daylight the scatter is invisible. Mist, a rain film, or oncoming headlights send light through the damaged area at angles that turn the band into haze, starburst glare, and rainbow prism patterns. If misting brings the marks back after a clean, cleaning is not going to fix them.
How do I know when to stop and replace the windshield?
Stop when the fingernail catches in a deep groove you can feel, when the mark sits in your primary driving view, or when polishing has left the whole area uniformly milky and lens-like. Those are cases where more compounding removes more glass and reduces clarity rather than improving it. Check whether your insurance covers glass damage before paying out of pocket, and remember that a windshield is replaced as a complete laminated unit, not patched.
Conclusion
Start with the fingernail test, then with water, isopropyl alcohol, and a clean microfiber cloth. That combination clears most wiper marks because most wiper marks are rubber and road film, not damage to the glass.
Move to a clay bar or a mild glass polish only when cleaning leaves the mark behind, and go to a cerium oxide slurry or a machine only when the mark catches your nail. Keep any compound wet and keep the heat down, because a distorted laminate is worse than the streak you started with.
Then inspect in daylight and again facing a light at night before you call it done, and replace worn wiper blades so the marks do not come straight back.