
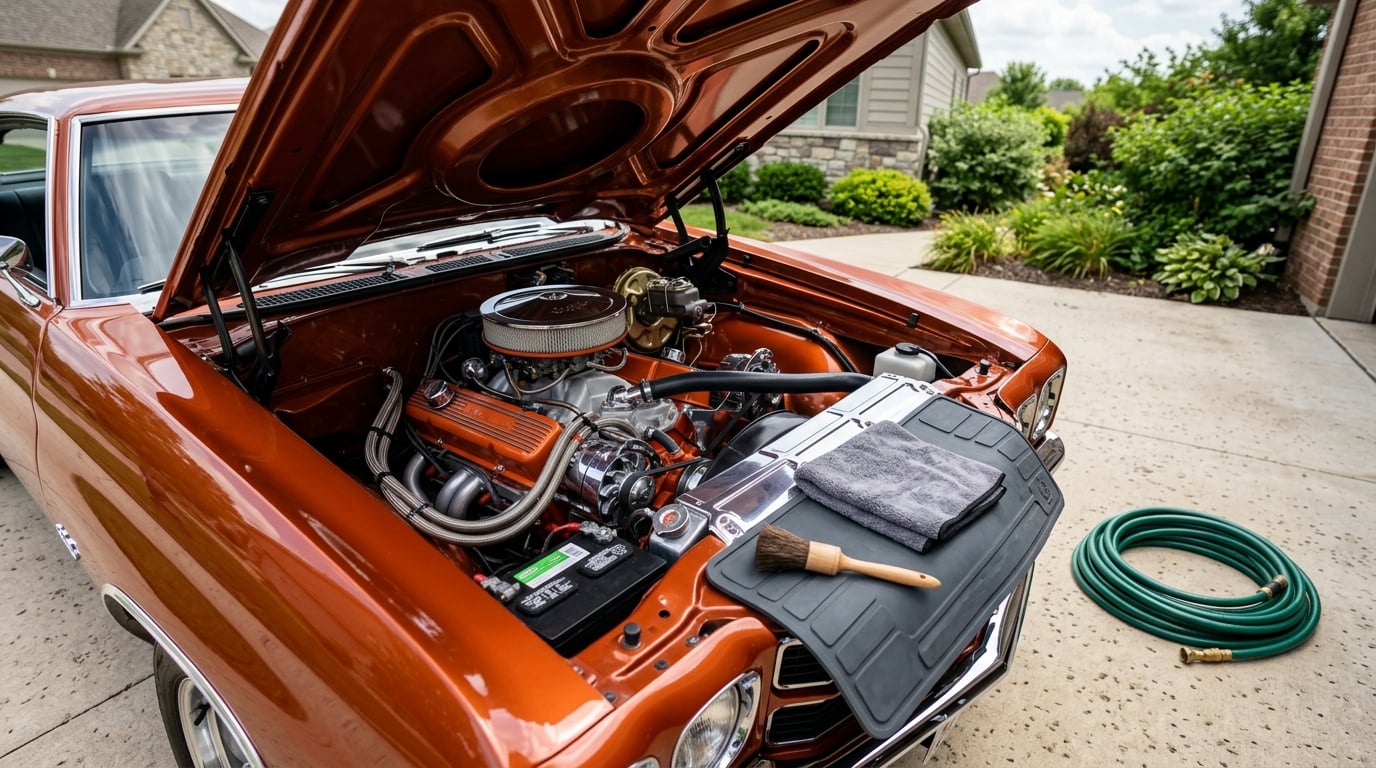
How to clean an engine bay safely comes down to four things: a cold engine, a low-pressure hose, a cleaner that suits the plastics, and a proper dry-down before you start the car. Yes, you can spray an engine bay with water, because most under-hood electrical connectors are weather-sealed and built to tolerate moisture. Budget 45 to 90 minutes for a typical bay, and it is a one-evening job if you have never done it.
Plenty of people get this wrong in one of two directions. Some hose the bay down until the runoff is clear, then start the engine with water still hiding under a wire loom, and a month later the car runs rough. Others never clean it at all and never find a coolant leak until the car overheats on a highway. Neither failure is necessary.
This guide walks through a cautious method in seven moves: prep, protect, remove dry debris, clean, rinse low, dry, inspect. It assumes a normal gasoline engine with serviceable aftermarket components. If your car has orange high-voltage cables under the hood, skip to the end and read the hybrid warning.
Table of Contents
What You Need
Start with the owner’s manual for your specific car. It tells you where the battery terminals sit, whether there is a fuse box you should leave alone, and where fluid drain points are. Everything else on this list is generic and works across most makes.
- Owner’s manual — non-negotiable. Read it before anything else.
- Nitrile gloves and eye protection — degreaser is an irritant, and dried brake dust is not something you want in your eyes.
- Low-pressure garden hose with a gentle nozzle — the single most important tool on the list.
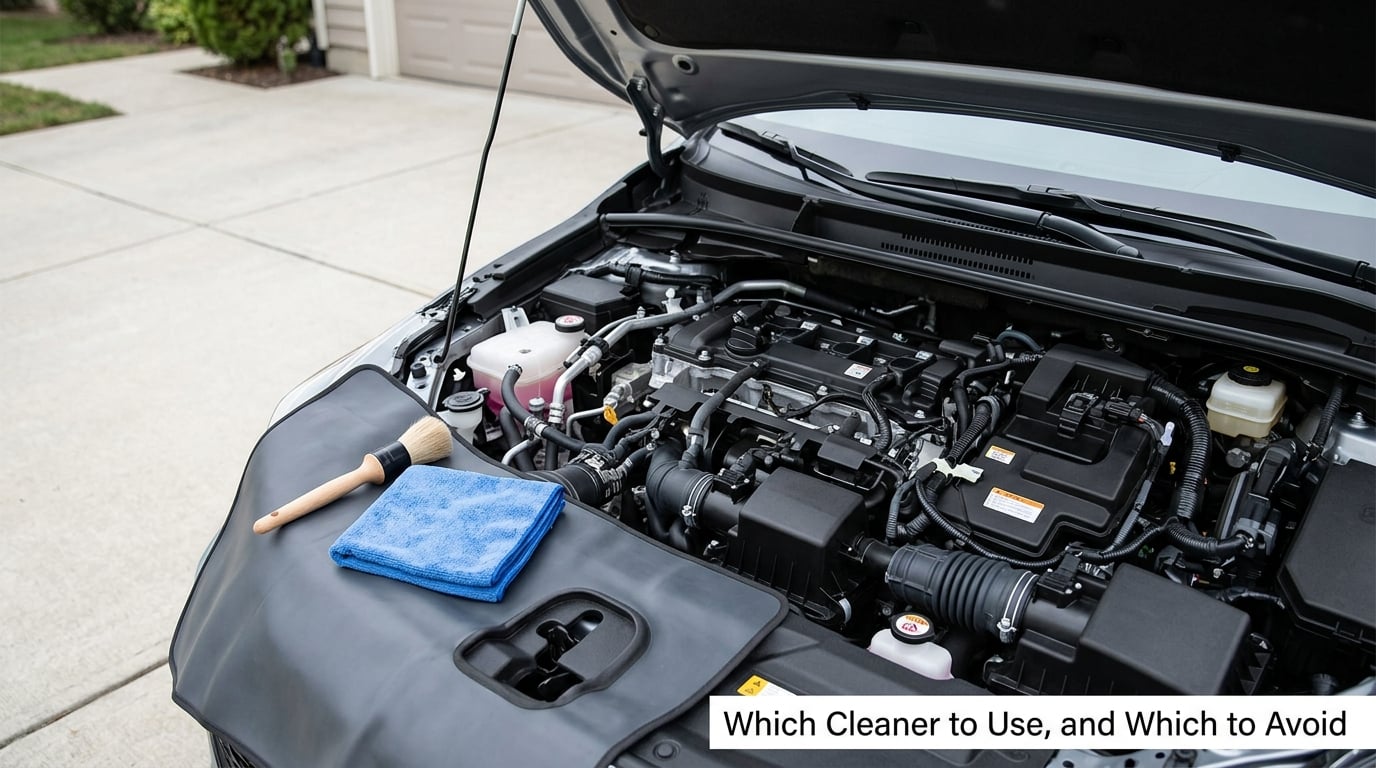
- Soft detailing brushes in two or three sizes — a stiff wheel brush scratches trim and leaves swirl marks in a painted bay.
- Microfiber cloths — one for wiping, one for drying. Keep them separate.
- Shop vacuum or a battery blower — for pulling dry debris out before water goes anywhere near it.
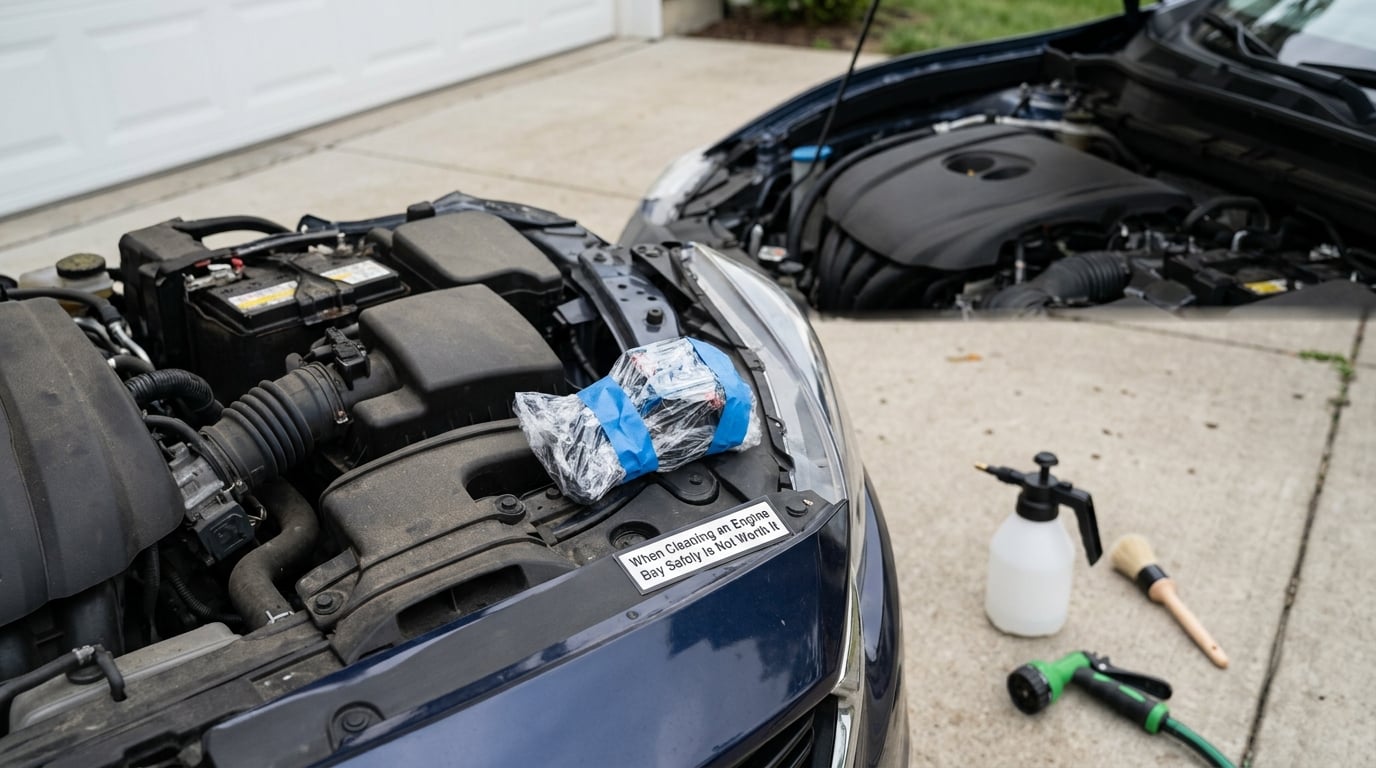
- Plastic bags and painter’s tape — for covering the fuse box, the ECU connector, and the air intake.
- A pH-neutral engine degreaser or a diluted all-purpose cleaner — check the label for plastic and rubber compatibility.
- Trim protectant or engine dressing — optional, and only for the final finish.
Optional extras: a small trim tool for lifting connectors, a plastic pry tool instead of a screwdriver, and a respirator cartridge if you are sensitive to solvent fumes in a closed garage. Skip the pressure washer, the oven-strength degreaser, and anything abrasive.
Which Cleaner to Use, and Which to Avoid
| Product type | Safe on plastics and rubber | Best use | Verdict |
|---|---|---|---|
| Engine degreaser (pH-neutral) | Yes, when the label says so | Heavily soiled bays and post-repair cleanup | First choice |
| All-purpose cleaner, diluted | Yes, in most formulas | Everyday grime and dust film | Good default |
| Quick detailer spray | Yes | Light maintenance and rinsing-free touch-ups | Fine for a light bay |
| Dish soap | Yes | Nothing, really | Skip it |
| Vinegar | Risky | Nothing under the hood | Skip it |
| WD-40 | Yes, but leaves an oily film | Freeing a stuck bolt | Not a cleaner |
| Brake cleaner | No | Brake components only | Never under the hood |
Brake cleaner is the one people reach for out of habit, and it dissolves the ABS and nylon plastics that intake ducts, brackets, and connector housings are molded from. Experienced detailers treat it as a hard no, and electric parts cleaner is the safe substitute when something needs loosening.
Vinegar is acidic and leaves a smell that soaks into plastic and rubber for weeks. WD-40 works on hinges and fasteners, but as a cleaning product it dissolves grime and replaces it with an oily film that traps dust. Dish soap is pH-neutral and harmless, but it rinses poorly from a bay full of crevices and leaves a residue that streaks when you dry.
How to Clean an Engine Bay Safely, Step by Step
This sequence assumes a gasoline engine you can reach from above, with a removable engine cover and aftermarket parts that a mechanic can replace. If anything in the bay is seized, rusted solid, or covered in rodent nesting material, stop and read the safety notes at the end of this section first.
Prepare the Vehicle and Protect Delicate Parts
Let the engine cool completely. A cold engine means less thermal shock on plastics, and it eliminates the chance of the cooling fan kicking on mid-rinse and flinging water across the bay. Some owners run a warm engine first to loosen grime, which does work, but the fan hazard is real and the cold method is the one worth sticking to.
Open the hood fully and prop it on its struts. Disconnect the battery only if your owner’s manual calls for it or if you plan to remove a component that sits near the terminals. For a top-down cleaning, most people skip disconnection. If you do disconnect, note the terminal order before you touch anything, and remember that some cars lose radio presets and window settings.
Now identify the points that must be protected: the air intake and throttle body, the fuse box, the ECU and its connectors, the alternator, coil-on-plug coils, oxygen sensors, the horn, and any aftermarket electronics. Take a few photos of the wire routing with your phone before you move a single loom. When the bay is reassembled, those photos are the difference between neat and tangled.
Loosely bag or cover the vulnerable openings with plastic bags and painter’s tape. Loosely is the operative word. Sealing a connector with tape traps water against it instead of letting water run off. You want a shield that deflects a direct spray, not a gasket.
Remove Loose Dirt and Identify What to Avoid
Vacuum or blow out the bay before it gets wet. This step is skipped constantly and it is the reason a lot of bays end up dirtier than they started. Dry dirt sitting on top of a component gets blasted underneath when you rinse, and it ends up in the same place it came from, now wet and stuck.
While you vacuum, look at what is down there. Check hoses for cracking or weeping, look for oil film around the oil filter housing and the valve cover gasket, and see whether coolant has left a pink or green stain. Those are the finds that make the hour of work worthwhile.
Note anything hanging, frayed, or previously repaired with tape. A low-hanging wire loom is a trap for a garden hose, and a connector that is already loose is one that a rinse can turn into a no-start.
Apply Cleaner and Agitate Lightly
Test the cleaner on a small painted or plastic area first and give it the labeled dwell time, usually 3 to 7 minutes. Work in sections rather than spraying the whole bay at once, because you want to rinse each section before the cleaner dries. Degreaser that bakes on warm plastic leaves a hazy, blotchy finish that takes real work to fix.
Apply it with a trigger sprayer or a foam cannon if you have one, and keep it off the battery terminals, the intake opening, and any exposed connector pins. Work the surface with a soft detailing brush, letting the bristles do the work rather than your arm. Stay clear of the natural rubber intake boots, which can be lifted and creased by aggressive scrubbing.
For a badly soiled bay, a second light pass beats a stronger chemical. Concentration is the lever people pull first, and it is the wrong one on a bay full of mixed plastics and paint.
Rinse with Low Pressure and Dry Immediately
This is where learning how to clean an engine bay safely is won or lost. Rinse from the top down so dirty water runs toward the ground and away from the parts you already cleaned. Keep the nozzle far from the surface and never concentrate the stream on a single point. The usual advice is a garden hose with a gentle nozzle, or a pressure washer kept under roughly 1,000 PSI with the widest available nozzle, used at a distance.
Do not point the hose into the air intake, the alternator, or any connector. Do not use a narrow jet to clear a stubborn spot; that is how water gets forced past a seal. Never leave a puddle sitting in the bay. Tilt the vehicle forward on level ground if you need to, or plan your sections so runoff reaches the edge.
Begin drying before the last section is rinsed. A blower is fastest for the large open areas, and microfiber towels handle the corners. Pull microfiber between wire looms and tubes the way you would floss, rather than wiping flat over the top and missing everything underneath.
Water hiding beneath a plastic engine cover or inside a wiring channel is the one thing that will undo an otherwise good job. Lift the cover, check under it, and check the strut towers and the cowl area below the windshield, which is where a surprising amount of water collects on a flat driveway.
Finish and Reconnect the Battery
Inspect for cleaner residue. If a surface still looks filmy or feels slippery, wipe it again with a clean damp microfiber rather than re-soaking the whole area.
Reinstall any covers you removed, reconnect the battery if you disconnected it, and tighten the terminal clamp firmly. If you washed near the terminals, a light film of dielectric grease on the clamp helps slow future corrosion.
Before you drive it, look under the car. A coolant or power steering fluid drip that was hidden by grime will show up now. Start the engine, let it idle for a minute, and watch for a warning light, a rough idle, or a check engine message. Any of those means stop and reconnect whatever you disturbed.
If you were working on a car with a leak, cleaning after the repair is the single best reason to do this. A clean bay tells you exactly where fresh fluid is appearing.
When Cleaning an Engine Bay Safely Is Not Worth It
Do not clean a bay with an active leak you have not fixed. You will simply move the evidence around, and degreaser can hide the residue you are trying to track down.
Do not clean around a rodent nest until it is fully removed and the damaged wiring is inspected. Chewed harness insulation is a fire risk that water will not fix.
On hybrids and EVs, treat the orange high-voltage cables as untouchable. Many manufacturers void the warranty if water or solvent reaches that area, and a bay clean on a hybrid belongs with a dealer or a shop that works on them routinely.
Common Mistakes
Pressure washing at close range. A narrow jet held inches from a connector forces water past the seal. Use a wider nozzle, hold the nozzle back, and keep the pressure modest. A hose is plenty for a bay that is not a genuine mud nest.
Spraying directly into components. Air intakes, the alternator housing, and open connectors are not rinse targets. Spray the surrounding surfaces and let the water run off.
Using harsh or wrong cleaners. Brake cleaner, oven cleaner, and acidic homemade mixes melt plastic and discolor trim. Stick to a pH-neutral product that names plastics on the label.
Forgetting concealed areas. Under the engine cover, inside the cowl, behind the strut towers, and beneath wire looms. Ten minutes with a blower after a clean is what prevents corrosion later.
Forcing connectors off. Releasing a weather-sealed connector means pressing the tab and pulling the housing. Never pull the wires. If it is stuck, use a plastic trim tool and stop before you break the lock.
Dressing hot or damp plastics. Engine dressing on a warm engine hazes immediately, and on a wet one it traps moisture. Apply it only once the bay is bone dry and cool, thinned roughly one part to four, and keep it off belts, hoses, and anything that gets hot.
Cleaning over a leak, a damaged harness, or a rodent nest. Fix the cause first. Cleaning over it wastes an afternoon and hides the evidence.
A few practical habits worth keeping: work in sections small enough to rinse before the cleaner dries, photograph the bay before and after, and keep a rag handy for the stray drip that runs down the inner fender. If your car sits in coastal, dusty, or salted-road conditions, an annual clean in spring pays for itself. A car that has never been cleaned under the hood often looks better after a careful rinse than one that gets a heavy chemical treatment every year.
Frequently Asked Questions
How often should I clean my engine bay?
Once a year is a sensible baseline for a normal car, and twice a year if you drive in dusty, coastal, or salted-road conditions where grit and salt settle on hot components. The trigger is not the calendar but what you see under the hood. Clean it when grime has built up enough to hide a hose, a fitting, or a stain, because the point of the job is spotting a leak. Do it before an inspection or before listing the car.
Can I use a pressure washer to clean an engine bay?
You can, with care. Keep it under roughly 1,000 PSI, use the widest fan nozzle available, and hold it at a distance rather than concentrating the stream on a connector or seal. For most people a garden hose with a gentle nozzle does the same job with less risk and no rental. If you use a pressure washer, cover the electronics first and dry the concealed areas thoroughly afterward.
Is it safe to clean an engine bay with the engine running?
It is not recommended. Running the engine warms the bay and can start the cooling fan without warning, which throws water across connectors and the underside of the hood. It also means you are handling chemicals near hot exhaust components. Let the engine cool completely before you start, and keep the key out of your pocket so nothing starts while you are leaning over the bay.
Should I disconnect the battery before cleaning under the hood?
Usually not. For a top-down cleaning with the engine cold, most owners leave the battery connected and simply avoid soaking the terminals. Disconnect it if your owner’s manual says to, or if you are removing a component near the terminals. If you do disconnect, photograph the terminal order first, expect some radios and window settings to reset, and reconnect and tighten the clamp before you start the engine.
When should I have a professional clean the engine bay?
Take it to a shop when your car is a hybrid or EV with orange high-voltage cables, when the bay has a rodent nest or chewed wiring, when the engine is seized or rusted and parts may not come back off, or when you simply cannot dry the concealed areas on a driveway. A professional is also worth it if you want the OEM dealership finish, which is mostly a two-stage product job and steady technique.
Start with the Owner’s Manual and a Low-Pressure Method
If you take one thing from this guide, make it the preparation. Open the owner’s manual, find the component and fluid-removal points for your car, and photograph the wire routing before you move anything. Use the mildest cleaner that works, rinse with a low-pressure hose from the top down so the water carries away from what you cleaned, then take the time to dry under covers, inside wire looms, and in the cowl before you reconnect anything.
A clean bay is not about looks. It is about seeing a forming leak early, keeping corrosion off electrical connections, and making the next service cheaper. Do it slowly on a cold engine, and the water question stops being a worry at all.