
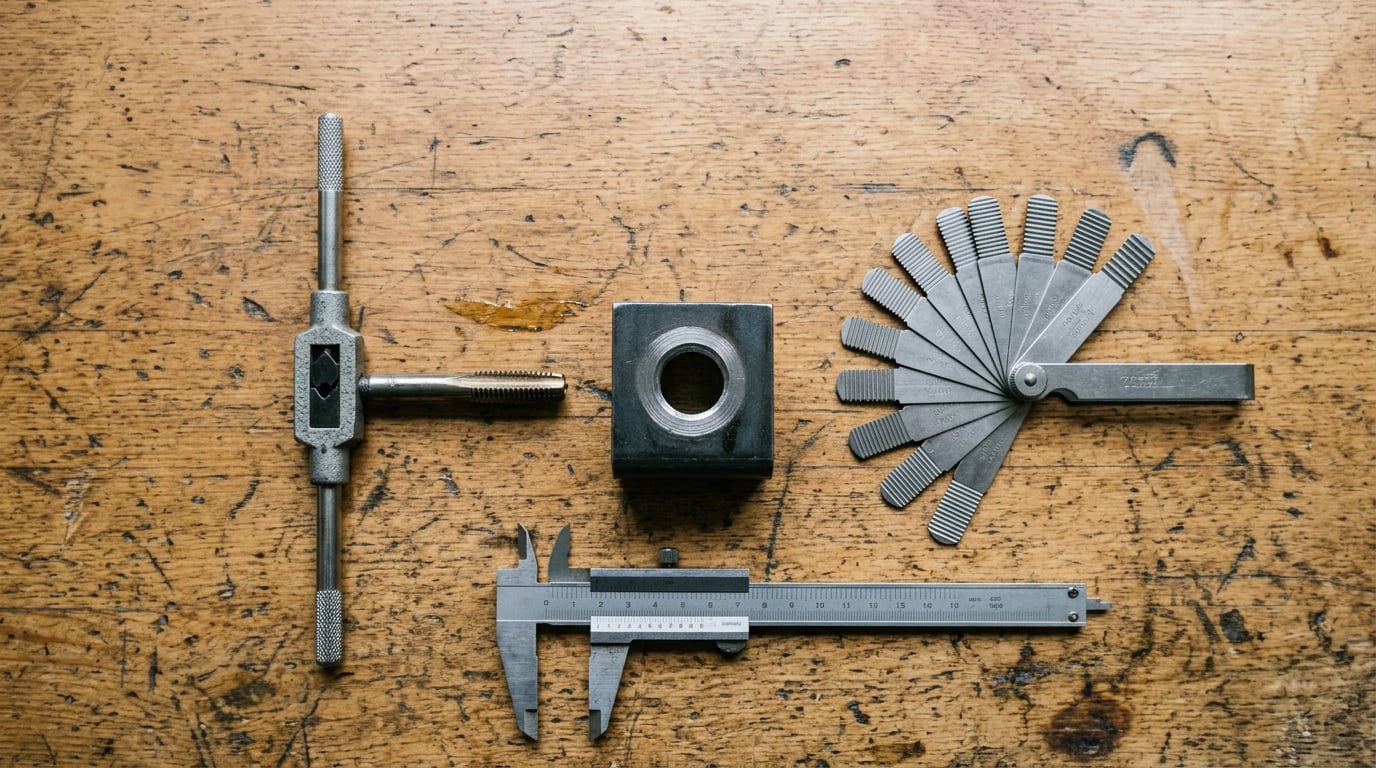
A stripped thread is damaged internal or external threading that no longer grips the fastener, usually from over-torquing, cross-threading, corrosion, or a soft parent material like aluminum giving way. To fix it you either cut new threads one bolt size larger or install a thread insert, and both start with the same job: identify the exact thread size and pitch. Most of the hour it takes is spent deciding before any metal moves.
There are five repair routes, and the honest order of preference runs from cheapest to most permanent. Run a thread chaser through the hole first, because lightly damaged threads often just need their burrs knocked off. Re-tap the hole one size larger if the surrounding material is thick and the load is modest. Fit a thread insert when the original bolt size has to stay. Replace the bolt and hole with a longer bolt in a bigger hole as a last field option. Weld the hole solid and tap it back to original size, or replace the part, when the threads carry a safety load or the boss is already cracked.
The full drill-tap-install sequence that search results summarize, in six lines: identify the thread size, drill the damaged hole out, tap the new hole, install the insert, break the tang, and verify the fit. Details for each of those follow below.
Table of Contents
What You Need
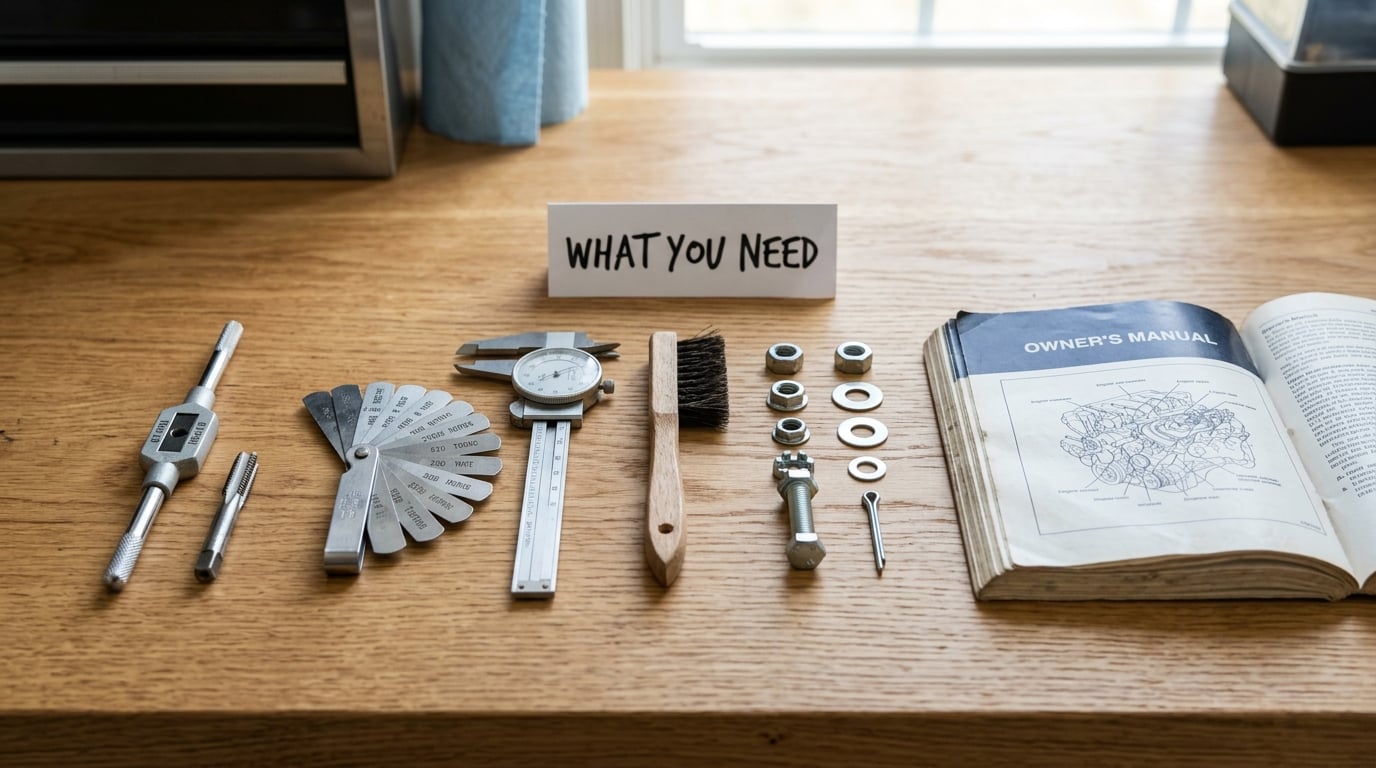
Start with identification gear, because guessing the thread is how holes get ruined. A thread pitch gauge covers most automotive and household hardware, and calipers let you measure the bolt’s major diameter so you can confirm what the gauge is telling you.
Then the tooling. A tap wrench or T-handle that fits the tap you will use, the tap itself, a cutting fluid rated for the parent material, and a way to hold the tap square. A drill press is ideal, a screw-in tap guide bushing over the drill is a decent stand-in, and if you have neither then a T-handle and a careful hand is workable on small threads.
- Thread pitch gauge and a pair of calipers
- Tap wrench or T-handle in the matching size
- Tap drill bits and a drill, plus a tap guide bushing or drill press if you have one
- Cutting fluid, and a brush or rag for cleanup
- Wire brush, pick, and compressed air for clearing chips
- Thread insert kit with its matching STI tap and drill, if that is your chosen method
- Safety glasses, and gloves if you are handling degreaser or cutting fluid
Have the replacement hardware on the bench before you start, not after. If you are re-tapping oversize you need the larger bolt in your hand so you can check engagement and wrench clearance before you cut anything.
Reach for a thread insert rather than another re-tap when the original bolt size is specified elsewhere, when the part is aluminium or cast iron where a re-tap leaves a weak, oversized hole, or when the joint sees vibration. Experienced builders on the Corvette and 4×4 forums treat inserts as the permanent repair and re-tapping as a field fix, and for good reason: a wire insert restores the original thread diameter and usually ends up stronger than the hole was new.
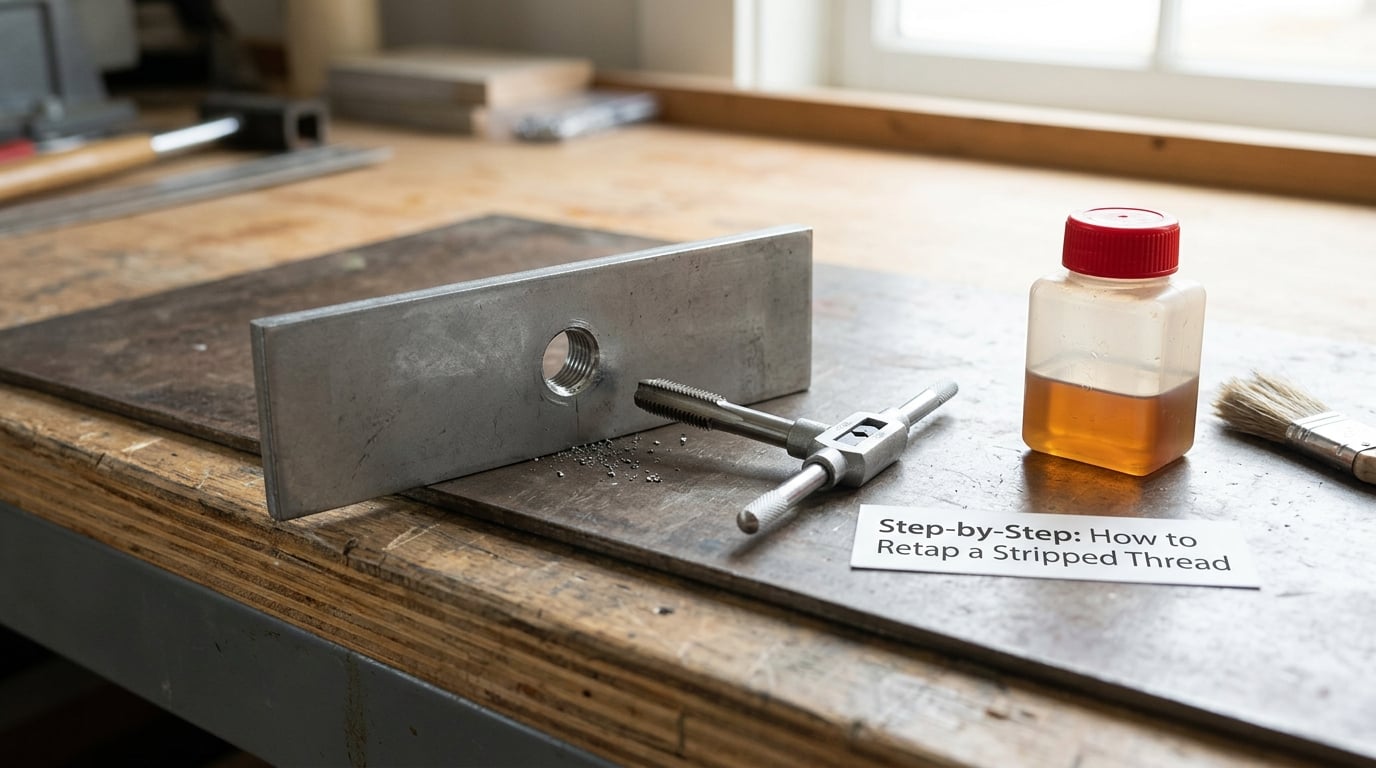
Step-by-Step: How to Retap a Stripped Thread
1. Identify the thread size, pitch, and material
Identify the thread size, pitch, and material before you cut anything, and the easy way to do it is to measure the bolt, not the hole. A stripped hole lies to you about its pitch, while the mating fastener is usually still in decent shape. Use a thread pitch gauge on the bolt, count the threads against a scale, or measure across the threads with calipers if you know what to compare the reading to.
Metric is fine pitch written as M8x1.25, where the first number is the major diameter in millimetres and the second is the pitch. Imperial is either UNC coarse or UNF fine, written with threads per inch, so 1/4-20 is coarse and 1/4-28 is fine. Metric coarse pitch gets finer as diameter grows, while imperial coarse TPI gets lower, which is the detail people mix up.
| Thread | Pitch / TPI | Tap drill |
|---|---|---|
| M5 x 0.8 | 0.8 mm | 4.2 mm |
| M6 x 1.0 | 1.0 mm | 5.5 mm |
| M8 x 1.25 | 1.25 mm | 6.8 mm |
| M8 x 1.0 | 1.0 mm | 7.0 mm |
| M10 x 1.5 | 1.5 mm | 8.5 mm |
| M12 x 1.75 | 1.75 mm | 10.2 mm |
| 1/4-20 UNC | 20 TPI | 7/32 in |
| 5/16-18 UNC | 18 TPI | 21/64 in |
| 3/8-16 UNC | 16 TPI | 5/16 in |
| 1/2-13 UNC | 13 TPI | 27/64 in |
Those are tap drill sizes for cutting a normal thread. If you are installing a wire insert you use the oversize drill that comes in the kit for that insert length, plus the kit’s own STI tap, and never a standard tap drill or a standard tap. Using the wrong drill is the reason inserts end up loose, and the wrong tap is why the insert will not seat.
Also read the material. Aluminium, magnesium, and plastic need a short, sharp-lipped tap, plenty of cutting fluid, and a light touch. Cast iron and steel cut happily with slower, heavier feeds.
2. When you can retap a stripped thread, and when you can’t
A hole can be re-tapped if the damage is confined to the thread flanks and the surrounding material is still solid metal with enough wall thickness left. If you can screw the bolt in by hand for at least the required engagement, with no wobble, the threads are recoverable and a chaser may be all you need.
Stop and switch methods when the hole is cracked, ovalised, or has a wall thinner than about two thread diameters. Oversizing into a thin boss leaves a slit of metal that the next bolt will split open. If a tap will not follow the existing hole straight, the hole has been pushed out of alignment, and a bigger tap will not fix that geometry.
Check the other end too. In a blind hole, count the remaining depth and make sure your engagement target still fits with room for the tap and chips. Running a tap into a bottom you cannot see is how a tap snaps off flush.
3. Clean and prepare the damaged hole
Clean and prepare the damaged hole by removing corrosion, old sealant, and burrs before the tap ever touches it. Run a thread chaser by hand, or a correctly sized tap in and out with no cutting pressure, to knock loose material off the flanks. Brush and blow out the chips.
Work with a tap drill only when you are genuinely going oversize or fitting an insert. Drill straight, keep the bit aligned to the surrounding surfaces, and stop as soon as you are through the damaged zone. Over-drilling a thin-walled part removes material you will wish you had back.
Deburr the entry on both sides of a through hole so the fastener starts square instead of catching a raised lip.
4. Cut the replacement thread with the correct tap
Start the tap by hand with the first thread barely engaged, then check it with a square or a straightedge. A tap that starts even a few degrees off will produce a tapered, weak thread. If you are on a drill press, set it to a low speed with a slow, steady feed. Users on arborist and mechanic forums keep repeating the same thing: high rpm and a very slow feed is what keeps taps from snapping.
The rhythm is the part people get wrong. Turn the tap in a couple of turns, then back it out half a turn to break the chip, and repeat. Every reversal clears shavings off the cutting edges and keeps cutting fluid moving, so the tap stays sharp and the hole stays cool. On a blind hole, back out fully every few turns rather than trusting the chips to clear themselves.
Use cutting fluid. Flood the tap on every few turns, and keep a rag on your knee so a spinning tap has something to bite into if it breaks. In aluminium, a light flood of cutting fluid on a regular basis is what stops the tap welding itself to the material and tearing the threads apart on the way out.
On an insert job the same turning rhythm applies, but you stop when the insert’s external thread stops turning freely. The STI tap is deeper in pitch lead than a standard tap, and driving it past the insert’s final depth means the insert will not start cleanly. Keep turning past that point and you will crush the first thread of the insert instead.
Withdraw the tap slowly, unwind it rather than backing it out violently, and brush the hole clean before you check anything.
5. Inspect, test, and finish the repair
Inspect the new thread with a thread gauge, then screw the fastener in by hand and confirm it has a smooth, consistent feel the full length of the engagement. It should never be loose, never bind partway, and never bottom out before it is fully seated.
For an insert, wind it onto the mandrel, turn it in until it sits a quarter to half turn below flush, then break the tang with the tang-breaker that came in the kit or a punch and pliers. Retrieve the fragment. Leaving it in a blind hole is a loose part waiting to rattle around inside an engine, and someone on a motorcycle forum was exactly right to worry about it. Tangless designs skip this step but have their own installation limits.
Reassemble with a dry or lightly oiled fastener first, threading it straight in by hand, and only then torque to specification. Threadlocker belongs on a properly mated thread, never on a stripped or oversize hole.
Common Mistakes
Most ruined repairs come down to a small number of avoidable errors. The first is using a standard tap drill and a standard tap for a thread insert job. The insert is designed for a deeper, wider prepared hole, and cutting the wrong one produces a repair that spins loose or never seats at all.
Forcing a tap is the second. A tap that will not advance wants either more cutting fluid, a slower feed, or backing out to clear the chip. Pushing past a binding tap shears it off, and a broken tap in a blind hole is a machine shop job.
The third is enlarging the hole without measuring. Drilling oversize to the next bolt up is a legitimate method, but drilling until a tap seems to fit leaves a thread with a mismatched tap and an unpredictable wall. Measure, write the size down, and cut to it.
The fourth is ignoring alignment. A hand-held tap on a wobbly hole produces a thread that binds every few turns and wears out early. If you have no drill press, use a screw-in tap guide bushing, brace the part against a solid surface, and feed slowly with your wrist checking for runout as you go.
The fifth is cutting dry. Dry tapping raises the temperature, glazes the flank, and snaps taps, especially in cast iron and aluminium.
Cheap fillers get asked about constantly, so here is the honest verdict on each.
| Fix | Verdict | Where it makes sense |
|---|---|---|
| Thread chaser | Real repair | Light flank damage, threads still bite |
| Re-tap oversize | Real repair with a bolt change | Thick walls, light to moderate load |
| Thread insert | Permanent repair | Original bolt size, cast iron, aluminium, vibration |
| Weld fill and re-tap | Permanent repair | High load, no insert available, thick section |
| Loctite 248 | Holds an existing good thread, will not rebuild a stripped one | Vibration on sound threads |
| JB Weld | Fill only, then re-tap while cured | Cold, non-structural aluminium, temporary |
| Epoxy filler | Fill only, poor on load-bearing metal | Housings, covers, low load |
| Wood filler or a glued wooden slug | Effective in wood | Furniture and cabinet screw holes |
| Plastic slug or self-tapping insert | Effective in plastic | Enclosures and panels |
Threadlocker is the one most often misunderstood. It adds a chemical locking torque to threads that already clamp properly, and on a stripped hole it does essentially nothing, because there is no flank contact left to hold.
When Retapping Is Not the Right Repair
Stop machining and change plan when the parent material has already failed. A cracked boss, a boss with a visible fracture, or aluminium that has been chewed into a ragged ring will not hold a new thread, and an insert only gives you a fresh surface to fail again around. That is a part-replacement decision, and for most weekend repairs it is the cheaper one.
Weight matters. Re-tapping oversize on a suspension arm, brake caliper, steering knuckle, head bolt, or main bearing cap changes the fastener and the torque spec with it. If the torque value matters to the engineering, the thread is no longer yours to redesign. Head bolts, torque-to-yield fasteners, and anything in the primary structure of a motorcycle frame belong to a machine shop or a new part.
Fine threads in camera tripods, drone frames, and small optics are a special case. Kits for M2 and M3 exist but are rarely on a hardware store shelf, and hand-tapping that small is unforgiving. A bonded insert or a threaded metal slug pressed into the hole often gives a better result than a hand-cut thread.
Wood and plastic need a different repair philosophy entirely, because a re-tap is not really available. Glue in a hardwood slug matched to the bore, let it cure fully, then drill a new pilot and re-tap the slug. In plastic, use a self-tapping or expansion insert, or the same slug-and-shrink approach with a threaded plastic or brass post. Both work because you are adding material, not removing it.
If a previous insert failed, you can sometimes fit a longer or larger insert into the same hole, but understand that the material around the old insert is already weakened. Most builders treat a second failure in the same boss as the signal to stop and replace the part.
Frequently Asked Questions
Can you retap a badly stripped thread?
Sometimes, but not always. If the damage is only in the thread flanks and the surrounding material is still solid, a chaser or a re-tap one size larger will work. If the hole is cracked, ovalised, or a thin boss, the material cannot support a new thread and a thread insert or a part replacement is the safer route. Check by screwing the original bolt in by hand: if it grips for full engagement without wobble, the hole is recoverable.
What size tap do I need for a stripped thread?
Match the tap to the new thread you are cutting, not the old damaged one. Measure the original bolt with a thread pitch gauge and calipers, then pick the tap for a bolt one size up, or use the exact original size if you are fitting a thread insert. Thread insert kits include the correct STI tap and drill for that insert length, and those two are never interchangeable with standard taps and tap drills.
Should I use a thread insert instead of retapping?
Use an insert when the original bolt size has to stay, when the material is aluminium, cast iron, or magnesium, or when the joint sees vibration or heat. An insert restores the original thread diameter and typically gives more pull-out strength than the original hole. Re-tapping oversize is simpler and fine for thick, lightly loaded walls, but it changes your fastener and your torque spec.
Is it safe to retap a hole in a bracket or engine part?
It depends entirely on the load. On a bracket, guard, or non-structural cover, a re-tap or insert is usually fine. Head bolts, main bearing caps, suspension hardware, brake calipers, and steering parts are engineered around a specific thread, so changing size or torque strength there is not a safe DIY job. If the torque specification matters, have a machine shop do it or replace the part.
Do you put oil or cutting fluid on a tap?
Yes, use cutting fluid rated for the material rather than plain oil. Flood the tap every few turns, and on aluminium keep a light film going the whole time so the tap does not weld itself to the material and tear the threads on the way out. Dry tapping raises the temperature, glazes the cutting flanks, and is the usual reason a tap snaps in the hole.
How much thread engagement does a bolt need?
For steel into steel, one diameter of engagement is a common minimum, one and a half diameters is the usual workshop target, and two diameters is where you get comfortable strength. Softer materials need more, and roughly twice the engagement compensates for a much weaker parent metal. Whatever the material, check that the bolt reaches full depth without bottoming out before you apply torque.
Conclusion: Start With the Smallest Repair That Is Strong Enough
Do one thing first: measure the fastener. A thread pitch gauge and calipers will tell you the size and pitch in a minute, and every repair decision after that follows from the answer. Start with a chaser if the bolt still grips, re-tap one size up on a thick lightly loaded wall, and reach for a thread insert when the original bolt size or a strong joint matters.
Match the original thread specification, keep the tap square and lubricated, and check the fastener in by hand before any torque goes on. If the boss is cracked, the wall is thin, or the fastener carries a safety load, hand it to a machine shop or replace the part rather than cutting a new thread into material that has already failed.