
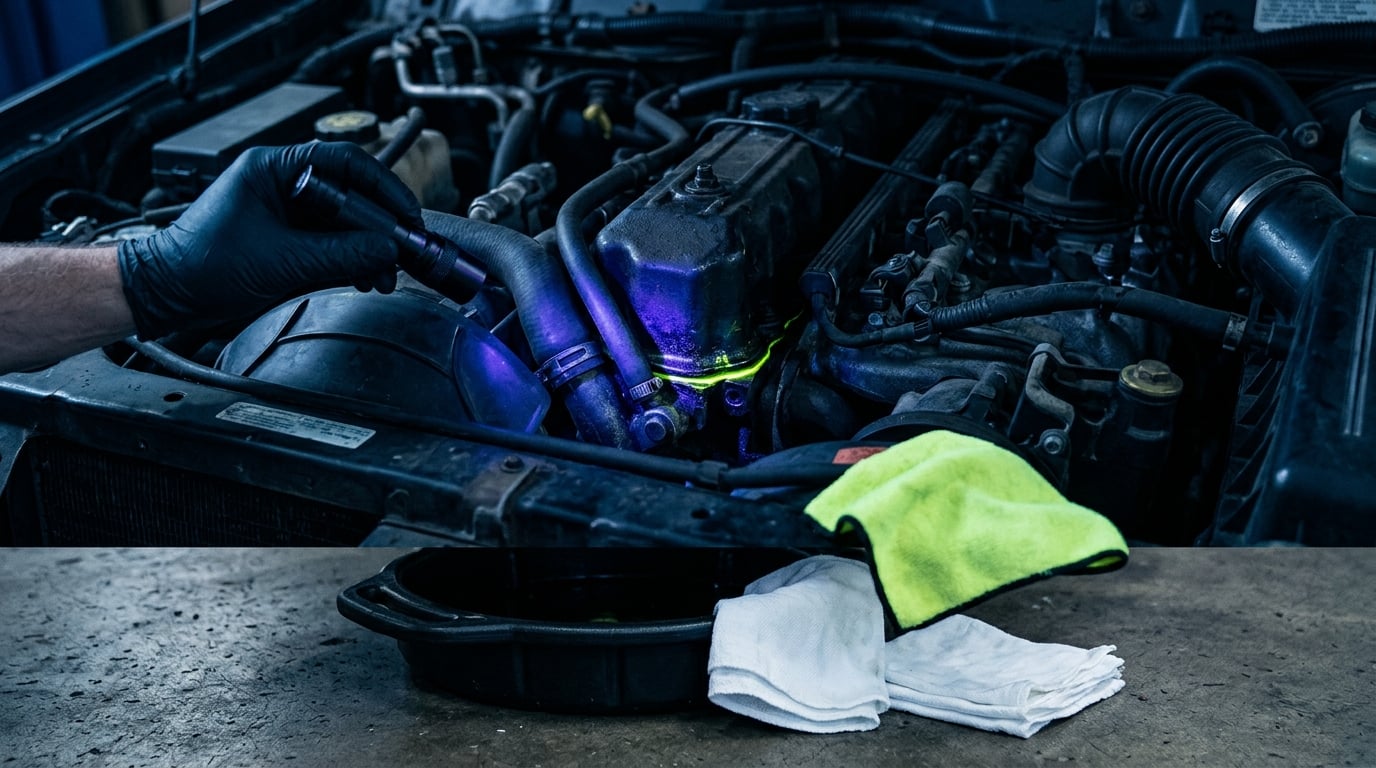
How to find an oil leak with UV dye comes down to four things: add the dye to the engine oil, circulate it until every molecule of oil is tagged, scan the engine in the dark, and read the glow. The first three take about 20 minutes of work and the last one takes five. What it buys you is certainty about which gasket, seal or cover is failing, instead of spraying sealant over an engine and hoping.
That matters because oil does not stay where it escapes. It migrates along casting ribs, runs down to the oil pan, gets thrown by the crankcase breather and lands on a completely unrelated component. The puddle under your car tells you oil is falling, not where it left.
Shop mechanics reach for fluorescent tracer dye on hard-to-source leaks as a routine move, and the same method works on a weekend driveway. This guide covers the full procedure for a car, plus the failure modes that make the test come back empty.
Table of Contents
- What You Need
- How to Find an Oil Leak With UV Dye Step by Step
- Common Mistakes
- Frequently Asked Questions
- Can UV dye damage my engine or affect oil performance?
- How long should I run the engine after adding UV dye oil leak dye?
- Will a UV leak-detection lamp show every oil leak?
- Do I need to remove the UV dye after fixing the leak?
- Can I use automotive UV dye in a BMW engine?
- Why can I see fluorescent oil but still not find the leak source?
- Conclusion: Start With a Clean, Bright Engine Bay
What You Need
The kit is small. Most people end up owning it after one leak, and the lamp then lives in the toolbox for years because the method transfers to nearly every fluid system on the vehicle.
- Automotive oil-based UV tracer dye sold for engine oil or hydraulic service. This is the one that matters. Read the label before you buy anything.
- A UV inspection lamp rated 365 nm (UV-A). A 395 nm lamp still fluoresces but dimmer and with more background glare. A cheap pen-light with a filter in the cap works in a pinch.
- Yellow-tinted UV enhancement glasses. They block the visible violet glow so your eyes pick up the much fainter yellow-green fluorescence. This is not optional equipment, it is the reason you can see a seep at all.
- Brake cleaner or engine degreaser and clean rags, for clearing old oil off the surfaces you are going to inspect.
- A drip pan, a ratchet set, and a flashlight as a normal backup light.
- Darkness. A closed garage at night works. A sheet hung over the open door is often enough to turn daylight into usable shadow.
Your owner’s manual and the manufacturer’s service procedures always take priority over anything in this guide. If the leak is a running stream, if the oil pressure light is on, if there is a knocking noise, or if the engine is a seized or badly damaged one, stop driving it and have a shop look at it. A dye test answers where, not whether it is safe to run.
Buy the dye that matches the fluid
Parts counters sell several dyes in similar bottles. Using the wrong one wastes the entire test, and the refrigerant dye people grab by mistake is the classic error.
| Fluid system | Dye to use | Typical glow | Do not substitute |
|---|---|---|---|
| Engine oil and hydraulics | Oil/hydraulic UV tracer dye | Bright yellow-green | Never use refrigerant or fuel dye here |
| Automatic transmission | Transmission UV tracer dye | Yellow-green, sometimes tinted to fluid color | Do not add engine dye to an unknown fluid level |
| Coolant | Coolant-system UV tracer dye | Yellow-green | Never use refrigerant or fuel dye |
| Power steering | Hydraulic or power steering dye | Yellow-green | Check the fluid type first on older steering systems |
| Fuel system | Fuel-system dye only | Bright yellow-green | Never put oil dye in a fuel tank |
| Air conditioning | Refrigerant UV dye | Yellow-green | Only this dye belongs in an A/C system |
Many modern dyes are multi-system and multi-color, so one bottle can trace two systems at once. That is genuinely useful on a vehicle that has both an engine leak and a transmission weep, because you can tell the two apart by color rather than by position.
How to Find an Oil Leak With UV Dye Step by Step
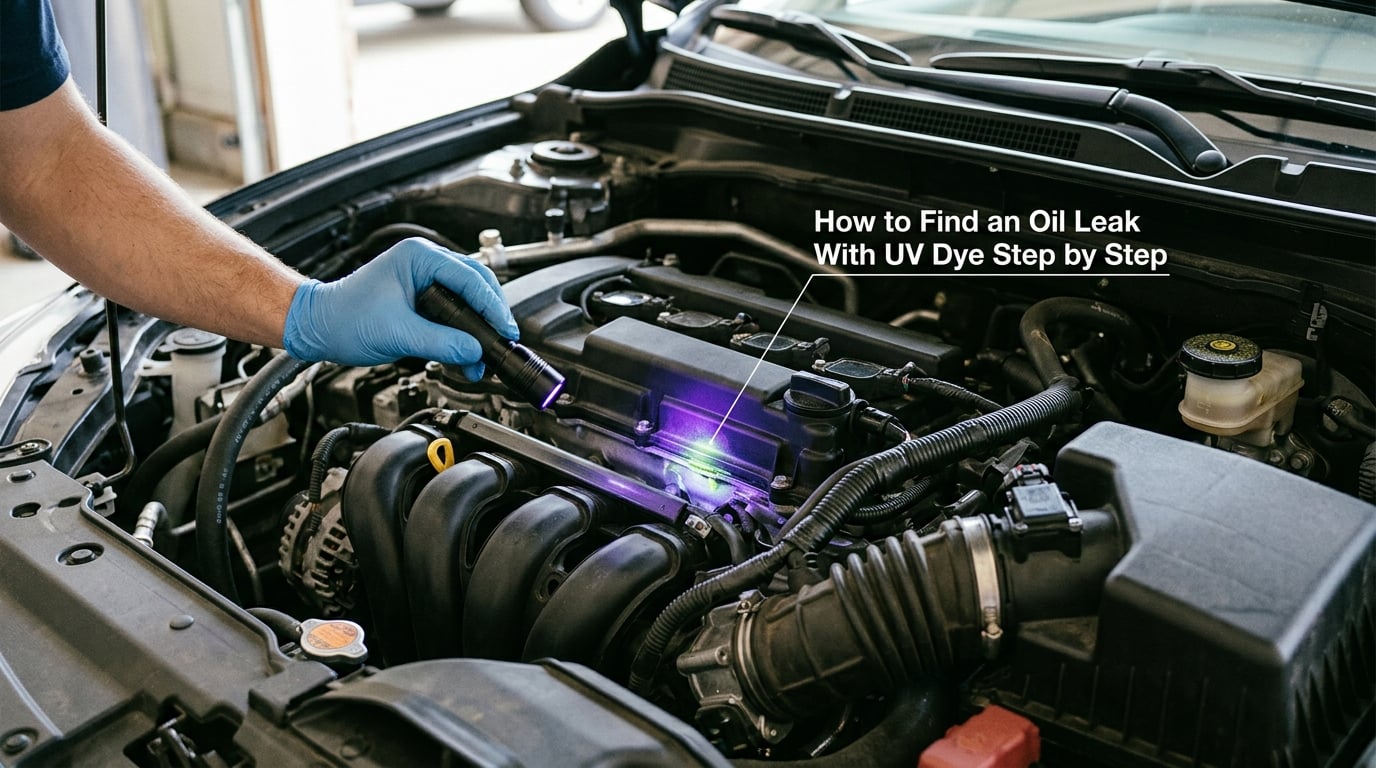
Budget the whole procedure at twenty to thirty minutes of running time plus however long cleaning takes. The five steps below follow in order, and each one has a visible sign that it worked. If you cannot see that sign, fix that step before moving on, because every step after it depends on the one before.
1. Confirm the Oil Leak Before Adding Dye
Do not start by adding dye. First prove you have an active leak, because old grime and a trail of dried oil will fluoresce and send you chasing a repair that was finished years ago.
Park on a clean, light-colored surface, wipe the area under and around the engine dry, and leave the car overnight. Come back to fresh oil. That is your baseline. A low oil warning light, an oil level that drops between changes, dampness on a gasket line, or a warm engine with fresh drips after a drive all count as signs.
Cold oil will not seep through a marginal seal the way hot oil will, so if the leak only shows when warm, your baseline check has to be done after a drive. On a BMW, the usual suspects are the valve cover gasket weeping down the side of the engine, the oil filter housing gasket or the housing seal at the front of the block, and the rear main seal at the transmission flange. Each of those leaves oil somewhere different, and the difference matters for step 4.
How you know it worked: you have a clean starting surface and fresh oil to compare against.
2. Add the Correct Amount of UV Dye to the Oil
Add the dye to the engine oil at the fill port. About one ounce for a typical four-to-six quart sump is the widely used starting dose, and heavier-capacity engines need more rather than less. One truck forum thread put it at three bottles for eighteen quarts, which is the same ratio. When in doubt, follow the label on the bottle you bought.
The neat trick is to add it with the last quart of a fresh oil change. The dye rides down the filler and gets carried straight into the crankcase by the fresh flow, so it reaches the sealing surfaces faster and more evenly than a squirt into a full, settled sump.
Do not overdo it. Heavily overdosed oil looks alarming under UV light everywhere at once, and you lose the ability to read a single bright point as a source. Do not add coolant, thinner, or any substitute fluid to help it mix, and never pour dye into the radiator unless the bottle explicitly says it is coolant-safe.
Write down your current mileage and how much dye you used on a piece of tape inside the door jamb. When the leak is traced and repaired three months from now, that note tells you exactly what the sump held.
How you know it worked: the dipstick shows a visible green or yellow-green tint under the UV lamp. That is your reference point, and knowing what properly dyed oil looks like stops you chasing a reflection. Pull the dipstick, hold it under the lamp with the glasses on, and look before you go any further.
3. Run or Circulate the Engine Carefully
Heat and time do the work. Drive the car for fifteen to thirty minutes, or let it idle until it reaches full operating temperature, until the cooling fans cycle once, and then a few minutes more. Cold, thick oil will not carry dye through a tight sealing gap; hot, thin oil will.
Check the oil level before you start, and follow the owner’s manual for warm-up and any low-pressure cautions. Never idle a running engine in a closed garage with the door down, and never do this on an engine with a known catastrophic leak, a low oil pressure condition, or visible mechanical damage. If the engine is making a noise that was not there yesterday, the diagnosis stops here.
For a drivetrain leak, circulation is different. A transmission dye needs the fluid hot and moving through a few drive cycles including a reverse pass and a straight run in each direction. A power steering dye wants the fluid cycled with the wheel turned lock to lock. The principle is identical: the tracer has to reach the seal before the leak can tag it.
How you know it worked: the dipstick still shows a strong glow after the run, which means the dye survived the trip through the engine.
4. Scan the Engine to Find an Oil Leak With UV Dye
Now the part that feels like cheating. Park in the dark, put the yellow glasses on first, then switch the UV lamp on. Sweep slowly over the whole engine, working top to bottom and from the back of the bay forward, and hold the light a few inches from each surface rather than a foot away.
What you are looking for is a small, intensely bright yellow-green point or a thin glowing line. The brightest pixel in the bay is the exit point of the leak, not the trail it made on the way down. Oil that has run onto a bracket will glow as a smear, and the smear is evidence, not a location.
Work through the usual places in order. On most cars that means the valve cover gasket and its perimeter, the oil filter housing and its gasket at the front of the block, the dipstick tube and its O-ring, the oil filler cap seal, the timing cover and its gasket, the front and rear main seals, the pan gasket and the rear of the block, and the oil rail on engines that have one. Add the PCV valve and any galley plug, since both weep and both drip onto something else entirely. If the vehicle has a turbo, the oil return and feed lines and the center section are worth a look too, as is the transmission or transfer-case interface where a shared mounting point lets engine oil and transmission fluid mingle.
Do not assume a component is the culprit just because dye is sitting next to it. A leak directly above a part will coat that part, and the first instinct is usually wrong. That is what step 5 is for.
How you know it worked: you can point at a specific spot on the engine and say that is where it is coming out.
5. Trace and Verify the Source Before Repairing
Follow the fluorescent line. Oil runs downhill and along the path of least resistance, so a streak that starts at a casting rib and ends on a pulley will point back up to a seal somewhere above and behind it. Work out the direction of flow, not just the direction of drip.
Then verify it. Clean the suspected area with degreaser, dry it fully, and let the engine sit or run again for another interval without disturbing anything. This is the single most skipped step, and skipping it is how people replace a valve cover gasket, still see oil, and go looking for a second leak that was never there. If the glow comes back in the same place, that is your source. If it comes back somewhere else, you were looking at a stain.
Photographing the glow is worth attempting, because a picture is the evidence that settles an argument with a shop or a seller. Set the camera on manual exposure, use a short shutter, and shoot with the lamp angled from the side rather than straight down the lens. Expect a few tries.
Once the source is confirmed, you have a repair list: the specific gasket, seal or cover, and the fasteners and access needed to reach it. That is the real dividend. Reaching a rear main seal means removing the transmission, and knowing that in advance is the difference between a Saturday and a fortnight.
How you know it worked: after cleaning and re-running, the same spot glows again and nothing else does.
Common Mistakes
Almost every failed attempt to find an oil leak with UV dye comes down to one of the same handful of reasons, and none of them are the dye’s fault. Run down this list before you conclude the method does not work on your engine.
Why the Leak Didn’t Show Up
The biggest drawback of the UV leak detection system is a false negative: a clean bay, a glowing dipstick, and no visible leak anywhere. In order of how often it happens, the causes are these.
- The engine was cold. Cold oil does not seep through a marginal seal. Every cold-start leak will usually appear once the engine is at operating temperature.
- You bought the wrong dye. Refrigerant dye or fuel dye in an engine will not behave as an oil tracer. The bottle has to say oil, hydraulic, or all-system.
- You skipped the circulation time. Adding dye and immediately scanning the bay is the most common beginner mistake. Fifteen to thirty minutes of running is the minimum.
- You did not clean first. Years of grime fluoresce under UV light and drown out a real seep. Degrease the surfaces you plan to inspect before the run, not after.
- The dye settled in the pan. If it was poured into a cold, settled sump, the concentration on top is weak. Adding dye with the last quart of fresh oil solves this.
- The lamp is the wrong wavelength or too weak. A 395 nm lamp in a bright bay will lose the trace. Move to 365 nm and darken the space.
- It is a seep, not a leak. A weeping gasket may only wick enough oil to make a thin film. Some of that film is old.
On degreasing first: clean before the run, not after. The argument you will hear is that degreasing drives residual oil out of the casting cracks and re-wets the area. That is a fair point, and it is why a wiped-clean engine still needs a clean inspection before you add dye. My order is degrease, dry, add dye, run, inspect.
Two other things people do that muddy the result. Adding an oil stop leak additive before the test gives you a glowing smear with no source, because the additive carries dye everywhere it seeps. And spraying a thread sealer over a suspect gasket before you have located the leak turns a diagnosis into a guess.
Where Oil Leaks Actually Hide
A successful trace is only half the job, so here is the map. Work top down, because oil travels down.
- Valve cover gasket and the oil filler cap seal, especially the rear half of the cover.
- Oil filter housing gasket and the housing seal, a classic on BMW and other transverse inline engines.
- Dipstick tube O-ring and the tube itself, frequently missed and trivially cheap to fix.
- PCV valve and crankcase breather hoses, which drip down onto the valve cover or intake.
- Timing cover gasket at the front of the engine, often hidden behind the accessory drive.
- Front and rear main seals, with the rear one being the reason a lot of people assume the whole transmission has to come out to see it.
- Oil pan gasket and the rear main area at the back of the block, plus any galley plug on older engines.
- Turbo oil lines where fitted, and the transmission or transfer-case interface on vehicles that share a mount.
Frequently Asked Questions
Can UV dye damage my engine or affect oil performance?
Automotive UV tracer dye is a non-corrosive fluorescent additive made for use in oil, and it is specified not to change the fluid’s viscosity or lubrication properties. It is safe through a catalytic converter and safe if a small amount finds its way into the combustion chamber, where it burns off. The amount used for a leak test is tiny relative to the sump volume, so there is no reason to shorten your oil interval because of it.
How long should I run the engine after adding UV dye oil leak dye?
Fifteen to thirty minutes of driving or idling is the working window, and the drive is better than the idle because the varying load gets oil moving through the sealing surfaces under changing pressure. Let the engine reach full operating temperature and let the cooling fans cycle, then give it a few more minutes. Longer is not better, since the dye is already circulating by then and excess running only spreads the residue you have to clean up.
Will a UV leak-detection lamp show every oil leak?
No. UV dye shows you where oil carrying tracer is escaping, which excludes a few real cases. A leak that only appears when very hot, a seep too slow to overcome surface tension at the seal, a leak behind a cover you cannot see or reach without disassembly, or a leak in a system the dye never reached will all stay hidden. If the glow does not match the symptom, the dye has ruled locations out and the search continues by other means.
Do I need to remove the UV dye after fixing the leak?
You do not have to, but changing the oil and filter after the repair is good practice. The dye settles in the pan, coats the filter media, and leaves glowing residue on the engine and the underside that makes the next inspection harder to read. An oil and filter change clears it and puts the fluid back to a known state. Before any service, tell the technician dye was added so they do not read the residue as damage.
Can I use automotive UV dye in a BMW engine?
Yes, in the engine oil system, as long as the bottle is labelled for oil or hydraulic use. BMW engines with an oil filter housing leak or valve cover seepage are exactly the case dye is meant for, since the oil migrates far from the seal that failed. Keep the dye out of the coolant, which on many BMWs is a long-life specification you do not want to contaminate, and follow the manufacturer fluid change intervals and procedures rather than an additive schedule.
Why can I see fluorescent oil but still not find the leak source?
You are probably seeing a trail rather than a source. Oil runs down casting ribs and off brackets, so the bright smear is where the oil landed, not where it left the engine. Clean and dry the area, run the engine again, and watch which point lights up first. If the glow returns in the same place each time, that is the source. If it keeps moving, you are looking at grime and need a cleaner engine bay before the test.
Conclusion: Start With a Clean, Bright Engine Bay
The first thing to do when you find an oil leak with UV dye is confirm the leak, and the second is clean the area you intend to inspect. After that the sequence is short: add roughly one ounce of oil-compatible UV dye, run the engine fifteen to thirty minutes until fully warm, put the yellow glasses on, and scan a dark engine bay from top to bottom until one point glows brighter than everything else.
Then clean, dry, and re-run that exact spot to confirm it before you order a single part. Know what the method cannot do: it traces the path of escaping oil, and a source hidden behind a cover, a seep too slow to bead, or a system the dye never reached will need disassembly or a shop to pin down. The owner’s manual takes priority, and if the engine is making a new noise or running low on oil, get it looked at before you start the test.