
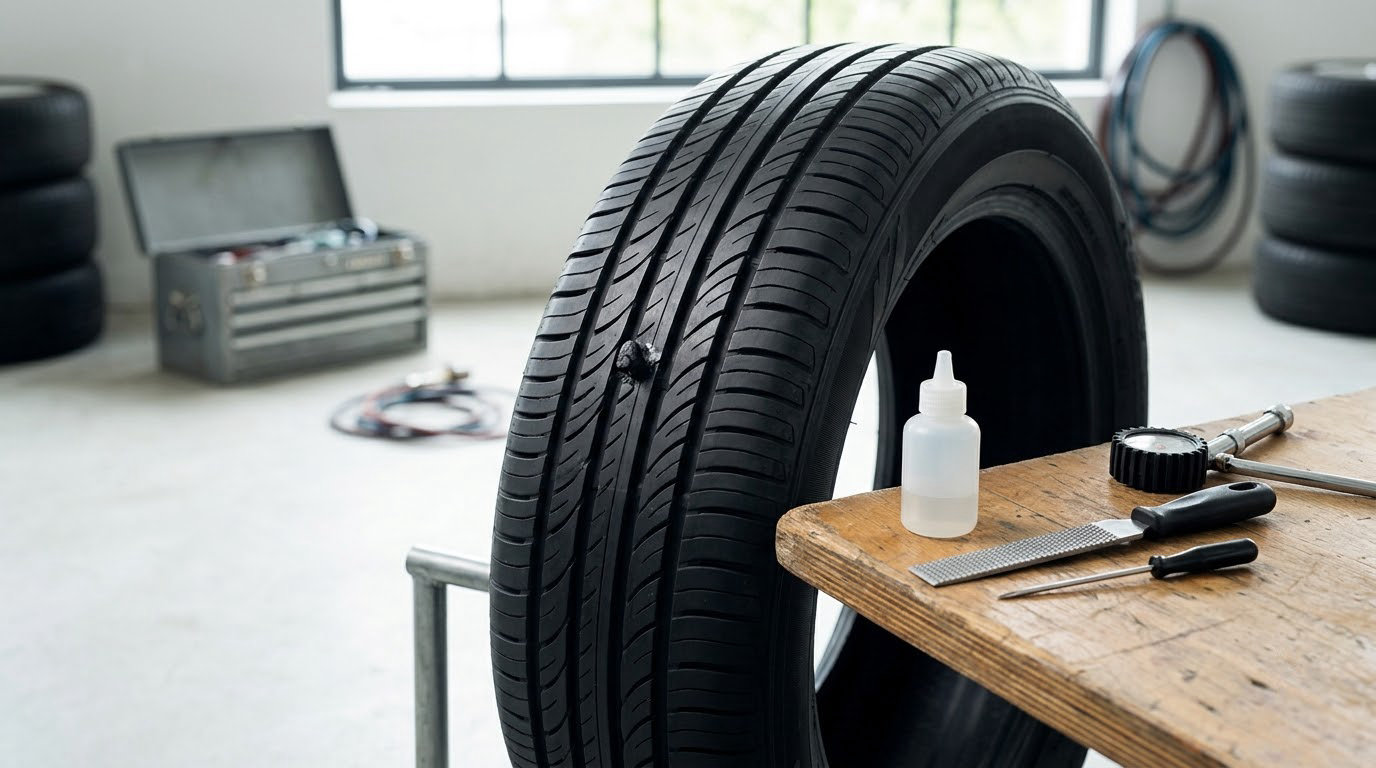
A slow leak in a tire is almost always a small, steady loss of air rather than a blowout, and you fix it in two stages: find the leak with soapy water, then match the repair to where it is. A small nail hole in the main tread gets a plug. A weeping valve stem gets a new core. Anything in the sidewall, shoulder or bead belongs in a shop.
To fix a slow leak in a tire, you first have to know what you’re dealing with: a continuous loss of air pressure, often only a few PSI a week, coming from a pinhole puncture, a leaking valve stem or core, or a failed seal where the tire bead meets the rim. The whole job takes 20 to 40 minutes with a spray bottle and a cheap plug kit, and most of that time is waiting for soap bubbles to show up.
Here’s the honest split: diagnosis is easy and free, the repair is easy only in a narrow set of cases. Read step three before you touch anything.
Table of Contents
What You Need
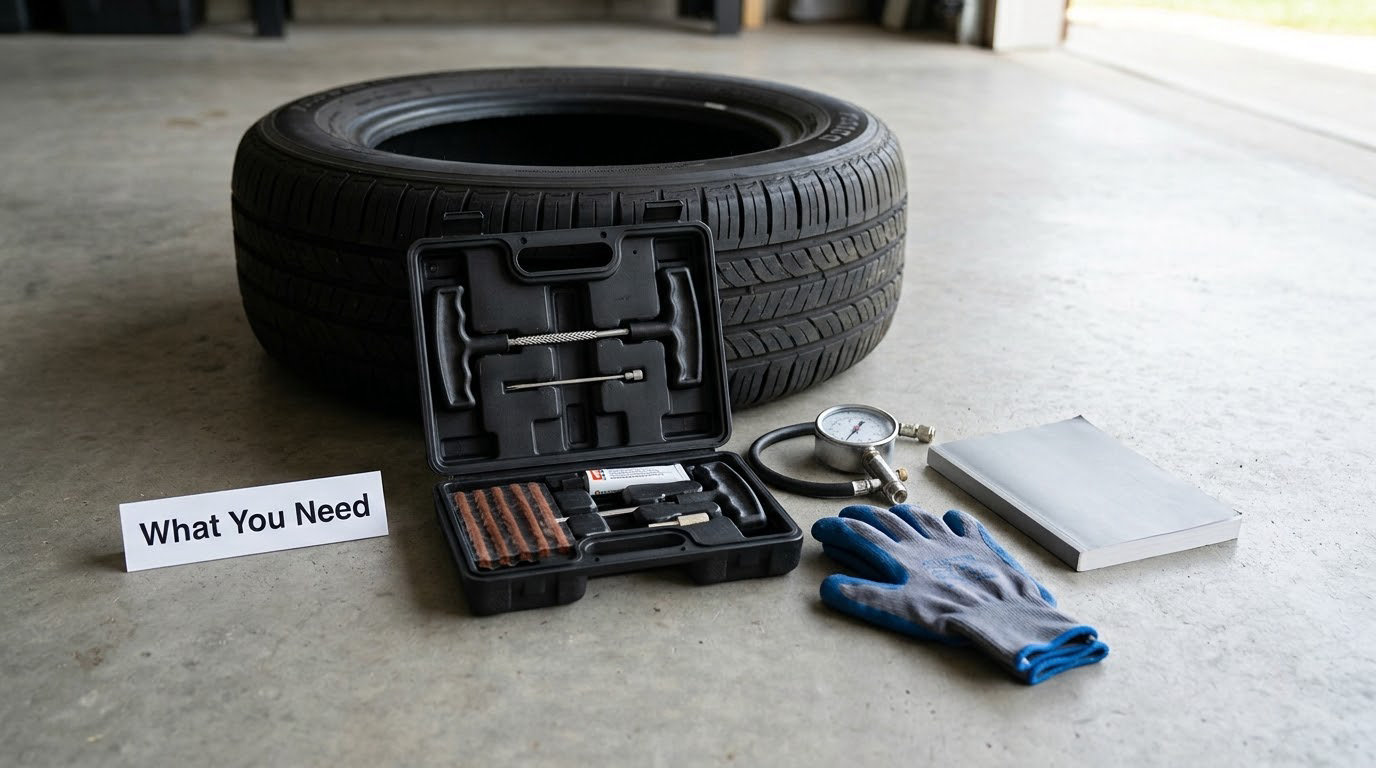
- The pressure listed on your door jamb placard. Not the sidewall maximum. The sidewall number is a structural limit for the tire, not a target.
- An accurate pencil-style tire gauge. A cheap gauge that is off by 2 PSI will send you chasing a leak that isn’t there.
- Dish soap and water in a spray bottle. Strong mix, not a token splash. People on r/askcarguys say half-strength solution is the most common reason a working tire gets declared sound.
- A plug kit with a reamer and an insertion tool. Five dollars for a string-plug kit, more for a plug-and-patch combo.
- A valve core tool and a spare core if the leak turns out to be at the valve.
- A portable inflator or a 12V compressor. A can of sealant in the trunk is not a substitute.
- Gloves, a rag, and wheel chocks.
Step-by-Step: How to Fix a Slow Leak in a Tire
1. Move to a Safe Location and Check Tire Pressure
Pull onto level pavement, set the parking brake and chock the wheels. Nobody diagnoses a tire on a shoulder of a highway.
Read every tire cold, before you inflate anything, and write the number down. That baseline is how you’ll know whether the tire is actually leaking or just cold.
If you’re checking in winter, do the math first: air pressure falls roughly 1 PSI for every 10 degrees Fahrenheit the temperature drops. A tire that reads 4 PSI low on a cold morning after a 40 degree night drop is not leaking, it’s just cold. Measure it again after the car has sat in a warm garage.
For a rough triage, leave the tire alone overnight and re-read it in the morning. Losing a couple of PSI over a full day is slow but drivable to a shop. Losing 5 or more means you have a real hole and shouldn’t be driving far.
2. Locate the Leak
Inflate the tire back to the placard pressure, then run three steps over the whole circumference:
- Mix. Fill a spray bottle with water and a heavy pour of dish soap. Foam is the tell, and thin solution doesn’t foam.
- Spray. Cover the full tread, both shoulders, both sidewalls, the valve stem, and the rim edge where rubber meets metal.
- Watch. Look for a growing cluster of bubbles at one exact spot. A single trapped bubble or a burst of soap running off the tread is not proof of anything. Re-spray that area and confirm it foams again from the same place.
Run your hand along the tread and you’ll often find the culprit before you see bubbles: a nail head, a screw, a valve cap pin, or a glass sliver sitting in the groove. That’s your puncture if the leak confirms there.
3. Decide Whether the Tire Can Be Repaired
Match what you found to the repair. Here’s the table that saves the most arguments in a driveway:
| Leak location | What it confirms | Can you fix it at home? | Next step |
|---|---|---|---|
| Main tread block, small hole | Object went through the working part of the tire | Yes | Plug it now, patch-plug it properly at the shop |
| Shoulder or sidewall | Damage in a flex zone with little reinforcement | No | Replace the tire. Never plug this |
| Valve stem or core | Hardened rubber or a corroded metal core | Often | Replace the core, then the whole stem if it still weeps |
| Bead seat, at the rim | Dirt trapped under the bead, corrosion, or a bent rim | No | Shop: clean, reseat, and inspect the wheel |
The Tire Industry Association’s repairability limits are the line to hold: repair only punctures in the main tread area, never in the sidewall or shoulder, no hole larger than 1/4 inch, no two punctures close together, and nothing on a tire that’s worn past its usable tread depth or has already had a failed repair attempt.
If the tire is a year old or less, stop and use the warranty instead. A leak on a brand-new rear tire is very often a bead or wheel problem rather than a puncture, which means replacing or swapping it, not plugging it. That’s the single most repeated complaint on r/MechanicAdvice, and plugging it just buys another trip to the shop.
4. Clean and Prepare the Leak Area
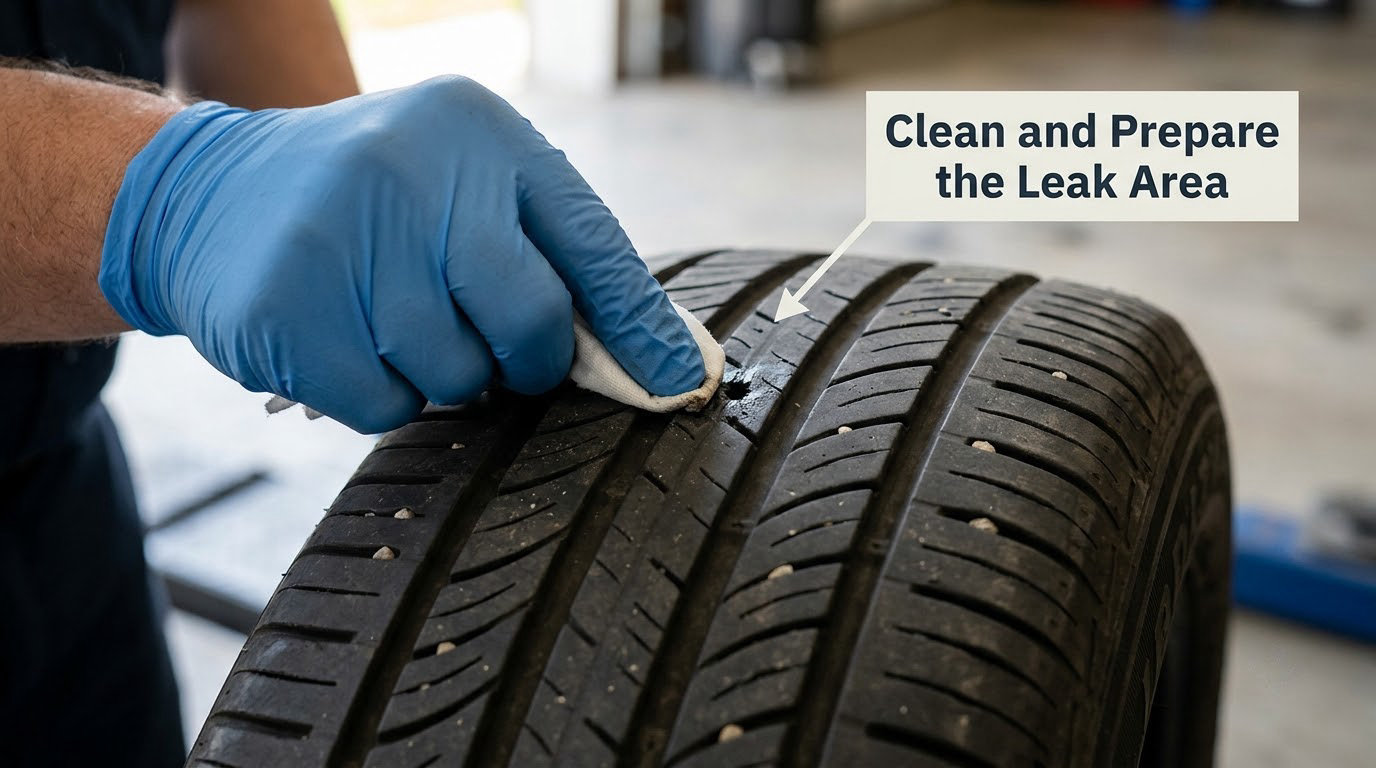
Pull the object out straight and all at once rather than twisting it, which tears the channel bigger. Then push a probe or thin rod through to confirm the hole is clear.
Rinse the area with soapy water and wipe it dry. Any grit left behind works under the plug and keeps letting air out, which is why the same repair fails a second time.
Don’t use tire shine, silicone dressing or armor-all anywhere near the hole. Those products leave an oily film that stops adhesive from bonding and can slowly attack the rubber. Bare rubber, clean and dry, is the only surface that works.
5. Apply a Temporary Repair to the Tread Puncture
- Ream the hole. Push the spiral reamer through the puncture two or three times until it feels clean and the walls are fresh rubber.
- Anchor the plug. Push the sticky end of the repair string through the reamer’s eye and pull it back so the adhesive blob sits halfway through the channel.
- Insert. Feed the inserter in with the tool, then drive it in with the handle until only a small tail sticks out.
- Trim flush. Cut the tail off with a utility knife, level with the tread, leaving nothing to catch or wear.
- Re-test. Inflate to placard pressure, wait ten minutes, then spray soapy water over the repair again. No bubbles, no issue.
What you just installed is a get-you-to-the-shop fix. It’s rated to hold air at driving speeds in the tread area, not to last 30,000 miles.
The permanent repair is a combination: an internal patch covering the hole from the inside, plus a plug sealing the liner where the object punctured it. Long-time users on the BMW MOA forum and Bob Is The Oil Guy are consistent about this, and the reason is specific: a plug alone seals the inner liner, and a patch alone leaves the liner hole exposed to road rash. You need both, which means the tire has to come off the wheel.
On a metal valve stem, unscrew the cap, remove the core with the valve core tool, and press in a new one. If it still weeps, the rubber stem itself is hardened and cracked, and the whole stem needs replacing. A rubber valve can be unscrewed and screwed out by hand; a metal stem, especially one with a TPMS sensor, belongs to a shop with the right tool.
6. Reinflate and Test the Tire
Inflate to the pressure on the driver’s door placard. Going over the sidewall maximum is one of the worst things you can do to a tire, because the sidewall is the least reinforced part of it.
Wait 15 minutes and re-read the gauge. Drop more than 2 PSI in that window and the repair isn’t holding. Then spray the repair one more time and check your other three tires while you’re already soaping up.
7. Know When to Replace the Tire or Seek Help
Stop and hand it to a shop if the puncture is in the sidewall or shoulder, larger than 1/4 inch, close to another puncture, sitting in worn-out tread, or in a tire that already has a bad repair. Also stop if the bubbles point at the bead rather than the tread, or if your alloy wheel looks chalky or scaly at the rim edge, which points at corrosion and a leak path no plug will close.
Wheel weights, roof rack feet and trim clips that trapped dirt under the bead are a common cause, and they’re easy to spot once you pull the tire off.
If a shop has checked the tire twice and can’t find anything, ask them specifically to inspect the bead seat, the wheel for hairline cracks, and the TPMS stem. That’s where a leak nobody can spray for actually lives. If the tire is under warranty, push the manufacturer on a replacement.
Common Mistakes
- Plugging a sidewall or shoulder hole. This is the most dangerous DIY mistake in the whole job. Flexing tears the plug out from the inside. Replace the tire.
- Filling to the sidewall maximum. That number is a limit, not a recommendation. Use the placard.
- Leaving debris in the channel. Ream and rinse until the hole feels clean, or the plug fails within weeks.
- Using a weak soap mix. If you see no bubbles, don’t conclude the tire is fine. Double the soap and go around again.
- Coating the hole with tire dressing. Adhesive won’t bond to silicone, and the dressing keeps working on the rubber.
- Chasing a cold-weather pressure drop. About 1 PSI per 10 degrees Fahrenheit is physics, not a leak. Check the tire warm before you do anything to it.
- Treating a temporary plug as permanent. Get to a shop for the patch-plug combo. Don’t plan a road trip on the roadside repair.
- Re-plugging the same hole over a still-leaking old plug. Stack the holes and you’ve created a bigger one.
Frequently Asked Questions
Can you drive with a slow leak in your tire?
Yes, briefly, if the tire holds pressure and the tread is sound. Inflate to the placard pressure, check it every 15 to 20 minutes, and stay off highways. A tire losing a couple of PSI a day will usually reach a shop fine. A tire losing 5 PSI or more a day, or one with a visible sidewall bulge, should be topped up and parked until it’s repaired.
How long will a slow-leaking tire last?
It depends entirely on the hole, not the clock. A plugged tread puncture at normal road speeds typically holds until you get it properly patched, often weeks. A bead, rim or TPMS leak can go from a slow seep to a flat within days. Measure the rate: leave the tire alone overnight, then check the gauge. Anything more than 2 PSI overnight deserves a shop visit now.
How much does it cost to fix a slow tire leak?
A plug from the outside is the cheapest tire job there is and usually takes a few minutes with no wheel removal. A proper internal patch-and-plug combo costs more because the tire has to come off the wheel, but it’s the repair that doesn’t come back. A replacement tire plus mounting and balancing is the most expensive option, and it’s the only correct one for sidewall, shoulder or bead damage.
Can I use fix-a-flat or tire sealant for a slow leak?
Sealant works best on small tread punctures and is genuinely useful as a get-you-home measure when you have no kit. It can’t fix a valve stem leak, a bead leak or a damaged TPMS stem, and it leaves a sticky mess inside the tire that a shop has to clean out. Drive slowly to a shop afterward and expect to pay for the cleanup.
How do I fix a punctured tire without a repair kit?
Soapy water and a spray bottle will find the leak, which is free. Without a plug kit, your only roadside options are sealant or a plug you borrow from another vehicle. Keep driving distance short either way, and plan on a proper internal patch once you’re at a shop. Inflator cans and plugs are cheap enough to keep a spare in the trunk rather than skip this step.
Final Check Before You Drive
Look at the repair, then look at the pressure. If the gauge matches the placard and the soapy water stays quiet, you’re fine for the drive to a shop, not for a road trip. The lasting version of how to fix a slow leak in a tire is the patch-plug combo described earlier, done with the tire off the wheel.
Pull off ten miles in, park, and check the gauge and the repair again. That’s the interval where a bad plug or a leaking valve gives itself away. If it’s soft, the repair didn’t hold and you need a professional.
And if the tire has a history, an old plug, or came off a shelf with an unexplained low reading, replace it rather than nursing it. This is general guidance rather than an inspection, so your owner’s manual and a tire professional get the final say on repair or replace.