
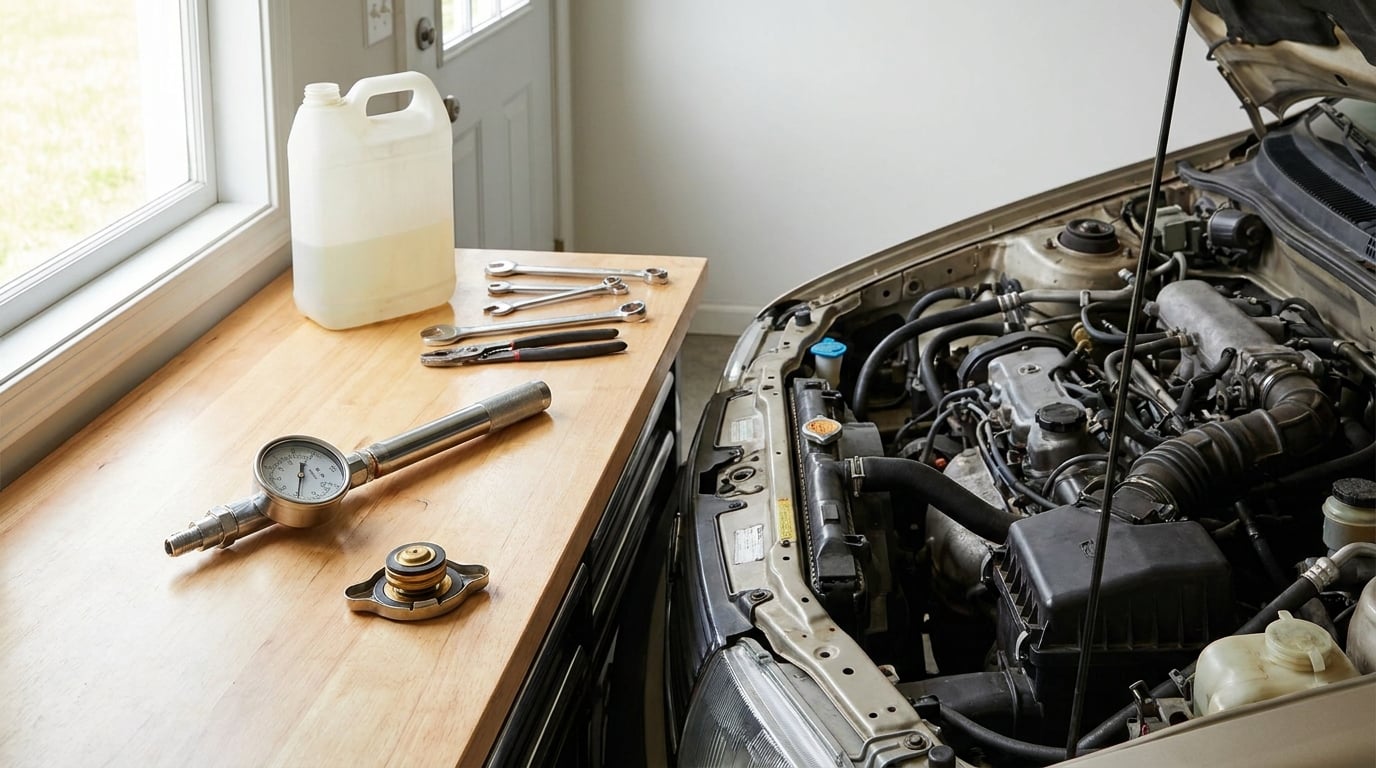
To pressure test a cooling system, let the engine cool completely, take the radiator cap off, fit the correct adapter onto a coolant pressure tester, and pump the system up to the pressure printed on your radiator cap, usually 13-16 PSI. Watch the gauge for at least ten minutes. A gauge that holds means the system is sealed; a gauge that falls means coolant is escaping somewhere. The whole job takes about half an hour and costs less than a wrong radiator.
Most coolant leaks are not the kind you can see. A slow weep behind a bracket, a seep at a hose nipple, or a cracked plastic radiator tank can put an ounce of coolant on the pavement every week and leave the level in the expansion tank looking fine until the day the engine overheats on the highway. Pressure testing works because it forces the system to the pressure it lives at while running, which opens up hairline cracks and weak seals that stay shut at rest.
It is also the cheapest diagnostic in the garage. Before you order a radiator, an expansion tank, or an entire engine, hold the system at pressure and see whether it holds. If it does, the parts you are about to swap probably are not the problem.
Before anything else: never open a hot cooling system. Pressurized coolant at operating temperature releases as a scalding spray the moment the cap comes off. Let the engine sit until it is completely cold, then treat the filler neck as live until the gauge is on it.
Other safety rules that matter: wear eye protection and nitrile gloves, because a fine mist of glycol is easy to get in your eyes; work in a ventilated space since ethylene glycol vapour is unpleasant at best; have a dry cloth and a bucket within reach; and keep the pressure under the cap’s rated value at all times. The cap is a spring-loaded relief valve, and the whole system is built to a lower limit than that. Push past it and you crack a radiator core, which turns a diagnostic into a replacement.
Table of Contents
- What You Need
- Step-by-Step: How to Pressure Test a Cooling System
- Step 1: Confirm the Correct Test Pressure and Vehicle Condition
- Step 2: Prepare and Fill the Cooling System
- Step 3: Connect the Pressure Tester
- Step 4: Apply Pressure Gradually
- Step 5: Inspect the System and Read the Gauge
- Step 6: Depressurize and Recheck
- Common Mistakes When You Pressure Test a Cooling System
- What a Passing Test Does Not Prove
- Frequently Asked Questions
- What pressure should I use to test my cooling system?
- Can I pressure test a cooling system with the radiator cap installed?
- How long should I hold the pressure during a cooling-system test?
- What does it mean if the pressure gauge drops during the test?
- Do I need to bleed air from the cooling system before pressure testing it?
- Can I drive after pressure testing if no leak is found?
- Conclusion
What You Need
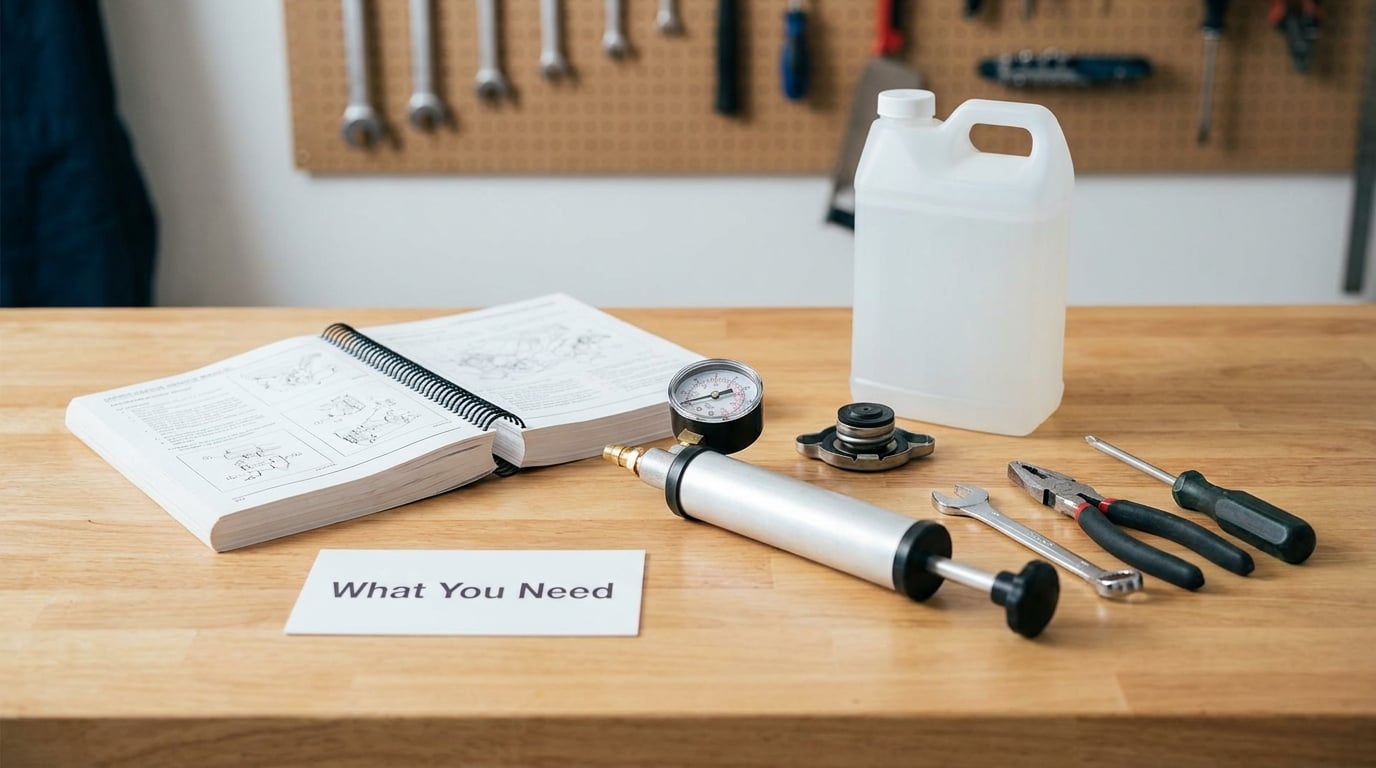
Most of the list is short, and one item matters more than the rest.
- A coolant pressure tester with a hand pump and a gauge. The hand pump is the important half. A kit that needs a shop air compressor is useless at home in a driveway, and a cheap gauge that reads 20 when it reads 10 will send you chasing a leak that is not there. A two-gauge tester that shows the line pressure as well as the system pressure is nicer but not required.
- The right radiator cap adapter. Kits ship with a set of rubber-bushed adapters covering common filler neck sizes. The adapter sits in the neck the way the cap does, and the bush seals against the neck lip. Wrong size means the tester itself leaks and you will misread a healthy system as a leaky one.
- A cap tester adapter if you want to check the cap itself. It is a separate fitting that mounts the cap on the tester so you can watch whether the cap holds or vents at the right pressure.
- UV dye and a blacklight if the gauge holds but the coolant still disappears. Dye puts a bright marker on micro-seams the gauge cannot resolve.
- A spill-free funnel adapter for refilling and bleeding afterward. You will be topping the system back up, and a funnel adapter keeps air pockets out.
- Rags, a bucket, eye protection and gloves.
- The vehicle’s test pressure specification from the owner’s manual or service information. This overrides anything else, including what another car used.
You do not have to buy a kit. Most major parts chains run loaner programs where the counter will hand you a tester and take it back when you are done. If you have a decent gauge at home already, that is exactly the same test.
Finding the right adapter. Most caps are marked with the pressure they are rated for, and the neck sizes fall into a few groups: small SAE necks on older domestic cars, larger SAE necks, and metric necks common on Japanese and European cars. The test is simple: pick the adapter, push it into the neck, and pump to about 5 PSI. Then wiggle the fitting gently while watching the gauge. If the needle drops, the adapter is not sealing and you need a different size. Verify the seal before you trust any result, in either direction.
Step-by-Step: How to Pressure Test a Cooling System
Step 1: Confirm the Correct Test Pressure and Vehicle Condition
Test pressure comes from the radiator cap, and the cap rating is almost always printed on the top. A cap marked 15 PSI means the system is designed to see 15 PSI, so you test to 15 PSI. Use the vehicle’s specified test pressure when the service information gives one, because a replacement radiator or a different cap on a modified car can change the number.
| Cap rating | Pressure to test to | Typical application |
|---|---|---|
| 9 PSI | 9 PSI | Older low-pressure systems, some small diesel applications |
| 13 PSI | 13 PSI | Common on light domestic cars and many Toyota and Honda models |
| 15 PSI | 15 PSI | Very common across modern domestic and European cars |
| 16-18 PSI | Cap rating | Many BMW, Mercedes and Audi models, and heavy diesel systems |
Do not go above the cap rating “just to be sure.” A system at 15 PSI is already at its rated limit. An over-pressured radiator core or plastic tank can split, and you will have converted a leak hunt into a parts order.
Two conditions matter before you start. The engine must be completely cold, and the cooling system must be full. Pressure testing an empty system tests air, not coolant, and air compresses differently and hides leaks that water would push open. Fill it to the cold fill line, or to the maximum mark when the engine is warm.
Step 2: Prepare and Fill the Cooling System
Top the system to the cold maximum line with the coolant type your car takes. Pre-diluted 50/50 is the safest choice for a test because you are not measuring concentrate, and it is what most people already pour in.
Then bleed the air. Air sits in the highest points, and an air pocket compresses under pressure and expands back as you pump, so the gauge rises and falls on its own and you can waste an hour blaming a leak. Run the engine with the heater on maximum heat and the fans on high with the radiator cap off or the filler neck open, until the upper hose is hot and coolant is moving strongly. Watch for steady coolant at the filler neck with no bubbles, then shut it down and let it cool before you pressurize.
While the engine is still open, do a visual sweep. Look at the radiator seams, both radiator neck fittings, every hose clamp, the water pump gasket area, the thermostat housing, the heater hoses at the firewall and the overflow reservoir for a split seam. Push on a hose at a clamp: a soft, spongy hose that feels like it is about to go is worth replacing now rather than after the test.
Step 3: Connect the Pressure Tester
On a cold engine, remove the radiator cap and set it aside on a clean rag. A cap that has been sitting open picks up dust, and a grit speck under the sealing face will leak coolant down the neck.
Fit the adapter into the filler neck, connect the tester hose, and screw the tester to the adapter finger tight. Position the gauge so you can read it from where you are standing, with the face upright and clear of hoses and fans. If the car is a manual-transmission car, park it in gear with the parking brake set, and keep your hands and loose clothing away from the fan and belts.
If the radiator neck is buried under the shroud, under a bracket, or simply not where you can reach it, pressurize through the expansion tank instead. Remove the tank cap and fit the adapter to the surge tank filler. This works because the expansion tank is part of the same pressurized loop. On older brass systems, some owners pressurize through the overflow tube instead, and the overflow tube often has to be blocked off or the system will bleed pressure back through it and the gauge will never hold.
Step 4: Apply Pressure Gradually
Pump slowly in short strokes and watch the needle. Bring the system up to the specified test pressure in increments rather than slamming it to 20 PSI in one go. A slow approach tells you more: you can see a weeping hose begin to drip at 8 PSI and be sure that is the leak, instead of finding a fountain at 15.
Stop pumping the moment you hit the target. Put the gauge where you can watch it and leave the system alone. If a leak appears, stop immediately, vent the pressure and fix it rather than pumping harder.
Step 5: Inspect the System and Read the Gauge
Hold pressure for 10 to 15 minutes for ordinary work. To catch a slow leak, leave the tester connected for 30 minutes, or overnight if the car is parked up on a drive. Experienced owners often run two passes: a gentle 6-8 PSI first pass that finds a leaking cap seal or a weeping hose, then a full-pressure pass at the cap rating, which stresses the seams and the plastic tank where real cracks live.
| Location | What you see | How it reads on the gauge |
|---|---|---|
| Radiator cap sealing face | Coolant weeping around the cap or down the neck | Fast drop; the most common and most missed |
| Radiator neck fittings and hose clamps | Drip at the rubber or the clamp when pressurized | Steady drop, faster above 10 PSI |
| Plastic radiator side tank seam | Crazing, white bloom, or a hairline split | Slow drop, may only show above 12 PSI |
| Water pump weep hole | A thin drip at the pump housing | Slow, steady loss |
| Thermostat housing and upper hose joint | Drip at the joint under pressure | Steady drop |
| Heater core | Nothing visible; cool air or a wet carpet | Slow drop with no puddle anywhere |
| Expansion tank seam | Split plastic or a failed tank cap | Slow drop |
| Head gasket or internal crack | Often nothing on a cold test | Usually holds cold, fails on a hot re-test |
Read the needle honestly. A stable needle within a pound or so over 10 minutes is a pass. A drop of a pound or two over half an hour, with nothing visible, is not automatically a leak: check the tester seal at the adapter, check the cap, and check whether the engine warmed at all during the test. Air temperature change moves the needle too.
Step 6: Depressurize and Recheck
Release pressure slowly through the tester’s bleed valve or by loosening the adapter a fraction, and wait until the gauge reads zero before you touch anything. Cracking the fitting while it is still at 15 PSI puts a jet of hot coolant across your hand and the driveway.
Fix whatever the test found, then refill and bleed the system the same way you did in step 2, with the spill-free funnel seated in the filler neck. Then run the test again on the finished job. A repair without a re-test is not finished, because a new hose clamp or a reseated water pump gasket can be weeping from the moment you tighten it.
Reinstall the radiator cap last, and reinstall the correct cap. Put the radiator cap back on with the engine cold, and never tighten a cap against a hot system.
Common Mistakes When You Pressure Test a Cooling System
- Testing a hot system. The whole point is that the engine is cold and the cap is off. Working hot risks a scald and gives you a warm system that leaks differently than a cold one.
- Exceeding the rated pressure. Going past the cap rating can split a radiator core or a plastic tank. Test to the rating, not past it.
- Fitting the wrong cap rating. A cap rated lower than the system design pressure vents coolant into the overflow tank on a normal drive and leaves you topping up forever. Read the rating before you reinstall.
- Forgetting to bleed the system. A trapped air pocket makes the gauge move on its own and reads like a slow leak. Bleed first, and the needle will sit still.
- Tightening a fitting to stop a leak. A dripping hose clamp tightened aggressively cracks the nipple and now you have two problems. Replace the clamp or the hose.
- Misreading normal movement. Thermal change, engine heat and a slightly weeping adapter all move a needle. Re-seat the fitting and re-pump before you call it a leak.
- Driving after a failed test. If the gauge dropped, you have a leak, and driving with a low coolant level moves you closer to an overheated head. Fix and refill first.
- Leaving coolant on components. A film of glycol on a belt, a pulley or a painted bracket smells sweet, attracts moisture and quietly wrecks rubber. Wipe everything dry, every time.
What a Passing Test Does Not Prove
A holding gauge is good news, not a diagnosis. It does not rule out a head gasket failure, because the classic head gasket complaint shows up as a pressure spike from combustion, not as a steady cold leak. It does not rule out a leak that only opens when the system is hot and the hoses are soft and expanded. And it does not rule out a heater core or a small internal crack that loses coolant slower than your gauge can resolve.
So if the pressure held and the coolant still disappears, work down this list. Test the radiator cap on the cap tester adapter, since a cap that passes cold and fails hot is a classic and it is the cheapest part in the system. Add UV dye, drive the car until warm, and look for a bright trail under a blacklight. Re-run the pressure test with the engine at operating temperature, or leave the tester attached overnight and check the gauge before you start the car. If the gauge is steady and the level still drops, the next step is a combustion or block test to check for gases in the cooling system, which is a different procedure and a different tool.
Frequently Asked Questions
What pressure should I use to test my cooling system?
Use the pressure printed on your radiator cap, which is usually 13-16 PSI on modern cars. The owner’s manual or service information takes priority if it gives a test pressure for your specific model. Never go above the cap rating: the cap is a spring relief valve and the system is built to a lower limit, so extra pressure can split a radiator core or a plastic tank. If you cannot find a rating anywhere, the vehicle manual is the place to look, not a generic number.
Can I pressure test a cooling system with the radiator cap installed?
No. A cap installed on the system bleeds through its relief valve at its rated pressure, so the gauge will read roughly the cap rating no matter what is wrong underneath it. Remove the cap and fit the tester adapter into the filler neck instead. The cap is worth testing separately on a cap tester adapter, because a bad cap is one of the most common and cheapest causes of a low coolant level.
How long should I hold the pressure during a cooling-system test?
Ten to fifteen minutes is enough for most work. For a slow leak, leave the tester connected 30 minutes, or overnight if the car is parked up a drive. Experienced owners often run two passes: a gentle 6-8 PSI first to reveal cap and hose weeping, then a full test at the cap rating to stress the seams and plastic tank. If the needle sits within a pound or so, you have a pass.
What does it mean if the pressure gauge drops during the test?
A steady drop means coolant is escaping somewhere. First rule out the tester: wiggle the adapter at low pressure and see whether the needle moves, because a leaking adapter is a false alarm that sends you chasing a healthy system. Then look at the cap sealing face, radiator neck fittings, hose clamps, water pump weep hole, thermostat housing and the expansion tank seam. A drop of a pound or two with nothing visible may be slow leakage or a slightly warm engine, so re-seat the fitting and re-pump before you condemn a part.
Do I need to bleed air from the cooling system before pressure testing it?
Yes. A trapped air pocket compresses as you pump and expands as you release, so the gauge moves on its own and looks like a slow leak. Bleed the system first: run the engine with the heater on maximum, the fans on high and the filler neck open, until coolant moves strongly at the neck with no bubbles, then let it cool fully before you pressurize. Refill and bleed the same way after any repair.
Can I drive after pressure testing if no leak is found?
Only if the system holds pressure and holds coolant afterward. A passing pressure test rules out an obvious leak at the moment you ran it; it does not rule out a hot-only leak, a cap that fails at operating temperature, or an internal problem such as a head gasket. Top the system to the correct level, reinstall the correct cap, then watch the level over the next few drives. If it drops again, go to a combustion or block test rather than repeating a pressure test.
Conclusion
Start with the cap rating, not a number from a forum post. The whole procedure is: cold engine, cap off, correct adapter, pump slowly to the rated pressure, watch the gauge for at least ten minutes, inspect, then bleed the pressure back to zero before you touch the fitting.
Where you work from there depends on the needle. Steady means sealed, and you refill, bleed and drive. Dropping means a leak, and you fix it and test again. Steady but the coolant still vanishes means the problem is somewhere a cold pressure test cannot see, and the next tool is a cap test, UV dye, a hot re-test and then a combustion test. Do not drive a car that is still losing coolant, and do not tighten anything to hide a weep.