

A torque spec chart is the manufacturer’s table of the exact tightening value for every fastener on a vehicle, listed with the unit, the location of the bolt, and the conditions that value assumes. Knowing how to read a torque spec chart means matching the row to your car, checking whether the number is quoted dry or lubricated, and following the sequence in the notes column before you touch the wrench.
Most of the damage I see in a weekend garage comes from a number that was read correctly but applied under the wrong conditions, or from a value lifted off a forum that was never for this engine. The chart itself is simple once you know what each column is doing. The traps are in the footnotes, the units, and the habit of trusting a generic list over the manual in your glovebox.
BMW documentation, like most European factory literature, is written in newton-metres and assumes clean, dry threads unless the notes column says otherwise. American charts tend to be in pound-feet and are often a different convention entirely. Getting comfortable with both systems is the whole trick.
Table of Contents
What Is a Torque Spec Chart?
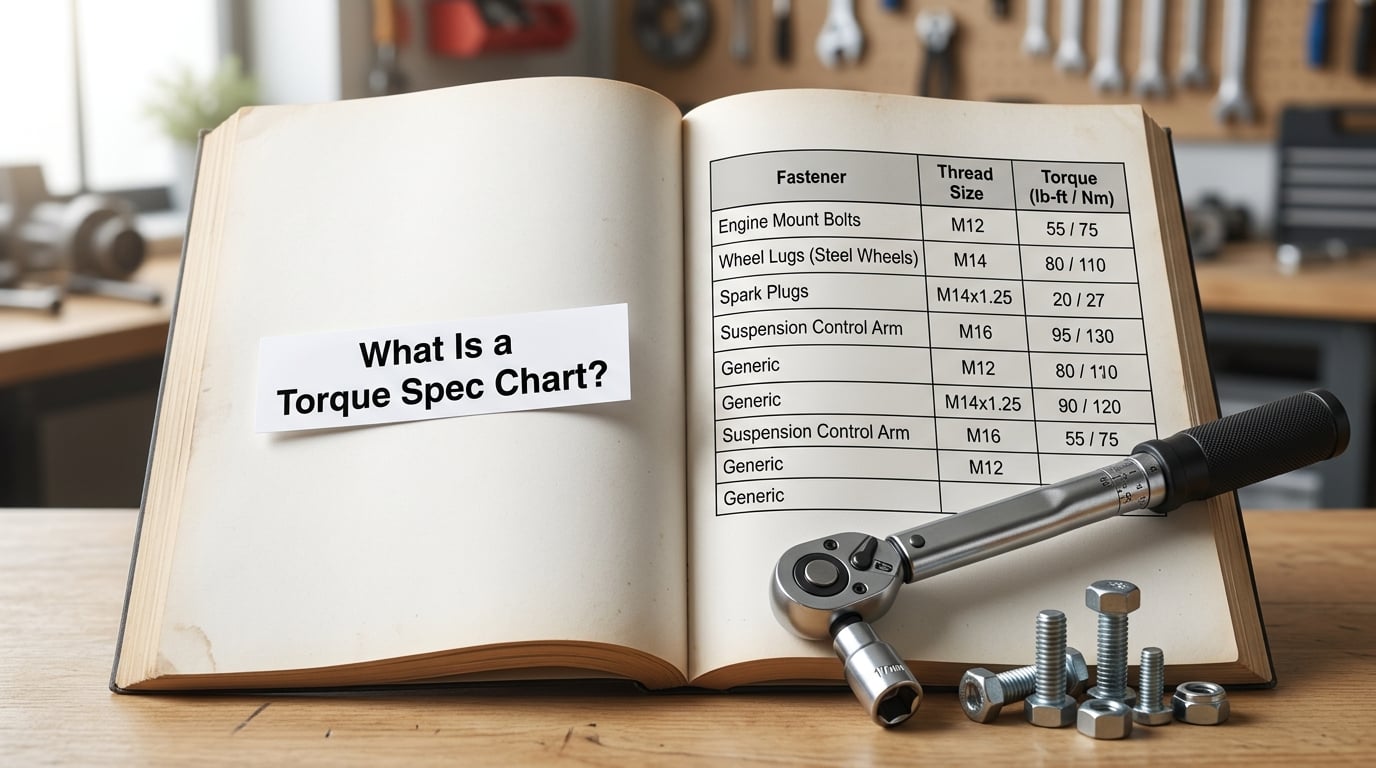
A torque spec chart is a lookup table, not a formula. It tells you the tightening torque the factory used on a named fastener, in a named unit, under stated conditions. That last part is where most mistakes start, because a number without its conditions is meaningless.
The columns are nearly always the same five, whatever the brand:
- Fastener — the bolt or nut, usually with its thread callout, such as M8x1.25 or M12x1.5.
- Location — where it lives, so you can match it to the part you’re holding.
- Torque — the value, in the unit given.
- Unit — N·m, lb-ft, lb-in or kgf·m, sometimes shown as a column heading covering the whole page.
- Notes — the conditions. Lubricated or dry, new or used fastener, plus an angle, plus a tightening order.
That last column is where the useful information hides. A row reading “65 Nm, lubricated, new bolt” and a row reading “65 Nm, dry” are two different jobs even though the number is identical, because friction in the threads eats part of the torque before it ever becomes clamping force.
How to read a torque spec chart without guessing
Ignore any number that arrives without a location, a unit, and a condition. A chart that gives you “wheel bolts: 90” and nothing else is missing the two things you need most. Manufacturer charts give all three, and the ones worth trusting are VIN- or model-year specific rather than a generic internet list.
A worked example. Here is a row in the format you’d find in a European service manual, decoded cell by cell:
| Fastener | Location | Torque | Unit | Notes |
|---|---|---|---|---|
| M12x1.5 | Wheel bolt, steel wheel | 120 | N·m | Dry threads, new bolt, star pattern in two stages |
Cell one tells you it is a metric 12 mm bolt with a 1.5 mm pitch, so a 12 mm socket and no more. Cell two is the location, and note it says steel wheel, because alloy wheels often carry a different, lower figure. Cell three is the number. Cell four is the unit, and here it’s N·m, not lb-ft, which is the 8.5x error waiting to happen if you read it as pounds.
Cell five is the one most people skip. Dry threads, new bolt, two stages, star pattern. All three instructions change the job. An illustrative layout like this one is exactly what you’re hunting for, and a chart that only supplies the number has left out the part that matters.
How to Read a Torque Spec Chart Step by Step
Confirm the vehicle first, then the source, then the row. The order matters because a correct read of the wrong chart is still wrong, and forums will happily hand you a number from a different engine.
- Pin down year, engine and trim. Torque values move between model years, engine variants and production dates. A chart that covers a range of years still has footnotes telling you where the change happened.
- Pick a source that matches the car. The owner’s manual for routine items, the factory service manual for anything structural, or a subscription repair database keyed to the VIN. A generic internet chart is a starting point for orientation, not a source of record.
- Find the row by location, not by bolt size. “Front caliper bracket” and “front caliper guide pin” can share a fastener and still carry different values.
- Confirm the unit before you do anything else. N·m, lb-ft and lb-in are not interchangeable, and lb-in is the classic 12x trap.
- Read every note on the row. Dry or lubricated, new or used, single-use, angle, sequence, sealant or compound.
- Look for exceptions nearby. Headings above and below the row, footnotes at the bottom of the page, and a “see page” reference often carry the real instruction.
- Write it down before you start. On the job, on paper. A value you have to recall from a screen while holding a ratchet is a value you’ll get wrong.
If the part name on the chart doesn’t match anything on your car, stop there. Unfamiliar wording like a specific pipe or bracket name is a strong sign you’re on the wrong page for your variant, and the safest response is to find another source rather than guess which row was meant.
What Do Torque Units Mean?
Four units cover almost every chart you’ll meet, and only two conversions matter: 1 lb-ft equals 12 lb-in, and 1 N·m equals 0.738 lb-ft. Confusing foot-pounds with inch-pounds is the most common error in the whole discipline, and it’s a 12x error, which is a snapped bolt or a stripped thread every time.
| Unit | Written | Equals | Where you’ll see it |
|---|---|---|---|
| Newton-metre | N·m | 0.738 lb-ft, 7.08 lb-in | European and Japanese factory manuals, including BMW |
| Pound-foot | lb-ft | 12 lb-in, 1.356 N·m | American charts, older workshop references |
| Pound-inch | lb-in | 0.083 lb-ft, 0.113 N·m | Small fasteners, electrical, carburettor work |
| Kilogram-metre | kgf·m | 9.81 N·m, 7.24 lb-ft | Older European and Japanese charts |
The kgf·m line catches people out. A legacy figure of 1.5 kgf·m is about 14.7 N·m, not 1.5 N·m, so copying the digits across without converting under-torques by a factor of ten.
Some conversions worth memorising, because they cover most of what you’ll tighten: 100 N·m is roughly 74 lb-ft, 200 N·m is about 148 lb-ft, and 400 N·m is close to 295 lb-ft. A chart giving 500 lb-ft is a serious figure, well beyond what a hand tool applies without help.
Why Does the Torque Value Change?
Because torque is partly spent overcoming thread friction rather than creating clamp. The factory picked a number that produces a specific clamping force under the friction conditions it assumed, and anything that changes friction changes the answer.
Thread condition is the big one. Dry, clean threads give one figure; threads that are oiled, waxed or coated give another, and lubricated values are commonly quoted 20 to 30 percent lower than dry ones for the same preload. If a chart says lubricated and you torque it dry, you land high. The reverse is just as bad: torque a lubricated spec on dry threads and the joint is loose the moment it heats up.
Thread diameter and pitch change the friction in a way that isn’t linear, which is why you can’t scale a value up from one bolt size to the next. The pitch callout in the chart, like M8x1.25, is there for that reason.
Fastener grade matters too. The same thread size in a different grade has a different yield strength, so a high-strength bolt takes more torque to reach the same preload, and a stretch bolt behaves differently again. Bolt length changes stiffness, which nudges the result. Condition of the fastener is a factor too, and a reused bolt is generally specified lower than a new one.
Finally, some values are the first stage of a sequence rather than the finish. A head bolt torqued to 30 N·m plus 90 degrees is not finished at 30 N·m.
How to Use a Torque Wrench Correctly
Match the wrench to the range, set it properly, pull smoothly, and stop at the click. Everything else is detail. A wrench used well is accurate well past the end of its scale; a wrench used badly is a guess with a click in it.
| Type | How it works | Accuracy | Best for |
|---|---|---|---|
| Beam | Pointer deflects against a calibrated spring scale | About ±2 percent, needs a steady hand | Small jobs, frequent setting changes |
| Click | Audible and tactile signal at the set value | Usually ±4 percent of indicated | General use, the workshop default |
| Micrometer | Scale reads continuously like a micrometer | ±2 percent or better | Repeatable production-style work |
| Dial | Needle gauge on the handle | Poor, affected by hand motion | Checking, not final tightening |
| Digital | Numeric readout, some log peak values | ±2 to 4 percent | Tracking angle, shared use, records |
| Hydraulic | Fluid pressure multiplies the input | High when correctly rated | Values beyond hand-tool capacity |
Every one of those wrenches is most accurate in the middle of its range and least accurate at the bottom and top ends, so pick the size that puts your value near the middle. A 50 to 250 N·m wrench for a 30 N·m job is working at the worst end of its scale. As a guide, the top of a wrench range is roughly the point where you’d no longer trust a hand to sense the setting.
Setting a click-type wrench correctly takes four things: unlock the handle, turn it to the value, lock it again, and check the setting on a straight edge with the handle closed. Set it on the pull rather than the push, because a click on the reverse stroke tells you nothing useful.
Then the sequence. Seat the socket squarely, pull in one smooth motion with your hand over the handle rather than halfway down it, and stop the instant you hear or feel the click. Don’t keep pulling to “make sure,” don’t bounce it back and forth, and don’t use an impact gun to run fasteners down to spec. Once done, return the handle to its lowest setting so the internal spring relaxes. Forum regulars point out the same handful of failures repeatedly: extensions, crow’s foot adapters, impact wrenches, and a wrench left at a high setting and treated as a breaker bar next weekend.
As a rough sanity check before you reach for the tool, this is roughly what common values feel like on a 3/8-inch breaker bar:
| Value | lb-ft equivalent | Rough feel |
|---|---|---|
| 10 N·m | 7 lb-ft | Firm hand tightening |
| 25 N·m | 18 lb-ft | Snug with a short bar |
| 40 N·m | 30 lb-ft | Firm pull, no weight behind it |
| 65 N·m | 48 lb-ft | Using your weight, both hands |
| 100 N·m | 74 lb-ft | Short bar, both hands, deliberate |
| 200 N·m | 148 lb-ft | Longer bar or a multiplier |
| 400 N·m | 295 lb-ft | Multiplier or hydraulic wrench |
Use that as a smell test, not a measurement. The point is to catch a decimal-point disaster before you load a head bolt with five times the intended value.
How to Handle Special Torque Instructions
Some rows aren’t a number, they’re a procedure. Those are the ones to read twice.
Staged tightening. The value is a first stage, not the finish. A two-stage sequence on a wheel or head bolt runs an initial snug pass, then a final pass at the specified angle or a second higher value, always in the same star pattern. Skipping the first stage is how you get an uneven clamp.
Torque and angle. This is the torque-to-yield method used on modern head bolts and many alloy fasteners. You tighten to an initial torque, then rotate the fastener a further number of degrees, commonly 90 or 120. The angle stretches the bolt to put a near-constant clamping force into the joint, which removes the scatter caused by friction. The reason for it shows up in the forum thread that asks why 30 N·m plus 90 degrees exists: because that method produces a repeatable preload without depending on how the threads happened to be lubricated.
Single-use fasteners. Stretch bolts are deformed by design and cannot be reused. A torque-and-angle procedure also relies on a fastener that hasn’t already been stretched. If the manual says new bolt only, replacing it is part of the procedure, not an extra.
Locking compounds and sealers. A chemical threadlocker, a nylon patch or a wet sealer all change the friction, and the chart’s number already accounts for it if the note says so. Threadlocker is often a separate spec line from the main torque value, so check both.
Re-torque intervals. Head bolts and main bearing caps on some engines are checked again after a heat cycle or a break-in drive, and wheel nuts get a re-check after the first 50 to 100 kilometres. The chart or the manual will state the interval and the angle or value for the second pass.
Whatever the instruction, the vehicle-specific service manual wins over any chart you found online, and over anything a stranger posted with a photo of their own car.
Frequently Asked Questions
How do I find torque specs if the owner’s manual doesn’t list them?
The owner’s manual normally covers routine items such as wheel nuts, oil drain plugs and spark plugs. For anything structural, go to the factory service manual for your exact year and engine, or a repair database keyed to the VIN. Check the model-year change points in the footnotes, because the same fastener can change value mid-production.
What does the plus or minus next to a torque spec mean?
It’s a tolerance band around the target. A value written as 226 ± 29 lb-ft means 226 is the intended figure and anything from 197 to 255 lb-ft falls inside the acceptable range. It is not permission to aim high, and it does not mean the fastener can be reused repeatedly without checking condition.
Why are some bolts torqued to 30 Nm plus 90 degrees?
That is a torque-and-angle procedure. The bolt is first snugged to 30 Nm, then rotated a further 90 degrees, which stretches it to its yield point and lays in a near-constant clamping force. The method exists because friction varies more than bolt strength, so the angle gives a more repeatable preload than a torque value alone.
What is the 20 rule for torque wrenches?
It’s a quick way to set the upper limit for a click-type wrench without over-straining it. Multiply the maximum ft-lb figure on the wrench by 20 to get the highest in-lb setting you should apply by hand. A 50 ft-lb wrench therefore tops out at 1000 in-lb for hand work.
Do I really need a torque wrench for wheel nuts?
Yes. Wheel studs stretch under load, and a wheel that has lost clamping force gets noisy, wears the studs and can let go. Use a torque wrench for the final pass, tighten in a star pattern, and re-check after the first 50 to 100 kilometres. Many people use an impact gun to break the nuts loose, then finish by hand with the wrench.
Is 100 ft-lb of torque a lot?
It’s firm but well within reach of a 3/8-inch drive on a short breaker bar, using both hands and your weight rather than a hard pull. Around 200 ft-lb wants a longer bar, and 300 ft-lb or more should go to a torque multiplier or a hydraulic wrench. For comparison, 100 ft-lb is about 136 N·m.
Conclusion
Start with the row, not the number. Match the location to the part in your hand, read the unit out loud so you don’t swap N·m and lb-ft, then read the notes column for thread condition, fastener type, sequence and any angle. If any of those three don’t match what you actually have, the spec doesn’t apply to your car yet.
Use a wrench in the right range, calibrated and recently checked, set on the pull, stopped at the click. Write the value down before you start rather than after you finish. And when the manual and an internet chart disagree, the manual is right, every time.
Reviewed for accuracy in 2026. Always confirm values against the service manual for your exact model year and engine.