
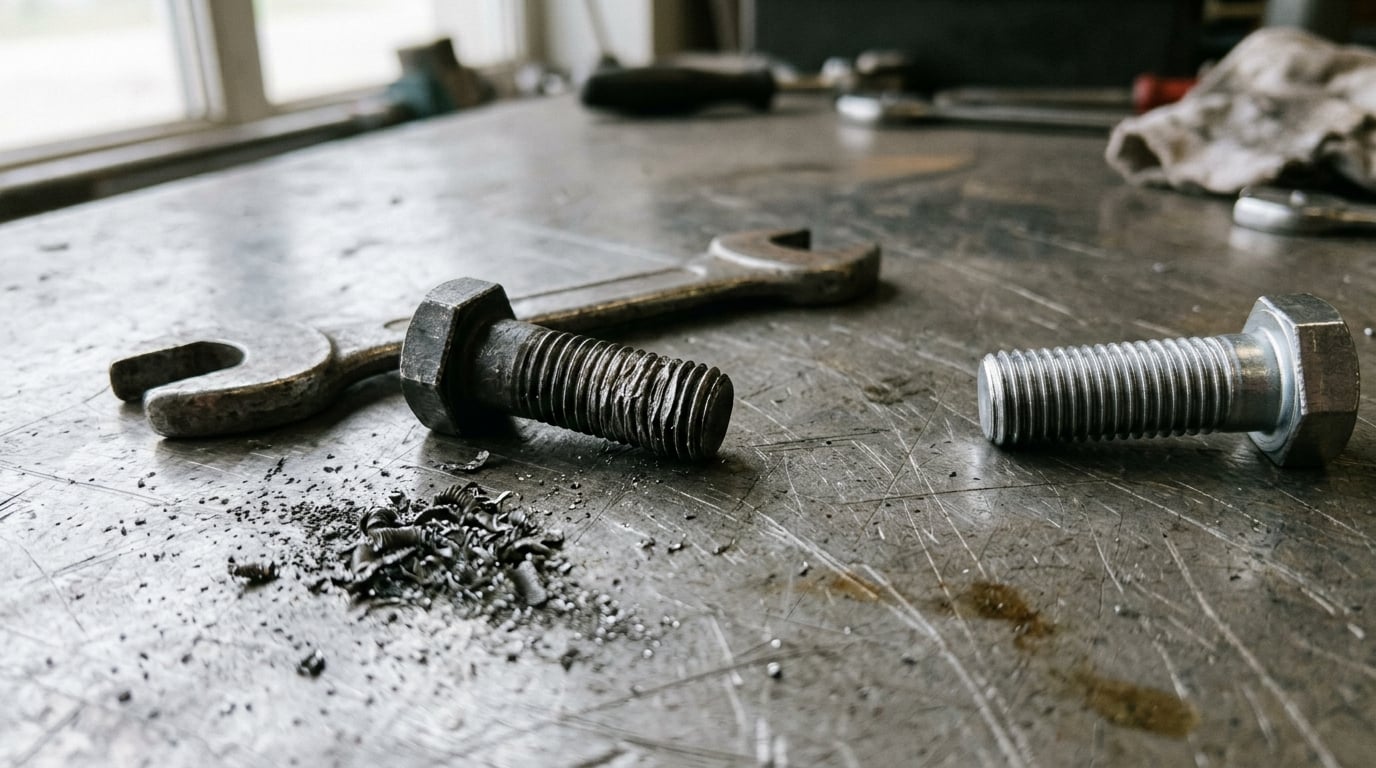
Overtightening a bolt means applying more torque than the fastener or the parts it clamps can safely take. Four things typically follow: the bolt stretches and can break, the threads strip, the clamped parts crack or crush, and the bolt seizes so badly it becomes a nightmare to remove. Most of the time, a small overshoot is survivable.
That last sentence is the one people want to hear after they’ve already done it. It is also true most of the time. A caliper bolt torqued to 55 N&m;m when the book said 45 is not an emergency, and one rider on r/Fixxit found exactly that after over-torquing a 2008 CBR600RR front caliper mount by 10 N&m;m: the bolt held, it re-torqued to spec cleanly, and a Sharpie witness mark across the head stayed aligned.
What matters is whether the bolt went past its yield point, and which of the four failure modes you got. Let’s get into the mechanics so you can tell which one you’re looking at.
Table of Contents
- What Happens If You Overtighten a Bolt?
- Why Overtightening Can Fail Differently by Fastener
- What Are the Warning Signs of an Overtightened Bolt?
- Why Does Overtightening Sometimes Not Cause an Immediate Failure?
- What Should You Do If You Think You Overtightened a Bolt?
- Can You Fix a Stripped or Stretched Bolt?
- How to Prevent Overtightening in Future
- Frequently Asked Questions
- Will an overtightened bolt break immediately?
- Is it safe to loosen a bolt that may be overtightened?
- How do I know if a stripped bolt head can be removed?
- Does rust or corrosion increase the danger of an overtightened bolt?
- Can I use a slightly higher torque to compensate for stripped threads?
- Should I replace a stretched head bolt even if it still tightens?
- What to Do First
What Happens If You Overtighten a Bolt?
Here is the short version, in the four categories that cover almost every case you will run into.
Stretching and breaking. Steel stretches a small, normal amount every time you tighten a bolt. Push past the yield strength and that stretch becomes permanent. The shank necks down, and the bolt is now weaker at that point than anywhere else along its length. It snaps there, usually with a sound that gets described in forums as snapping “like a carrot.”
Stripped threads. Too much torque ramps up the load on the first engaged thread, and the flanks of the threads get sheared off. You find out when the bolt spins freely and will not hold any torque at all. This is the single most common overtightening result in home garages because the thread is almost always the weaker of the two materials.
Damaged parts. The bolt is rarely the first thing to give. Soft clamped material, thin aluminum castings, gaskets, crush washers and locking tabs all crack or deform before the steel does. On a head gasket application, an overshoot can distort the gasket so the seal never recovers, and you get a leak that shows up weeks later under heat.
Hard removal. Over-torqued hardware frequently welds itself to the part it passes through. Corrosion, anti-seize migration and thread galling all speed this up. The bolt is fine structurally and completely useless to work on.
What Happens If You Overtighten a Bolt During Assembly?
Torque becomes clamp load, and the link between them is much weaker than most people assume. Roughly half of the torque you apply goes into friction in the threads rather than into stretching the bolt. That fraction changes with lubrication, surface condition, thread pitch and whether the mating part is steel, aluminum or cast iron. Two bolts with the same torque value can hold two very different clamp loads.
Here is the sequence, in order:
- Clamp load rises between the bolt head and the nut or tapped hole as you turn the wrench.
- The bolt stretches elastically. This is fine and intended. It is why a properly torqued head bolt stays tight through heat cycles.
- The threads start to carry most of the load instead of the shank. This is why stripping usually happens in the first few threads, not deep in the hole.
- At the yield point, the metal stops springing back. It deforms permanently and the shank diameter drops slightly.
- Past yield, every extra turn buys you almost nothing in clamp load but adds a lot of thread shear and material stress.
- Eventually something gives: the head strips, the threads shear, the clamped part cracks, or the shank necks through and snaps.
One thing worth knowing: some of that behavior is measurable before anything breaks. A user on the HybridZ forum pointed out that a bolt about to fail feels different on the wrench, the torque required to turn it softens slightly and then softens again as the shank necks. It is a real feel-based warning sign, and experienced mechanics trust it even though they cannot explain it on paper.
Why Overtightening Can Fail Differently by Fastener
The failure mode you get depends almost entirely on which material is weaker at the joint. Steel into steel gives you a small margin, because both sides have similar strength. Everything involving aluminum, plastic or a thin casting gives you almost none, because the threads will strip before the bolt shows any sign at all.
| Fastener type | What fails first | Why | Damage to look for |
|---|---|---|---|
| Standard steel bolt into steel (grade 8.8 or similar) | Shank necks and eventually breaks, or the head rounds | Both sides have comparable strength, so load concentrates in the bolt itself once thread capacity is exceeded | Narrowed shank section, cracked paint line at the head, deformed head corners |
| Steel bolt into an aluminum housing | Internal threads strip | Aluminum has roughly half the shear strength of steel and a much softer flank, so it shears off first | Burred, oversized hole, threads that feel mushy, bolt with no purchase |
| Stud and nut assembly | Stud breaks at the nut face or in the tapped hole | Two engaged thread flanks carry the load and the stud has no head to take the crushing reaction | Crack at the first engaged thread, nut that will not thread smoothly |
| Structural bolt, short grip length | Bolt fracture, joint failure | A short grip concentrates plastic strain onto a short thread run, exactly what happened in the CROSS bridge case | Thread damage, bolt that turned far past the mark |
| Plastic insert or composite housing | Insert strips or cracks out | Thermoplastics creep and lose preload under heat long before any metal yields | Cracked boss, insert turning with the bolt, soft entry threads |
The CROSS safety report on a fallen bridge deck support is the version of this that keeps engineers up. A roughly 7 tonne steel support frame fell about 21 metres after M16 grade 8.8 bolts were over-tightened with an air impact wrench. The panel’s conclusion was not that someone was careless, but that the torque-tension relationship in bolts is unreliable, because thread friction is uncertain and a short grip length concentrates plastic strain on a very short thread run.
What Are the Warning Signs of an Overtightened Bolt?
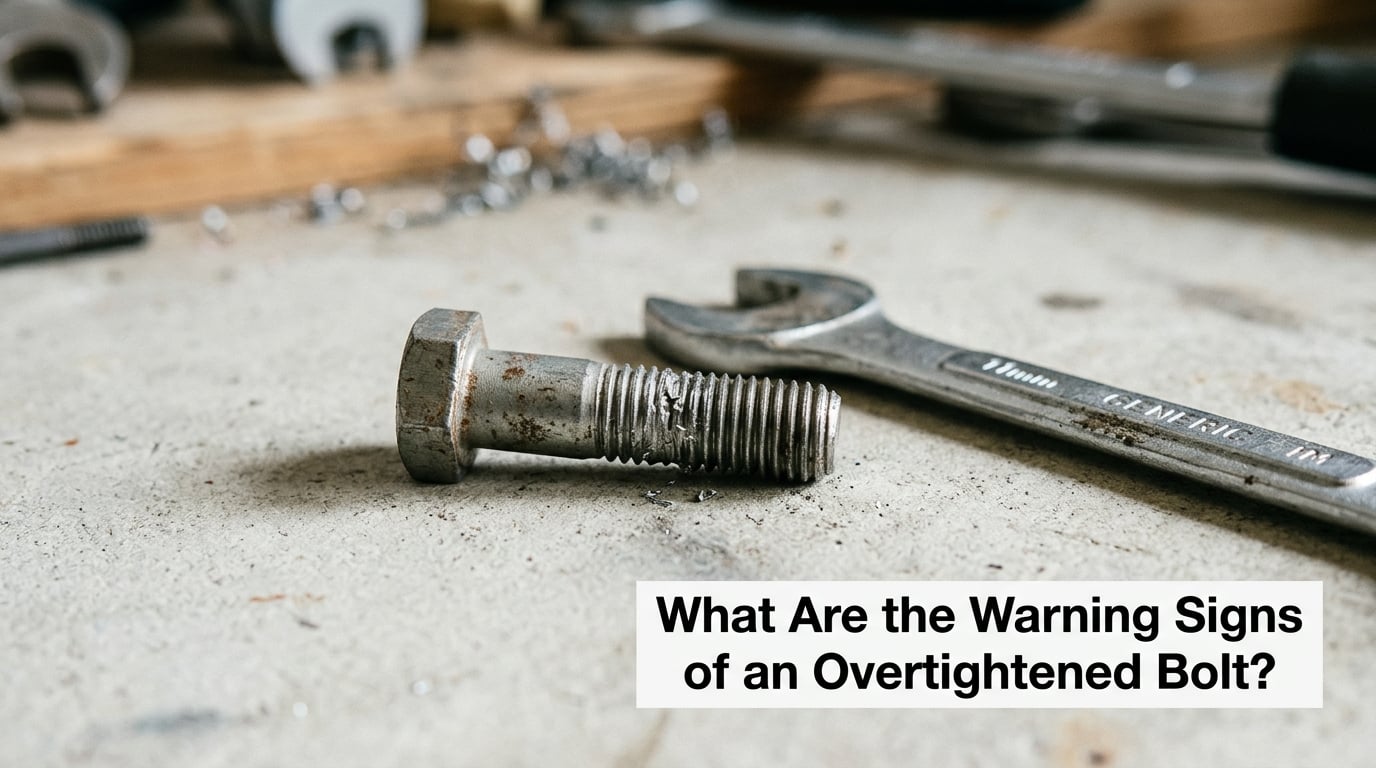
Most of the time the bolt looks fine, which is the problem. The signs that do show up fall into two groups: what you can see, and what you can feel.
Visible signs:
- Thread flanks that are shiny, burred or rounded instead of flat, on either the bolt or the tapped hole.
- A bolt head with rounded or chewed corners, or a head sitting proud of the surface because the material under it crushed.
- A crack radiating outward from the head, especially a thin one that follows the paint line.
- Witness marks out of alignment. If you marked the head and the part before tightening, any rotation now is unmeasured rotation.
- Gasket squeeze-out, a distorted flange, or a gap that opened at the sealing face.
- Discoloration or a slight bulge on the shank right where it enters the clamped material.
Signs you feel during tightening or removal:
- The wrench torque goes soft and then softens further, which is the necks-down warning from the HybridZ thread.
- The bolt spins without resistance, or the wrench slips off the head because the flats are already rounded.
- A grinding or rasping noise instead of the smooth tightening feel you know.
- The head turns but the bolt does not move, which means the threads are stripped, not the bolt head.
One more functional sign: a joint that keeps loosening. If you tightened a fastener to spec and it relaxes under normal vibration, it was almost certainly under-torqued rather than over-torqued. That distinction matters, because over-torquing usually produces a bolt that stays tight right up until it does not.
Why Does Overtightening Sometimes Not Cause an Immediate Failure?
A torque spec is normally set well below the fastener’s yield point, with margin for the unknowns in the torque-tension relationship. Go modestly past spec and the bolt is still in the elastic range. It stretches, holds its clamp load, and behaves exactly like a correctly torqued bolt, because mechanically that is what it still is.
Beyond yield, a bolt does not instantly break. It holds a large amount of static load well past the point where it stopped being elastic, and it keeps most of that strength until the necking gets severe. The bolt has simply built up a fatigue deficit. Every subsequent load cycle works on that deficit, and vibration, road shock and thermal expansion spend it down.
That is why the failure timing feels random. A stretched head bolt can run for thousands of miles and then let go on a cold morning with no warning, or it can hold indefinitely. If the joint sees heat, the outcome is worse, because a bolt that has lost its elasticity can no longer absorb the expansion of the parts it clamps.
Corrosion shortens that timeline considerably. A damaged or deformed thread flank concentrates load, and rust adds wedging force on top of it. Under-torqued bolts also get loose and then rattle themselves into a damaged state, which is how some seized bolts started life as merely loose ones.
And the honest part: sometimes overtightening is the less dangerous mistake. An under-torqued wheel fastener can back off rotationally and eventually leave the wheel loose, which is a far more common outcome than an over-torqued one that shears. There is no forgiving direction here, just different consequences, which is why the table above separates them instead of ranking them.
What Should You Do If You Think You Overtightened a Bolt?
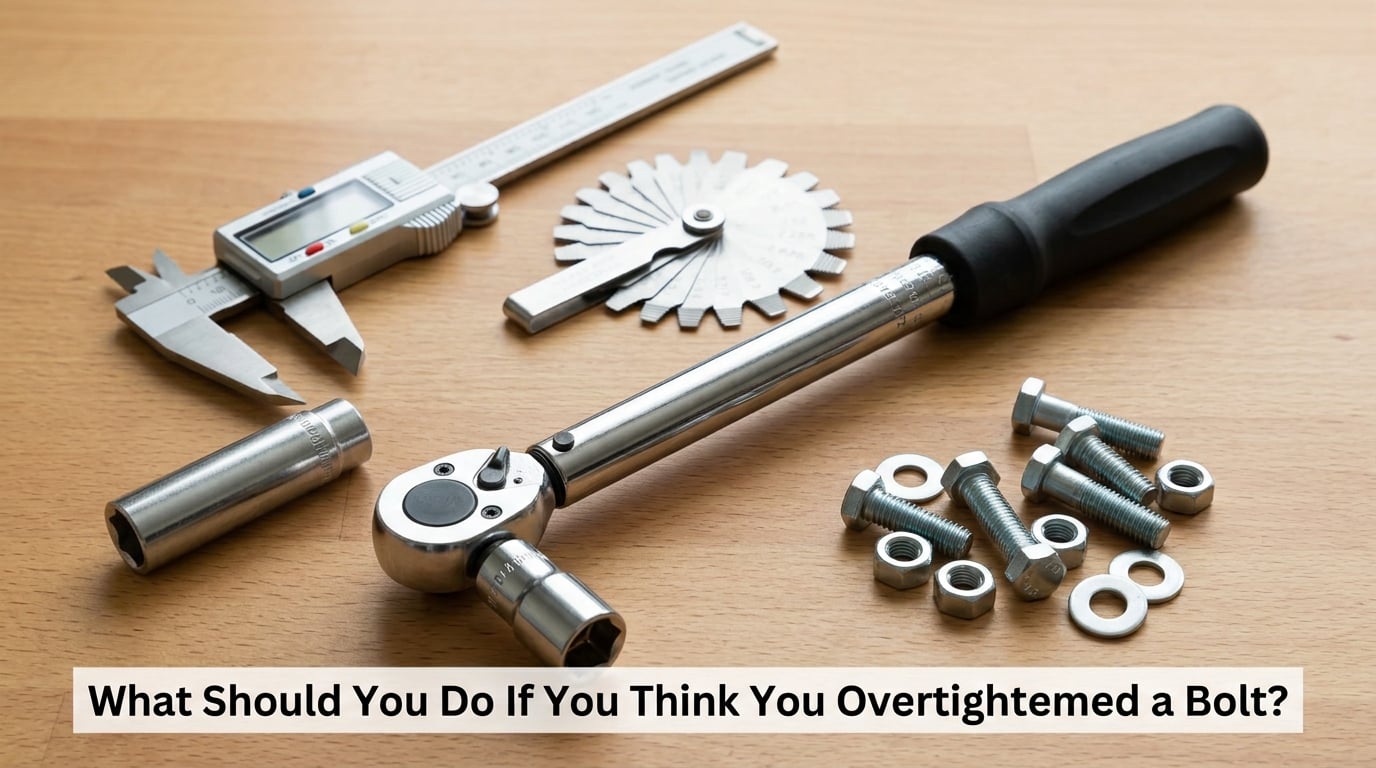
Stop putting torque on it. That is the first and most important step, and the instinct to “check it again” is what turns a small overshoot into a stripped head.
- Stop and do not add more torque. Back the tool off, and do not re-tighten to spec yet, because re-tightening a yielded bolt adds a second load cycle to metal that is already damaged.
- Identify the fastener and both materials. Find out whether you were in steel, an aluminum casting or a tapped hole, because that determines what damage is even possible.
- Get the real specification. The service manual for your vehicle beats a generic torque chart, a forum post and a parts catalog listing. If the spec is in N&m;m, do not convert it into ft-lb from memory and then back again.
- Inspect the threads. Run a thread gauge through the tapped hole if you have one, or look at the flanks under light for shine, burrs and a rounded crest. A stripped hole will not hold torque no matter what you do to it.
- Inspect the head and the shank. Check for cracks around the head, a visibly narrowed shank, and rounded head flats. A bolt that has necked does not go back into service.
- Check the clamped parts. Look for a cracked flange, a distorted sealing face, a gasket that has been pushed out of its groove or a crush washer that has collapsed.
- Only then decide: reuse, repair or replace. A bolt that reached yield is generally a replace-it item if the manual calls for a torque-to-yield fastener, and a serviceable reuse item if it is a conventional stretch-tolerance bolt that never left the elastic range.
Removing a bolt that will not budge is a separate job. Work up the ladder: soak it with penetrating oil and leave it overnight, try a six-point wrench that actually fits the head rather than an open-end that rounds the corners, add a breaker bar for leverage, then controlled heat on the fastener only while the surrounding part is shielded, then an extractor for the case where it has already snapped off.
If a bolt snaps off flush, no wrench is going to save you. The realistic options are an extractor, a stud and a socket-weld kit that lets you spin the new fastener out from behind, or heating the part around the stub until the metal grows enough to free it. Epoxy and hammer tricks are for stories, not for assemblies you need to trust.
Can You Fix a Stripped or Stretched Bolt?
It depends entirely on which of the two problems you have, and they are not treated the same way.
Cosmetic thread damage. If the flanks are shiny or lightly burred but the hole still has full engagement, you are usually fine. Run a tap through the hole, clean the bolt, apply the correct anti-seize or thread compound, and torque to spec. This is a normal maintenance outcome, not damage.
A stripped hole. Once the flanks are gone and the hole is oversized, no amount of extra torque restores the joint. A thread repair kit, which is an insert matched to the thread size and pitch, is a legitimate fix for a structural or high-load hole that is otherwise in good condition. Installed to the maker’s instructions and torqued correctly, it restores full capacity. It is not appropriate everywhere, and it is not a substitute for a new bolt.
A stretched or necked bolt. This is where repair stops being an option. Plastic deformation does not reverse. If the shank has necked, if there is any crack around the head, or if the fastener is specified as torque-to-yield or is a torque-to-yield-plus-90-degree head bolt, replace it. A head bolt is a structural fastener inside an engine, and the cost of a new one is trivial compared to finding out otherwise.
The general rule: you can usually repair the part that was weaker, and you should almost always replace the bolt.
How to Prevent Overtightening in Future
Most over-torquing is avoidable with a handful of habits rather than special tools.
Use a calibrated torque wrench, and set it to the real specification. A click-type torque wrench is a proper tool, not a luxury. Check that it has been calibrated or return-tested, and store it without the ratchet head under load.
Follow the vehicle service procedure rather than a generic chart. Multi-bolt assemblies have a specific order and a specific sequence of increasing values, and tightening them in the wrong order is a good way to warp whatever you are clamping. Many procedures also specify a final angle increment after an initial torque, which a torque wrench alone will not give you.
Watch the lubrication state. Torque specs are almost always quoted for a specific condition, usually dry threads with anti-seize applied unless the manual says otherwise. Lubricated threads need meaningfully less torque to reach the same clamp load, typically 10 to 20 percent less. Applying a general-purpose anti-seize to a spec that assumed dry threads is one of the most reliable ways to overtake it.
Tighten in stages. Snug, then partial, then final. It costs a minute and it evens out the load across the joint, which is the entire point of a multi-bolt pattern.
Treat impact wrenches as removal tools. An air or electric impact gun delivers a far higher peak torque than its rating suggests, and its backlash makes the actual breakaway torque unpredictable. It is the tool most directly implicated in the CROSS report. Use it to break a seized fastener loose, then finish with a torque wrench.
Mark your bolts before tightening. A paint mark across the head and the part is the cheapest damage-assessment tool you own, and it tells you whether the joint has rotated at all.
For structural connections, torque control is the wrong system. High Strength Friction Grip bolts, tension control bolts with load-indicating washers, and direct tension control methods all verify the load rather than assuming it from a turn count. BS EN 14399 covers the structural bolting assemblies. If your project is load-bearing, have the connection designed and specified by a competent engineer rather than copying a torque figure.
And know when to stop. Head bolts, connecting rods, brake caliper mounts, suspension fasteners and anything structural are jobs where guessing is expensive. A torque wrench and the correct service data take ten minutes; a snapped head bolt takes the whole weekend.
Frequently Asked Questions
Will an overtightened bolt break immediately?
Usually not. A modestly over-torqued steel bolt usually stays in the elastic range, holds its clamp load and behaves like a correctly torqued one. Past yield it will not break on the spot either, but it necks down and builds a fatigue deficit, so it becomes weaker and can fail later under vibration or heat. Cracking around the head, a narrowed shank or a bolt that turns but will not hold torque mean it should be replaced now.
Is it safe to loosen a bolt that may be overtightened?
Loosening is generally safe, but do it deliberately. Support the part so nothing drops or shifts when the bolt releases, mark the head position first, and break it loose in small increments so you can feel the point where resistance changes. That drop in resistance is roughly where the preload was. If the bolt is head-bound, the head may stay against the surface and turn instead, which usually means the threads or the clamped material are damaged.
How do I know if a stripped bolt head can be removed?
Try a six-point socket that fully engages the head before assuming anything. If the socket bottoms out and the bolt still will not turn, the head is rounded. Next, soak it with penetrating oil, add a breaker bar for leverage, and use controlled heat on the head while shielding the surrounding part. If the head shears off flush, you are into extractor or stud-extraction territory, and drilling with a bit smaller than the bolt often makes it worse.
Does rust or corrosion increase the danger of an overtightened bolt?
Yes. Corrosion adds load to already damaged thread flanks and makes removal dramatically harder, which is how an over-torqued bolt turns into a seized one. Rust also removes material from the mating surface, so the remaining threads carry a higher share of the load than they were designed for. On any bolt you plan to leave in service, clean the threads, apply the specified anti-seize and torque to the specified condition.
Can I use a slightly higher torque to compensate for stripped threads?
No, and this is the mistake that turns a repairable hole into a written-off part. Higher torque on stripped threads just spins the bolt and cuts more material out of the hole. The joint either holds properly through new threads or a thread repair insert, or it does not hold at all. If the fastener is specified as torque-to-yield, an insert will not give you the stretch the design depends on, so the correct answer there is a new hole, a new part or professional help.
Should I replace a stretched head bolt even if it still tightens?
Replace it. A stretched head bolt has left the elastic range, which means the metal has permanently deformed and will not return to its original length. It has lost the ability to absorb the thermal expansion of the cylinder head, so the joint loosens under heat even though it feels tight cold. Head bolts are cheap relative to the cost of a stripped head or a failed gasket, and most service procedures treat them as single-use once yield torque is applied.
What to Do First
Stop turning. Put the wrench down, do not go back for another pull to “make sure,” and find the real specification for that fastener before you touch it again.
Then inspect rather than assume. Look at the threads, the head and the parts being clamped, and check whether the bolt is still in its elastic range. If it is a small overshoot on a steel bolt that never yielded, it is almost certainly fine, and you can torque it correctly and carry on. If it shows a crack, a narrowed shank, a rounded head or a stripped hole, replace it and inspect the mating part before you reassemble.