
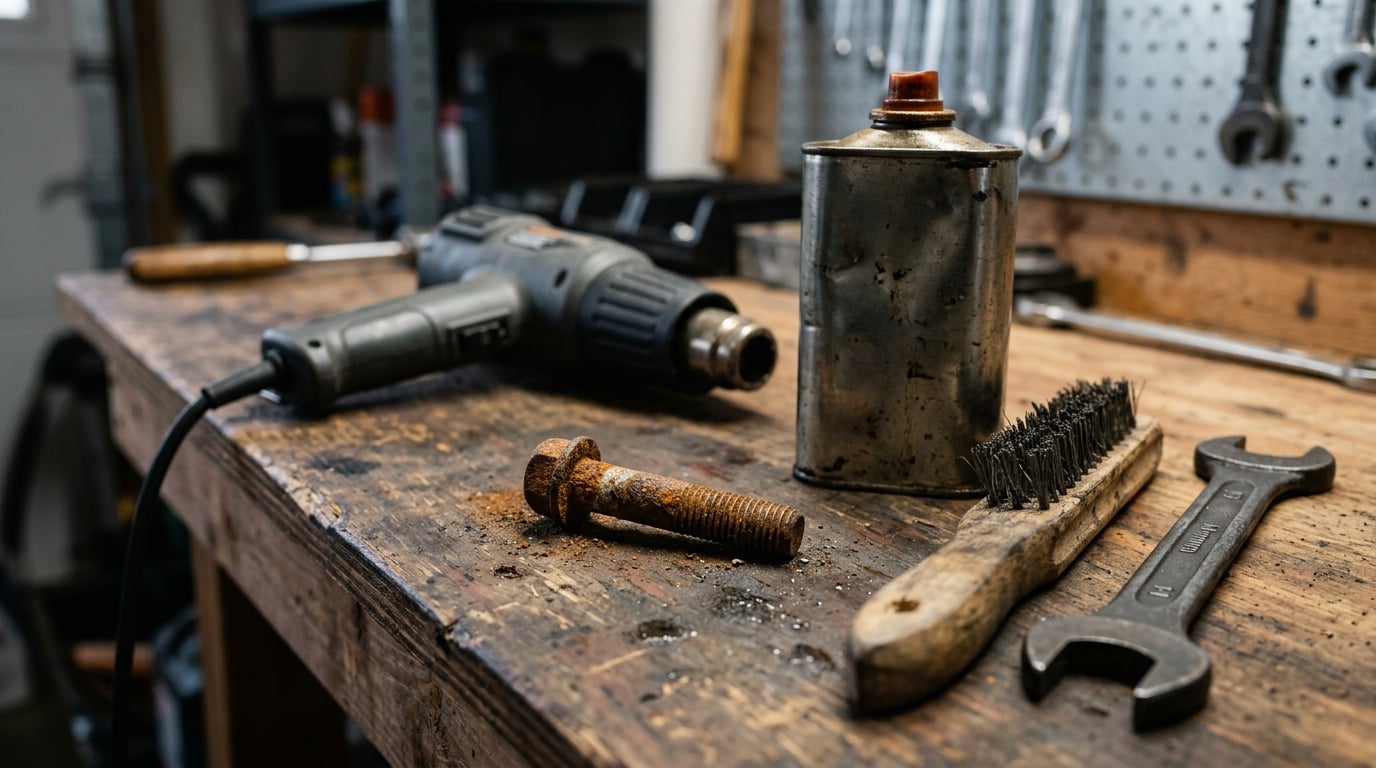
Penetrating oil frees a seized bolt by wicking into the microscopic gap between two rusted metal surfaces, disrupting the corrosion that bonded them and lubricating the joint so it can move. Used correctly, the process is simple: clean the joint, aim the nozzle into the seam where the fastener enters the hole, let it soak for anywhere from 15 minutes to overnight, then turn it with a correct-fit wrench in the loosening direction.
That last part is the one people skip. A correct application needs a fraction of the force a seized bolt usually demands, and the whole point is that you are not applying that force. Snap a bolt off or strip its threads and you have turned a five-minute job into extracting damaged steel.
Regulars on r/DIY put it plainly: the spray helps most of the time in about 15 minutes, and the top tip in that thread was to spray the joint a couple of times the night before and use an impact gun alongside the penetrant. Overnight results beat 15-minute results more often than not. This guide is 2026‘s version of the method that actually works, in the order that gives you the best odds.
Table of Contents
- What You Need
- Step-by-Step: How to Use Penetrating Oil the Right Way
- Identify the Fastener and Check the Surrounding Parts
- Clean the Joint and Choose the Right Penetrating Oil
- Apply Penetrating Oil to the Correct Entry Point
- Let the Oil Soak Before Applying Force
- Break the Joint Loose Gradually
- Repeat or Escalate if the Fastener Will Not Move
- Clean Up and Protect the Repaired Fastener
- Common Mistakes
- Frequently Asked Questions
- How long should penetrating oil sit before trying to remove a bolt?
- Can penetrating oil be used on aluminum or stainless-steel fasteners?
- Is penetrating oil the same as regular lubricating oil?
- Does heating a seized bolt help penetrating oil work better?
- How much penetrating oil should I put on a rusty bolt?
- When is a seized fastener better removed or replaced professionally?
- Conclusion
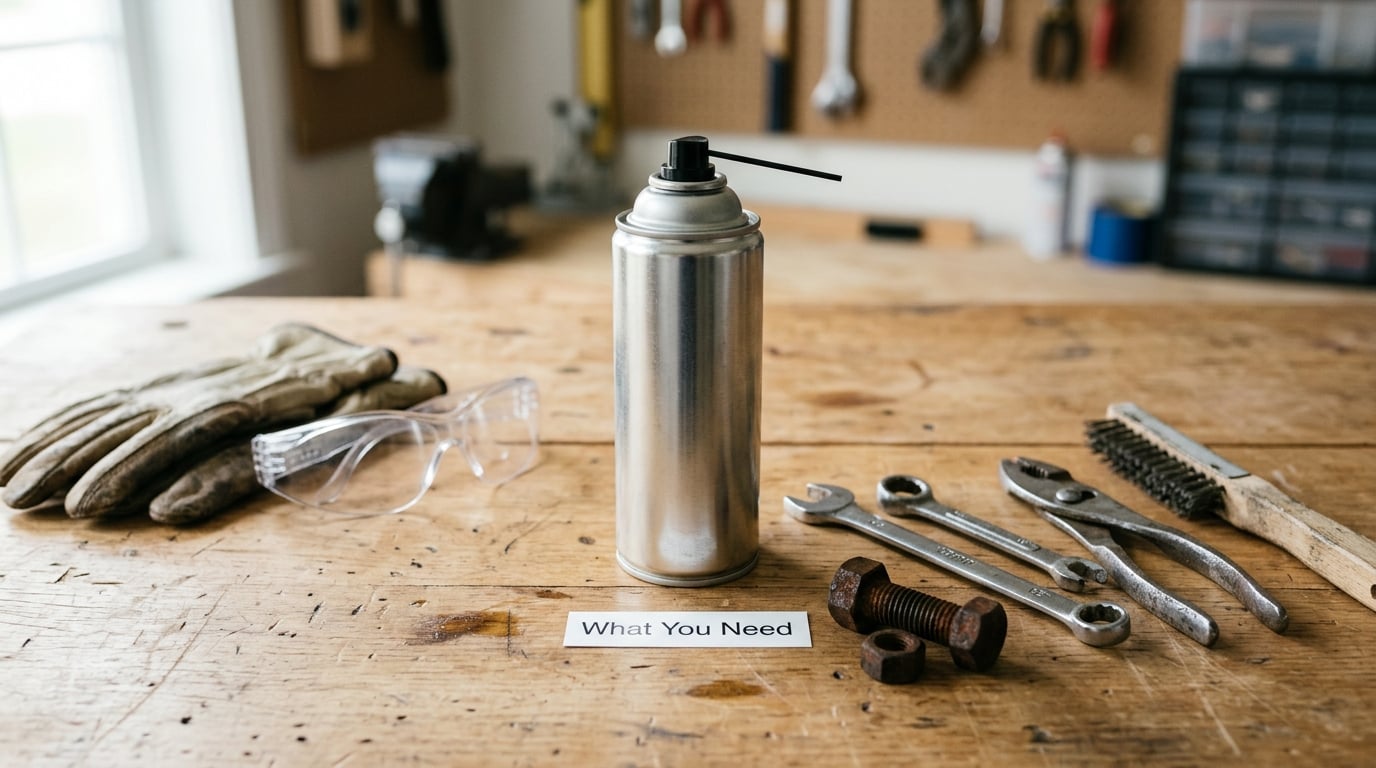
What You Need
The oil matters less than the technique, but not so much that any can will do. A true penetrant is a low-viscosity formula built from four things: solvents that carry the fluid into the crevice, chemical reactants that attack the rust, a lubricant base that reduces friction, and additives. That low viscosity and low surface tension are what let it creep along threads by capillary action rather than bead up on the surface.
Four chemistries show up in the aisle, and they are not interchangeable. Straight penetrants are the conventional oil-and-solvent blend and handle most automotive work. Synthetic formulations flow better and suit tighter tolerances. Water-soluble emulsions rinse away with water, which matters around food-adjacent equipment and marine hardware. Micro-dispersant formulas carry solid particles such as graphite or PTFE that stay put under load, and they tend to outperform straight oils on badly seized fasteners.
A general-purpose spray lubricant is not on that list, and confusing the two is the single most common reason people conclude penetrant does not work. Water-displacing multi-use sprays are built to sit on a surface, not crawl into a seized thread gap. If a bolt is truly seized, you want a product labelled as a penetrant.
Now the tools. You need a wrench that fits the fastener exactly, because a loose-fitting wrench rounds the head and you lose all your leverage. A wire brush and a degreaser or solvent handle preparation. Pliers for nuts and clips. A brass or copper hammer for tapping, a heat gun if the joint is badly scaled, and an impact wrench as a last resort. A socket set covers more fasteners than an adjustable wrench ever will.
Add nitrile gloves, eye protection, and a rag or two. Work outdoors or in a well-ventilated space, because the solvents are volatile and flammable. Never put a flame to a fastener you have just sprayed. Never spray into an electrical enclosure, and keep the can away from rubber, plastics and painted surfaces, all of which the solvents can swell, stain or soften. If a silicone or PTFE product is what the plastic part calls for, use that instead.
Step-by-Step: How to Use Penetrating Oil the Right Way
Identify the Fastener and Check the Surrounding Parts
Know what you are dealing with before you reach for the can. Steel and cast iron take penetrant readily. Aluminum threads strip easily and need patience more than force, and stainless steel is prone to galling, so it wants generous lubrication and a clean joint. Bolts, studs and machine threads behave differently from the same-diameter fasteners, and a cotter pin, clip or rivet in the way turns a simple job into a disassembly.
Look at the mating part too. Rust scale on the hole shoulder, a washer painted shut, threadlocker, thread tape or sealant all sit between the oil and the metal, and all of them block penetration. Note whether there is paint or a marking that tells you where a torque spec will be needed later.
Clean the Joint and Choose the Right Penetrating Oil
Wipe the area down and brush off the loose scale. Penetrant works on a joint, not on a crust of dried mud and flaking rust sitting on top of one, and the loose flakes will just pack into the gap and hold it open. Degrease if grease is present, since oil will not displace a thick grease film.
This is the consensus technique on the Bob Is The Oil Guy forums: clean first, apply second. It costs you five minutes and it is the step most often skipped. Pick the chemistry that matches the material and the job, using the guidance above.
Apply Penetrating Oil to the Correct Entry Point
Aim into the seam. The oil needs to reach the threads, and on a bolt-and-nut joint that means the gap around the shank where it enters the hole, the exposed thread run on a stud, or the edge of the nut where the two faces meet. Get the straw against or just inside that line and press the nozzle.
Coating the visible head of the bolt does almost nothing. A mist across the surface runs off and evaporates. A short, deliberate dose into the joint works, and a second dose on the far side of the fastener helps because the fluid seeps through from both directions.
Let the Oil Soak Before Applying Force
At least 15 minutes for light surface rust, about an hour for moderate corrosion, overnight when the fastener is genuinely seized. A table makes this easier to plan against what you are actually looking at.
| Condition | Dwell time before the first attempt | What to do next |
|---|---|---|
| Light surface rust, turns with a little hand pressure | 15 minutes | Apply, wait, then test with the wrench |
| Moderate corrosion, threads visible but rough | About 1 hour | Reapply once halfway through, then test |
| Severe seizure, no movement at all | Overnight, re-applied before you leave it | Then add heat and tapping before more force |
Dwell time is the step people refuse to honour. They spray, wait thirty seconds, lean on a wrench, and conclude the product failed. It has had no time to wick anywhere. Reapply rather than reaching for more force, and follow the label on the can where it gives its own timing.
Break the Joint Loose Gradually
Turn the fastener in the direction that takes it out. Counter-clockwise for a standard right-hand thread, which is every bolt you will meet nine times out of ten. If it tightens instead of loosening, stop, because you have either hit a left-hand thread or a reversed or cross-threaded fastener. On a right-hand thread fitted into a left-hand nut, you would drive it deeper, so check the thread direction before you force anything.
Use short, controlled movements with a snug-fitting wrench. Back the fastener off a fraction of a turn, stop, then try again. That incremental movement is what shears the corrosion bonds a little at a time.
One warning from experience: bolts most often snap off at the instant they break loose, because that is when the load transfers from the seized joint to the thread root. Ease off gently as it starts to turn and never put your face near the work.
Repeat or Escalate if the Fastener Will Not Move
Work up this ladder in order rather than jumping straight to the biggest tool you own.
- Apply a second dose into the joint and wait again, overnight if the fastener is severe.
- Warm the fastener and the surrounding metal with a heat gun, then apply fresh oil. Heat expands the metal and thins the fluid, and the thermal difference across the joint helps the oil crawl.
- Tap the fastener head repeatedly and lightly with a brass, copper or aluminium hammer. Light and rapid, not hard swings. It breaks the static bond without hurting the threads.
- Use the correct socket and a breaker bar for steady, moderate force instead of a long lever.
- Use an impact wrench, which delivers short sharp rotational shocks rather than the steady pull that snaps heads. A r/DIY thread recommended exactly this combination of penetrant and impact gun.
Heat and penetrant are partners, not alternatives. That pairing is the most repeated piece of advice across the forum threads, where the 4x4community regulars describe applying heat, tapping with a copper hammer, spraying copious penetrant and tapping again. Never apply direct flame to a part covered in petroleum-based oil, and stay well back with a heat gun so you do not bake the surrounding paint or plastic.
Stop at this point. If the fastener still will not move, or if you are on a structural bolt, a head in an engine block, or a suspension or steering component, hand it to a professional with an extractor or cutting tools. Those are cheaper than a snapped stud buried in a casting.
Clean Up and Protect the Repaired Fastener
Wipe the excess oil off the fastener and the surrounding area before you reassemble. A residual film is sticky, attracts dirt, and on some threads will gum the joint back up. If the fastener goes straight back into service, follow the penetrant with a proper lubricant or anti-seize on the threads and a light coat of corrosion inhibitor on the exposed head.
Inspect the threads and the mating part as you go. A fastener that came out with chewed threads or a rounded head should be replaced rather than reused, and match the replacement to the grade marking on the old one. Apply anti-seize to aluminium threads and to anything that sits in salt air or rain, since those are the joints that will seize again. If the part will be stored rather than used, leave a protective film on it and expect to re-apply oil before the next use.
Common Mistakes
Most failed penetrant jobs are process failures, not product failures. Here is what goes wrong and what to do instead.
- Spraying the bolt head instead of the gap. The oil needs to reach the threads, not coat the visible metal. Aim the straw at the seam where the fastener enters the hole and press the nozzle deliberately.
- Not cleaning the joint first. Rust scale and grease block the crevice. Wire-brush and wipe before you apply anything.
- Not waiting. Fifteen seconds is not a dwell time. Use the table above, and reapply rather than forcing early.
- One dose and giving up. Most bolts need two applications. The second dose goes in after the first has soaked and softened the bond.
- Using a multi-use spray lubricant as a penetrant. A water-displacing lube is not formulated to wick into a seized thread gap, and that mismatch gets blamed on the whole category.
- Reaching for a bigger wrench. A loose wrench rounds the head and a long lever snaps the bolt. Correct size, moderate force, many short attempts.
- Turning the wrong way. Check the thread direction first. If the fastener tightens, you are on a left-hand thread or a reversed thread, and more force makes it worse.
- Flaming an oil-wet fastener or spraying near power. The solvents are flammable and most penetrants are not dielectric. Use a heat gun at a distance and never an open flame.
- Leaving the residue behind. Wipe it off. A sticky film traps dirt and can gum the threads back together.
Two habits cover most of the list. Spray the joint the night before a job you know is going to fight you, so the dwell happens while you are doing something else. And pair every dose with mechanical agitation, whether that is tapping with a brass hammer or short bursts from an impact wrench.
Frequently Asked Questions
How long should penetrating oil sit before trying to remove a bolt?
At least 15 minutes for light surface rust, roughly an hour for moderate corrosion, and overnight for a badly seized fastener. The oil needs that time to wick into the thread gap by capillary action and attack the corrosion bond. Reapply halfway through the wait, then test with a correct-fit wrench in the loosening direction. If nothing moves, soak longer rather than adding force.
Can penetrating oil be used on aluminum or stainless-steel fasteners?
Yes, with care. Most penetrants are safe on aluminum and stainless steel and many are formulated for stainless specifically, but aluminum threads strip easily, so use moderate force and a wrench that fits. Gumming or galling is more of a risk on stainless, so give those threads a proper anti-seize before reassembly. Never use a solvent-based spray on plastic or rubber parts unless the product is labelled safe for them.
Is penetrating oil the same as regular lubricating oil?
No, and this is where most misuse starts. A penetrant is a low-viscosity formula whose solvents and chemical reactants carry it into a seized crevice and break the corrosion bond, then leave a thin lubricating film. Motor oil, grease and general-purpose spray lubricants are too viscous or too sticky to wick into a gap. Once the joint moves, clean off the residue and use a real lubricant for service.
Does heating a seized bolt help penetrating oil work better?
Yes, it is one of the most effective steps available. Warming the fastener and its surrounding metal expands the joint, thins the oil and improves the flow of fluid into the thread gap, and the thermal difference between the two parts helps break the bond. Apply fresh oil after heating, then tap the head lightly with a brass or copper hammer. Use a heat gun held back from the work, never direct flame on an oil-wet part.
How much penetrating oil should I put on a rusty bolt?
Enough to wet the joint, not enough to flood it. Aim the straw at the seam where the fastener enters the hole and give it a short deliberate dose, then a second dose from the opposite side so the fluid seeps through from both directions. A light mist over the visible head evaporates without ever reaching the threads. Apply sparingly, reapply after the soak, and wipe off the excess once the fastener is out.
When is a seized fastener better removed or replaced professionally?
Hand it to a professional when the fastener is structural, when it is a stud broken off inside an engine block or casting, or when it belongs to steering, suspension or braking. Those need an extractor or a cutting tool, and forcing them risks the component rather than just the bolt. A rounded head, stripped threads or visible cracks in the mating part also mean the fastener should be replaced, not retightened.
Conclusion
The whole method comes down to four things: clean the joint, put the oil into the seam rather than onto the head, give it real dwell time, and test it with controlled force in the loosening direction using a wrench that fits. If it does not move, soak longer, then add heat and light tapping before you reach for anything heavier. And know when to stop, because a snapped bolt costs far more than a call to a professional.