
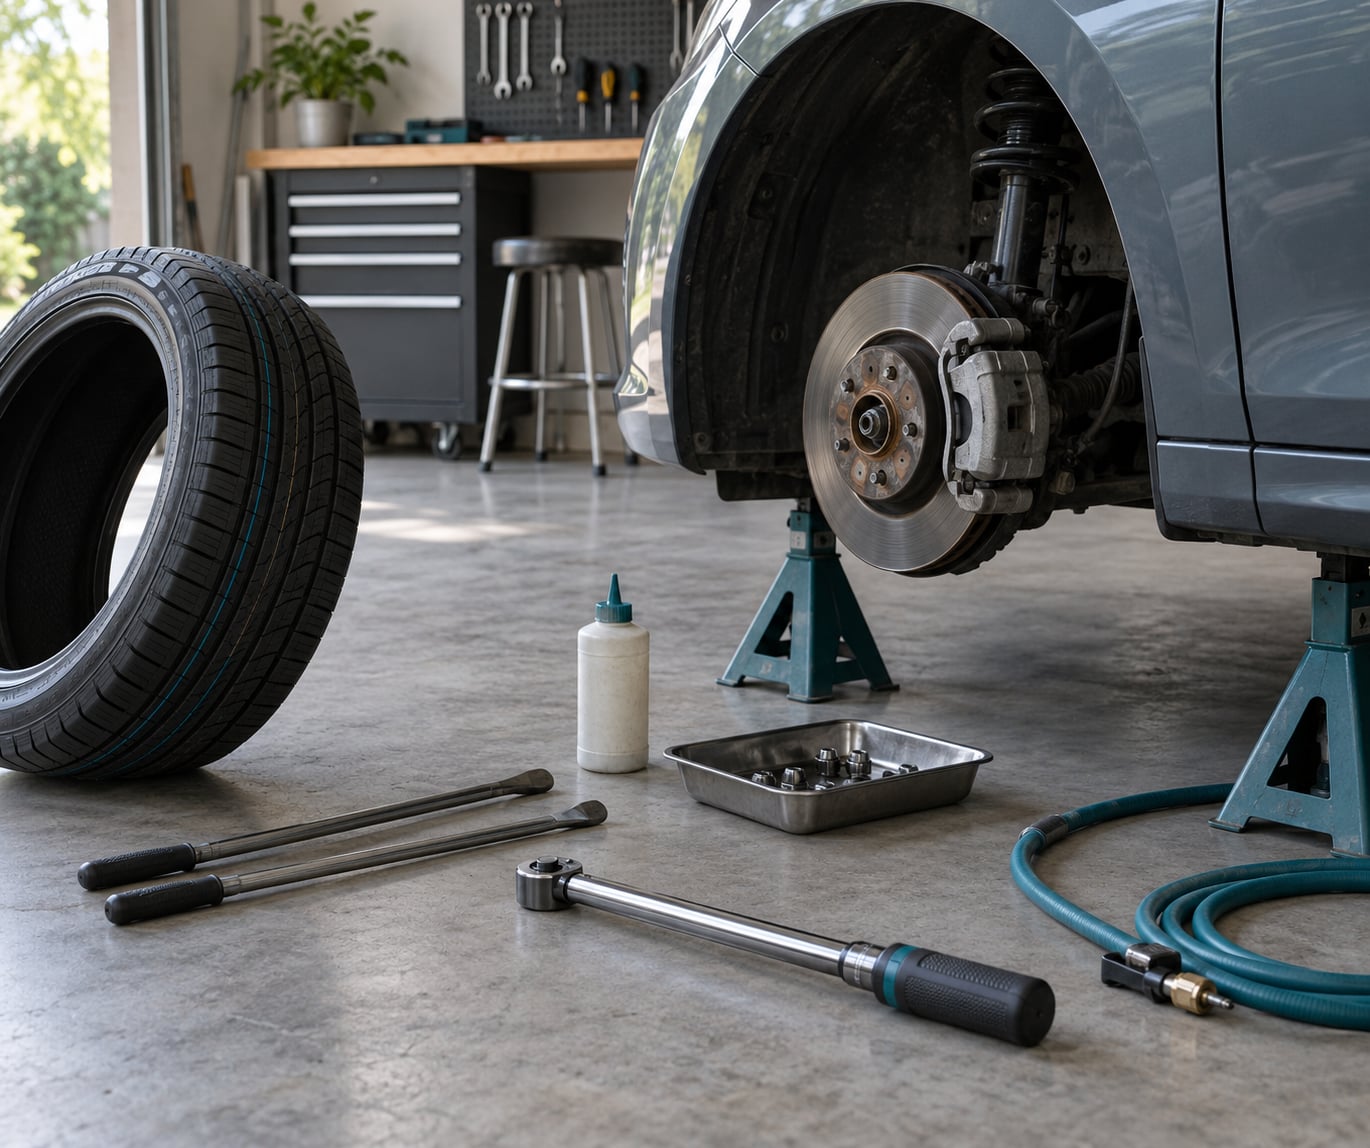
Yes, you can mount and balance tires at home. Mounting means forcing the tire bead over the rim lip with tire irons and a liberal layer of bead lube, and balancing means adding tape weights opposite the wheel’s heavy spot so it spins without a wobble. A home balance is static only, not a road-wheel dynamic balance, so know where that line sits before you start.
It is genuinely a weekend job for a seasonal tire swap on a normal passenger car with steel or alloy wheels. It is a bad idea on low-profile or run-flat tires, on cracked or heavily corroded rims, or if you have nowhere to support the vehicle properly. Budget two to three hours per wheel for a first-timer, most of it fighting the top bead.
I have done this on steel wheels with tire spoons and a soap-and-water lube, and the results were good enough to drive for years. The one thing I will not pretend: a homemade balance is coarser than a machine balance, and on a car that already had a shimmy it will probably still shimmy. Everything below is written for a US home garage, and torque and pressure figures always come from your own vehicle’s placard, not from a generic chart.
Table of Contents
What You Need
The tool list is short, and most of it you can borrow. Everything below is what a complete home kit looks like.
- Vehicle owner’s manual for the door-jamb placard, torque spec, and jacking points
- Rated floor jack plus jack stands — stands are not optional, the jack is only for lifting
- Wheel chocks, two of them, for the wheel that stays on the ground
- Lug wrench or impact wrench for loosening, plus a torque wrench for final tightening
- Tire irons (tire spoons) — two or three, plastic or rubber-tipped. Pry bars scratch alloy lips and that is the single most repeated complaint from people doing this for the first time
- Bead mounting lubricant, or a squirt of dish soap and water as a home substitute
- Valve core tool and new valve stems if you are replacing them
- Air compressor with enough volume and a tire gauge accurate to a couple of PSI
- A way to verify balance: a bubble balancer, a portable spin balancer, or an axle-through-the-hub rig on two stands with a pencil and tape weights
- Adhesive tape weights in several sizes, plus a scraper and solvent for removing old weights and adhesive
Two jobs are simply out of reach at home. Accurate dynamic balancing, which is what a shop does with a spin balancer in a steel bowl, is one. Mounting run-flats, bead-lock style wheels, and multi-piece racing wheels is the other — those need the manufacturer’s procedure and often a hydraulic mount. If your wheels are the second group, rotating and swapping tires is still a fine DIY task, but the mounting goes to a shop.
Step-by-Step: How to Mount and Balance Tires at Home
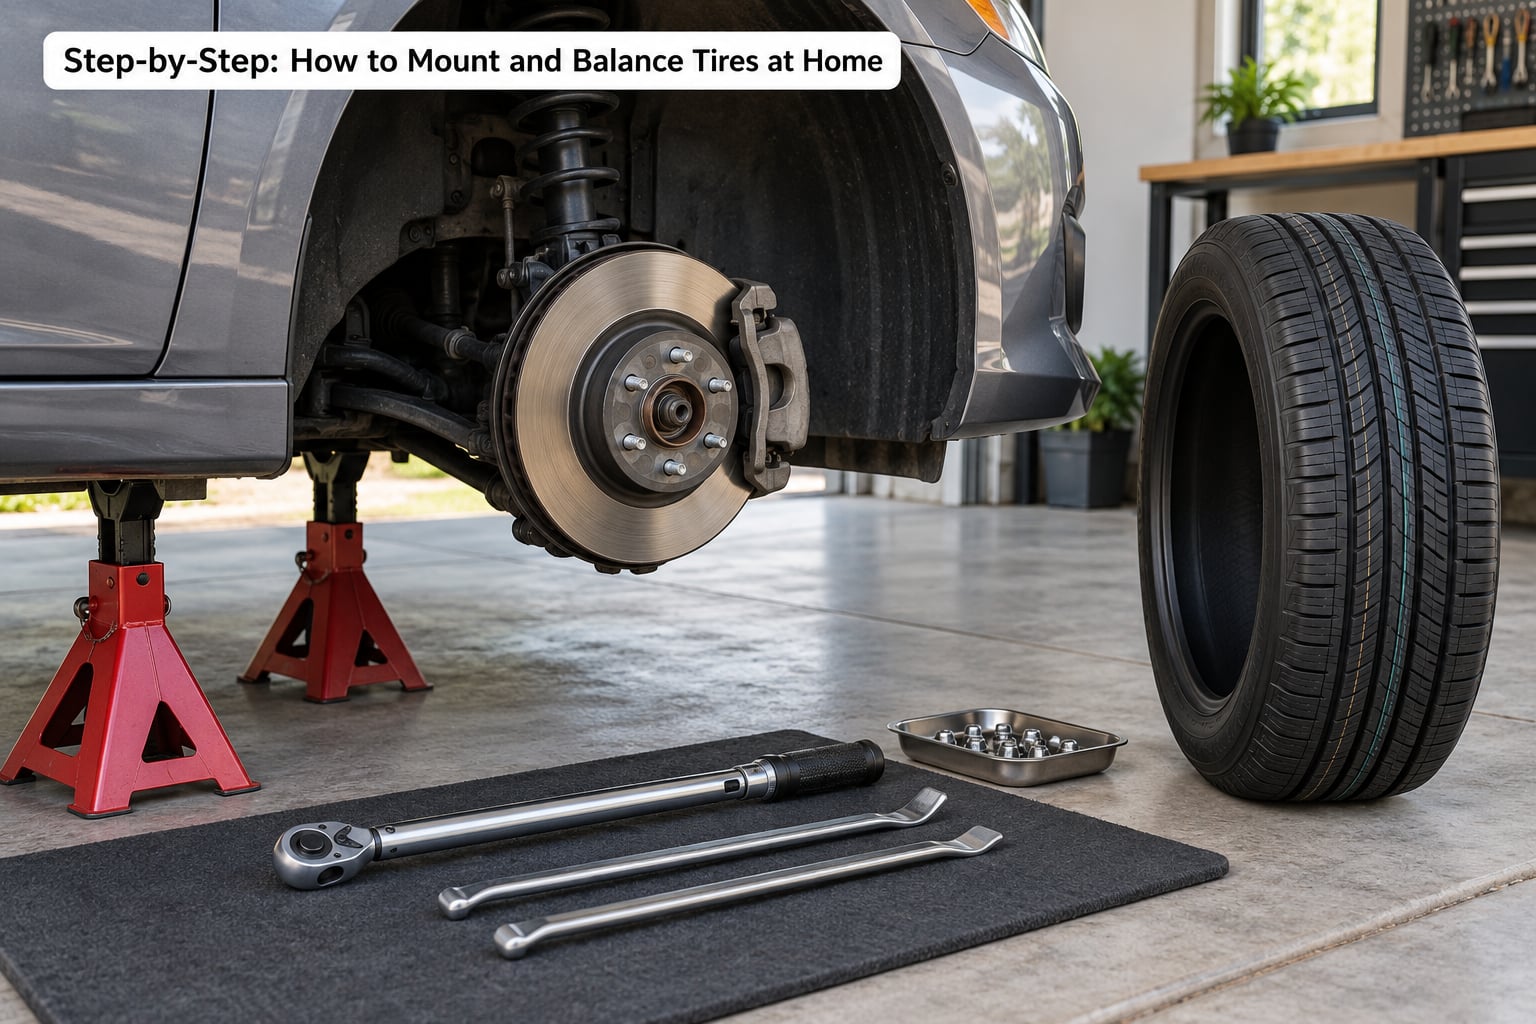
1. Inspect the Wheel, Tire, and Vehicle
Start with everything on the ground before the car goes up. Read the tire size on the sidewall and compare it to the placard on the driver’s door jamb — not to the sidewall maximum, which is a limit rather than a recommendation. Match the load rating and speed rating too; a tire rated below what the vehicle needs is not a fitment.
Run your thumb around the rim lip and the bead area of the old tire. Cracks in a steel rim, deep pitting, or a lip that has been hammered straight by a pothole means replace the wheel, not mount on it. New tires sometimes arrive with a small rubber blemish from the mold, and a bump or cut in the sidewall is a reason to swap it for another one before you waste an afternoon.
Check the valve stem too. If it is more than a few years old, replace it now while the wheel is off — it is nearly free to change and a slow leak in a mounted tire is a pain to chase. If the car has TPMS, note the sensor position on each wheel so you can put the same wheel back on the same corner, and handle the sensor by the valve stem body rather than the metal cap.
2. Lift the Vehicle Safely
Park on level, hard ground. Engine off, transmission in park, parking brake set hard. Chock the wheel diagonally opposite the one you are removing — chock the rear when changing a front wheel, and do it now, not after the wheel is off.
Jack on the manufacturer’s recommended pinch weld or frame rail point, never on a plastic or aluminum sill. Raise the vehicle until the tire just clears the ground, then lower the jack onto a jack stand at the same point and pull the jack out from under it. Then check: with a hand on the fender, push and rock the car. If it moves, the stand is not set correctly. Repeat for the second rear stand if you are working on a rear wheel.
Never get under a car supported by the jack alone. I have watched people work on a car on a jack all weekend and never once thought about it.
3. Remove the Old Tire or Swap the Wheel
Crack the lug nuts loose with the vehicle still on the ground, about a quarter turn each, then finish removing them with the wheel off the hub studs. Break the studs loose one at a time in a crisscross order so the wheel comes off straight rather than cocked on one stud.
Pull the wheel forward and off the studs. If a wheel-and-tire assembly comes off the car whole, put it straight onto your tire-changing rig and skip the dismounting steps. If you have a loose tire, deflate it fully with the core removed, then push both beads into the center of the rim with the valve core out — that releases the beads from the bead seats and takes a lot of the fight out of the job.
Pry only the top bead, working around from the valve area, one iron at a time with the other holding the tire down. Skip the bottom bead if you are just reseating a tire. Watch your fingers at the last inch near the rim lip; that pinch point has ended more fingers than any tool.
4. Mount the Tire on the Wheel
Fit the valve stem into the wheel before the tire goes on. If the wheel has a sensor, this is also the moment the sensor goes in. Trying to install either after the tire is mounted is the most common sequencing mistake in home guides, and on many wheels it means pulling the tire back off.
Clean the bead seat on the rim with a rag and a wire brush. Lube the bead generously — a commercial mounting lube, a silicone-free tire lube, or dish soap and water. Soap and water works surprisingly well because it reduces friction and holds the bead in place while it rolls; it does not last as long as real lube, so re-wet if a bead resists.
Line the bottom bead up with the rim, starting at the valve hole, and work around with your thumbs to make sure it is sitting evenly with no high spot. Then set the top bead over the rim lip with the heel of your hand, working around in one direction, using the spoons only for the last stretch where the bead will not roll by hand. Push the tire down into the well of the rim as you go, and stop pushing down when you hit the bead bumps.
If you are using balance beads, drop them inside the tire now, before the top bead is fully on. Working around the rim a second time if a bead pops, do not hammer it. More lubrication and more patience.
5. Inflate and Check the Tire
Inflate in short bursts, checking the bead all the way around with soapy water. A hard burst of air to seat the bead can blow a sidewall off a tired tire or throw a wheel off a rim, so add air, inspect, add air, inspect. A bead that pops off and rolls halfway on is the version of this that hurts.
Most passenger car rims seat with a couple of PSI, sometimes a pop you can hear across the garage. A bead-lock ring or a run-flat takes far more and may need the manufacturer’s full procedure.
Seat pressure is not operating pressure. Once the bead is seated on both sides, drop to the placard pressure or a bit below, set the parking brake, and check cold pressure with a gauge on the door jamb value, not the tire sidewall maximum. Tire pressure rises as the tire heats up, so check cold in the morning or after the car has sat. If you want how the numbers shift with the season, what PSI your tires should be in winter covers the cold-weather adjustment.
Finish by running a soapy film around the bead and the valve stem base. Bubbles at the rim lip mean a bead that only looks seated. Bubbles at the valve mean a bad core or stem.
6. Balance the Tire and Wheel Assembly
Balancing puts a weight opposite the point where the wheel’s mass is greatest, so the forces cancel. A shop balancer spins the wheel and pinpoints that spot in the plane of the wheel (lateral imbalance) and out of it (vertical or radial imbalance) — that is a dynamic balance. At home you can address one of those, the out-of-plane heavy spot, and you do it with a static method.
Here is the trick that comes up constantly on the tire forums and almost never appears in a guide: balance the bare rim first. Spin the empty rim on an axle through the hub, held by two stands, with a pencil lightly touching the rim face as a pointer. When it settles, mark the spot where the pencil rests. That is the rim’s heavy spot. Now mount the tire so its own heavy spot — marked with a chalk mark by the tire shop or found with the same pencil test — ends up opposite the rim’s mark. Two heavy spots, opposite each other, mostly cancel before you add anything.
After mounting and inflating, balance the full assembly the same way. Spin the wheel, let it settle, read the position, move the weights opposite. Bounce the wheel lightly with your palm mid-rotation if you want to see a settling point more clearly. Repeat until the wheel spins the same way and stops in the same place for several revolutions in a row. That stopping point repeatability is the only honest test you have at home.
Know the limit before you start. A pencil-on-rig check is coarse — you might leave an ounce or two of residual imbalance, which can still show up as a faint shimmy through the steering wheel at 55 to 70 mph. If the car pulls or shimmies badly even after a careful static balance, a machine balance will usually settle it, and that is worth the trip.
On weight types: tape weights are the right home choice because they stick at exactly the angle you measured. Clip-on weights are what a shop uses and need a rim with a smooth sealing surface. Beads go in before the tire is mounted and have the advantage of not marking the rim, but they cannot correct an out-of-plane imbalance and they are easily overdone.
7. Install the Wheel and Torque the Lug Nuts
Get the valve stem back to where it was and the wheel back over the studs. Guide it on so the holes start straight rather than fighting one stud at a time, and never use an impact wrench to draw the lug nuts home — it rounds studs and strips nuts.
Hand-tighten every nut snugly first, then torque in a star pattern — five lug nuts get five star steps, four gets four — at the vehicle’s specified torque. Torque matters as much as sequence, and it comes from the manual or the door-jamb sticker, not from a generic number online. If the vehicle uses a torque-sensitive stretch bolt system, follow that procedure instead.
If your vehicle requires it, recheck the torque after 50 to 100 miles of driving. Lug nuts can lose a small amount of clamp over the first drive.
8. Perform a Final Safety Check
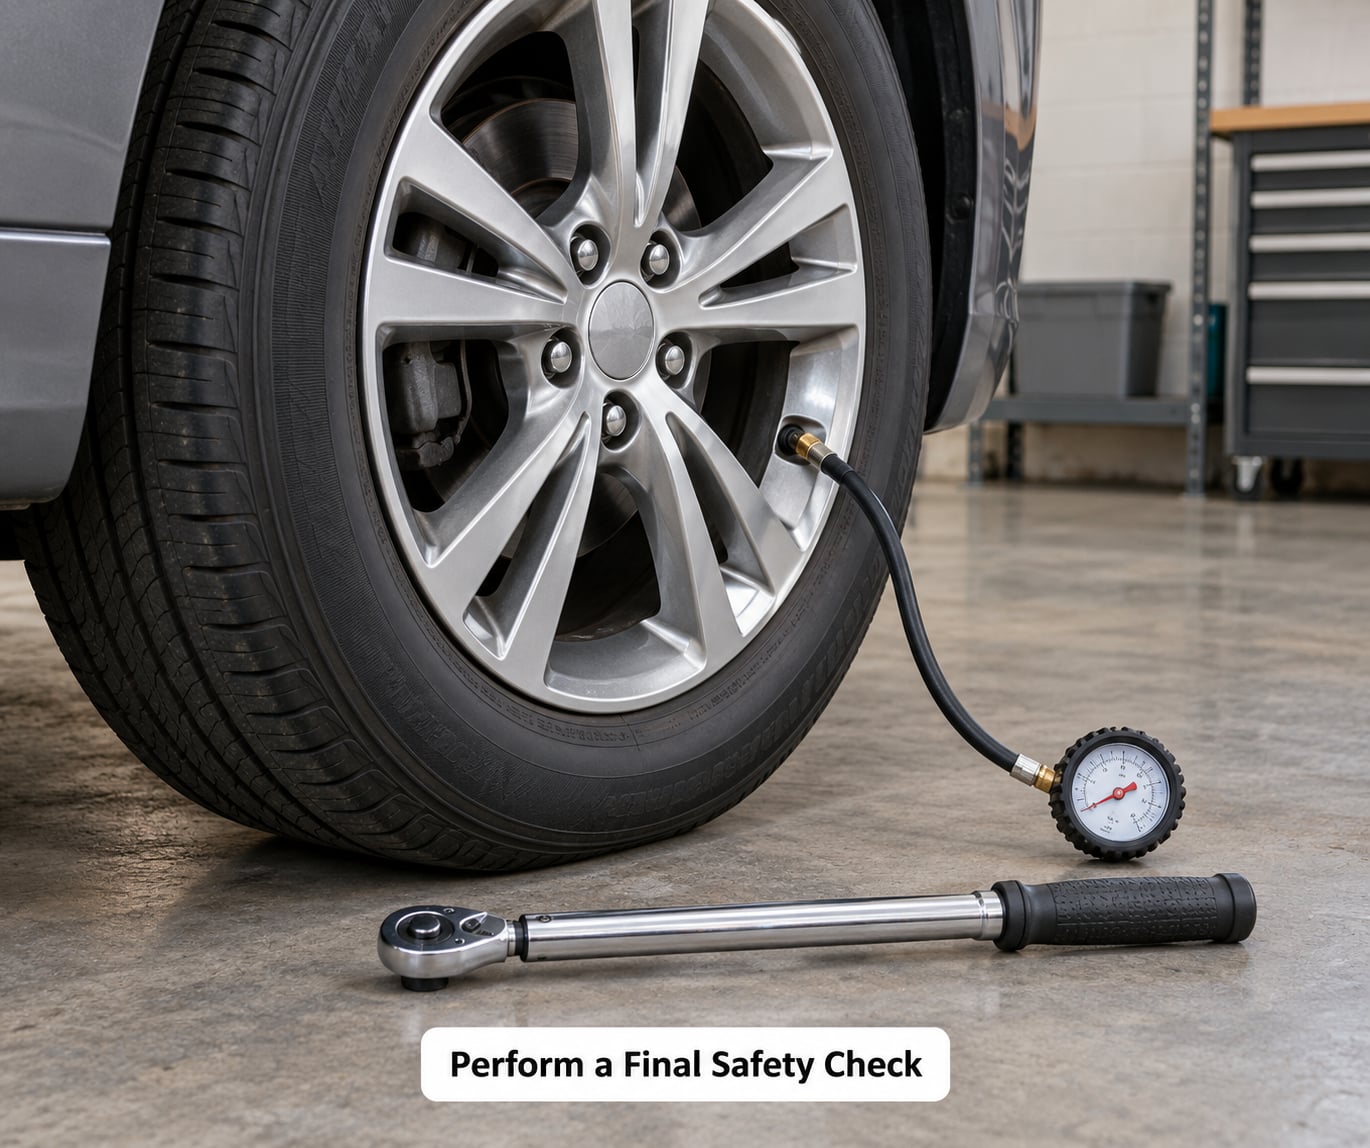
Walk around the car and look. Tire seated evenly with no visible high spot or gap at the rim lip. All nuts present and torqued. No tools, no jack, no stands under the car. Brake hardware and the caliper back in place with nothing dangling — the most-missed item after a brake job is a wheel hanger or a lug key. Then pull the jack, remove the stands, and lower the vehicle slowly while keeping a hand on it.
Drive slowly out of the driveway first, then take it onto the highway and hold 55 to 70 mph for a few miles with your hands loose on the wheel. Feel for a steering-wheel shimmy that comes and goes with speed, a vibration in the seat, or a pull to one side. A steady vibration that shows up near 40 to 50 mph and stays constant is more often a wheel or hub runout problem than a balance problem.
Common Mistakes
These are the errors that show up again and again, and most of them are recoverable if you catch them before the car moves.
- Trusting the sidewall maximum pressure. That number is a limit, not a target. Correct spec is the door-jamb placard. Fix: read the placard before anything else and write the number down.
- No jack stands. A jack is a lifting device, not a support. If you only have a jack, take the wheel to a shop. Fix: two rated stands, on solid ground, under the specified jacking points, every time.
- Torquing lug nuts in a circle. Seating one nut fully before the next biases the wheel against the hub and makes the torque reading meaningless. Fix: snug all, then star pattern, then final.
- Overinflating to seat the bead. The classic way to blow a sidewall off an old tire. Fix: short bursts with inspection between them, or better, a bead seating aid.
- Using a pry bar instead of tire spoons. Pry bars and flat bars gouge alloy lips, and the damage is permanent. Fix: plastic or rubber-tipped spoons, one iron working at a time, never two prying against each other.
- Installing the valve stem or TPMS sensor after the tire is on. On many wheels you now have to dismount the tire to fix it. Fix: stem and sensor in before the bottom bead goes over.
- Forcing a stiff tire. The last inch of a low-profile bead will not roll by hand, and leverage against the rim lip puts the force into the tire rather than the lube. Fix: more lube, a bead buddy, a strap around the tread, and if it still will not move, stop and reassess.
- Claiming the home balance is finished. A pencil-and-axle check corrects one plane and leaves residual imbalance. Fix: keep the tape weights, re-check the stopping point several times, and finish with the highway test.
Two smaller ones worth naming. Leaving old tape weights and adhesive on the rim throws your new balance off — scrape them off, wipe with solvent, and check for the rust a leaking tire leaves behind. And skipping the torque recheck after 50 to 100 miles, which is a free fix if a nut does lose a little clamp.
When a Tire Shop Is the Better Choice
There is no shame in this half of the job being a shop job. The machine exists because the job is genuinely hard to do precisely.
Reach for a shop when you have low-profile or run-flat tires on wheels that need high seating pressure, since the bead damage risk of hand mounting outweighs what you save. Go in for performance and multi-piece wheels of any kind, plus bead-lock designs, where the assembly procedure is manufacturer-specific. Bring large brake and tire packages — big wheel diameters with big rotors leave little room to work and need a machine that can handle the mass.
A shop is also the answer for cracked, heavily corroded or previously welded rims, and for any wheel with a tire patched on the sidewall rather than the tread, because a sidewall repair changes the mass of the tire. Any persistent vibration at speed after a careful static balance is worth a machine dynamic balance before you start replacing parts. And if you have no jack stands, no rated jack, or only soft ground, the whole job belongs in a shop.
One more practical split: mount at home, balance at the shop. Mounting is the labor-intensive, learnable part. Many shops will rebalance a customer-brought wheel for a small fee, which is the cheapest way to close the accuracy gap if you already have irons and lube.
Frequently Asked Questions
Can I mount and balance my own tires?
Yes, for most passenger cars on steel or alloy wheels. Mounting by hand needs tire irons, bead lube, an air supply and a way to support the vehicle. Balancing at home can only be static, correcting the wheel’s out-of-plane heavy spot with tape weights. Accurate dynamic balancing needs a spin balancer, and low-profile or run-flat tires are poor candidates for hand mounting.
Is it possible to balance a tire without a machine?
Partly. You can correct static imbalance at home by spinning the wheel on an axle through the hub, letting it settle, and taping weights opposite the heavy spot. You cannot correct dynamic imbalance, which is the couple that throws a wheel out of plane, without a balancer that measures it. Most home static balances leave a small residual you might notice as a faint shimmy above 55 mph.
What can I use instead of tire mounting lube?
Dish soap and water is the best home substitute. It cuts friction enough to let the bead roll and it holds the bead against the rim while you work. A silicone-free tire mounting lube lasts longer. Avoid silicone-based lubes and petroleum products, and skip the Windex that shows up in older forum advice — it is thin, it flashes off, and it leaves the rim slippery. Re-wet the bead if it resists.
How do I get a stubborn tire bead to seat?
Bursts of air with inspection between them, not one blast. Soap the bead and rim lip first, push the tire down into the rim well so the bead has room, and work around the rim a second time with the spoons. A ratchet strap wrapped around the tread center squeezes the sidewalls down and often rolls a stubborn bead over. If the tire keeps popping off, stop — a lot of air or a damaged bead will not fix a fitment problem.
How do I know my wheels are not balanced?
A steering-wheel shimmy that appears and disappears as speed builds is the classic sign, usually somewhere between 45 and 70 mph. A vibration felt through the seat rather than the wheel often points to the tire itself. If the shimmy is constant at one speed no matter what, suspect wheel or hub runout instead of balance. The test is always the same: drive it, hands loose, at highway speed for a few miles.
Do I need to balance tires after a rotation?
Only if the wheel is already out of balance or the tire has been repaired, patched or replaced. Rotation moves tires between positions, it does not change their balance. If the car shimmy appeared after a rotation, it was usually already there and you only started noticing. Keep track of which tire goes to which corner so you can move the same shimmy back to a position where it is least annoying, or rebalance it and forget about it.
Conclusion
Start by verifying fitment: tire size, load and speed rating against the door-jamb placard, and the rim’s condition. Set the vehicle on jack stands, never on the jack alone, and make the wheel’s balance markings before the tire goes on. Install the valve stem early, use plenty of lube and tire spoons rather than pry bars, inflate in short bursts, and set cold pressure to the placard number.
Then balance as far as your rig allows, tape weights opposite the heavy spot, and repeat until the wheel settles the same way every turn. Take it for a low-speed loop around the block first and a proper highway run after that, hands loose on the wheel. If anything shakes, a machine dynamic balance is the cheapest next move before you start buying parts. And before the season starts, check where the tread actually stands with when to replace tires by tread depth.