
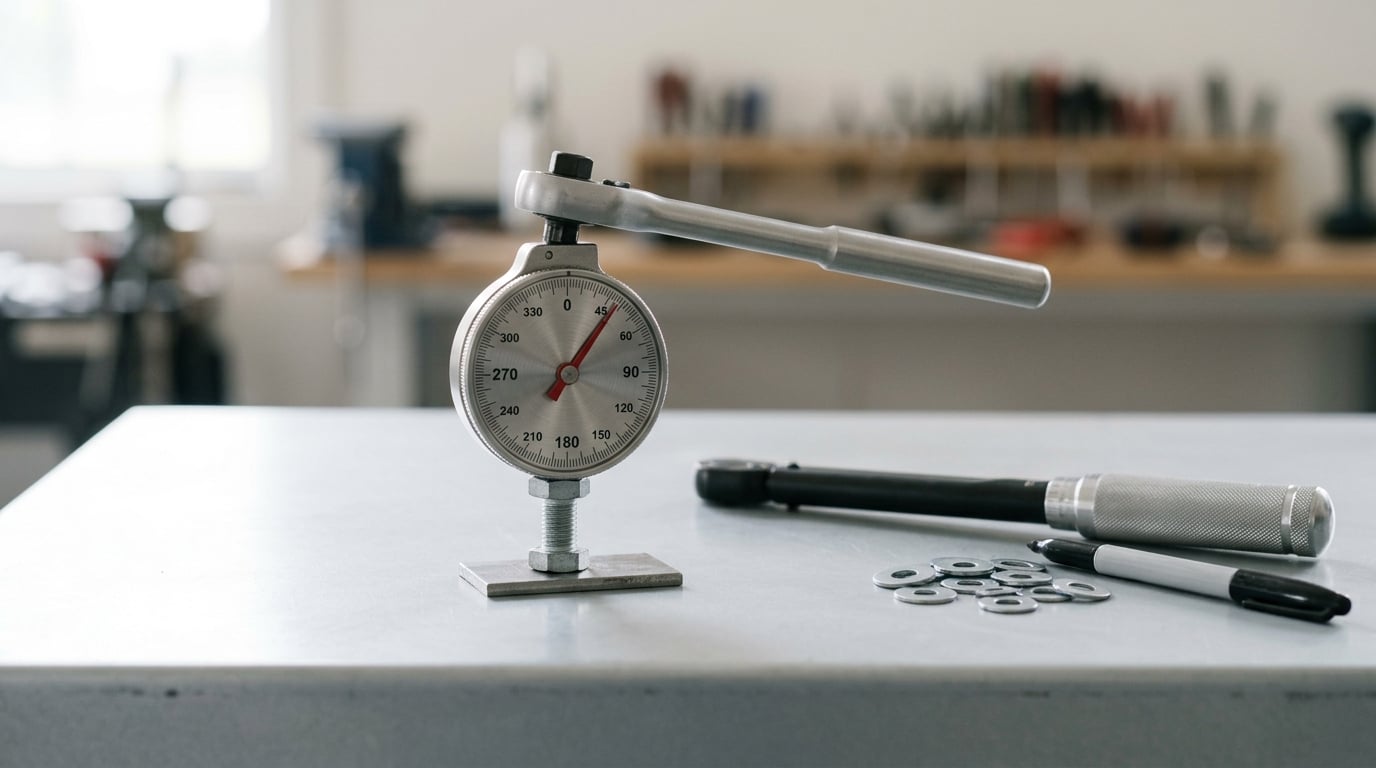
A torque angle gauge measures how far a fastener has been rotated, in degrees, after an initial torque has been applied. It lets you tighten a bolt to a torque figure and then add a specific number of degrees, which is the procedure most manufacturers now specify for critical engine and wheel fasteners.
Most DIY owners first meet the tool in a forum thread rather than a manual. That is fine, but the gauge itself does nothing clever. It tracks rotation so you can repeat a procedure the factory designed, and the numbers still come from the service manual.
Table of Contents
- What Is a Torque Angle Gauge Used For?
- What Does a Torque-Angle Gauge Measure?
- How Does a Torque-Angle Tightening System Work?
- How a Torque Angle Gauge Is Used for Common Automotive Jobs
- How to Use a Torque-Angle Gauge Correctly
- Torque-Angle Specifications and Units at a Glance
- Common Torque-Angle Mistakes to Avoid
- Frequently Asked Questions
- Can I use a torque-angle gauge instead of a regular torque wrench?
- Do I need a digital torque-angle gauge for wheel bolts?
- What does 74 foot-pounds plus 90 degrees mean?
- Can a torque wrench with a degree scale replace a torque-angle gauge?
- Is it safe to reuse a stretch-type torque-angle bolt?
- What measurement system should I use when the service manual lists newton-meters?
- Key Takeaways
What Is a Torque Angle Gauge Used For?
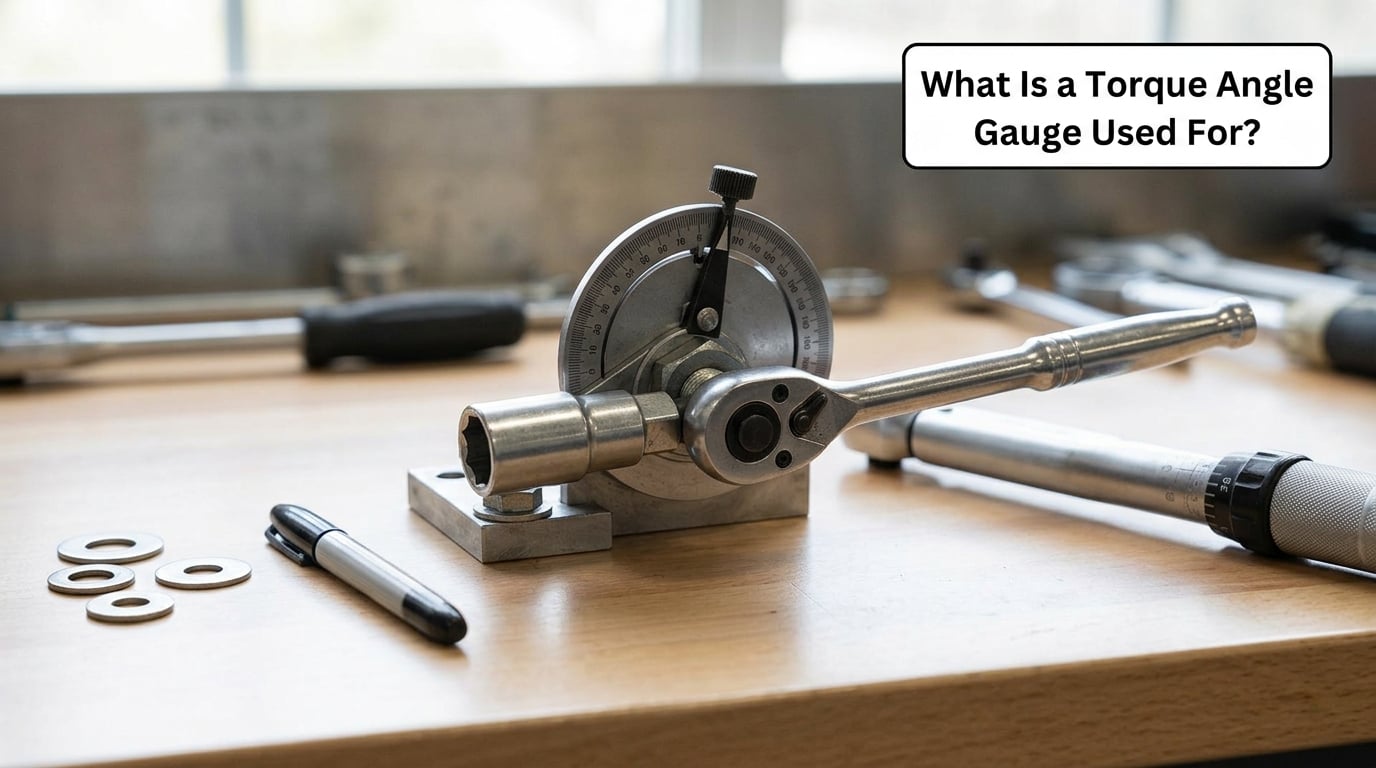
It is used for one job: applying a repeatable amount of rotation to a bolt that has already been tightened to a snug or initial torque. The typical case is a head bolt torqued to something like 30 newton-meters and then turned another 90 degrees. Replace the word torque with rotation and you have the whole idea.
On a car, you will reach for one in these places:
- Cylinder head bolts specified as a torque figure plus an additional angle, often in two stages of 90 degrees.
- Main bearing cap and connecting rod bolts, where the clamp load has to be identical across the cap or rod.
- Crankshaft pulley, flywheel and crank sprocket bolts, which usually specify both a torque and an angle.
- Wheel fasteners and hub assemblies on some vehicles, where a re-tightening rotation is specified after an initial torque rather than a simple final figure.
- Suspension and engine mount hardware when the procedure calls for a snug torque plus a rotation, particularly on strut bolts and large bushing bolts.
- Industrial and motorcycle assembly, where the same logic applies to flywheel nuts and structural fasteners.
What Does a Torque-Angle Gauge Measure?
It measures angle. The torque comes from the wrench you already own, and the gauge only reports the second half of the specification.
| Measurement | Symbol and scale | What it tells you | Typical tool behavior |
|---|---|---|---|
| Torque | newton-meters or pound-feet | Turning force applied to the fastener | Click-type wrench clicks at the set value; digital wrench shows a live number |
| Angle | degrees, 0 to 360 | How far the fastener has rotated since you started counting | Dial gauge with a pointer arm sliding over the socket or bolt head |
| Breakaway torque | newton-meters or pound-feet | Torque needed to start moving a previously tightened joint | Useful for confirming a joint has settled, not for the final spec |
A common confusion is that a dial face means the gauge is reading torque. Most mechanical torque angle gauges carry a 360 degree scale with a pointer, and some also show a torque scale so the same tool can read a small initial value. Read the scale the manual describes, not the one you expect.
How Does a Torque-Angle Tightening System Work?
The system exists because torque alone is a weak way to control clamp load. Thread friction, lubrication, plating and surface condition all absorb part of the turning force, so the same torque value can produce very different clamping force between two assemblies.
When you keep rotating past the point where the bolt first starts pulling the joint together, the elastic stretch in the bolt carries more of the load. Because that stretch depends mainly on the bolt’s material and length rather than on thread friction, the extra degrees produce a much more consistent result. Torque gets you to the starting point; angle does the actual work.
That is also why a torque angle gauge is used with a torque wrench rather than instead of one. The wrench reaches the initial figure, the gauge takes over, and the two numbers together define the finished joint.
How a Torque Angle Gauge Is Used for Common Automotive Jobs
On a head gasket job, the sequence is the clearest example. The bolts are run down in the order the manual gives, tightened to a first figure, then a marked line on each bolt head or the gauge pointer is set and every bolt is advanced a further quarter turn. The manual may then call for a second 90 degrees on top of that, or a check pass at the end.
Wheel and hub work follows the same pattern on vehicles that use it. The wheel is first tightened to a snug value in a star pattern so the wheel seats evenly, then each fastener is advanced a stated number of degrees. A plain final figure is common on older and lighter vehicles, and there a gauge adds nothing.
Suspension and mount bolts that specify a rotation are the ones people get wrong, because a strut or control arm bolt can feel tight long before the joint is fully seated. Adding the specified degrees after the snug stage gives a repeatable result on a joint whose friction varies a lot.
The gauge never chooses the value. A 90 degree rotation on a bolt that wanted 105 is a different clamp load than the design intended, and no tool will warn you. Read the procedure, then measure it.
How to Use a Torque-Angle Gauge Correctly
Work through these steps in order and the result is repeatable enough to hand to another mechanic.
- Find the procedure. Read the service manual or the manufacturer repair instructions for the exact fastener. Note the initial torque, the angle, whether there are multiple stages, and the tightening order.
- Set the wrench correctly. Match the measurement system in the manual, pound-feet or newton-meters, and set the wrench to the initial figure. Confirm the wrench is in calibration and holds its setting.
- Clean and lubricate as specified. Friction changes with lube, so use exactly what the procedure calls for, whether that is clean dry threads, a light oil film or a sealant.
- Run the bolts down in order. Snug every bolt to the initial torque in the specified sequence, centre to outside or in stages, so the joint pulls together evenly.
- Mark the starting point. Put a clear mark on each bolt head, or note the pointer position, so you can see the rotation you have already added.
- Set the gauge to zero. Fit the gauge over the socket or bolt head and zero it at the mark before applying force.
- Add the angle slowly. Apply steady force to the arm, watching the scale, and stop at the specified degree. Do not rush a long handle, because overshooting is easy.
- Repeat on every bolt in the same order. Each bolt gets the same initial torque and the same added rotation. If a second stage is specified, repeat from the new zero position.
- Record and recheck. Note the torque and angle for each bolt, and recheck after any breakaway torque the procedure specifies.
A method worth knowing: on a ratchet with a known tooth count, one tooth equals 360 divided by the number of teeth. A 32 tooth ratchet gives 11.25 degrees per click, so eight clicks is exactly 90 degrees. Counting clicks this way is quick and accurate, and it works well as a cross-check on a mechanical gauge.
Torque-Angle Specifications and Units at a Glance
Specifications are written in a few standard forms, and each one means something slightly different.
| Specification as written | What it means | What you do |
|---|---|---|
| 74 foot-pounds plus 90 degrees | Snug the bolt to 74 foot-pounds, then rotate a further 90 degrees | Set the wrench to 74 foot-pounds, mark, then add 90 degrees |
| 30 newton-meters plus 90 degrees | Snug to 30 newton-meters, then rotate 90 degrees further | Same method, metric scale |
| 30 newton-meters plus 100 degrees plus or minus 5 degrees | Snug to 30 newton-meters, then rotate 100 degrees with a tolerance of 5 | Read the gauge carefully, aim mid-range at 100 |
| 30 newton-meters plus 90 plus 90 degrees | Two stages of rotation from the snug torque | Re-zero at each mark and add 90 degrees twice |
| Rotate 120 degrees, no initial torque | Angle only, from a lightly snugged bolt | Seat the bolt first, mark, then add 120 degrees |
On conversions, one newton-meter is roughly 0.737 foot-pounds, and 74 foot-pounds is close to 100 newton-meters. Do not convert a figure with an angle attached and skip the angle, and do not mix measurement systems mid-procedure. If the manual gives metric and your wrench is imperial, convert the torque only, then measure the angle in degrees either way.
Common Torque-Angle Mistakes to Avoid
- Guessing the specification. Angle values differ between makes, models and even production years of the same engine. Look it up for your vehicle.
- Using the wrong measurement system. A 30 newton-meter setting read as foot-pounds is a very loose bolt.
- Reversing the sequence. Tightening a pattern backwards, or ignoring the stage order, loads the joint unevenly and can warp a head or gasket.
- Treating angle as a substitute for torque. Angle only means something after the bolt has seated. Snag it straight into rotation and the number is meaningless.
- Applying the angle to the wrong fastener. Adjacent bolts on a head or cap often have different figures, sometimes in the same row.
- Leaving threads dirty, dry or unevenly lubricated. Reconditioned threads need to be prepared the way the procedure expects, or the friction will not match the design.
- Overshooting with a long handle. The force needed to move a long ratchet is small compared with the range of a full turn, so the last few degrees go quickly. Short strokes and slow pressure beat a fast sweep.
- Leaving no mark and no starting reference. Without a mark on the bolt head or a pointer setting, you cannot tell where the angle started.
- Reusing a stretch-type fastener. Fasteners designed to be tightened past yield are single use. Once plastically stretched, they are shorter than new and cannot be reset, so replace them.
- Using an impact wrench for the final stage. Impact tooling applies shock rather than the steady torque the design expects, and it obscures the click you are waiting for.
Frequently Asked Questions
Can I use a torque-angle gauge instead of a regular torque wrench?
No. The two tools do different halves of the job. A torque wrench sets the initial tightening force, and the angle gauge then measures the extra rotation that produces the real clamp load. A gauge alone cannot reach the initial torque value, so you would skip the first stage of the procedure. Race engine builders often use a digital wrench that reports torque then angle for exactly this reason.
Do I need a digital torque-angle gauge for wheel bolts?
Only if your vehicle specifies a rotation for the wheel fasteners. Many cars and light trucks use a plain final torque figure, and a click-type wrench is enough there. On vehicles with a snug figure plus a specified angle, a digital wrench that reports angle is faster and easier to read than a mechanical dial, and it helps on cramped hub assemblies. Check the service manual before buying anything.
What does 74 foot-pounds plus 90 degrees mean?
It is a two stage instruction. Tighten the fastener to 74 foot-pounds first, mark the bolt head or note the gauge pointer, then rotate the fastener a further 90 degrees and stop. The degrees are added after the torque, not measured from the start of tightening. 74 foot-pounds is close to 100 newton-meters, but convert only the torque and keep the angle in degrees.
Can a torque wrench with a degree scale replace a torque-angle gauge?
Often yes, as long as it reports true rotation rather than an estimate. Some wrenches have a secondary angle scale driven by a dial on the head. A mechanical gauge also turns any ratchet or breaker bar into an angle measuring tool, and counting ratchet teeth works as a backup check. A digital torque and angle wrench is the most direct option, and it also reports peak angle for checking a joint later.
Is it safe to reuse a stretch-type torque-angle bolt?
No. Torque-to-yield and other stretch-type fasteners are designed to be pulled past their yield point so they hold a known preload. That stretching is permanent, so the bolt is shorter and weaker than new, and its stretch is no longer predictable on a second use. Replace them with new bolts of the same part number whenever the procedure calls for stretching, and never mix a used bolt with a new one in the same joint.
What measurement system should I use when the service manual lists newton-meters?
Use newton-meters, or convert the torque figure accurately and set your wrench in the matching scale. The angle stays in degrees either way, since the specification defines rotation rather than force. Avoid round number substitutions, because a small error in the initial torque carries through to the final clamp load. If the manual also specifies a lubricant for the threads, apply it before you set the wrench, since lubrication changes the torque the bolt needs.
Key Takeaways
A torque angle gauge measures degrees of rotation so you can apply the second half of a torque and angle specification accurately. It earns its place on head bolts, main caps, rod bolts, crank pulleys and any fastener the service manual tells you to rotate past a snug torque.
Start with the service manual for your exact vehicle, not a forum answer or a remembered number. Match the measurement system, snug every bolt in the specified order, mark each one, and add the stated degrees slowly. Buy the gauge, not a replacement for thinking.