
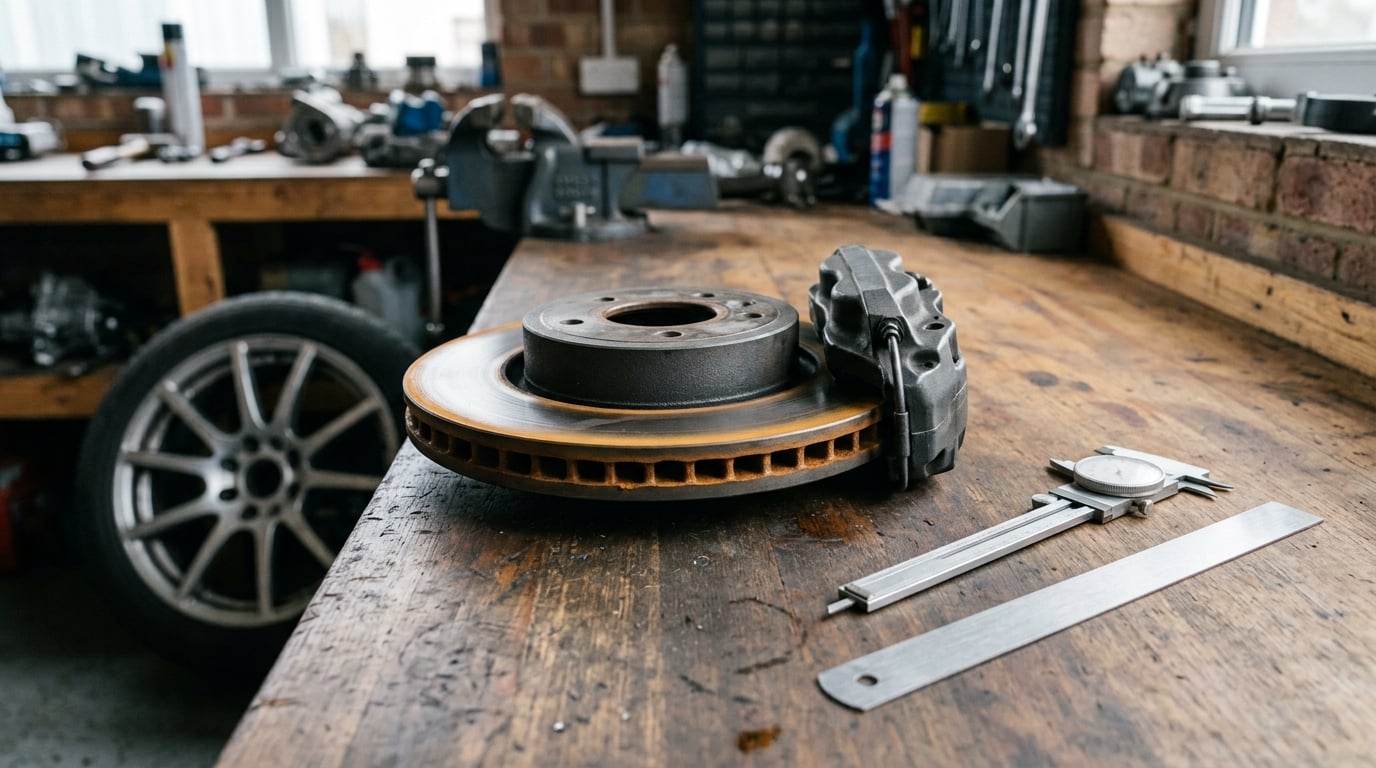
You can tell when brake rotors need replacing by combining three checks: look through the wheel spokes for deep grooves, cracks or a raised outer lip, feel vibration or pulsation through the pedal and steering wheel under braking, and measure the friction surface against the minimum thickness stamped on the rotor itself. Any one of those, confirmed, ends the question. Most rotors wear out long before anything breaks, so the goal is catching the slow decline before it becomes damage.
That last part matters. A rotor does not go from fine to dangerous overnight. It thins, dishes, picks up grooves and loses flatness gradually, and the car usually tells you through a pedal feel you can learn to read.
What confuses most owners is that the noises people blame on rotors usually come from pads, and the shudder they ignore sometimes comes from a wheel bearing. Noise points to the pad wear indicator. Vibration points at the rotor. Keeping those two separate is most of the diagnosis.
Table of Contents
- What You Need
- Step-by-Step: How to Inspect Brake Rotors Before Replacing Them
- 1. Start With the Rotor’s Own Minimum Thickness Stamp
- 2. Measure the Friction Surface at Several Points
- 3. Read the Swept Surface for Grooves, Lip and Heat Damage
- 4. Tell Edge Rust Apart From Real Corrosion
- 5. Match the Noise and the Pedal Feel to the Worn Part
- 6. Test the Parking Brake and Low-Speed Response
- 7. Compare Both Sides of Each Axle, Then Front Against Rear
- 8. Decide Between Resurfacing and Replacement
- 9. Confirm the Findings With a Brake Inspection
- Common Mistakes That Lead to the Wrong Call
- Tips for Safe Brake Inspection
- Frequently Asked Questions
- How thin can brake rotors get before they must be replaced?
- Do brake rotors need replacing whenever they have surface rust?
- Can worn brake rotors be resurfaced instead of replaced?
- Should front and rear brake rotors always be replaced as a set?
- Can I safely drive if I think the brake rotors need replacing?
- How do I know the rotor is warped while driving?
- Conclusion
What You Need
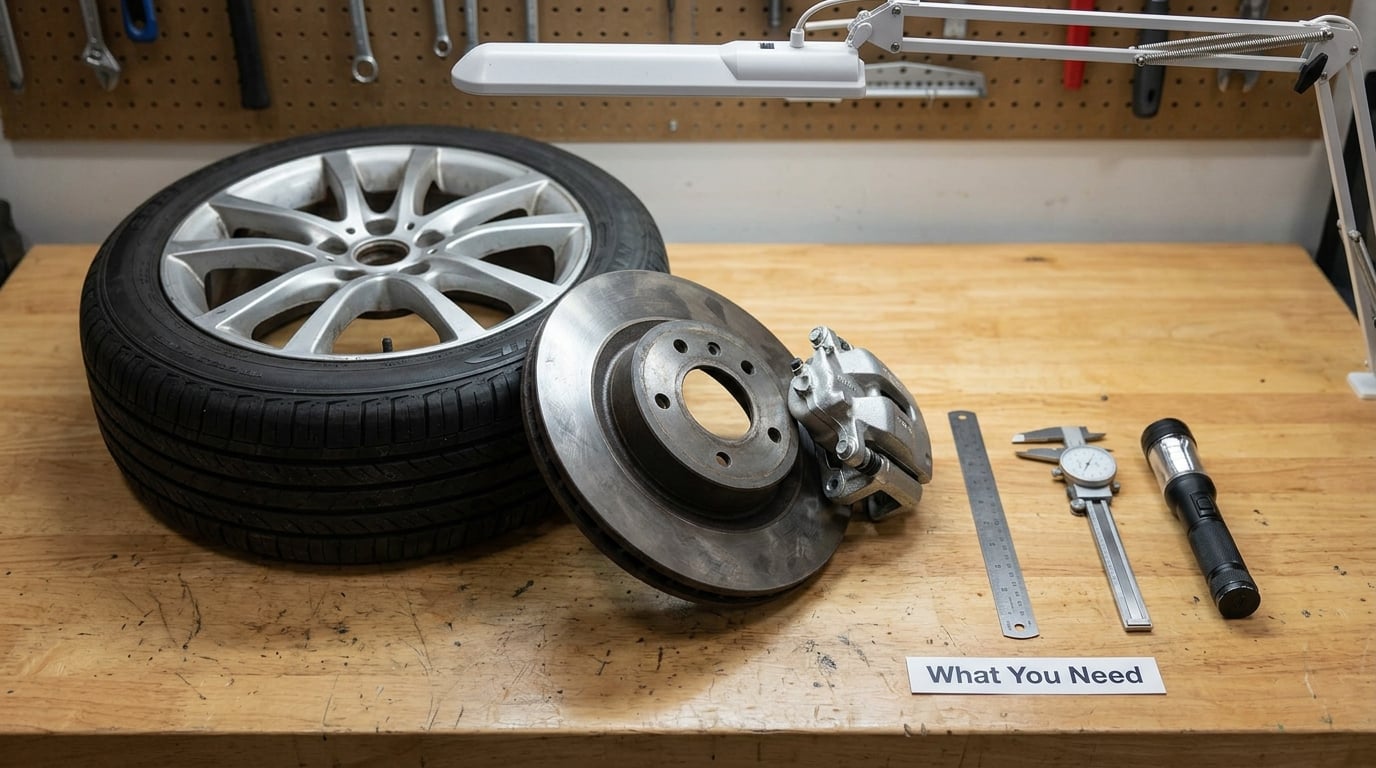
A good inspection takes about twenty minutes per axle and needs less gear than people expect.
- Your owner’s manual or the vehicle service information — this is where the discard thickness and any axle-set rules live. A generic number from the internet is not a substitute.
- A flashlight or headlamp — a lot of inspection happens in the shadow behind the wheel spokes.
- A straightedge or steel ruler — for feeling the outer lip and checking the gap at the top of the swept band.
- A brake caliper tool — the micrometer version is ideal, and a good caliper works if you are careful about the jaws.
- Jack stands and a lug wrench if the wheel comes off, plus wheel chocks and a flat surface.
- Clean rags and a marker — the marker lets you note each reading so you can compare points around the disc.
You can do most of this with the wheel still on by looking and feeling through the spokes, but a measurement means the rotor has to be accessible, and many are easier to judge with the caliper off.
Step-by-Step: How to Inspect Brake Rotors Before Replacing Them
1. Start With the Rotor’s Own Minimum Thickness Stamp
Replacement limits are not universal, which is the first thing that trips people up. There is no single “too thin” number that applies to every car. A large two-piece rotor on a sport sedan and a small solid rear rotor on a hatchback have completely different service limits, and even two cars of the same year can differ by axle and by brake package.
So read the specification in your service manual first, then look for the number cast or stamped into the rotor itself, usually on the hat or between the cooling vanes. MBWorld forum regulars put it plainly: the minimum thickness is stamped on the rotor, and if it is grooved or warped but still has enough material left, it can often be machined instead. Owners on BimmerPost quote per-model figures for the same reason — a 332×30 front disc with a 28.4mm minimum, a 320×20 rear with 18.4mm. Those are model numbers, not general rules.
Note the number down before you touch anything. Every later decision, including resurfacing, hangs on it.
2. Measure the Friction Surface at Several Points
Clean both faces of the rotor where the jaws will sit so rust and grit do not skew the reading, then open the micrometer to slightly more than the rotor’s thickness and close it gently on the swept band. Take readings at four or more points around the disc and mark each one.
Compare the lowest reading to the stamped minimum, not the average. A rotor can measure well at one point and sit right on the limit at another, and the average will hide that.
Also account for the service disc figure if your vehicle publishes one. Service limit and discard thickness are not always the same number, and the manufacturer is the only authority on which one applies to your car.
Repeat the whole process on the opposite rotor of the same axle. Two rotors that started life identical should still measure within a hair of each other, and a meaningful gap between them is its own diagnosis.
3. Read the Swept Surface for Grooves, Lip and Heat Damage
Run the straightedge across the friction band. Anything that catches it, catches a fingernail, or that a fingertip can feel as a distinct step is a groove deep enough to matter. Shallow uniform wear that still feels slightly rough is normal and usually fine.
Check the outer edge by hand. A raised lip you can hook a fingernail under means material has been displaced outward, and that is a replacement condition on its own.
Look for blue or purple heat discoloration and for any crack, no matter how fine. Radial cracks running outward from the center are a hard stop. Fine circumferential checking is common and less urgent, but nothing about a cracked rotor is safe to gamble on.
Construction changes what damage looks like. Understanding two-piece and one-piece rotors helps, because a two-piece rotor’s friction ring is held to the hat by bobbins, and separation or play at that joint is visible in a way a single-piece rotor never is.
4. Tell Edge Rust Apart From Real Corrosion
Surface rust on the non-friction face and around the outer lip is normal after a car has sat outside or after a wash. It wipes off, it does not change the measurement, and it usually fades once the rotor is used again.
What is not normal: rust that flakes off in sheets, deep pitting across the friction surface, or corrosion eating into the edge. A surface you cannot clean back to bare metal is a surface that is sectioning away. A rotor whose hat is eaten away is a rotor whose mounting area is compromised, and no amount of driving it away fixes that.
The useful rule: rust on the face your pads do not touch is cosmetic. Rust on the swept band, or rust that has eaten structure, ends the inspection.
5. Match the Noise and the Pedal Feel to the Worn Part
Grinding under braking means the pads are past their wear limit and the metal backing plate is on the rotor. That is a pad problem, though a long stretch of grinding can also groove a rotor badly enough to need replacement. Fix the pads, then measure the rotor before assuming either way.
Squealing under light braking is usually a wear indicator or a glazed surface. Straight-line pulls usually point at a stuck caliper, worn hardware, or tire pressure, not the rotor.
Pulsation, shudder, or a steering wheel shake that appears under braking and vanishes when you lift off is the rotor signature. Members on r/cars give the same practical rule: replace the rotors when you feel a shudder or vibration under heavy braking, particularly at higher speeds.
One caution on sound alone. A hum that changes with road speed and turns when you steer is frequently a wheel bearing, and uneven tire wear can imitate a warped rotor on the steering wheel. Judge the noise, then confirm with the measurement.
6. Test the Parking Brake and Low-Speed Response
After a few seconds of light pedal pressure from rest, the pedal should feel solid. If it sinks and creeps, the caliper may be sticking, and a hot rotor that never cools is a sign of drag rather than of wear.
Set the parking brake on a slight incline and let it hold for a moment. A rotor with severe taper can let the car roll slightly as the cable tension pulls the shoes into an uneven surface. Hold the brake applied for thirty seconds after a firm stop and step out to check for heat: warmth is normal, burning tires are not.
For the pulsation check, find a straight, flat stretch of road and brake firmly from moderate speed. Any pulse felt in the pedal at that steady pressure is thickness variation or runout, and it is the symptom most tied to a replacement-worthy rotor.
7. Compare Both Sides of Each Axle, Then Front Against Rear
Compare the two rotors on one axle first. Uneven thickness, uneven wear, or a lip on one side only usually points at a caliper that is not retracting evenly, a seized slide, or a hub with play. If you have ever wondered why one brake pad wears faster than the other, rotor condition is part of that answer.
Many manufacturers want both rotors on an axle replaced as a set, and the reasoning is thermal: a matched pair shares heat load evenly, and a mismatched pair can reintroduce the shudder you just paid to fix. Your service manual decides, not the parts counter.
Then compare front to rear. Front rotors do most of the work and usually wear first. Rear rotors on many cars last the life of the vehicle and never get replaced at all. Nobody is going to tell you that in the parts department, so it is worth knowing before anyone offers you a full set.
8. Decide Between Resurfacing and Replacement
A rotor can be resurfaced when it has no structural damage and enough material left to machine, and the margin people ask about is thickness headroom above the stamped minimum. The rule of thumb across the forums is roughly 2 to 4mm, but the only number that counts is the one the rotor manufacturer permits, because machining below that limit changes its heat behavior.
Resurfacing is illegal or unwise when the rotor is below minimum, cracked, warped enough to stay warped, scored deeper than the machining allowance, or corroded on its edge or hat. It also delays the replacement clock by the same amount of material you removed.
Many shops have stopped offering it. Fewer shops measuring means fewer rotors quietly taken down to a spec you never agreed to, so asking for the measurement before the work starts is a reasonable request.
9. Confirm the Findings With a Brake Inspection
Pull your evidence together: the stamped minimum, your lowest reading, the condition of the swept surface, the lip check, the rust picture and the pedal feel. Two or more independent signals pointing at the rotor is a solid basis for replacing it. One signal pointing at the rotor is a reason to measure again.
Get a qualified brake technician to verify the diagnosis when symptoms are intermittent, when the noise disappears from one stop to the next, or when anything structural is involved. Cracks, separation of a two-piece rotor, severe scoring and metal-on-metal grinding are not DIY judgment calls. Have the car supported properly, and treat the whole assembly, pads, hardware and rotor, as one job rather than a single part swap.
Common Mistakes That Lead to the Wrong Call
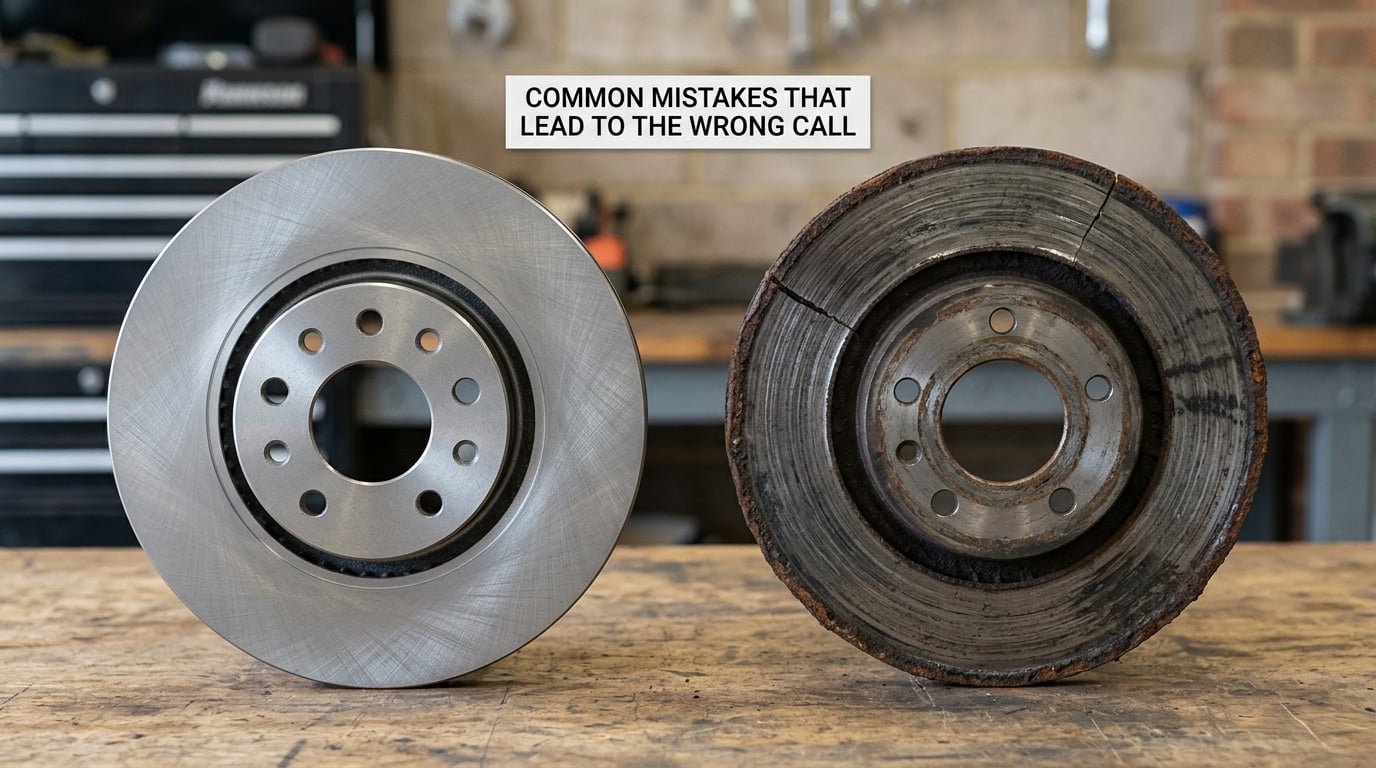
Most wrong calls come from skipping a step rather than from bad judgment. These are the ones I see repeat.
- Trusting a universal minimum thickness. There is no universal minimum. The number on your rotor and in your manual are the only two that apply, and comparing your car to a forum post about a different model is how people replace perfectly good rotors or keep dangerous ones.
- Measuring at one point. A single reading near the middle of the disc tells you almost nothing. Thickness variation across the swept band is the whole reason a rotor can measure thick and still shudder.
- Treating every speck of rust as a death sentence. Cosmetic surface rust on the edge and hat is normal and clears with use. Flaking scale, pitting on the friction band, and corrosion on the mounting surfaces are not.
- Diagnosing by sound alone. Grinding is a pad problem until proven otherwise, and a hum that follows road speed is more often a wheel bearing. Replacing rotors to fix a noise that hardware was causing means paying twice.
- Ignoring the difference between one rotor and the pair. Measuring one side and assuming the other matches skips the most common cause of recurring shudder after a repair.
- Comparing an outside face to a swept face. The outside edge and the hat are the parts designed to wear. Judge the band the pads actually touch.
Tips for Safe Brake Inspection
Follow the manufacturer’s specification over anything you read online, including this. If the service information and the cast-in number ever disagree, take it to a shop and ask which one the vehicle is built to, because that conversation is worth having before anyone cuts anything.
Buy the replacement part that matches the vehicle, including vented versus solid and the correct diameter and thickness. A wrong-thickness rotor may bolt on and behave differently under heat. If you are installing new rotors, the step people skip is cleaning new brake rotors before install with a proper brake cleaner and a lint-free cloth, because the factory coating and shipping residue contaminates pads and causes exactly the squeal people then blame on the new parts.
Never spray brake cleaner near a wheel bearing, a wheel hub, a hub seal or a parking brake cable. Support the car on rated jack stands at the specified points, never on a jack alone, and chock the wheel that stays on the ground.
Replace the pads, the pad hardware and any shims or anti-rattle clips at the same time as the rotors. New pads on an old warped rotor reproduce the shudder you paid to remove, and worn hardware is a common reason a fresh brake job pulls to one side.
Give the new combination a bed-in: roughly 50 to 70 firm stops from 30 to 40 mph, spaced out so the rotors heat evenly, followed by a cool-down drive that lets them cool without hard braking. Plan a re-torque after the first hundred miles if your vehicle specifies it, then re-check your measurement notes on the next service so you can see the rate you are actually wearing at.
Frequently Asked Questions
How thin can brake rotors get before they must be replaced?
Down to the minimum thickness stamped on the rotor, and not one millimeter below. That number is the discard limit set by the rotor manufacturer for heat capacity and warping safety, and it is usually a few millimeters under the new thickness. Your service manual may publish a slightly different service figure, so defer to whichever your vehicle specifies. Below that limit the rotor cannot be resurfaced either, because machining takes more material away.
Do brake rotors need replacing whenever they have surface rust?
No. Light surface rust on the outer edge and the hat is normal after the car sits outside or gets washed, and it usually wipes off or fades within a few normal drives. What ends the rotor is rust that flakes off in sheets, deep pitting across the friction band the pads touch, or corrosion that eats into the mounting hat. Clean it first, measure the thickness, and judge the swept surface rather than the appearance.
Can worn brake rotors be resurfaced instead of replaced?
Sometimes. A rotor with no cracks, no structural corrosion, scoring shallower than the machining allowance, and enough thickness left to stay above the manufacturer minimum afterward can be machined. People use a rough rule of 2 to 4mm of headroom above the minimum, though the rotor maker’s own figure governs. Warping deeper than the machining allowance, cracks and edge rot rule it out, and every resurfacing also postpones the next replacement by the same amount removed.
Should front and rear brake rotors always be replaced as a set?
They should be replaced in axle pairs, and the front and rear axles are separate decisions. Most manufacturers want both rotors on one axle replaced together so they share heat load evenly and do not reintroduce shudder. Many never specify replacing the opposite axle at the same time, and rear rotors frequently last the life of the vehicle because they do far less work. Your service manual settles it, so check before accepting a full set.
Can I safely drive if I think the brake rotors need replacing?
It depends on the finding. A rotor that is merely surface-rusted, or one that is wearing evenly and still measures comfortably above its minimum, is a plan-it-for-the-next-service situation. Any crack, a separated two-piece rotor, metal-on-metal grinding, a burning smell, a pedal that sinks or pulls hard to one side, or a rotor measured below its minimum means stop driving it and get it inspected. Below minimum is not serviceable, so it cannot be machined back into use either.
How do I know the rotor is warped while driving?
You feel it more than you see it. On a smooth straight road, brake firmly from moderate speed: a pulsing pedal or a shudder in the brake is the classic sign, and it often shows up in the steering wheel as a vibration that disappears the moment you release the brake. A lip on the outer edge you can feel with a fingernail often means the disc is no longer flat. Confirm it with a thickness measurement at several points and, if you want certainty, a dial indicator check for runout.
Conclusion
Find the minimum thickness for your exact vehicle and rotor first, because that number frames every other decision. Then look through the spokes for grooves, cracks and lip, feel the pedal under a firm stop on a straight road, and measure at several points on both sides of the axle.
When those checks agree, the answer is not a guess. Above minimum with no structural damage means the rotor can stay or be resurfaced if it has the headroom. Below minimum, cracked or badly warped means replace it, pads and hardware included, and let a technician confirm anything you are not certain about.