
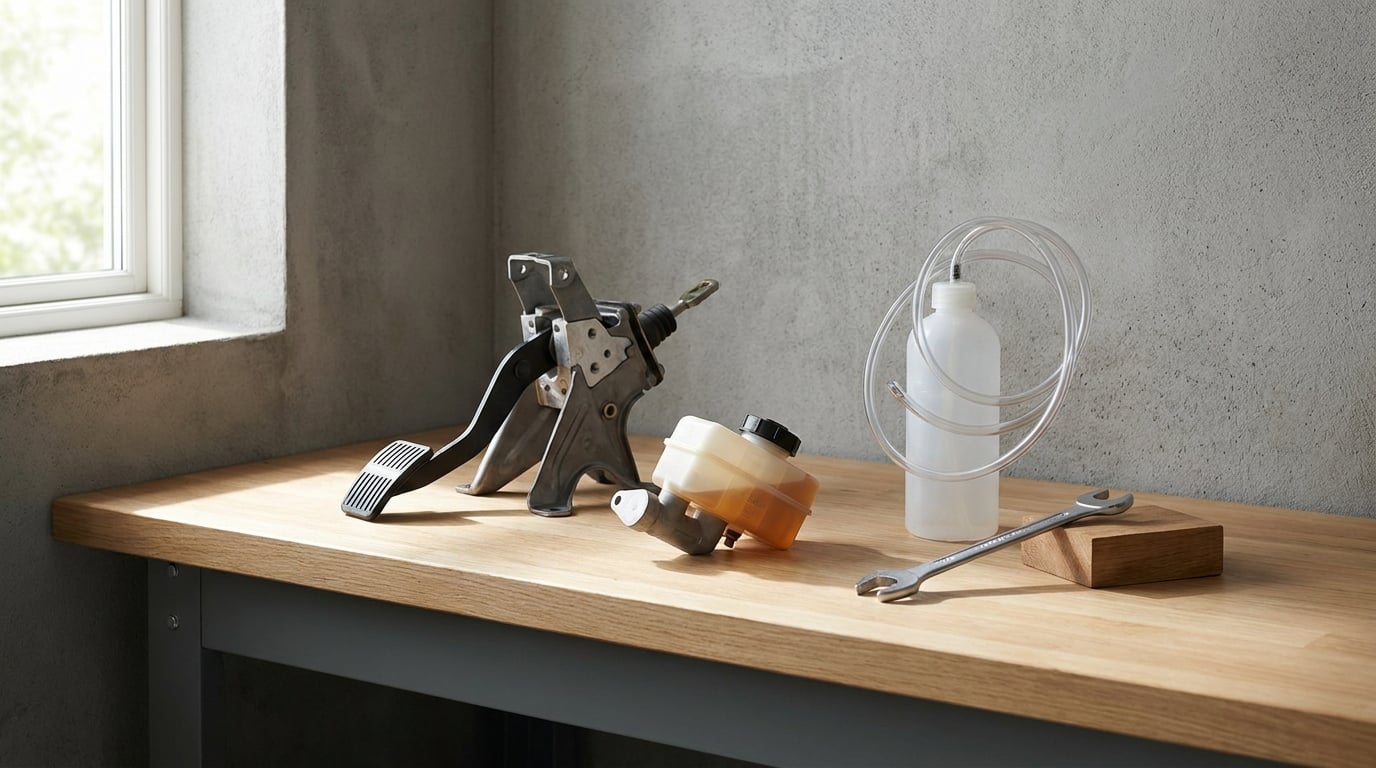
Yes, you can bleed brakes without a helper. You just have to make the pedal hold its pressure on its own instead of relying on a second person: use a one-man pressure bleeder, use a pedal-assist pump, or wedge the pedal with a block of wood and work the bleed screws yourself. On a typical passenger car the whole job takes 60 to 90 minutes, and most of that time goes into topping up the reservoir and rinsing out bottles.
This guide covers the solo method in detail, with notes that apply specifically to BMWs and other European cars with ABS. Brakes are the one system on the car where a shortcut gets you stopped in traffic, so read the safety notes before you turn a wrench.
Table of Contents
What You Need
The short answer on tools: a clear plastic bottle with a lid you can drill a hole in, a length of clear hose, a line wrench, and the exact brake fluid your car calls for. Everything else depends on which of the three solo methods you pick.
The non-negotiable items
- Your owner’s manual or service manual. Not a forum post. The manual gives your bleed order, your fluid spec, and whether your car needs a scan-tool bleed after the job.
- The specified brake fluid. Most BMWs built since the late 1990s want DOT 4, and many older ones take DOT 3. The label molded into the reservoir cap is the fastest check. DOT 5.1 silicone is a genuine fluid, but it is not interchangeable with glycol fluids unless the manufacturer explicitly approves it, and you cannot mix them.
- A clear plastic bottle and clear hose. You need to see the fluid to know when the air is gone. A 12 oz bottle with a drill hole in the lid is the classic setup; the hose needs to reach the highest bleeder without stretching.
- A waste container. One or two quarts of capacity. A single bleed on a modern car pushes out more fluid than people expect, and it is the only way to keep the work area dry.
- Line wrenches and the correct bleeder size. Bleed screws are commonly 8 mm or 10 mm hex, but plenty of cars use Torx or a triple-square, and plenty of hex screws are recessed and need a Torx key in the middle of the hex. A cheap mixed set covers almost everything.
- Jack stands and a lug wrench. If you lift the car at all, stands only. The bleeder on a rear caliper or wheel cylinder is often unreachable with the wheel on, and no one has ever regretted a car on stands.
- Absorbent rags, a marker, and penetrating oil. The rags are non-negotiable: brake fluid eats paint in about an hour and is toxic to handle with bare hands.
Brake fluid is hygroscopic. It pulls roughly 2% water out of the air every year of sitting in a reservoir, which is a large part of why brakes that sit unused get a soft pedal, and it is a good reason to why brakes rust when a car sits as well as why they fade.
What each solo method needs
- One-man pressure bleeder. Gear: the pressure bleeder plus the adapter that matches your reservoir. Difficulty: low once it is set up. Best for repeat jobs and cars with sealed or awkward lines.
- Pedal-assist pump. Gear: a pump with a reservoir tap and a bleed hose. Difficulty: moderate. Best for stubborn corners and hydraulic layouts where pedal travel is short.
- Improvised pedal wedge. Gear: a wood block, tape or cord, a clear tube, a jar of fluid and a shallow pan. Difficulty: moderate and fiddly. Fine for a one-off job when you want to spend nothing on tooling.
On the pressure bleeder, the adapter fitment is the thing that trips people up. As one r/MechanicAdvice poster put it, they work well but the only downside is getting the correct adapter for your fluid reservoir. Buy the bleeder kit with a range of caps, and check the reservoir shape before you buy rather than after.
Step-by-Step: How to Bleed Brakes Without a Helper
1. Prepare the Vehicle and Check the Brake Fluid
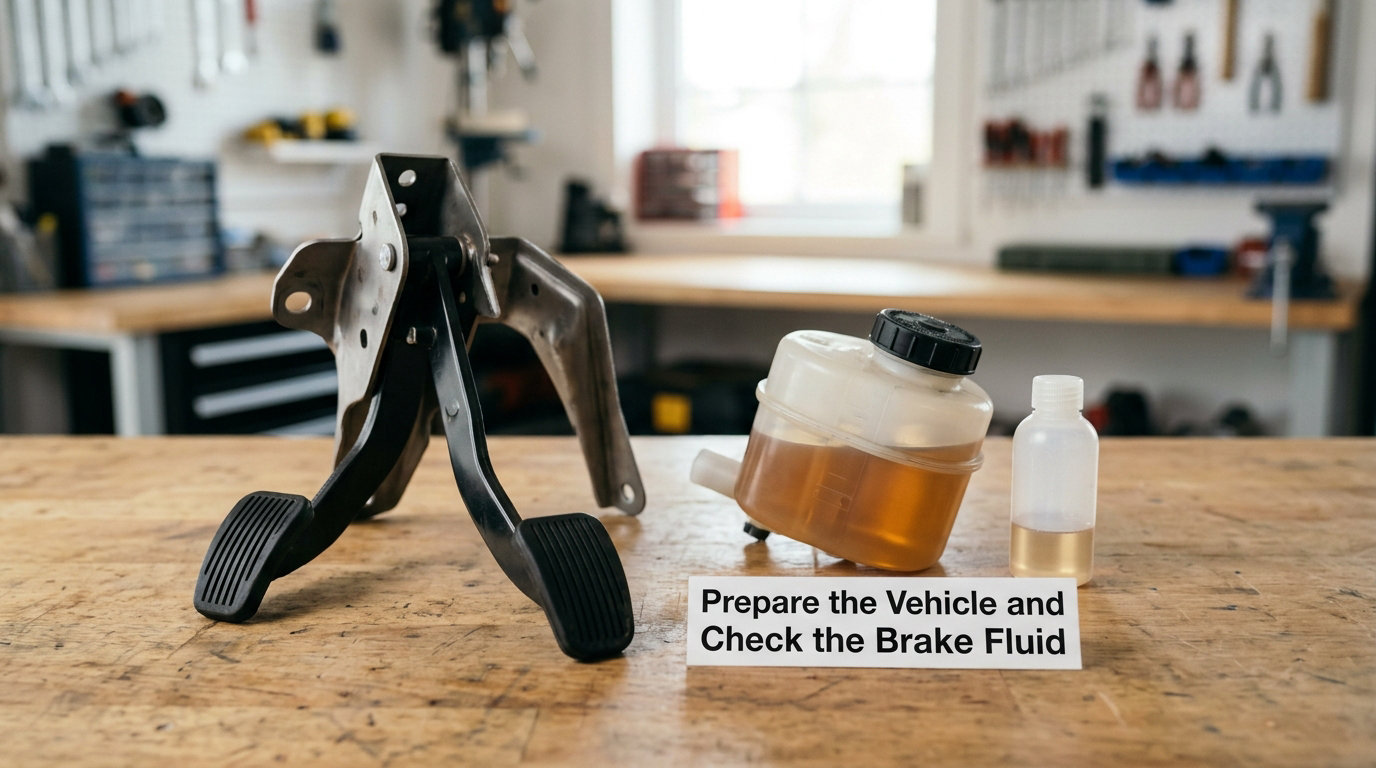
Park on level ground, in gear, with the parking brake set. Do not work on a slope — half the reason the pedal loses pressure is fluid and air finding a downhill direction.
Before opening anything, look along every visible brake line and hose. Look for fluid weeping from a fitting, a crust of dried fluid at a caliper, or a soft rubber hose that has sweated. If you see any of that, the leak is the reason you are bleeding, and bleeding without fixing the leak just wastes an afternoon.
Fill the reservoir with the specified fluid to near the top. Work the pedal a few times and top it up again, because the master cylinder reservoir level moves as the pedal strokes. If your brake system has a foam insert or a strainer sitting in the reservoir, leave it saturated with fluid rather than sitting dry against the walls; a dry insert draws air in when you top up later.
Wash down around each bleed screw before you touch it. Grit in the threads is how a screw strips, and a stripped bleed screw is how a two-hour job turns into a parts run.
2. Find the Brake Bleed Valves
Each wheel has a bleeder, and they look different depending on the corner. Front calipers have a screw or a small banjo-bolt fitting, usually with a rubber cap on the end. Rear setups may use a caliper screw or a separate wheel cylinder with its own screw on top.
The trap is grabbing the wrong fitting. On many cars there is a bleeder screw on the ABS hydraulic control unit as well, and there are bleed points on some proportioning valves and on clutch systems. You want the ones at the wheels first, and only touch the module valve if the wheel valves come out clear and the pedal is still soft.
Fit a piece of clear hose to the bleed screw now, before anything is opened. Slide it over the nipple, run it down into your bottle so the end stays submerged, and cut the bottle so it sits at the height of the bleeder or above it. Keeping the outlet higher than the inlet is what stops the fluid from rushing out faster than you can catch it.
3. Create a Simple Pedal-Positioning Setup
This is the whole trick, and it is the same on every car. The pedal needs pressure applied while the screw is open, continuously and without letting go.
For the improvised method, put a short block of wood under the pedal, angled so the pedal is pressed about three-quarters of the way down, and brace the block against the seat rail or floor so it cannot slide. Tie or wedge it so that it stays put if you lean on the door or reach across the car. Users on r/FocusST landed on exactly this after finding a hand pump would never give them a firm pedal.
Pressure stays consistent. You are not trying to force the pedal to the floor, because a pedal forced harder than the fluid can follow just builds pressure against your ankle and pushes fluid back the way it came. Steady and moderate is what moves air out of the line.
Two more habits that keep air out: keep the reservoir topped up so the master cylinder never uncovers the outlet, and never leave a hose end or a bleeder open to air. Submerge the hose end in fluid, the trick riders on the IH8MUD forum use, and if you do have an open nipple, cap it immediately with a piece of tape or a bleed bottle.
4. Bleed the Brakes in the Recommended Order
Work the wheel furthest from the master cylinder first. The usual garage convention on most cars, and on most BMWs, is passenger rear, then driver rear, then passenger front, then driver front.
Check your manual anyway. Some manufacturers specify front-first on systems with a particular proportioning or proportioning valve design, and a few rear setups bleed better in a different sequence. If your service manual names an order, that order wins over anything written on a forum.
At each corner: open the bleed screw a quarter turn, and watch the hose. Old fluid first, often dark and thin, then streaks and blips, then a stream with air bubbles the size of a BB. Keep the pedal held while you do this. Close the screw as soon as the fluid runs solid with no bubbles — closing it with the pedal released is exactly how air gets drawn back in, and it is the single most common reason a solo bleed fails.
Move to the next wheel and keep the reservoir filled. Never work two corners at once; there is not enough pressure to bleed one line while feeding another.
5. Watch the Fluid and Close Each Valve
Bubbles stop, then the fluid turns from bubbly to a clean, continuous stream. That is the signal that this corner is done. Close the screw firmly but do not lean on it — these are small aluminium or steel fittings and they strip.
If fluid keeps spitting and sputtering rather than running, there is still air in the line. Close up, top up the reservoir, and go round again. Two or three passes per corner is completely normal on a system that has been open or sitting.
Watch the reservoir the whole time. On a car with a proportioning valve the fluid level can drop fast, and the moment the master cylinder inlet runs dry, air enters the middle of the system and you start over.
6. Finish and Test the Brakes Safely
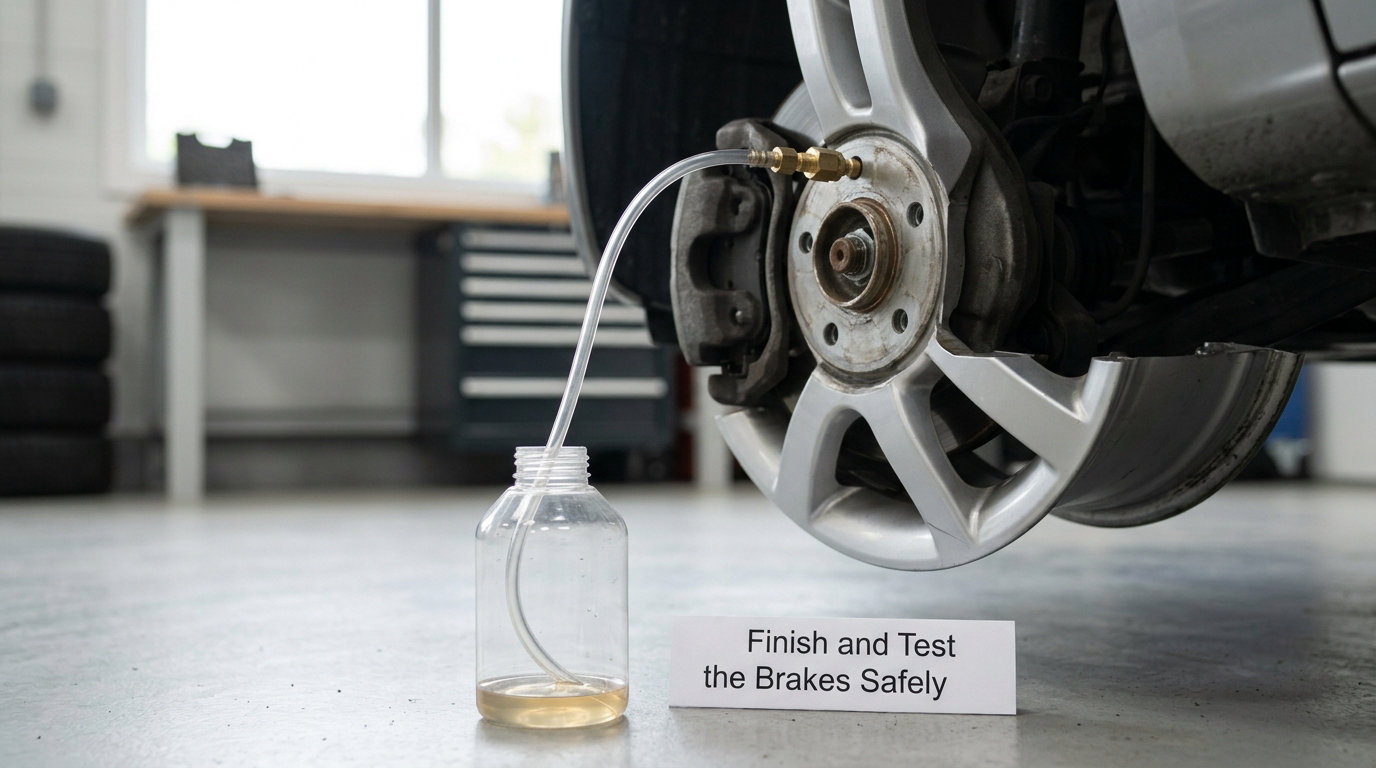
Run the pedal down from the top of its travel. Then pump it hard against its normal rest position. A bled system gives a pedal that feels firm, travels very little, and holds under pressure — people in the forums call it rock hard, and that is the standard you are aiming for. If it still travels far, still feels spongy, or sinks toward the floor when you hold it, there is air or fluid left in the system somewhere.
Put the reservoir cap back on, refit the wheels, torque the wheel nuts in a star pattern, and clean up every drop. Brake fluid on a painted panel will strip the clear coat, and on concrete it etches the surface.
Check the pedal again after a couple of minutes of sitting. A pedal that creeps down on its own points at a leaking master cylinder or a loose fitting, not at air. Test the brakes at walking pace in an empty parking lot before you go anywhere near a road, and never drive the car on a pedal that feels soft — if it will not firm up, have it diagnosed. If you replaced pads or rotors, follow the bedding procedure in your manual before normal braking.
Common Mistakes
Letting the pedal return with the valve open. This pulls air in at exactly the moment you were pushing it out. Fix: wedge, pump, or pressurize, and treat the pedal as locked while any screw is loose.
Using the wrong fluid. DOT 3, DOT 4 and DOT 5.1 are not interchangeable in every system, and silicone fluid will not mix with glycol. Fix: read the reservoir cap and the manual, and if you already mixed fluids, plan on a full flush rather than another bleed.
Overfilling the reservoir. Fluid that is pushed out of a full reservoir spills onto the brake booster and can damage it. Fix: keep it full but not crowned, and check the level between corners.
Loosening more than one valve. You cannot bleed two circuits at once. Fix: one screw open, one hose running, one bottle catching.
Shoving plugs into brake hoses. Some owners jam a valve stem or bolt into a hose to stop flow. That is a hack that hides a leak and can rupture a hose under pressure. Fix: tie or wedge the pedal properly, or use a bleeder bottle.
Forcing a seized bleed screw. A screw that will not break free is about to round off. Fix: spray penetrating oil, leave it overnight, apply heat, and use the correct wrench on the correct flats. If the head is already rounded, a screw extractor or a heat gun and a new screw are cheaper than a caliper.
Ignoring a pedal that stays soft. A spongy pedal after a bleed is a diagnosis, not a reason to keep bleeding. Common culprits are air lodged in the ABS module, a leaking master cylinder, or a proportioning valve stuck open. If you are parking a car you care about for more than a few months, knowing how to maintain brakes on a car you rarely drive saves you from a cold, damp pedal and a corroded caliper.
Frequently Asked Questions
Can you bleed brakes with only one person?
Yes. The pressure that a helper applies by pressing the pedal can come from a one-man pressure bleeder clamped over the master cylinder reservoir, from a pedal-assist pump, or from a wood block wedged under the pedal. Either way you open one bleed screw at a time, watch fluid run bubble-free, and close the screw before the pedal is released. Allow 60 to 90 minutes on a typical car.
What is the best solo brake bleeder?
A one-man pressure bleeder is the most consistent, because it holds steady pressure at the master cylinder while both hands work the screw. Pedal-assist pumps are a close second and are cheaper. Both need the correct reservoir adapter, which is the single most common complaint about pressure bleeders. For a one-off job, a wood wedge and a bottle of clear hose cost almost nothing and work fine.
Do I leave the brake reservoir open when bleeding brakes?
Leave the cap on for hand or pedal-bleeding so the master cylinder keeps its supply of fluid and does not splash onto the booster. Remove it whenever you need to top the reservoir up mid-job, then put it back on before you go to the next corner. With a pressure bleeder the cap must be sealed under the adapter, since that adapter is what holds the pressure.
Why won’t my rear brakes bleed even though I try?
Usually the bleeder is mounted below the caliper or inside the brake drum, so air sits above the fluid and cannot rise to the outlet. On those cars, jack or angle the caliper so the bleeder sits high, or unbolt the cylinder and rotate it upright before bleeding. If both rear corners are fine and the pedal is still soft, the air is probably inside the ABS module rather than the lines.
Can I bleed just one brake line?
You can bleed one corner for a quick check, and that is fine after a caliper or hose job if the rest of the system was already free of air. You cannot leave the rest of the system untouched and expect a firm pedal if air is anywhere else in it. Any line that has been opened must be bled, and after a full fluid change every corner needs bleeding to move the old fluid out.
Do BMW ABS brakes need a scan tool to bleed?
Often, yes. BMWs from roughly 1995 onward have an ABS hydraulic control unit that holds a quantity of fluid and can trap air inside its pump and accumulator. If every wheel bleeds clear and the pedal still feels soft, that is the usual reason. The fix is an electronic service bleed run with a scan tool that can cycle the pump, which is a workshop job on most models.
Conclusion
Start with the manual, not a tool. It tells you the fluid, the bleed order, and whether your car needs a scan-tool bleed afterward — and if you do that work first, a pad or rotor swap on a BMW can be finished in one session alone.
From there it is simple: pressure stays on the pedal by one of three methods, one screw opens at a time, the valve closes before the pedal moves, and the reservoir never runs dry. If the pedal is firm and rock hard afterwards, you are done. If it stays soft, leaks, drops toward the floor on its own, or throws a warning light, that is a fault to diagnose rather than a bleed to repeat.
One last thing before any work that leaves the car sitting: if you need to disconnect the battery for anything along the way, do it properly — how to disconnect a car battery without losing settings covers the memory-preserving sequence so your radio presets and throttle body relearn survive.