

If you want to know how to tell if your car has a refrigerant leak, start with three things: air that stays warm when it should be cold, a hissing or clicking sound from the A/C, and oily residue around the fittings under the hood. Those three together are a strong case for a leak. None of them alone proves one.
That distinction matters more than it sounds. A weak cabin is the symptom owners notice, and it sends people straight to a recharge. But a failed compressor clutch, a stuck blend door, a clogged cabin filter or an electrical fault can all produce the same complaint. This guide covers car AC refrigerant leak symptoms, the clues you can check yourself, and exactly where a shop takes over.
The whole read-and-look part takes twenty minutes with a flashlight. The part that costs money is confirming it, and that part is not a DIY job.
Table of Contents
- What You Need
- How to Check for a Refrigerant Leak Step by Step
- Frequently Asked Questions
- Does weak air conditioning always mean the car has a refrigerant leak?
- Why is my car A/C blowing warm air after it was recently serviced?
- What does a refrigerant leak sound like?
- Can I safely add refrigerant to my car myself?
- How do mechanics find a refrigerant leak in an evaporator?
- Can a refrigerant leak damage the engine?
- The Short Answer: What to Do First
What You Need

None of this is specialised equipment, and the first item matters more than the rest.
- Your owner’s manual. Find the refrigerant type and the A/C service section. Cars built in recent model years run R-1234yf; older ones use R-134a. Vehicles that switched to R-1234yf are also stricter about what dye and oils go into them, and the label under the hood usually states which fluid the car takes.
- A bright flashlight. Leaks show up as shine, not colour. Compressor oil mixed with refrigerant leaves a dark, wet film that catches light where dust would just sit matte.
- Clean rags and nitrile gloves. Your hands will end up in the same places the mechanic’s hands do.
- A thermometer. An infrared gun pointed at a vent, or a basic probe thermometer held in the airflow. Either works. The point is a repeatable reading, not a magic number.
- A manifold gauge set, only if you already know how to use one safely. If you are reading this for the first time, skip it.
- Access to a certified automotive A/C shop for the actual pressure test and any refrigerant work.
Say this plainly before you go further: refrigerant sits under high pressure, and handling it is regulated. Do not vent it, do not open a fitting, do not loosen a service port. Everything below is recognition work. Recovery, charging and leak location are technician jobs.
How to Check for a Refrigerant Leak Step by Step
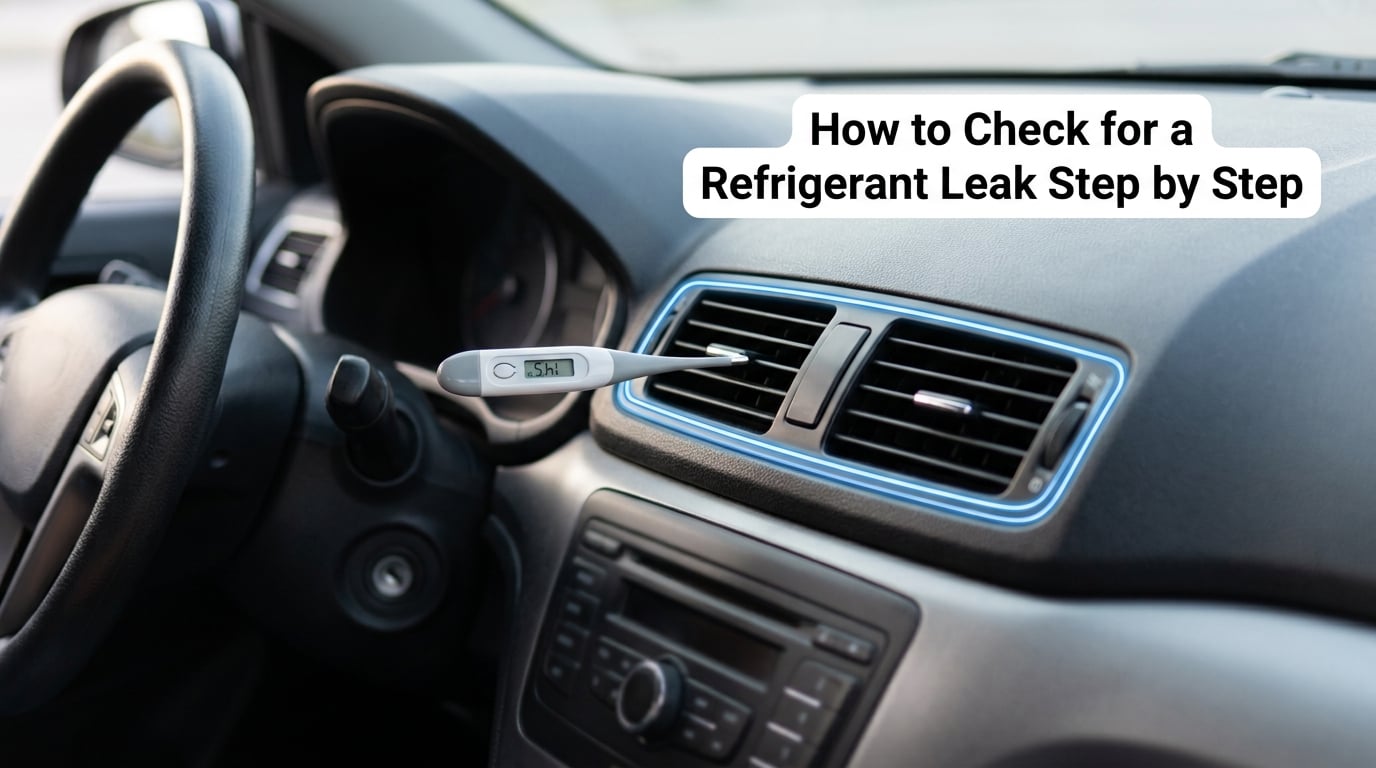
Work through these in order. Each step rules something in or out, and the order means you are not guessing at parts before you have confirmed the symptom is real.
Step 1: Confirm the A/C Is Losing Performance
Put the car in a repeatable test condition: engine warmed, windows up, climate control set to cold with the fan on medium, and the air recirculate. Then drive a few minutes and note what you get.
Compare it to what the car used to do. Did the air stay cold at the centre vent and now it is only cool? Does it cool fine at low speed and go warm at highway speed? Does it take longer to chill the cabin than it did last summer? These are the patterns that separate a gradual charge loss from a system that is working normally on a hot day.
Here is where you stop and consider other causes. A compressor that never engages gives weak cooling with a silent, non-clicking underhood. A blend door stuck partway mixes hot air from the heater core into the supply. A clogged cabin filter starves airflow and chills less air per minute. A thermostat or sensor reading wrong can make the system shut itself off early. Any of those can look like a leak to the person sitting in the seat.
Weak cooling supports a leak. It does not confirm one.
Step 2: Check for Warning Lights and Unusual Noises
Not every car has a dedicated low-refrigerant warning light, so do not wait for one. A few vehicles show an A/C telltale on the dash, and that is worth a look, but the absence of a light tells you nothing.
Listen instead, with the engine idling and the A/C running, then again with the A/C switched off at the end of a drive.
- Hissing after shutdown. A faint hiss for a few seconds after you switch the A/C off usually means refrigerant escaping at a fitting or a component seam. This is the single most reliable sound clue.
- Clicking from the compressor area. A rapid on-off click, click, click over a few seconds is the compressor cycling in and out. It is a consequence of a low charge, not a separate fault. Once the charge is low enough, the clutch cannot hold pressure and drops out, then re-engages.
- Grinding or squealing. Louder, more mechanical noises point at a bearing or belt rather than a leak. Worth a shop visit, wrong diagnosis for a recharge.
- Oily film around fittings. Compressor oil travels with the refrigerant. If oil is there, refrigerant was there.
Step 3: Inspect Visible, Accessible Clues
Engine off, vehicle parked on level ground, and the car secured. With the flashlight, look along the lines and fittings you can reach without removing anything.
Start at the compressor and the low-side hose connections, then follow the lines toward the condenser at the front of the engine bay. Look for a wet shine, a dark stain, dust that looks sticky, corrosion that is white and flaky, a fitting with a visible gap, or a rubber hose that is cracked, hard or bulged. O-rings and seals at the service ports and line joints are the classic failure points.
Then check under the car in the general area of the condenser, and inside the engine bay for oil streaks running down a component.
One honest warning: a hidden leak leaves no evidence at all. An evaporator inside the dash or a line buried under interior trim can lose the full charge and leave the engine bay spotless. Many owners get a clean bill of health from a visual check and assume they are fine. They are not.
Step 4: Compare Vent Air Temperature
This gives you a number you can track instead of a feeling. Set the controls as you did in Step 1, let the cabin settle, and hold the probe in the airflow at a centre vent. Record the reading.
Do it again next week under similar conditions. What matters is the trend. A vent that delivered genuinely cold air and now delivers air closer to cabin temperature, with everything else held constant, is a real change.
Resist the urge to compare your reading against a single universal number you find online. Vent temperature depends on ambient heat, humidity, engine load and how long the system has been running, and the number people quote is measured under conditions you are not replicating. Your own past reading is the better benchmark.
A warm vent can also come from a weak evaporator, low airflow, a failing compressor clutch or a control problem. Treat this as a tracking tool, not a diagnosis.
Step 5: Confirm Low Pressure With a Proper Pressure Test
Only a gauge set connected to the service ports gives you a real answer, and only someone trained on your vehicle can judge the numbers. Here is the concept, not the procedure.
A technician recovers and checks the charge, connects a calibrated manifold gauge set to the low- and high-side service ports, brings the compressor to the right operating condition for the vehicle, and compares the low-side pressure against the service information for that specific model. Low-side pressure sitting well under the specified range once the system is running properly points to an undercharged system, which means a leak somewhere until proven otherwise.
Two things that reading cannot do. It cannot tell you where the leak is, and a reading taken on a cold morning tells you close to nothing. If you have no gauge experience, this is where your part ends.
All recovery, leak location, sealing, and charging go to a certified technician. Refrigerant type matters here too: a shop charging a car that takes R-1234yf with R-134a is a problem for the compressor, and telling them which fluid your car uses is worth doing before the work starts. This guide reflects current practice for 2026 model years, and refrigerant standards change by model year, so check the label and the manual rather than trusting a forum answer.
Common Mistakes
Topping up without measuring charge. A can of refrigerant added by feel replaces what left but leaves the leak running. You will be back in a few weeks, and the second visit costs more than the first. Fix: have the system measured and the leak located before anyone adds anything.
Touching or loosening a live fitting. A charged system can vent refrigerant fast enough to cause cold burns, and a quick release can move metal. Fix: leave pressurised fittings alone entirely.
Judging one gauge reading with no context. Pressure depends on ambient temperature, engine speed, load and whether the compressor is running. A single photograph of a gauge proves nothing. Fix: compare against the service information for your model under the correct conditions.
Replacing refrigerant when the fault is elsewhere. A blend door, a stuck thermostat, a clogged cabin filter or a seized compressor will not be fixed by any amount of refrigerant. Fix: diagnose the system before you pay to refill it.
Only looking near the compressor. The compressor is one possible source. Condenser seals, hose cracks, service port O-rings, the receiver-drier and the expansion valve or orifice tube all leak, and the evaporator leaks without showing anything outside the car. Fix: work the whole accessible system, and let a shop handle the parts you cannot see.
On method choice, practitioners genuinely disagree, and the disagreement is about leak type rather than right and wrong. A regular on the Auto A/C Forum described dye as the tool for slow, intermittent leaks, since dye accumulates over time and is read later. A contributor on Diagnostic Network described using an R-134a sniffer, insisting on two conditions: no wind, and letting the vehicle sit undisturbed for several minutes before testing. Skip either of those and you get a false negative. UV dye with a UV flashlight and a soap-and-water solution on suspect joints round out the three methods shops and DIYers use between them.
Frequently Asked Questions
Does weak air conditioning always mean the car has a refrigerant leak?
No. A clogged cabin filter, a blend door stuck partway, a failed compressor clutch, an electrical fault or a bad sensor can all leave the cabin warm. What separates a leak from those faults is the combination of warm air plus a hissing sound after shutdown, oil at a fitting, or a compressor clicking on and off rapidly. If only the cooling is weak, have the system measured before paying for a recharge.
Why is my car A/C blowing warm air after it was recently serviced?
Two possibilities. The shop may have recharged the system without locating the leak, so the charge is already gone again. Or the recharge itself exposed a second fault, such as a blend door or a compressor that will not hold pressure. Ask whether the leak was found and where. A shop that located and documented the leak can tell you what failed, and a shop that only topped up the system cannot.
What does a refrigerant leak sound like?
Usually a faint hiss that starts when the A/C is switched off and fades over a few seconds as the remaining refrigerant escapes. A rapid clicking from the compressor area is the other common sound, and it is a low charge causing the clutch to drop out and re-engage. Louder grinding or squealing is mechanical rather than a leak, and deserves a shop visit instead of a recharge.
Can I safely add refrigerant to my car myself?
Generally no, and it is also usually pointless. Refrigerant is under high pressure, the fluid must match what your car takes, and adding gas without measuring the charge or finding the leak means you will need another visit. Detection is the part you can do yourself. Recovery, leak location and charging are regulated work that belongs with a certified technician.
How do mechanics find a refrigerant leak in an evaporator?
The evaporator sits behind the dashboard, so it cannot be looked at. Techs use an electronic sniffer, which reacts to refrigerant in the air, and UV dye, which glows under a UV light at the leak point. Dye works best for slow leaks that accumulate over time. A sniffer is faster on small active leaks, but it needs no wind and a car that has sat undisturbed for several minutes to read correctly.
Can a refrigerant leak damage the engine?
It does not damage the engine itself, but it can wreck the A/C compressor. Compressor oil circulates with the refrigerant, so a leak takes the oil with it. Running a compressor without its oil is how a charge problem becomes a much more expensive repair. Keeping driving for a while is usually fine, but fix it before the compressor starts making noise.
The Short Answer: What to Do First
Start with the sound, not the temperature. Sit in the car with the A/C running, then switch it off and listen for a hiss. Walk the accessible lines under the hood with a flashlight and look for oil. Those two checks take ten minutes and catch most leaks that are visible at all.
If both point the same way, take the car in and ask for two things: a pressure reading and the location of the leak. Do not let anyone recharge first. A refill without a leak found is how owners end up back at the same shop twice, which is the complaint that comes up most often in the forums.
And if the only symptom is warm air with no hiss and no oil, suspect the cabin filter or the blend door before you spend money on refrigerant.