
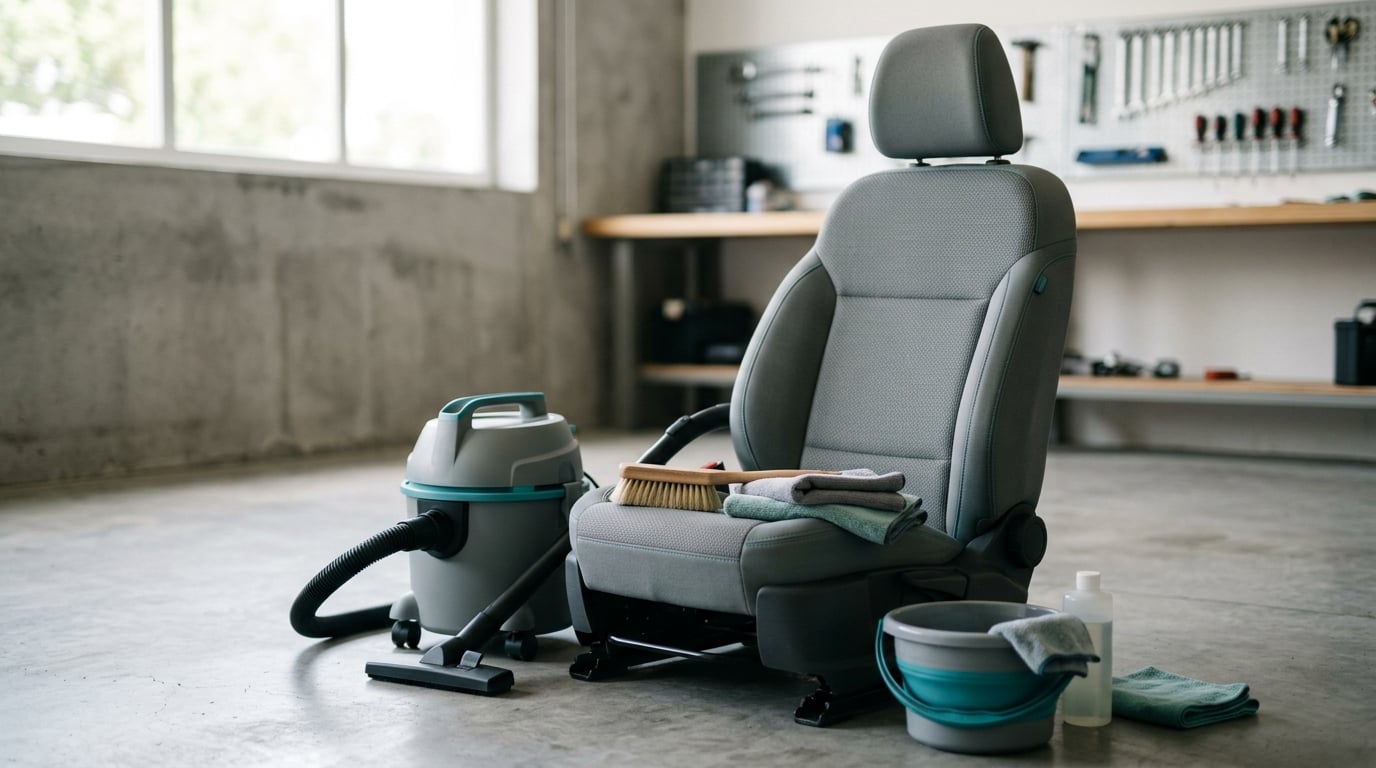
To clean cloth car seats at home, vacuum every surface and seam, patch test a gentle upholstery-safe cleaner, work it into the fabric with a soft brush, blot the dirty water out with clean damp cloths, and give the seats hours of airflow to dry. The active work takes about 60 to 90 minutes for a front pair of seats. Drying takes longer.
Most people get into trouble in one of two places: they soak the cushion until water pushes into the foam, or they scrub a stain before the cleaner has had time to loosen it. Both leave you worse off than when you started. The sequence below is the one that works, and most of the tools already sit in your garage.
If you also want to work on fluids and hard parts in the same weekend, our guides on cleaning up a coolant spill in the driveway and cleaning new brake rotors before install are good Saturday-morning companions for a garage session.
Table of Contents
What You Need
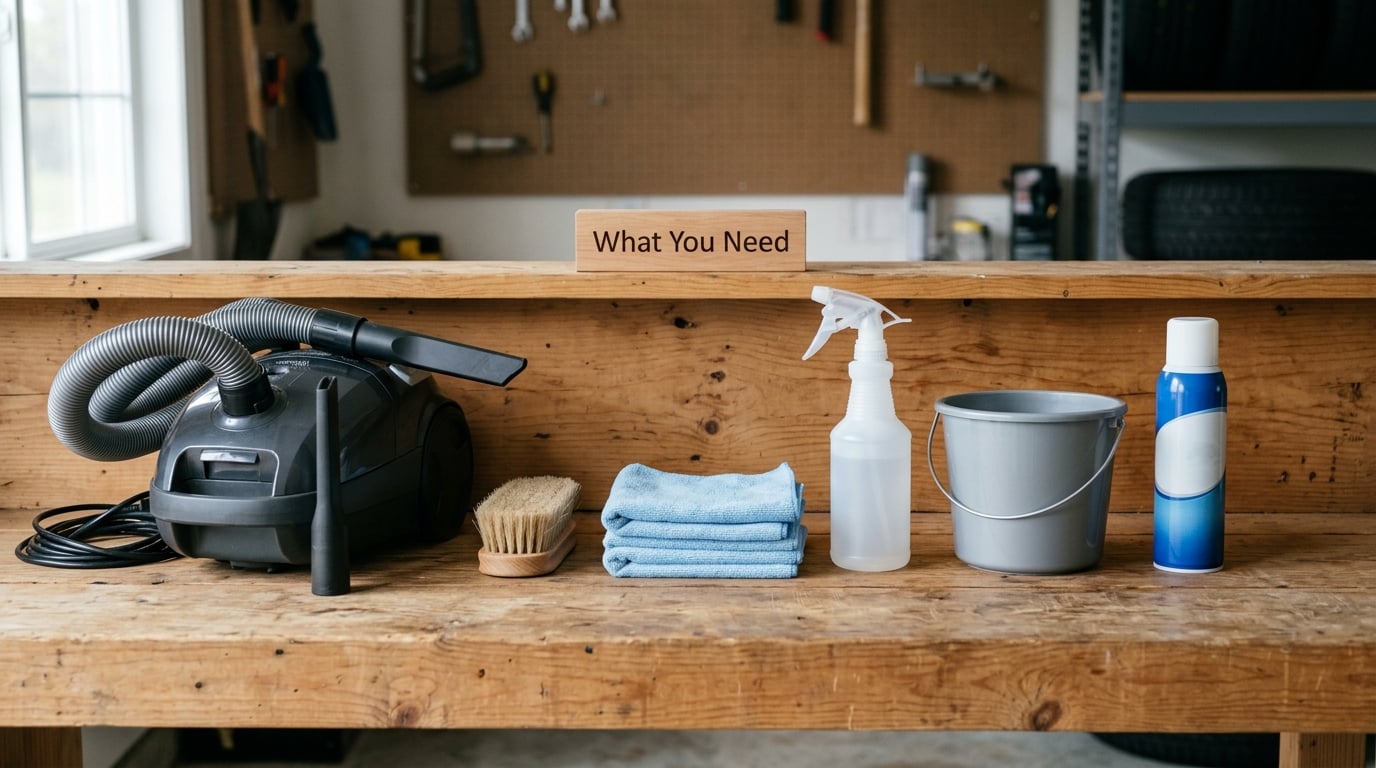
You need less than most people expect. Gather these first, and the rest of the guide assumes you have them within reach.
- A vacuum with a crevice tool. A shop vac, handheld, or canister unit all work. The crevice attachment is not optional; it is the only way to reach the gap between the seat back and base and the tracks under the cushion.
- A soft-bristle upholstery brush. Nylon or natural bristles, about the stiffness of a toothbrush. Stiff bristles abrade the pile and leave permanent fuzz.
- Three or four clean microfiber cloths. You will dirty two and need clean ones for the final rinse. Keep a stack by the bucket.
- A spray bottle for diluting cleaner and for misting water as you work.
- A small bucket for your clean-water rinse and for catching runoff.
- An upholstery-safe cleaner. A foaming automotive upholstery cleaner, or a DIY mix of warm water with a small amount of clear dish soap.
- Optional: a wet/dry vacuum or carpet extractor. This cuts drying time dramatically and is the difference between a good clean and a great one.
- Optional: baking soda and an enzyme cleaner if there is a smell rather than only a stain.
Before anything else, identify the upholstery. Most manufacturers put a tag on the seat or the door jamb listing fiber content, and the owner’s manual sometimes carries a cleaning code such as L, W, or S. Polyester and nylon respond well to mild detergent. Microfiber, velour, and anything with a membrane or perforation pattern is more delicate, and a code of W usually means water-based products only. Suede-like alcantara should not get wet at all.
A few safety notes that people skip. Read the owner’s manual before you touch an electrically adjusted seat, and never spray cleaner near seat controls, wiring, buckle connectors, or the seam that runs down the side of the seat where the side airbag lives. Buckle stalks and occupancy sensors can fail from liquid, and a soaked side airbag may not deploy. If your car has a manual tag listing cleaning codes, follow the tag over any home remedy.
Step-by-Step: How to Clean Cloth Car Seats at Home
1. Check the Upholstery Tag and Prepare the Car
Read the seat fabric tag and the cleaning code in the owner’s manual first, because everything after this depends on knowing what the cloth is. Park outside or in a garage with the engine off, windows down, and doors open. Clear bags, coats, and loose objects out of the cabin so you are not cleaning around clutter.
If the seat slides forward, slide it forward to expose the rear of the cushion, but do not force it or unbolt anything. Take photos of any seat wiring or connectors you can see before you start moving things around. You did it correctly if you can now see the full seat surface and nothing electrical is exposed to spray.
2. Vacuum Loose Dirt and Inspect the Fabric
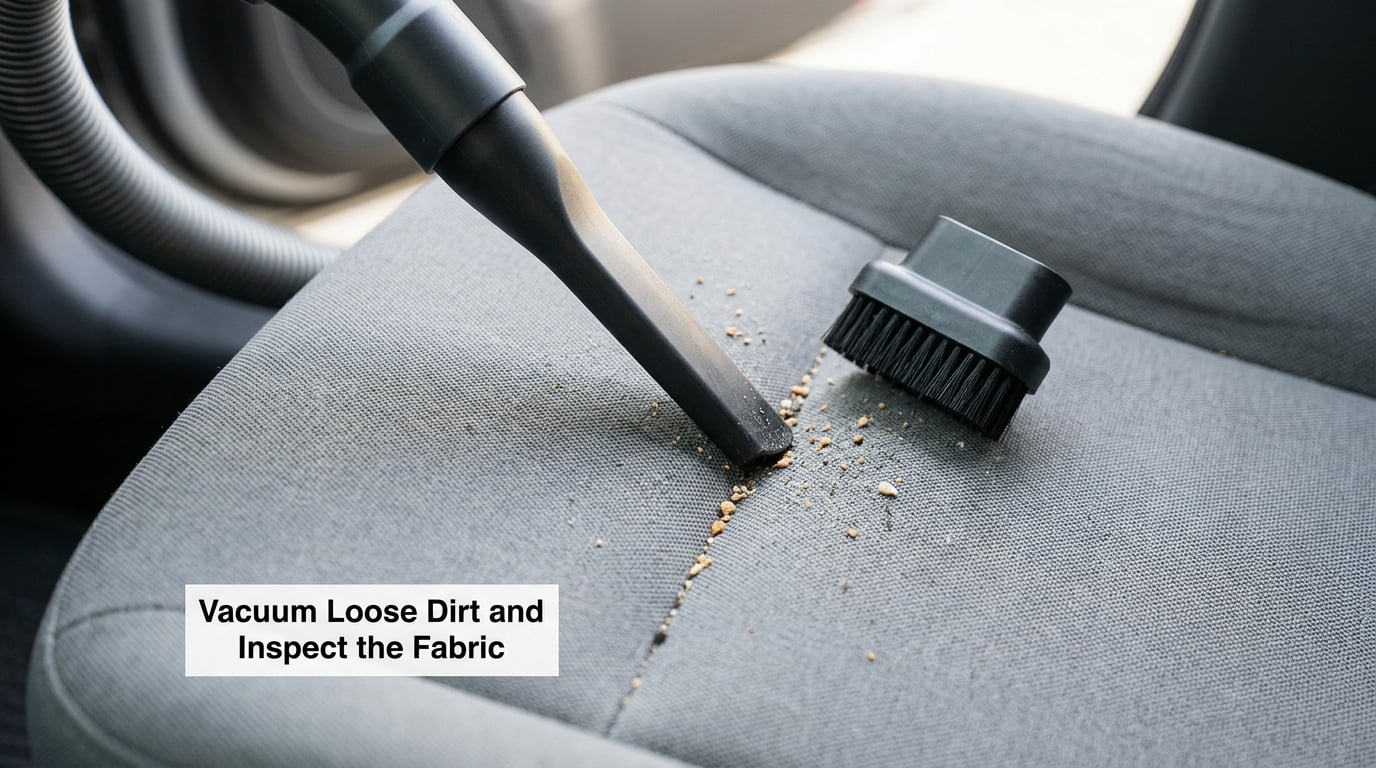
Vacuum before you add any moisture. Grit left in the fabric acts like sandpaper under your brush and while you drive, and grinding it in is how upholstery gets permanently fuzzy. Start on the broad cushion and backrest with the upholstery brush attachment, working in one direction with the pile, then a second pass against it. You did it right when the crumbs are gone and the color of the fabric looks evenly dusty rather than speckled.
Then take the crevice tool along the side bolsters, down the center of the backrest, into the gap between the seat back and the base, and along the tracks. Those are the areas everyone skips and the areas that still smell months later. Vacuum under the front of the cushion if the rails are exposed, and pull the seat belt out far enough to vacuum the length of it.
While you have the light on, look at the fabric itself. Note every stain, worn spot, frayed seam, and discolored patch, and photograph the ones you plan to treat. You will not be able to see much once the seats are wet.
3. Test and Mix the Cleaner
Patch test first, every single time, even on a car you have cleaned before. Put a small amount of your cleaner on the back of a seat cushion or on the underside of the seat back where nobody looks, and leave it for the dwell time on the label. Then blot it with a clean white cloth. If color transfers to the cloth or the fabric fades, ring, or stiffens, that product is not compatible with this seat.
Mix to the label. If you are making your own, use warm water with roughly one teaspoon of clear dish soap per quart, stir gently rather than shaking, and pour it into a spray bottle. Test that mixture too. Never combine baking soda and white vinegar in the same cleaner; the acid and base neutralize into plain salt water, so you get no cleaning power and no deodorizing. Use them at different times on different parts of the job.
4. Treat Spots and Heavily Soiled Areas
Work on stains before the whole seat, because dwell time matters. Spray the cleaner lightly over the mark, then press and dab with a clean microfiber cloth. Let it sit for the time printed on the label, usually 5 to 15 minutes, and keep it from drying out by misting if the fabric starts to look damp-dark. You know it is working when the mark diffuses outward slightly before it starts to lift.
For an unknown stain, dab and never scrub. Scrubbing grinds the particle deeper into the fiber. For gum, drop ice on it in a plastic bag, let it harden, and chip it off with a dull edge. For ink, dab from the outside in with a cloth dampened with isopropyl alcohol, changing cloths often. For sunscreen or lotion, that same alcohol is the best first attempt, and if the mark does not move, the dye or fiber under it is already damaged.
5. Clean the Seat without Overwetting
Divide each seat into sections about the size of your forearm. Apply cleaner to one section, agitate with the soft brush in short circular strokes for 20 to 30 seconds, and stop. The foam beneath the cloth does not need a flood. A damp fabric with no standing water in the seams is the target.
Work from the outer seams toward the center of the cushion so you are not pushing grime into a boundary you already cleaned. Keep the spray bottle aimed at the cloth, not at the seat controls, the buckle stalk, the seat belt receptacle, or the side airbag seam. If a cleaner bottle has a “let it dry into the seat” instruction, ignore it; that is meant for leather, not cloth.
Blot the section with a clean damp cloth, then a dry one, and you will see the grime come up on the cloth. If you have an extractor or wet/dry vacuum, run it over the section now, then run plain water over it once more to pull the last of the soap out. That second plain-water pass is what prevents rings. You did it right if the cloth that came off the seat is noticeably dark and the seat underneath is only damp, not dripping.
6. Remove Residue and Dry the Seats
Sop up everything you can before you move the car. Press a dry microfiber cloth into the cushion and lift, repeating across the seat, and blot the seams where water collects. Blot, do not rub; rubbing pushes the dirt back into the pile and spreads the damp area.
Now dry the seats properly, because this step decides whether you have clean upholstery or a musty one in three weeks. Open both doors, open the windows, and put a box fan or two on the cabin aimed at the seats. Outdoors on a dry, breezy day, seats dry in 2 to 6 hours. In a humid garage or overnight in a closed car, expect longer, and treat anything past about 12 hours as too long. A heater or hair dryer held against the fabric will cook the fibers and shrink or brown them; keep heat moving and indirect if you use it at all.
7. Inspect, Air Out, and Protect the Fabric
Walk around the car and look at the seats in good light before you call it done. Check for three things: a faint ring or darker halo where a wet patch dried unevenly, any cleaner smell still coming off the fabric, and a stiff spot where soap was left behind. A stiff spot means more rinsing is needed, not more scrubbing.
To fix a ring, dampen a clean white cloth with plain water only and blot outward from the edge of the ring toward its center with the seat still barely damp. Then dry the whole panel evenly. Dried rings often lift this way because the uneven drying, not the dirt, is what you can see.
Let the car air out with the doors open for a while after drying, then consider a fabric protectant sprayed on the dry seats. Check the product is rated for automotive cloth, and use it sparingly; heavy applications leave a sticky film that traps more dirt than it keeps out. If you prefer a more permanent answer, fitted seat covers or a machine-washable cushion cover ends the debate. Only remove a seat from the car if the manual covers it, and never pull on the side bolster seam, which is where the airbag and its wiring live.
Common Mistakes
Soaking the cushion. This is the number one way people ruin cloth seats. Water migrates into the foam, resurfaces later as rings or a musty smell, and can take days to leave. Two light passes beat one heavy one every time.
Scrubbing before the cleaner dwells. Give the product 5 to 15 minutes to break the bond first. Every minute of scrubbing early is a minute of driving the stain deeper into the fiber.
Skipping the spot test. A cleaner that is fine on dark polyester can ring a beige microfiber seat. Thirty seconds of testing saves an afternoon.
Using the wrong chemistry. Skip bleach, ammonia, acetone, nail polish remover, undiluted degreaser, and WD-40. They bleach the dye, attack foam, and leave a residue that holds dirt faster than before. Dish soap is fine in a dilute mix; it is not fine at full strength.
Missing the hidden areas. The side bolsters, the gap between the seat back and base, the tracks, and the seat belt webbing are where the smell lives. Vacuum them before they get wet and once more after.
Trapping moisture. Clean in the morning, leave the car open, and add airflow. Seats that sit closed and damp for a day will smell worse than the ones you never cleaned.
Cleaning over electronics. Never spray into seat controls, buckle connectors, heated-seat elements, or the side airbag seam.
For keeping it clean afterward, vacuum the seats and carpet every week, blot spills immediately while they are still fresh, and do a full wet clean twice a year or before you sell the car. Dirt left on fabric acts like sandpaper and shortens the life of the fibers, and resale value follows the interior closely.
There are a few jobs worth handing to a professional: bleached or chemically burned fabric where the dye itself is gone, a fuel or chemical spill, an interior that has sat soaked long enough to grow visible mold, or a car with side airbags where you cannot get the seats wet without wetting the seams. Professionals have hot water extraction and proper drying equipment, and no home method replaces it once the foam is saturated.
Frequently Asked Questions
What is the safest home cleaner for cloth car seats?
A dilute mix of warm water and a small amount of clear dish soap is the safest option, roughly one teaspoon per quart, or a foaming automotive upholstery cleaner used exactly as labeled. Both are gentle on polyester and nylon. Always patch test on a hidden spot first, and never use bleach, ammonia, acetone, or undiluted degreaser, which bleach the dye and can attack the foam beneath.
Can I use a household carpet cleaner on cloth car seats?
You can, and many DIYers do, with two cautions. First, follow the dilution on the label rather than pouring straight from the bottle, because carpet concentrate leaves a sticky residue that traps dirt. Second, use it on a wet/dry vacuum only, and run plain water over the seat afterward to remove the soap. Over-saturation is what leaves water rings, not the product itself.
How do I remove unknown stains from cloth upholstery?
Blot, never scrub. Spray a little upholstery-safe cleaner over the mark, wait 5 to 15 minutes, then press and lift with a clean microfiber cloth, working from the outside of the stain toward the center. If it is protein-based, an enzyme cleaner left to dwell works better than detergent. If the mark does not move at all, whatever caused it has probably bleached or dyed the fiber, and that damage is permanent.
How long does it take for cleaned car seats to dry?
Expect 2 to 6 hours with the doors and windows open and a fan blowing into the cabin on a dry, breezy day. Longer in humid weather or a closed garage. If the seats are still damp after about 12 hours, keep the airflow going, because foam that stays wet starts to smell within days. Do not park the car in the sun or use a heat gun on the fabric to speed it up.
Can I use baking soda or baking powder on cloth car seats?
Yes, for deodorizing and for lifting fresh grease or oil. Sprinkle it on dry seats, let it sit 15 to 30 minutes, then vacuum it off, and leave the car open afterward. Baking soda cannot remove water rings or dye stains, and do not mix it with white vinegar in the same cleaner, since the two neutralize each other into plain salt water and neither one does any work.
Conclusion: Start With the Least Risky Method
The safest way to clean cloth car seats at home is the least dramatic one: know your fabric, vacuum it dry first, patch test the cleaner, use two light passes instead of one soaking, blot the residue out, and dry the seats with real airflow. That sequence handles almost everything people bring to a detailing shop.
Start this weekend with a spot test on the underside of a seat back and a full vacuum pass. If the seats are only dusty and a bit smelly, that alone plus a baking soda pass will do it. Save the wet clean for when you have a few hours, a fan, and open weather on your side. And if a stain has bleached the fabric, stop chasing it. You have already cleaned it properly; what is left is damage the dye took, not dirt.