
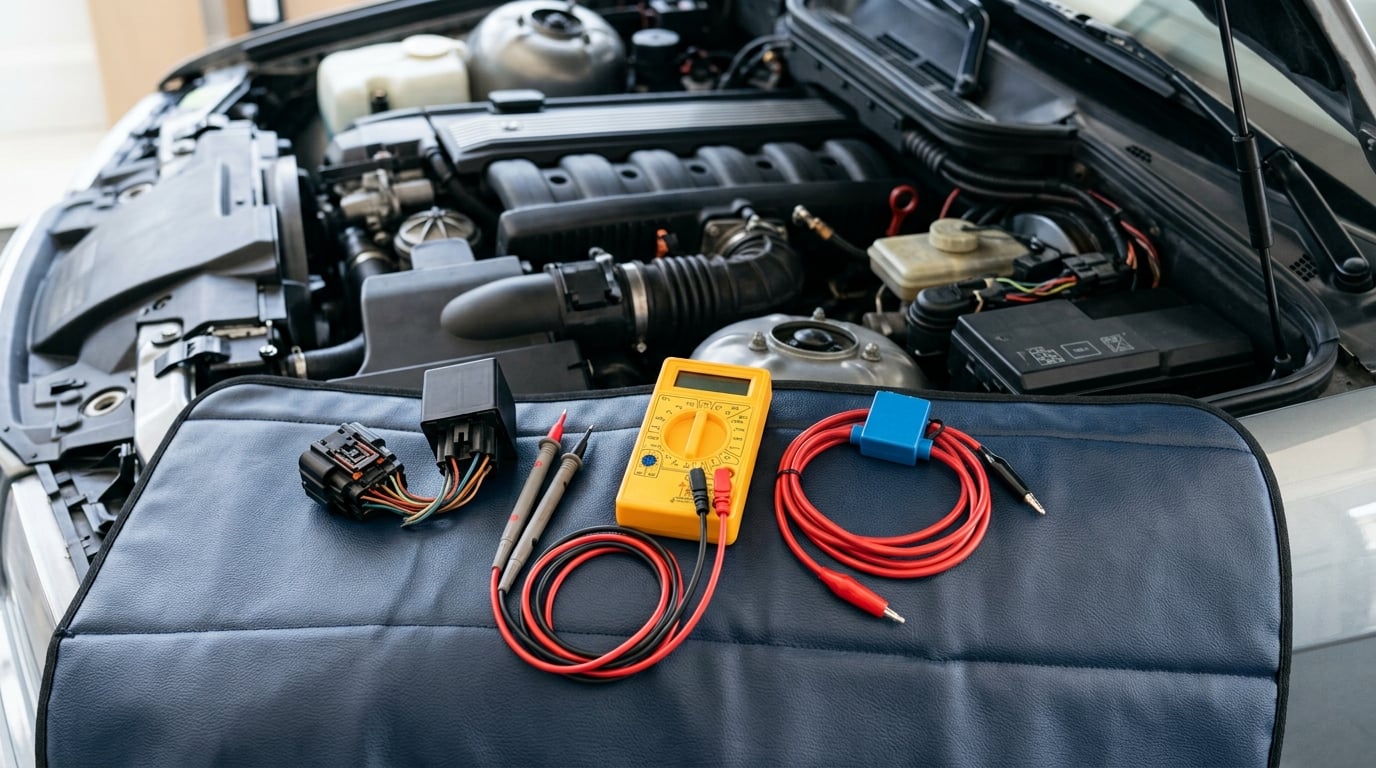
Bypassing an electric fan for testing means forcing the fan to run by jumping its relay or grounding the trigger wire, so you learn whether the fault sits in the control circuit or in the motor, relay, fuse, and wiring. If the fan spins when you bypass it, everything downstream of the relay is good and the fault is upstream. That single answer saves hours of parts guessing.
Most cooling fans are not wired straight to a switch. The engine computer, a thermal switch on the radiator, or the A/C high-pressure switch sends a signal to a relay coil, and the relay hands battery voltage to the motor. A bypass fakes that signal, which is why the test is worth doing before you buy anything.
I have watched this exact test settle a lot of arguments in a driveway. The car still overheats with the A/C running, everybody assumes the fan motor is cooked, and twenty minutes with a jumper wire proves the motor is fine and the relay never clicks. Diagnostics is mostly about removing the wrong suspects one at a time.
Table of Contents
- What You Need
- Step-by-Step: How to Bypass an Electric Fan for Testing
- Common Mistakes
- Frequently Asked Questions
- Do I need to run the engine to bypass an electric fan for testing?
- Can I bypass the cooling-fan relay instead of the fan connector?
- How long can I leave an electric fan bypass connected?
- How do I test a PWM electric fan without damaging its control module?
- Why does the fan run with the bypass but the vehicle still overheats?
- What should I check after bypassing the electric fan?
- Conclusion
What You Need
Start with the paper before the tools. The vehicle owner’s manual and a wiring diagram for your year, make, and model will tell you where the relay lives, which pins do what, and whether the circuit you are about to touch is protected by a blade fuse or a fusible link.
- The wiring diagram for the cooling fan circuit, plus the owner’s manual for fuse and relay locations.
- A good multimeter with test leads. A cheap one works fine for this.
- A jumper wire with an inline fuse rated below the circuit’s fuse, or a fused lead clip.
- A test light for the no-meter version of the test.
- Insulated pliers and a small screwdriver for relay and connector removal.
- Work gloves and eye protection, because cooling fans start without warning and you will be leaning over a hot engine bay.
- A known-good ground point, such as a clean body bolt or battery negative post, for switched-ground circuits.
The exact connector, relay, and fuse arrangement varies by vehicle. Two-speed and dual-fan setups use two relays and a resistor pack, and the terminal numbering is not always in the same physical position on the relay body, so read the molded label rather than guessing from the socket layout.
Before you touch a single wire, let the engine cool. A cooling fan pulls serious amperage and will start instantly the moment power lands on it, whether you expect it or not.
Step-by-Step: How to Bypass an Electric Fan for Testing
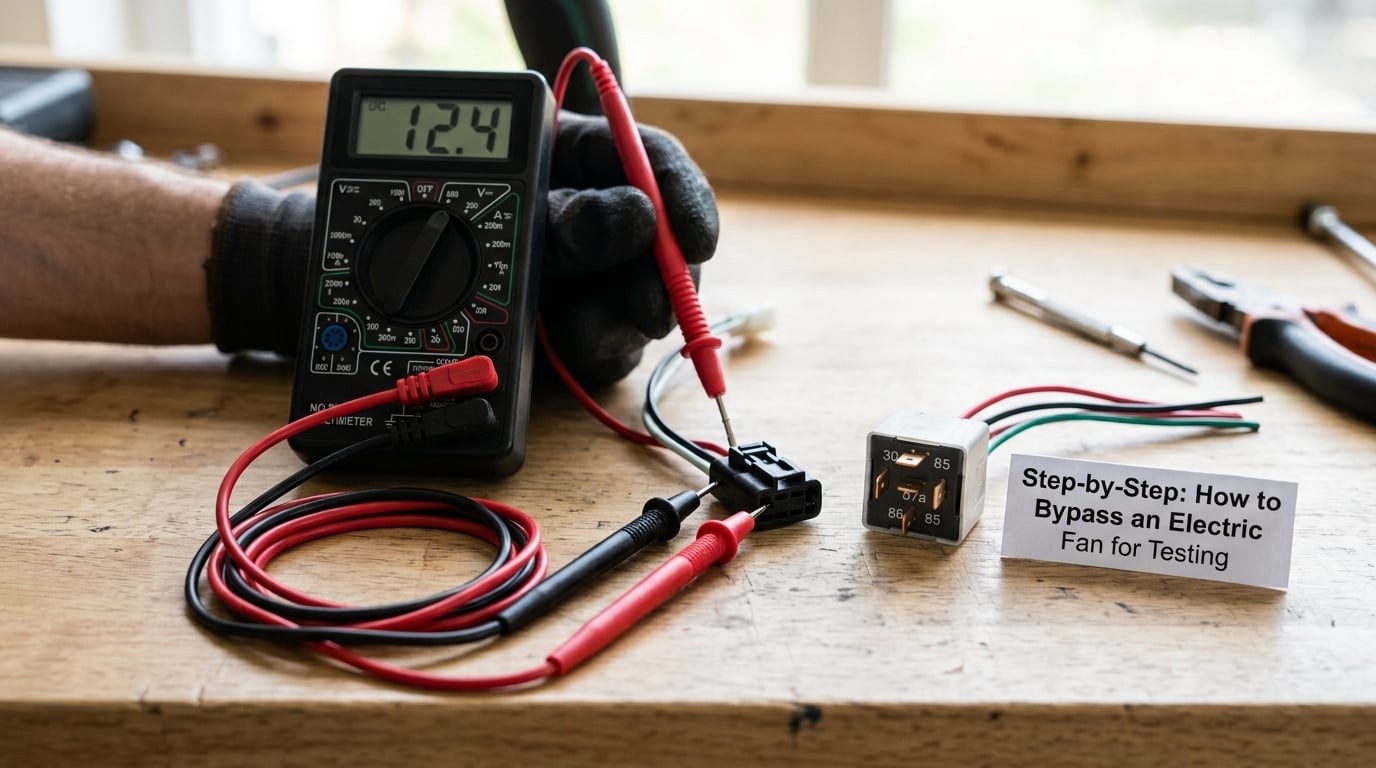
- Pull the wiring diagram and identify the fan relay. Most cars have a single fan relay in the underhood fuse box; two-speed and dual-fan cars have a low-speed and a high-speed relay side by side. Note the fuse number that feeds terminal 30.
- Let the engine cool completely. If you are working around the radiator, a hot engine and pressurized coolant system is exactly the wrong place to be careless.
- Set the parking brake, transmission in park or neutral, and open the hood far enough to keep clear of the fan shroud. Keep your hands and leads out of the blade path.
- Locate the relay and pull it. The relay slides straight out of its socket. Leave it in the socket but unbolted if you want to probe the socket pins directly later.
- Confirm the feed is fused and hot. With the key on, put your meter on terminal 30 in the socket. You should read close to battery voltage, and your test light should light brightly. If terminal 30 has no power, stop there and fix the fuse, fusible link, or feed wire before going further.
- Apply the bypass for the right type of circuit. On a switched-ground relay, jumper terminal 86 to ground. On a switched-power relay, jumper the control feed to battery positive. Details for each are below.
- Watch and listen for airflow. A healthy bypassed fan should spin up within a second or two, run quietly at low speed or loudly at high speed depending on which circuit you forced, and push air across the radiator. You may also hear the relay click as the coil energizes, which is free confirmation the control side responded.
- Restore everything, then clear the codes. Put the relay back in its socket, reconnect every connector, remove the jumper, and clear stored fault codes with your scan tool. A bypassed fan routinely logs a circuit or performance code, and that code will distract you on the next drive.
Jumper the relay coil to force the fan on
This is the most common layout on older domestic cars, and the one that causes the most confusion. Here the thermal switch or engine computer switches the ground side of the relay coil, so grounding terminal 86 by hand makes the relay close exactly as it would in real operation.
With the relay pulled, jumper terminal 86 to a clean chassis ground and turn the key on. The fan should run. The relay click is a bonus: it tells you the coil energized and the contacts closed, so the fault is on the trigger side, not in the relay itself.
Here is the terminal map that every automotive relay follows, whatever the wire colors happen to be on your car.
| Terminal | Function | Typical wire color | What you do with it |
|---|---|---|---|
| 85 | Coil power in | Thin wire, often the same colour as 86 | Leave it alone for a coil ground test |
| 86 | Coil ground | Thin wire, often brown, black, or green | Jumper to ground on a switched-ground circuit |
| 30 | Battery feed through the fuse | Thick wire, often red | Should read near battery voltage with the key on |
| 87 | Output to the fan motor | Thick wire, often red or white | Should read near battery voltage with the relay closed |
Terminal 30 and 87 are the thick ones. Anything you can barely fit a wire into is a control pin, and anything that looks like battery cable is a power path. On many relays the 30 and 87 pins sit on opposite sides of the socket, so double-check with the label moulded into the relay body.
How to Bypass an Electric Fan for Testing on a switched-power fan
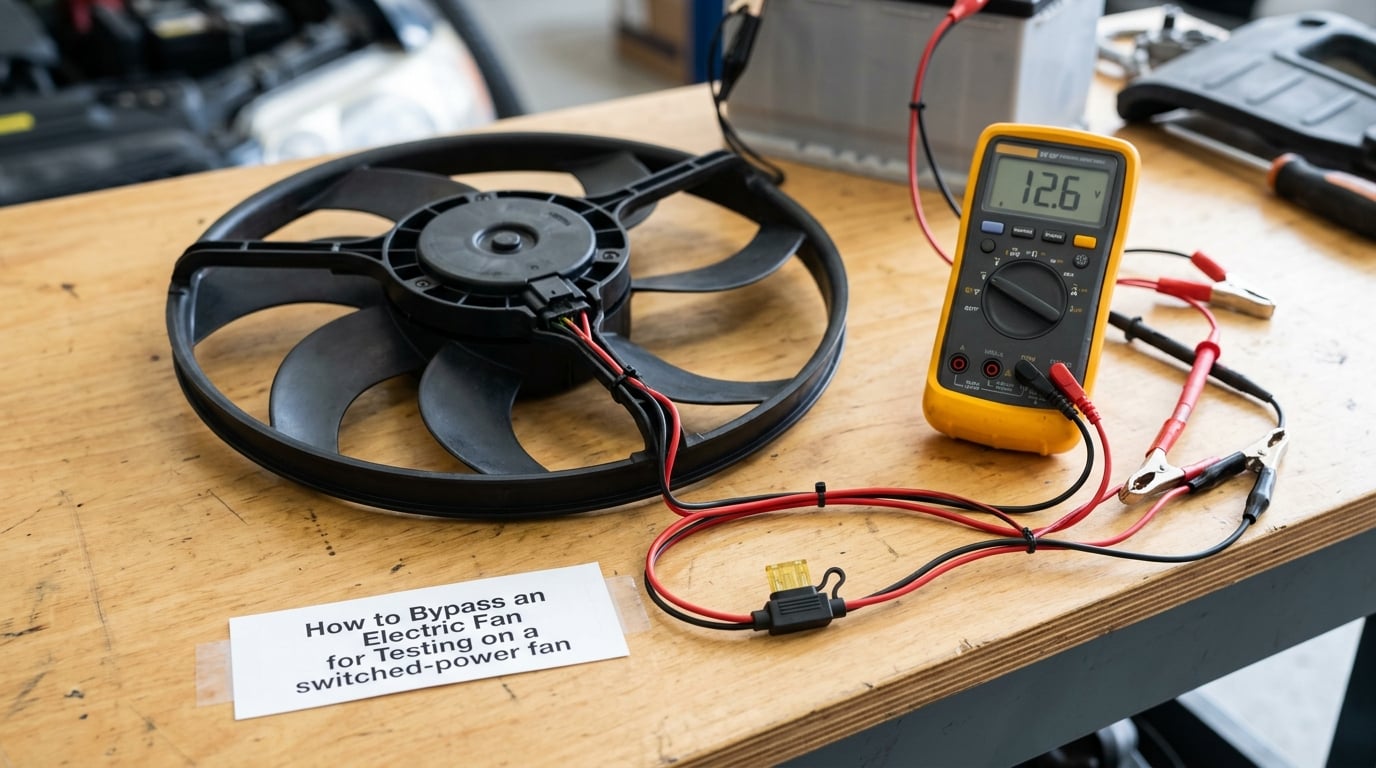
Some vehicles do it the other way round. The engine computer or A/C switch sends battery positive to terminal 85, and the relay is held closed by the coil grounding itself through terminal 86. Jumper 86 to ground on that circuit and nothing happens, which sends plenty of people down the wrong path. Instead, feed terminal 85 with battery positive from a fused lead and the relay closes normally.
Here is the rule for telling the two apart before you connect anything. Put your meter on terminal 86 with the key on and the engine cold. A reading near zero volts that jumps to about 12 volts when the engine warms up is a switched ground. A reading sitting at 12 volts all the time, dropping to zero when the fan should run, is a switched power. The negative sign some meters display is usually just probe polarity on a ground-side pin, not a fault.
Two cautions for modern cars. A PWM-controlled fan has a third or fourth control lead, and connecting that pin to battery voltage can damage the fan’s own control module, which is exactly what you were trying to test. And an unfused jumper to an unfused circuit is a short waiting for metal. Always go through a fuse rated under the circuit’s own protection.
BMW, Mercedes, and other European cars increasingly use the scan tool instead. BimmerCode, ISTA, and INPA can command the fan to each speed from the comfort access menu and log the current draw, which is safer than a jumper and gives you a number rather than a yes or no. If your car needs a tool you do not own, that is a signal to stop guessing and book the test.
Test the fan motor directly with a 30 to 87 jumper
This method skips the relay completely and answers one question: is the motor itself good? Pull the relay, then run a fused jumper from the socket’s terminal 30 pin to the terminal 87 pin. The motor gets full battery voltage straight from the fuse, with nothing else in the path.
A sound motor spins immediately and draws a current in the range the manufacturer lists for that fan, typically somewhere in the neighbourhood of 15 to 30 amps on a large single fan or a pair of smaller ones. No spin, or a spin that stalls immediately, means the motor, its connector, or its ground is faulty. A fan that hums and shakes without turning is usually a seized motor bearing rather than a wiring problem.
Test with a multimeter instead of a jumper
If you would rather short nothing at all, you can isolate most of the circuit by measurement. With the relay pulled and the key on, check for close to battery voltage at terminal 30. Then bridge the relay with a meter set to resistance and check continuity from terminal 30 to 87. Near zero ohms means the contacts are good; an open circuit means the relay is the fault.
The most useful measurement is a voltage drop on the ground side, done with the fan actually running. Put one probe on the relay’s ground terminal and the other on a known-good chassis ground. More than about 0.2 volts of drop means a corroded connector or a bad ground strap, and that corroded connection is the fault no jumper will reveal.
On resistor-controlled two-speed fans, a single-speed symptom points straight at the resistor pack. Check it for continuity between its two terminals; an open circuit there means the low-speed path is broken, while the high-speed path still works. Fan resistors get cooked by age and by owners who leave a stuck-on jumper in place.
What your test result tells you
This is the step most guides skip, and it is the one that actually gets you to a part. Match your result to the row below.
| What you observed | Likely failed component | Next step |
|---|---|---|
| Fan runs on the bypass, does not come on with the engine hot | Thermal switch, coolant temperature sensor, or the control wire feeding the relay | Test the switch for continuity at temperature, then check the control wire for an open |
| Fan runs with the A/C on but never on its own | Thermoswitch or control circuit, not the motor | The A/C high-pressure switch takes a separate path to high speed, so the A/C result is a false positive |
| No click, no spin, no power at terminal 30 | Blade fuse, fusible link, or the battery feed wire | Restore power to terminal 30 before anything else |
| Power at 30, relay clicks, no power at 87 | Relay contacts, or terminal 87 wiring to the motor | Swap the relay, then re-test |
| Power at 87, motor does not spin | Fan motor, fan connector, or motor ground | Test the motor directly from 30 to 87 |
| Motor runs on the direct jumper only | Resistor pack, control relay, or control wiring | Check the resistor for continuity and confirm both relays |
| High speed only, low speed dead | Resistor pack or the low-speed relay | Check resistor continuity, then swap the low-speed relay |
| Fan works only when the jumper is attached and the car overheats anyway | Thermostat stuck closed, coolant low, radiator blocked, or a stuck-on 100% duty cycle jumper | Check engine temperature with a scan tool before condemning the fan |
Bypassing the fan resistor pack, and when not to
The resistor pack drops voltage so the fan runs slowly on low speed. Jumping across it forces high speed on every setting, which is a tempting way to make a slow fan feel adequate. It is also how you cook a resistor pack, or how a driver gets stranded in traffic with a fan that has been running at 100% duty cycle for an hour.
Do not bypass the resistor to test the motor. If the fan only runs at low speed, that is a resistance fault by definition, and the correct move is to measure the resistor for continuity and replace it if it is open. If the fan is dead at both speeds, the resistor is not your problem.
Common Mistakes
- Jumping the wrong terminal. Grounding 86 does nothing on a switched-power relay, and feeding 86 with 12 volts on a switched-ground relay does nothing either. Confirm switched ground versus switched power with your meter before you connect the jumper.
- Applying 12 volts to an unfused circuit. A fuse protects the wiring, not your jumper. Put a fuse in the lead that is smaller than the circuit’s own fuse so a fault trips the weakest link first.
- Powering a PWM control lead. On a fan with a three- or four-pin connector, the extra pin is a control signal. Battery voltage there can destroy the control module inside the fan assembly. Use the scan tool on those cars.
- Working on a hot engine. Fans start without warning and coolant expands when hot. Cool the engine down first and keep your leads clear of the shroud.
- Leaving the jumper in place. A grounded trigger wire holds the fan at 100% duty cycle. It can overheat a cold engine on a warm day, boil coolant, and log fault codes. It is a diagnostic tool, not a repair.
- Treating the A/C as proof the fan works. The A/C high-pressure switch commands high speed through its own path, bypassing the failed thermal switch. A fan that runs with the A/C on and never otherwise is the most common false positive there is.
- Skipping the diagram. Wire colours and terminal positions differ between makes, models, and years. A 1997 sedan and a 2007 truck with the same layout can still route that pin somewhere else entirely.
- Forgetting to clear the codes. A bypassed fan logs faults that will still be there after you reinstall everything. Clear them and the vehicle goes back to a clean state for the road test.
Frequently Asked Questions
Do I need to run the engine to bypass an electric fan for testing?
No. The relay and motor tests work with the key on and the engine off or cranking, and a cold engine is actually safer because you can see the fan start cleanly. Running the engine is only needed if you want the thermal switch to command the fan on its own, which is the behaviour the bypass is meant to prove broken.
Can I bypass the cooling-fan relay instead of the fan connector?
Yes, and that is the better order to do it. Jumping the relay coil tests the control circuit without touching the high-current motor wiring at all, and jumping terminal 30 to 87 tests the motor itself. The fan connector is a fused power path with a high-current plug, so use it last, if at all.
How long can I leave an electric fan bypass connected?
Only for the length of the test. A jumpered ground makes the fan run every time the ignition is on, which overheats a cold engine in mild weather and can boil coolant. Remove it as soon as you have watched the airflow, then clear fault codes and reconnect everything properly before driving.
How do I test a PWM electric fan without damaging its control module?
Use the scan tool or comfort access menu to command the fan to each speed and read the current draw, instead of forcing power onto the control pin. If you test with power, energise only the fused supply and ground pins and leave the PWM signal lead alone, since battery voltage on that pin can destroy the module inside the fan.
Why does the fan run with the bypass but the vehicle still overheats?
A working fan only proves the motor, relay, and wiring are fine. If the vehicle still overheats, the fault is elsewhere: a thermostat stuck closed, low coolant, a blocked radiator core, or coolant flow that never reaches the engine. Check engine temperature with a scan tool to tell those apart.
What should I check after bypassing the electric fan?
Reinstall the relay, reconnect every connector, and confirm terminal 30 is fed through the fuse with the relay back in place. Then clear stored fault codes, since a bypassed fan logs a circuit fault that will otherwise linger. Finish with a road test at full operating temperature.
Conclusion
Start with the owner’s manual and the wiring diagram, because the terminal layout and fuse arrangement differ enough between vehicles that memory is a bad guide. Then bypass the relay, watch what happens, and read the result against the table above rather than guessing.
Use the bypass for diagnosis only. Remove the jumper, reconnect every connector, and clear the fault codes before you drive. Once you know which part failed, replace the fuse, relay, resistor, switch, or fan assembly properly instead of running the test again, and leave the fan control to the vehicle’s own logic. Updated for 2026.