
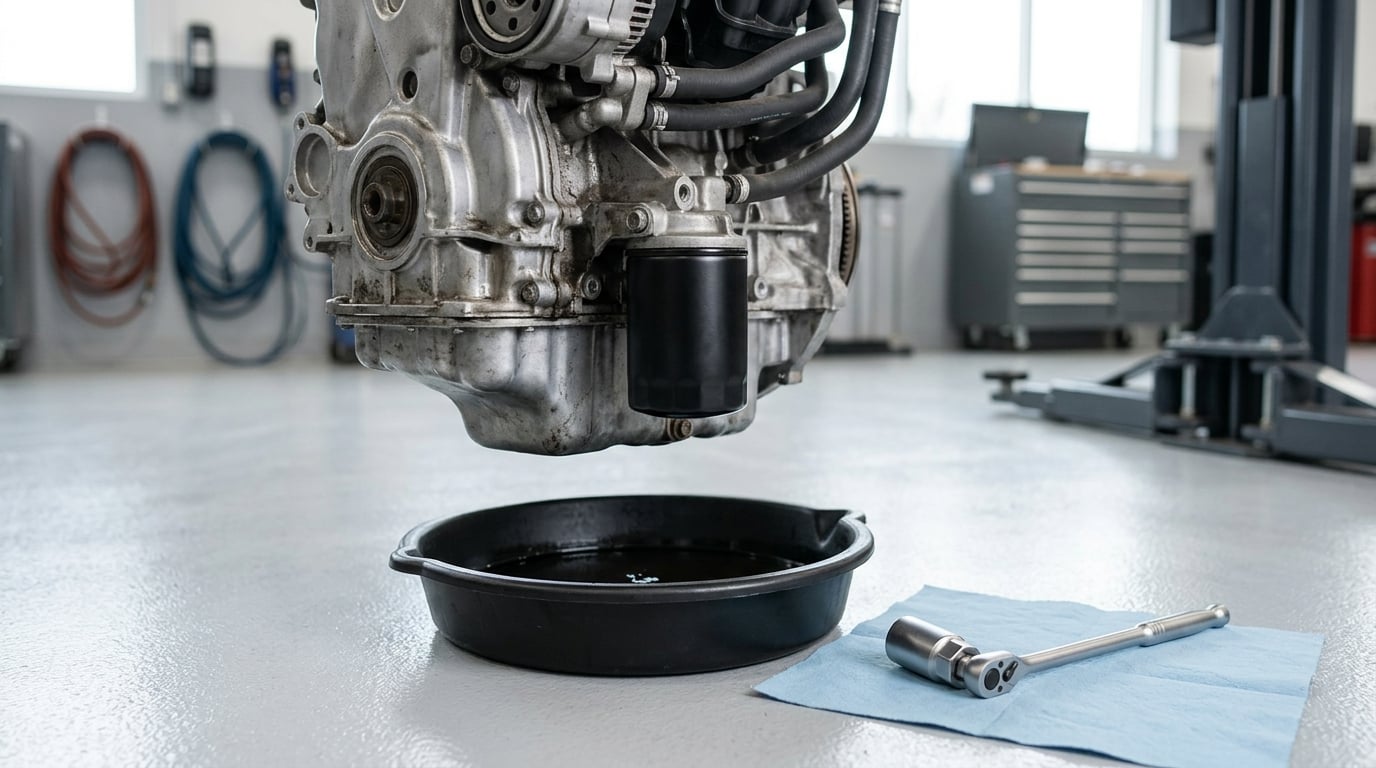
To remove a stuck oil filter, turn it counterclockwise, make sure the engine is cool, and start by hand. Escalate to a filter wrench only if your hand can’t break the seal, and save anything destructive for last. Most jobs take 30 to 60 minutes, and the whole thing is manageable in a home garage if you know which filter design your engine uses.
The reason a filter binds is almost always installation, not the filter itself. A rubber gasket that went on dry, or a shop that cranked it down with a wrench, glues the canister to the housing through heat and time. If you can identify that cause going in, you’ll know which removal tool has a chance of working before you start leaning on it.
BMW owners should note that many engines in the range use a cartridge element inside a plastic or metal cap rather than a spin-on canister, and the popular screwdriver trick that you see everywhere online does nothing to a cartridge. Check first, then work the ladder below in order.
Table of Contents
What You Need
The short list is a correct filter, a way to turn it, something to catch the oil, and the knowledge of which design you’re dealing with. Everything else is escalation.
- Correct filter for the engine. Check the part number on the old filter or in the service manual, and match the gasket diameter to the housing face. A mismatched gasket diameter is a leak you will chase for months.
- A tool that fits. A strap wrench with a ratchet strap, a 3-jaw adjustable filter wrench, or a cap-style wrench that bites inward from the filter’s base. For cartridge caps, you need the engine-specific cap socket or a large wrench for the cap flats.
- Drain pan and absorbent material. A low-profile pan if access is tight, plus cardboard or a cut-open bag to slide under the filter before you turn it. Oil finds every path.
- Rags, a plastic bag, and a new drain plug washer. The old filter holds a surprising amount of oil, and the washer is a single-use item that costs nothing to replace.
- Correct oil and quantity for your engine. Check the specified viscosity and the fill volume, plus whether the engine takes a cartridge or spin-on and whether it needs a washer on the cap bolts.
- Safety gear. Nitrile gloves and eye protection. Wear eye protection through every stage below, not just the destructive ones.
Tool choice matters more here than on almost any other routine job. Standard pliers and an adjustable wrench crush the thin steel can rather than turning it, and once the can is deformed the threads lose the flat shoulder that carries torque. Here is how the common options differ.
- Ratchet strap and box-end wrench. High-friction webbing tensioned by leverage, low crush risk if you tighten it slowly, and it works in very tight angled spaces. This is the most repeated fix on owner forums for stuck spin-on filters when you own no specialty tools.
- 3-jaw adjustable filter wrench. Self-tightening jaws that bite harder with every stroke, low to moderate crush risk, moderate clearance needed. The general-purpose choice for a spin-on filter.
- Cap-style internal-grip wrench. Jaws reach inside the base and clamp outward, the lowest crush risk of anything here because the force spreads around the ring. It needs room under the filter rather than above, and it is the rescue tool for a can an outside-grip wrench has already squashed.
- Oil filter socket and adapter. Sits on the base ring and is driven by a ratchet or breaker bar. Low crush risk, straight-on access only, and it delivers the most torque in a clever bay. Mostly on cars with room to line a socket up square.
- Chain or band wrench. A chain wraps the can and pulls tangentially, so it needs side access and brings moderate to high crush risk under heavy tension. Built for the large filters on trucks, tractors and motorcycles.
- Oil filter pliers or tongue-and-groove pliers. A jaw squeeze on the canister wall, with high crush risk on a thin or rusted can. Workable in very tight clearance and a reasonable backup grip, but only after a wrench has slipped.
- Breaker bar or impact wrench. Multiplied torque through a socket means low crush risk, at the price of rounded threads and flying metal. Keep the pull axial. This is the last gentle step before anything destructive.
- Cold chisel and hammer. Converts torque into a controlled tear at the base ring. It destroys the filter and sheds debris, and it works anywhere access is. Absolute last resort, spin-on filters only.
Step-by-Step: How to Remove a Stuck Oil Filter
How to Remove a Stuck Oil Filter Without Damage
The safe first move is identification, not force. Look at the filter and decide which of two designs you have before you pick up a tool.
A spin-on filter is a sealed steel canister that threads directly onto the engine block or onto a housing cap. You will see the threaded neck disappear into the part it screws onto, and there is a gasket at that joint. Most four-cylinder cars and light trucks use this design, and every removal method below applies to it.
A cartridge filter is a paper or synthetic element in plastic that sits inside a cap. You remove the cap and bolts, and the element lifts out. Several BMW engines, along with many Ford, Honda and GM designs, use a cartridge. If yours is a cartridge, a screwdriver through the canister, an outside-grip wrench, and a chisel are all useless, because there is no canister.
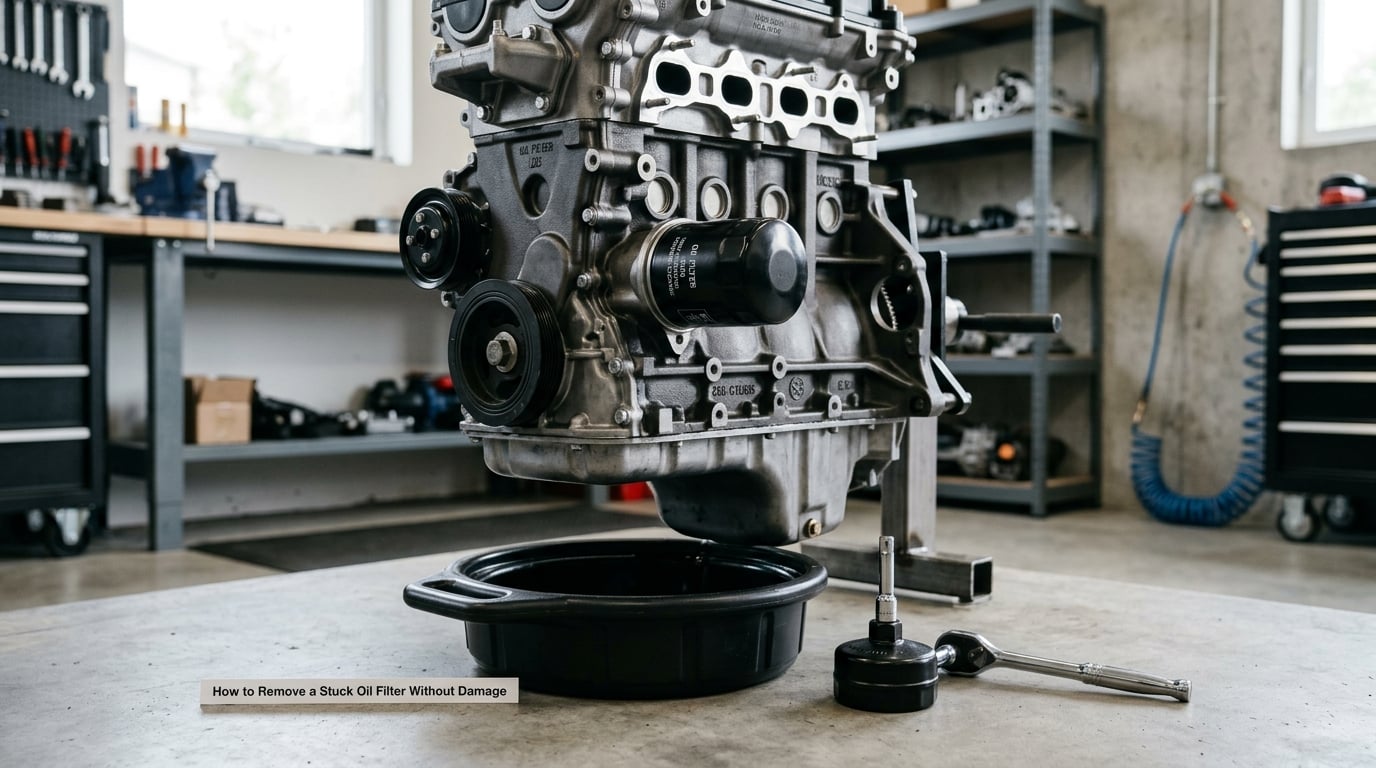
Next, let the engine cool to room temperature. Warm oil flows out of the housing the moment you break the seal and will find the exhaust side of the bay. Cold metal also grips the filter more tightly, so heat actually helps loosen it, but hot oil pouring over your hands does not.
Slide cardboard or a plastic bag under the filter before you turn it, so the oil that drains out has somewhere to go other than the frame. Then check your service manual for the filter location, the torque figure for the cap bolts if you have a cartridge, and the oil specification. On a BMW the filter and its cap bolts are the parts most often overtightened, so that check is worth the two minutes.
How to Remove a Spin-On Oil Filter
Turn the filter counterclockwise as viewed from below the car, with the base of the filter facing you. This trips up a lot of people because viewed from top of the engine bay the same motion looks the other way around.
Start by hand. Clean, dry hands grip a canister far better than oil-slicked ones, and if the filter came out of a hot car within the last hour it will often walk off with a firm counterclockwise turn. If it will not budge, that is information: it was overtightened, and force from here needs to come from a tool, not your wrist.
Fit the 3-jaw adjustable wrench or the cap-style wrench. With a 3-jaw wrench, put the jaws on the flat band near the top of the can and pull in short strokes rather than one long pull, because the self-tightening jaws bite harder with each stroke. With a cap-style wrench, work it down to the base ring so the teeth sit on the only thick steel there is.
Wipe the can and re-grip every few turns, because oil will be running down onto your wrench. If the can dents, stop and switch to an internal-grip tool, since a rounded can has no wrench flat left to work against.
As the filter breaks free, keep a hand under it. A full spin-on filter weighs a couple of pounds and it drops straight into the sump if you let go, and a sump full of old filter is a much worse afternoon than a stubborn filter. Once the threads are clear, ease it out the last quarter turn by hand and tip it into the pan immediately, since the sump holds oil and the canister drains what it has collected.
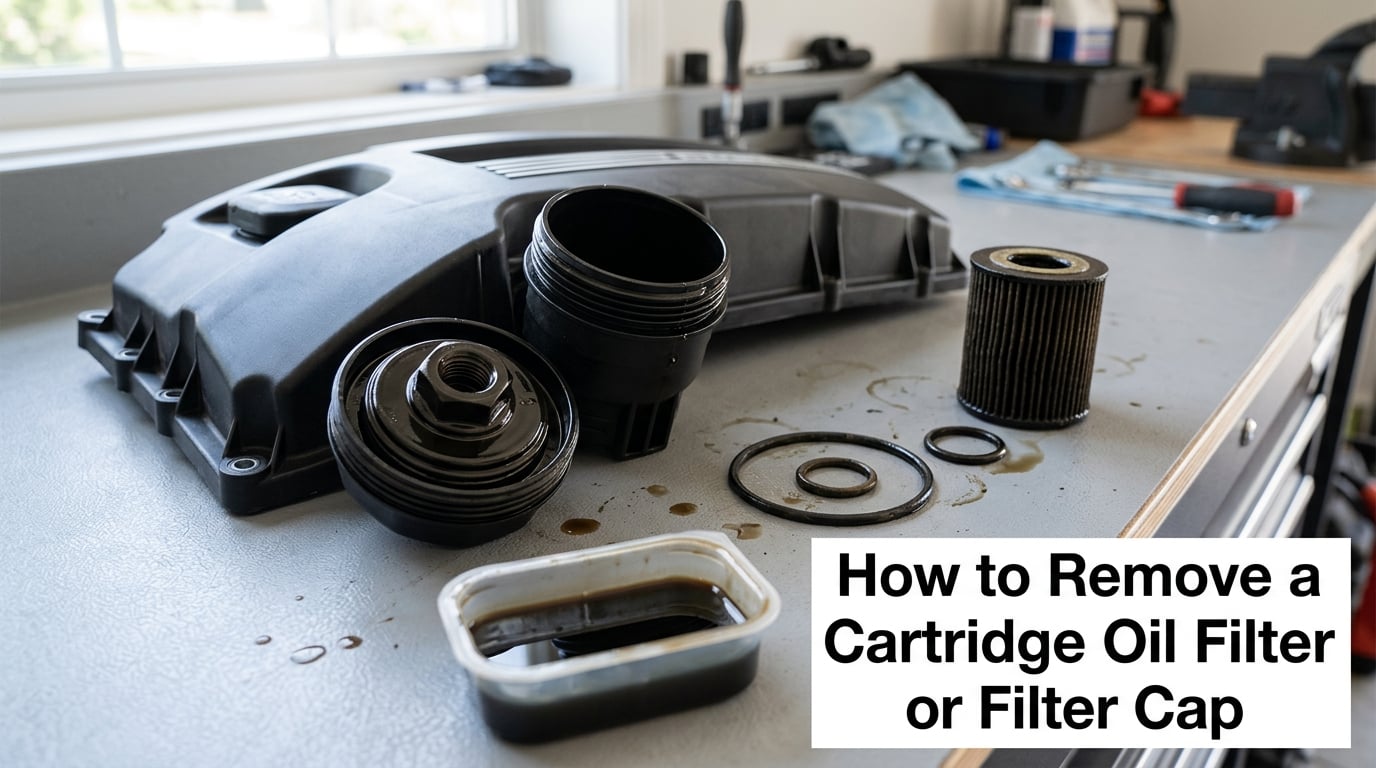
How to Remove a Cartridge Oil Filter or Filter Cap
On a cartridge engine there is no canister to turn, so the stuck part is the cap or the housing cover. Remove the engine cover first, then the cap bolts or nuts in whatever pattern your service manual gives, working across the pattern rather than around it so the cap doesn’t bind.
Expect two things that catch people out. The first is assuming the cap is a filter and trying to twist it. The second is confusing a large housing cover with the cap, and putting a big wrench on a cover that is only meant to take modest torque, which rounds the cover corners or cracks the housing. If a bolt resists after the others are out, stop rather than escalating on that bolt alone, because it is usually a stripped or seized fastener in an aluminum housing and it is now a shop job.
Note the position and condition of the O-rings as they come off. Old O-rings that sat compressed for years are what hold a cap that looks stuck, and they are single-use. Tip the cap slowly with a container underneath, expect oil in the housing, and pull the old element straight out without twisting it, since the pleats can shed if you rotate it.
If the Oil Filter Is Still Stuck
Escalate in this order, and stop the moment the tool bites, because each step past this one can cost you a housing.
1. Let the filter soak. Spray penetrating oil into the joint where the canister base meets the housing, not down the threads, and leave it for a good while. A canister that has been frozen in place for years often moves after an hour, and the cost of waiting is nothing.
2. Strap and two wrenches. Wrap a ratchet strap around the canister, feed it through the head of a box-end wrench, and pull the free end tight to set the tension. Then break a second box-end wrench on the filter flats and turn with a long handle while you hold the strap. This is the most repeated fix on owner forums for people who own no specialty tools, and it grips without denting the can at all.
3. Pliers as a backup grip. Oil filter pliers or tongue-and-groove pliers can get a bite on a can that every wrench has slipped off, but grip the canister at the top edge and accept that a thin or rusted can may deform. This is the step where crushing starts, so keep it short.
4. Socket and breaker bar. With a filter socket adapter on the base ring, a breaker bar gives you far more torque than a ratchet. Move the handle in short arcs because most engine bays do not allow a full sweep. Keep the pressure straight and axial; a crooked pull twists the housing threads rather than the filter threads.
5. Controlled destructive removal. If everything above has failed and you accept the consequences, drive a flat screwdriver or cold chisel against the base ring and tap it with a hammer so the canister tears off the threaded neck. Angle the blow at the base, not the side wall, and wear eye protection because metal fragments travel. Expect the threads and gasket seat to be left behind, and be honest with yourself about the debris you are about to send into the engine.
Owners on BobIsTheOilGuy describe this last step as the point where a stuck filter becomes a mangled filter, and the advice there and on r/projectcar is the same: treat destruction as the beginning of a bigger job, not the solution to a small one. Pull the torn shell, clean the seat, and flush the oil gallery properly before refilling. A crushed canister can block the gallery opening, and the debris will circulate through the new oil.
If the housing threads are stripped or a bolt head rounds off, stop. That is the point where a shop earns its money, because the repair means a housing insert or a block repair, and a car with a repaired housing is a better outcome than a car with a cheap hole in it.
Install the Replacement and Check for Leaks
Installation is where you decide whether you will be back here next year with the same problem. Do these steps in order and the next change takes two minutes.
Clean the filter housing face and the threaded neck with a rag, and put a fresh drain plug washer on before you forget. Check the new filter’s part number and gasket diameter against the old one, then lightly coat the new filter’s rubber gasket with clean engine oil. That film stops the gasket grabbing on the way down and is the single best habit for preventing a stuck filter.
Screw the filter on by hand, turning counterclockwise until the gasket first touches the housing face. From that point, turn it about three-quarters of a turn and stop. That is the accepted convention: hand tight, gasket lubricated, no wrench. A filter tightened with a wrench is a filter that somebody will have to cut out later, and it is the leading cause of the problem you are solving today.
On a cartridge engine, put a little oil or grease on the new O-rings, seat the cap squarely so you do not cross-thread the plastic, and tighten the cap bolts to the service manual figure in a diagonal pattern. Over-torquing a cap cracks the housing, and it is the fastest way to turn a maintenance job into an engine repair.
Pour in the specified oil to the correct level, then run the engine for a minute or two and shut it off. Check under the car and around the filter joint for weeping, and look at the dipstick again, because a slow gasket leak often only shows as a low level.
If you found and cleared a crushed or broken filter, treat the next start as a flush. Prime the oil system by running without the filter fitted for the short procedure your manual gives, or change the oil a second time after a short drive, because the first gallon will carry whatever came out of the old canister.
Mistakes That Make a Stuck Filter Worse
Turning the wrong way. Tightening a filter instead of loosening it is the most reported beginner error, and it converts a stuck filter into a filter welded into the housing. Wipe the can, look at the base, and confirm the direction before applying any force.
Using a wrench on a cartridge engine. There is no canister to grip, so the wrench finds the cap or the housing cover instead and rounds it. Identify the design first.
Crushing the canister with the wrong tool. Pliers and an adjustable wrench on a thin can deform it, and after that every outside-grip tool in the world will slip. Switch to an internal-grip wrench or a strap.
Dropping the filter into the sump. Keep a hand under it the whole time it clears the threads.
Torching or heating the filter. Owners ask about this constantly and the answer is consistent: a propane torch on an oily canister puts ignition sources next to spilled fuel oil, softens the gasket so you lose the thread rather than the filter, and sends a soot cloud into the bay. Use penetrating oil and patience instead.
Reusing the O-rings or the drain plug washer. Both are single-use. Reuse and you will chase a slow leak you will probably blame on the new filter.
If the Filter Is Already Crushed or Broken Off
Drop the remaining shell fragments out of the housing by hand, using a pick or a hooked tool for pieces still threaded onto the neck. Then cut away the old gasket and any thread stub with a sharp utility knife held at a low angle so you cannot scratch the housing face. Wipe everything, fill the housing with cleaning oil, turn the engine over with the filter removed, and let the dirty oil drain into a pan until it runs clear.
Run a new filter on the next start and change the oil again soon after, since a second change clears whatever the first one carried. If the housing threads are damaged or the seat is gouged, a leak that looks like a filter problem is really a housing problem, and no gasket will fix it.
Common Mistakes to Avoid (and the Fix for Each)
Most of the damage comes from doing the right thing in the wrong order, so here is the short version in one place.
Working hot. Let the engine cool to touch, and put cardboard under the filter. Hot oil makes the job longer and the cleanup worse, not shorter.
Applying all your force at once. Short strokes with a self-tightening wrench, re-gripping each time, beat one heroic pull that strips a thread or crushes a can.
Skipping the service manual. Filter location, cap torque, oil specification and fill volume are all model-specific, and the wrong oil is a problem you will not notice until it is expensive.
Overtightening the new filter. Gasket lightly oiled, then about three-quarters of a turn past contact, by hand. This is the habit that makes the problem rare.
Leaving oil on the ground. A pan, cardboard, and gloves take thirty seconds to set up and save you a slipping hazard on the driveway.
Ignoring the other problems. If a filter has been in place for years, the oil is degraded and the gaskets elsewhere are hardened too. If a filter is also crushing rather than gripping, check for a scored housing face and a stuck ring-gear or cam timing setup, and if oil pressure is low or the engine runs rough, have that looked at rather than forcing the filter off.
One last reality check on access. Many filters sit under skid plates, splash shields, or in the shadow of an exhaust manifold, and a truck or tractor filter can be far larger than anything a household wrench fits. Removing a shield to gain an inch of swing is normal work, not a shortcut.
Frequently Asked Questions
Can I remove a stuck oil filter with pliers?
Yes, as a backup grip, but never as your first choice. Pliers squeeze the canister wall, so on a thin or rusted filter they dent it rather than turn it, and a dented can has no flat left for a wrench to work against. Use pliers only after a strap or a 3-jaw wrench has failed, grip the top edge of the can, and keep the pull short and axial.
Why is my oil filter stuck and will it break?
A filter sticks when the rubber gasket was installed dry, or when somebody tightened it with a wrench instead of by hand, and years of heat cycles then harden the rubber until it bonds to the housing. It will not usually break under a wrench because the threaded neck is thicker than the shell. It can and does tear if you chisel it, so expect that outcome before you start.
Should I start the car after removing the oil filter?
Not with the filter off unless your service manual gives a specific priming procedure, and never for longer than that procedure allows. Running the engine dry spins the pump without oil for a few seconds, which is usually survivable, but repeated or careless dry running destroys it fast. If you crushed or broke the old filter, flush with the filter removed as your manual directs, then fit the new one and fill before the first start.
How do I remove a cartridge oil filter cap that is stuck?
Work the cap bolts out in a diagonal pattern with the exact tool the manual specifies, and never put a large wrench on a housing cover you have not identified. Once the bolts are out, lift the cap straight up, tipping it slowly with a container underneath because oil is always still in the housing. If a single bolt will not break free, stop, because a cap that is stuck around one seized bolt usually means a damaged housing.
What should I do if oil leaks after replacing the filter?
Run the engine for a minute, shut it off, and look with the lights on before you start swapping parts. Common causes are a missing or duplicated gasket, a filter that was not screwed on far enough, a cross-threaded or overtightened cartridge cap, and a reused drain plug washer. If oil came from above the filter, check the cap bolts first; if it is weeping from the filter joint, the gasket is not sealing and the filter should come off and be inspected.
Conclusion
The safest first move is always the same: identify whether your engine has a spin-on canister or a cartridge cap, let the engine cool, put something under the filter, and start by hand turning counterclockwise. If a 3-jaw or strap wrench cannot do it, escalate one step at a time rather than jumping to a chisel, and treat any destructive removal as the start of a flush and a recheck rather than the finish line.
Most stuck filters come out with patience and the right tool. The ones that do not are usually telling you something about the previous service, and that is worth finding out before you fill the engine with oil again.