
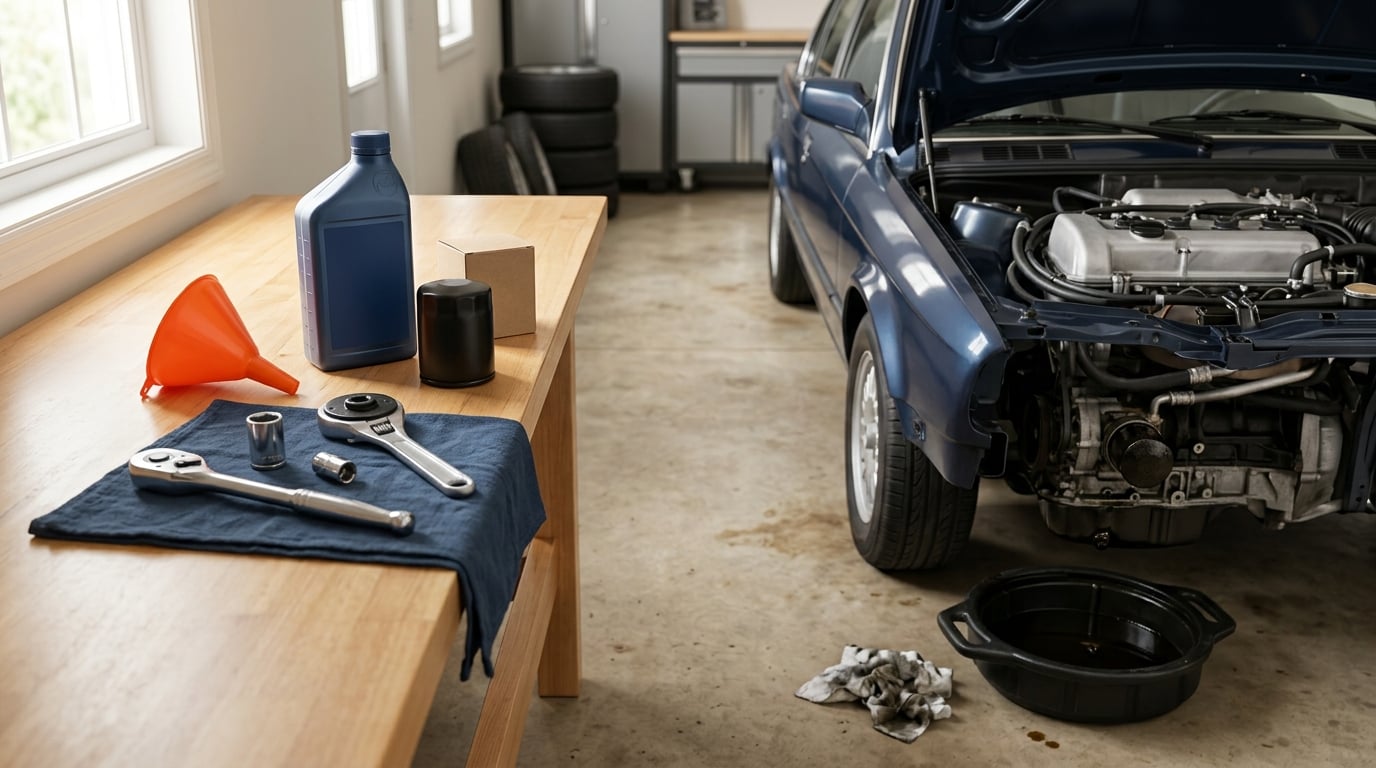
Priming a new oil filter means pouring a small amount of clean engine oil into it and smearing that same oil on the rubber gasket before you screw it onto the block, so the filter is already wet when the pump first draws. It takes about a minute, and the whole job is five steps.
On a drained engine that residual film left on the walls is nowhere near enough to cover a rod bearing for the second or two before the pump spins up. Pre-filling closes that gap. On a rebuilt engine, a fresh oil pump, or anything with an oil-fed timing chain tensioner, treat it as mandatory rather than optional.
Everything below assumes a cool engine and a car on level ground with the parking brake set. Work to your owner’s manual for oil spec and capacity, and if a job needs a lift or a jack stand, have a shop do it.
Last reviewed September 2026.
Table of Contents
What You Need
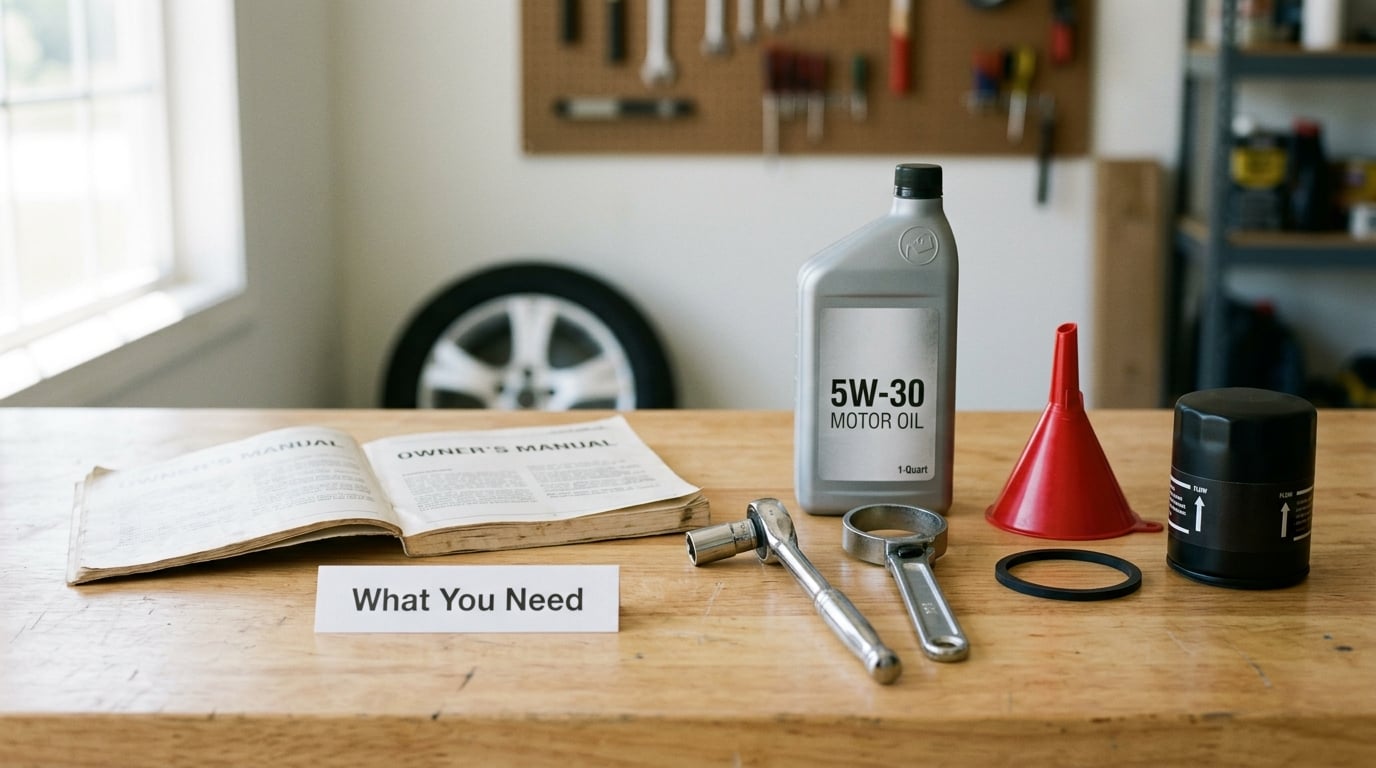
The list is short. Grab the replacement filter, the same engine oil you are about to pour into the pan, a clean funnel or a filter priming adapter that seats over the inlet hole, a drain pan, and a couple of lint-free rags. Nitrile gloves are worth putting on; the oil is hot-adjacent and messy even when the engine is cold.
A filter wrench is only needed for the old filter, and only if it is stubborn. For the new filter, your hands are the correct tool, and a wrench on a new spin-on is how people crack the housing or strip the threads.
Two things come from the owner’s manual rather than guesswork: the oil specification and viscosity your engine wants, and whether the filter mounts vertically, at an angle, or as a cartridge inside a plastic housing cap. That mounting style changes how full you fill it.
Step-by-Step: How to Prime a New Oil Filter
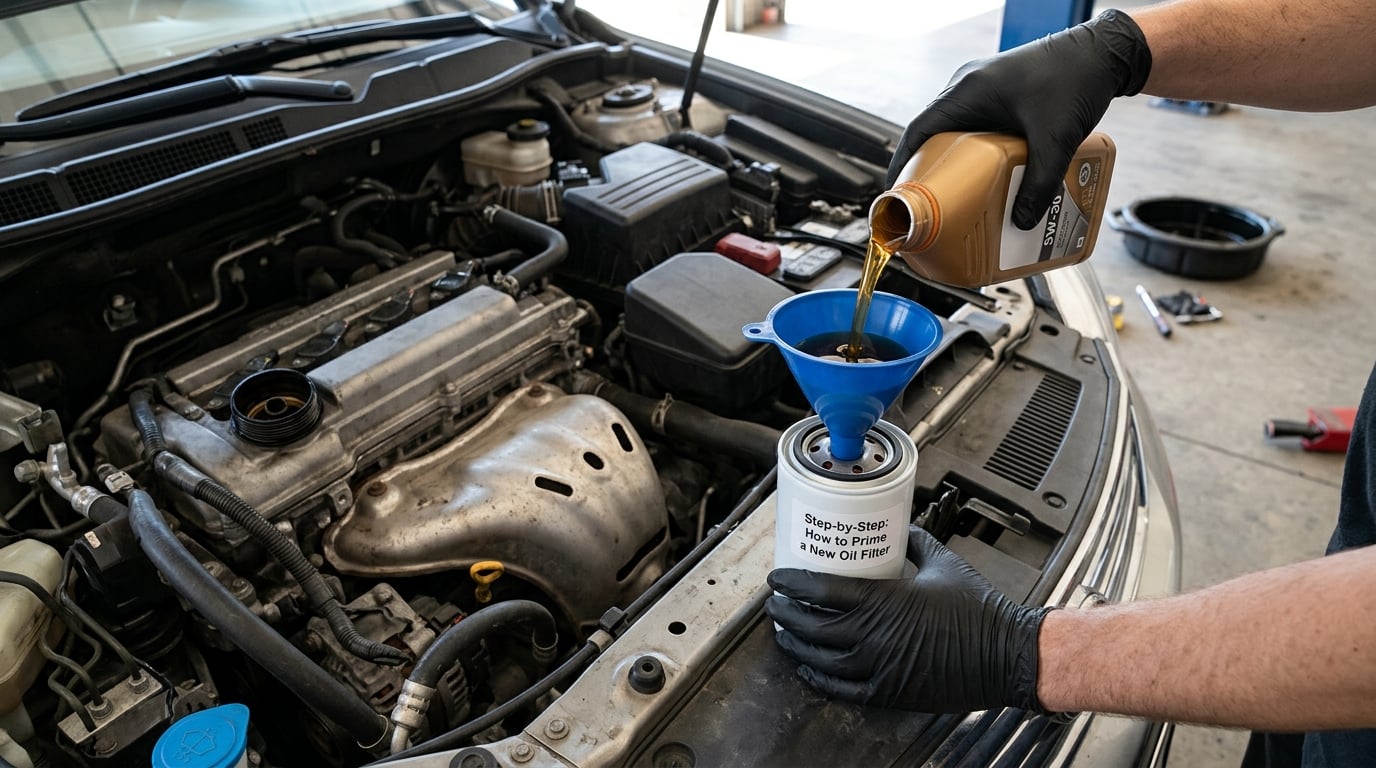
Here is the sequence in order. The first three steps are the priming itself; the last two are what tells you it worked.
Check the Filter and Oil Requirements
Hold the new filter up next to the old one and compare them. The thread diameter, the gasket diameter, and the overall height should match. A cartridge that looks similar but is shorter than the one it replaces usually means a wrong part, and a cartridge installed too shallow leaks straight past the O-ring.
Check the box against the oil spec in your manual. Pre-filling with oil of a different viscosity or a different additive package than what goes in the pan wastes most of the benefit, because the first oil through the filter is the oil that gets skipped during a cold start anyway.
Do not touch the inside of the filter. The paper media element is already sealed from the outside air, and that is exactly why it is worth priming in the first place. Look at the rubber gasket and make sure it is seated flat in its groove and not folded over.
Fill the New Oil Filter
Pour fresh oil into the inlet hole in the center of the top plate, or through a funnel seated over that hole. A typical spin-on holds somewhere between a cup and half a quart, so pour slowly and stop when the level stops climbing rather than filling blindly to the neck.
Fill by orientation. A vertical filter goes nearly to the top. A filter mounted at an angle or sideways only needs one-half to three-quarters full, because more than that dumps onto the pan the moment you thread it on. If the filter is awkward to fill straight, roll it slowly in your hand to wet the media evenly.
Wait a minute or two. Paper media absorbs oil as it sits, and air bubbles work their way out. Look through the wall or back at the inlet and top it off as the level drops. Skipping the wait is why some people fill it twice.
Cartridge filters are different. A splash of oil in the bottom of the plastic housing cup before the element goes in, and a light film on the O-ring in the cap, is all that is called for. Do not try to fill a cartridge; it has no inlet hole and no cavity to hold oil.
Install the Primed Filter
Put a finger of clean oil on the rubber gasket. This is the single step most often skipped, and it is the one that stops a fresh filter from biting the paint on the way to sealing. Grease, assembly lube, and Vaseline do not belong here. Only clean engine oil.
Screw the filter on by hand, turning it counterclockwise as viewed from below, until the gasket contacts the sealing face. Keep it straight. Cross-threading the filter ruins the thread on the filter and on the block, and it is the most common way a 20 dollar part becomes a much bigger afternoon.
From that contact point, add another quarter to three-quarter turn. That is the range most manufacturers specify, and any torque figure in the manual is a ceiling, not a target. Tighten until snug by feel and stop.
Start the Engine and Check for Leaks
Refill the drain plug, then add the oil your engine needs minus the amount that went into the filter. Some manuals call for priming the system before cranking; follow yours if it says so.
Crank the engine and let it idle. Watch the oil pressure gauge if you have one. On most cars the oil pressure light comes on with the key and goes out within a second or three of a successful start, and a longer delay than that is worth noting. If the light stays on with the engine running, shut it off.
Look at the filter from underneath the car. A dry filter that was installed on an angle will weep along the gasket for the first minute. A steady drip running down the side of the block means the filter is not seated, and a wrench fixes that faster than more staring.
Recheck the Oil Level and Pressure
Park the car on level ground, shut the engine off, and give it five minutes before pulling the dipstick. The first reading taken immediately after shutdown reads high because oil is still draining out of the filter and the galleries.
Top up to between the two marks. The filter holds a meaningful share of your total oil capacity, so skipping the top-up is how people end up a quart low without ever seeing a puddle.
Keep an eye on the dipstick for the first week and recheck it after the next few drives, since a fresh filter and fresh oil settle in. A pressure warning that comes back after the engine is warm and running is not a priming problem. That is a sender, a reading, or a genuine circulation fault, and it needs a gauge on it, not a topped-up filter.
Common Mistakes
Installing a rebuilt engine dry. A fresh or rebuilt engine has no oil in the pump, the galleries, or the filter, and the first start is the single highest-wear moment in the engine’s life. Pre-fill the filter and prime the pump by the method in your manual.
Using grease, assembly lube, or Vaseline. Thick grease does not flow into the media, and petroleum jelly blocks it outright. It is a shortcut people reach for when priming a pump, and it can leave the pump dry on start-up. Use clean engine oil, or a factory pre-primed assembly with a pump.
Filling a sideways filter to the top. Half a quart of fresh oil ends up in the pan instead of the engine, on your driveway. Fill angled and horizontal filters to one-half or three-quarters, and thread them on promptly.
Forgetting the gasket, or leaving the old one behind. A dry gasket grips the sealing face and may not seal at all. A gasket left on the block stacks on the fresh one and leaks from a seam that looks like the filter is cracked.
Over-tightening. Past a quarter to three-quarter turn past contact you are torqueing threads and the aluminium face rather than sealing anything. Hand tight, always.
Cross-threading on the way in. Back it off and start again rather than forcing it. The threads on most spin-on filters are thin sheet metal, and the damage happens in the first two millimeters.
Cranking before the level is confirmed. A full filter is not a full sump. Add the rest of the oil, or at least enough to cover the pickup, before you turn the key.
Confusing filter priming with pump priming. Filling a filter takes a minute. Priming a bare oil pump means cranking the engine with the pan off and the pump primed with oil, and it is a rebuild or install job, not a routine change. Do not try to prime a pump by pouring oil into the filter.
Frequently Asked Questions
Do you need to prime a new oil filter?
On a modern engine with an anti-drainback valve, you can get away without it. On a rebuilt or new engine, one with a fresh oil pump, one with an oil-fed timing chain tensioner, or an air-cooled or horizontally mounted engine, you should. Priming costs about a minute and closes the window where the pump is running and the filter is still full of air.
Should you prime an oil filter before installing it?
Yes, and there is a simple order to it. Fill the filter with the same oil going into the pan, wait a minute or two for the paper to absorb and top it off, put a finger of oil on the gasket, then screw it on by hand until the gasket contacts and add a quarter to three-quarter turn. Never use a wrench on a new filter.
What happens if you do not prefill your oil filter?
For the first couple of seconds after a start on a cold drained engine, the pump draws air through dry media and pressure reads zero or near it. On a dyno test of a V-8, a dry filter ran that way while a pre-filled one built pressure immediately. The oil left coating the engine walls is not enough to protect bearings for even that brief a window.
Can I prime an oil filter with grease or Vaseline?
No. Grease will not soak into the paper media and petroleum jelly will not move at all, so the filter stays dry where it matters. The same applies to thick assembly lube. Use clean engine oil of the specification your manual calls for, and if you are priming a loose oil pump, use an assembly that came pre-primed or fill the pump with oil by hand.
How much oil goes into the filter before installing it?
Most spin-on filters take between a cup and half a quart. Fill a vertical one nearly to the top, and an angled or sideways one only one-half to three-quarters full so it does not spill into the pan while you thread it on. Cartridge filters get a splash in the housing cup and a film of oil on the O-ring instead.
Conclusion
Start by confirming the filter and the oil specification, since everything else depends on getting those two right. Then fill the filter evenly and top it off after a minute or two, oil the gasket with clean engine oil, and tighten it by hand only, a quarter to three-quarter turn past contact.
Add the rest of the oil, let the engine idle, look under it, and check the dipstick again after five minutes. That is how to prime a new oil filter properly: a minute of work in the garage that removes the zero-pressure window from the first start.