
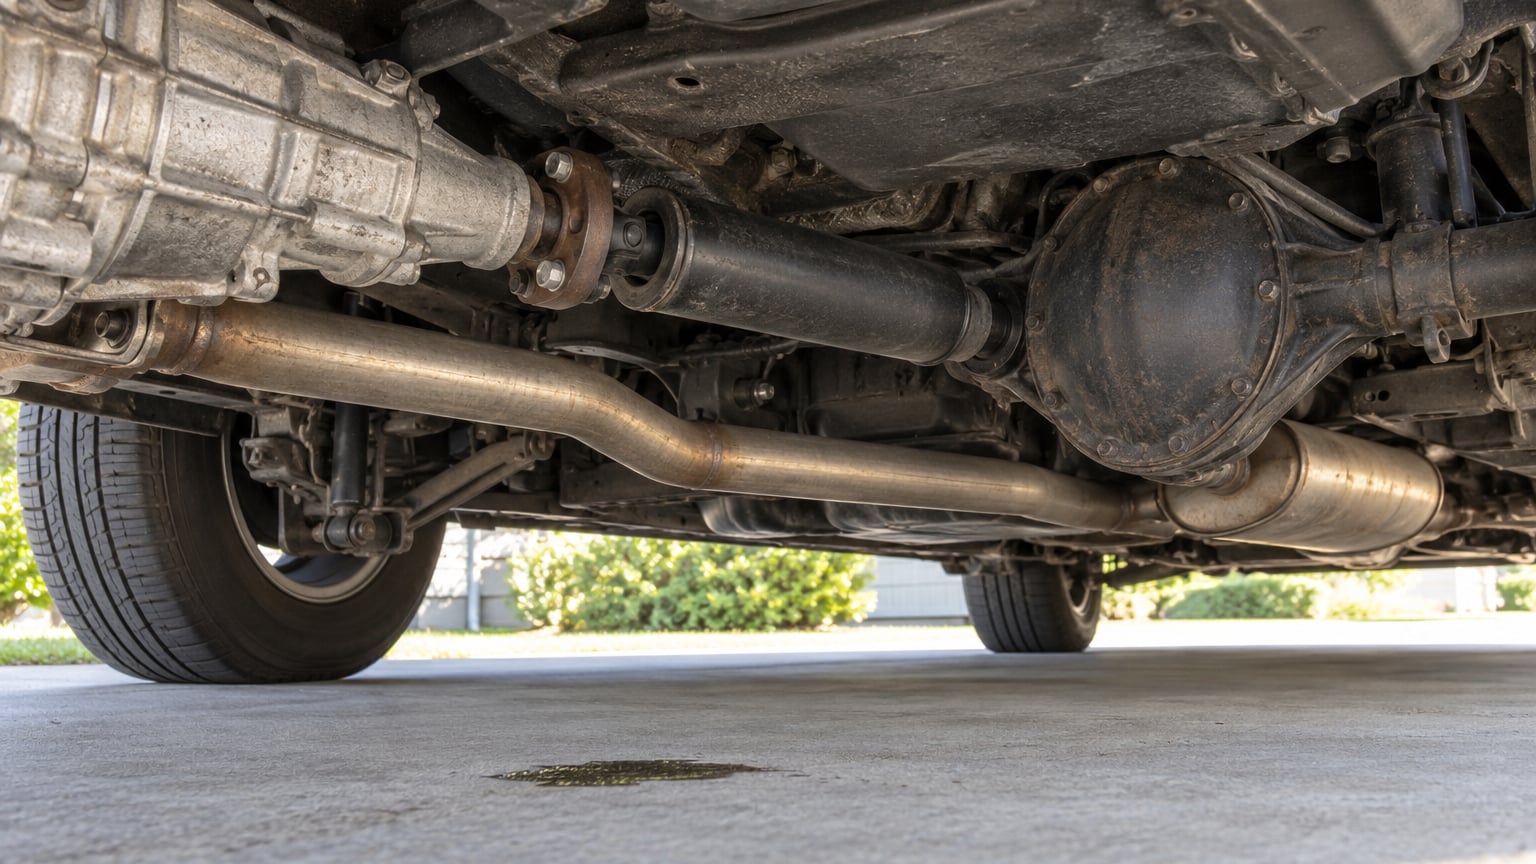
On a rear-wheel-drive BMW, rear main seal leak symptoms almost always show up in the same two places: fresh fluid on the ground under the car, and a wet, greasy tail housing where the driveshaft bolts into the transmission. Sometimes oil sits on the transmission casing and looks alarming but is only condensation. The trick is telling a real seal failure from a drip that started somewhere else.
BMW rear-drive owners have a specific problem here. The transmission, the differential and the transfer case all sit at the back of the car, all of them hold their own fluid, and all three can weep. If you book a teardown based on a puddle alone, you pay for the wrong job.
Here are the warning signs worth acting on, ranked by how much they tell you:
- Fresh fluid under the car that returns after you wipe the surface clean and park overnight.
- A wet, filmy transmission tail housing or driveshaft flange, sometimes with slow-running streaks below it.
- A steady drip while idling that speeds up as engine speed rises.
- A dipstick that keeps needing a top-up between normal service intervals.
- Fluid at the differential cover or output flange rather than at the transmission nose.
- Shifts that feel late or vague, or a transmission that behaves differently when the fluid is low.
- New noises from the rear that change with load, throttle or speed.
- Fluid that looks wrong for the unit — dark, burnt-smelling, or full of glitter-like debris.
- Smoke, mist or a burning smell when the fluid is thrown onto hot exhaust parts.
The rest of this guide goes sign by sign, then shows how to work out which of the three rear units is actually leaking before anyone quotes a seal.
Table of Contents
- Rear Main Seal Leak Symptoms by Location
- 9 Warning Signs of a Failing Rear Main Seal
- How to Tell a Transmission Leak From a Differential Leak
- Is It Safe to Keep Driving With a Rear Main Seal Leak?
- How to Confirm the Source of the Leak
- Common Causes of Rear Main Seal Leaks
- What a Professional Repair Usually Involves
- DIY Checks You Can Do Safely
- Frequently Asked Questions
- What to Do First
Rear Main Seal Leak Symptoms by Location
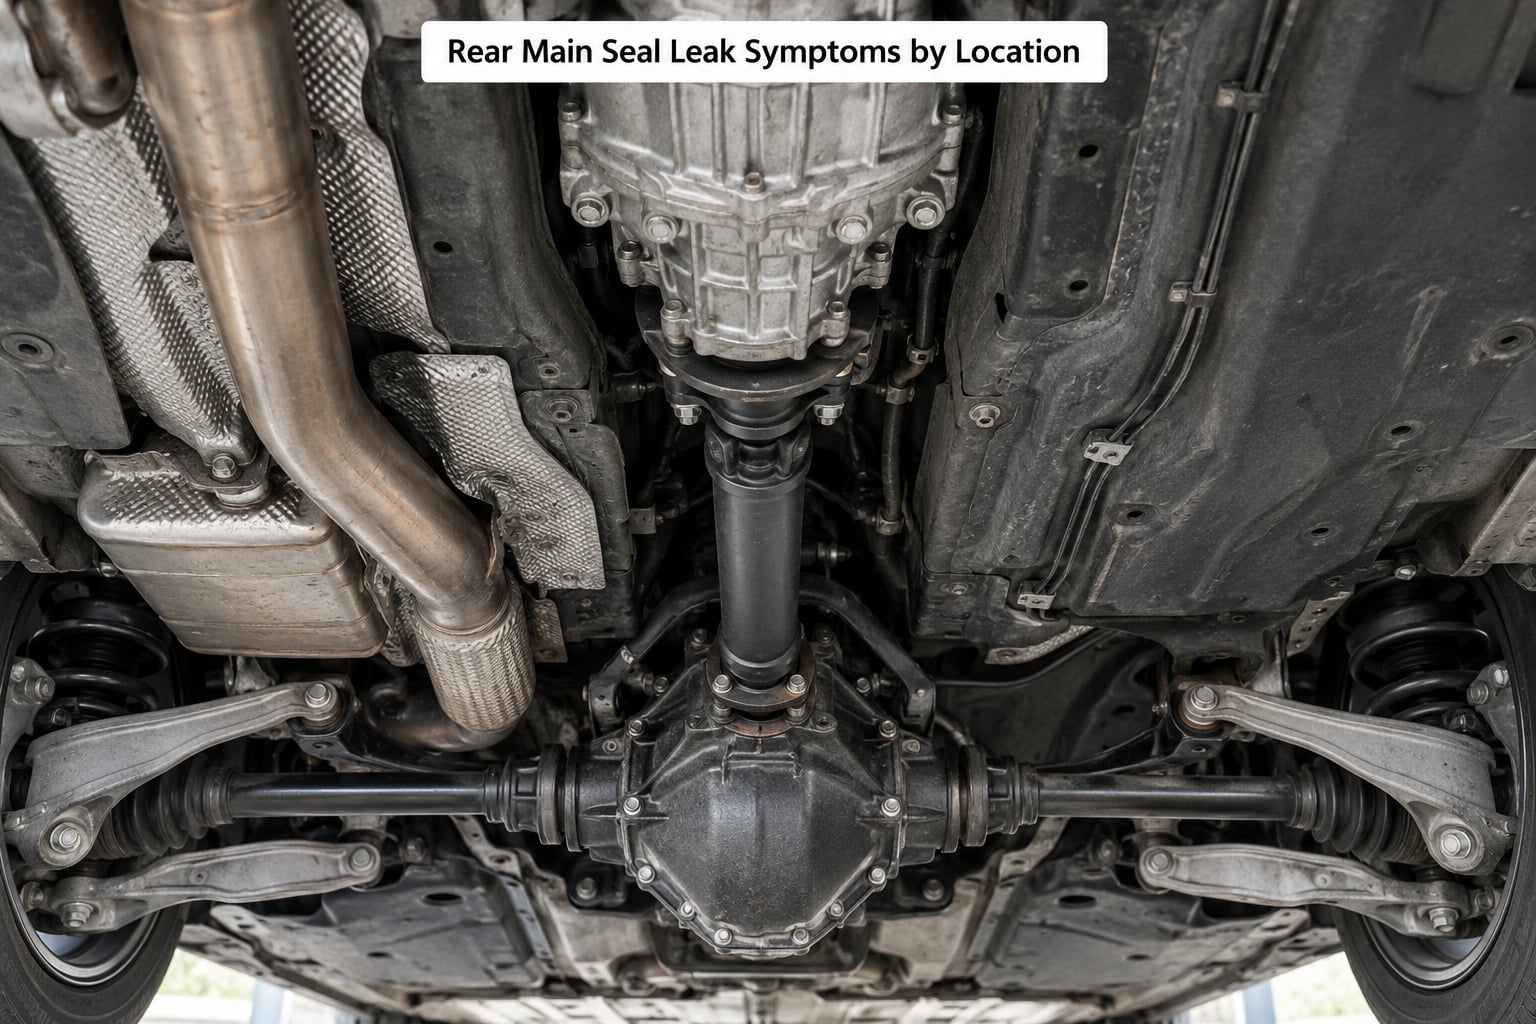
When a technician says rear main seal on a BMW, they usually mean one of three seals, and the location tells you which one.
The transmission tail-shaft seal (also called the output seal or extension housing seal) sits at the very back of the gearbox, where the output flange meets the driveshaft. It keeps transmission fluid in. It is the easiest of the three to reach, and the leak is normally visible without removing anything.
The engine rear crankshaft seal sits at the back of the engine, right where the crankshaft exits the block and enters the transmission bellhousing. It holds engine oil in. This is the expensive one, because on most BMWs the transmission has to come off to reach it, and the oil that escapes gets thrown around the inside of the bellhousing rather than dripping straight down.
The differential and transfer-case seals sit further out and lower, at the axle and at the front of the transfer case. On an all-wheel-drive BMW the transfer case takes its own fluid, and a seep there runs down the driveshaft tunnel, which makes it easy to blame on the transmission.
One quick orientation trick for a transverse engine on a front-drive car: the rear of the engine is the end away from the accessory belt and pulleys. Many owners look at the wrong end of the car entirely.
9 Warning Signs of a Failing Rear Main Seal
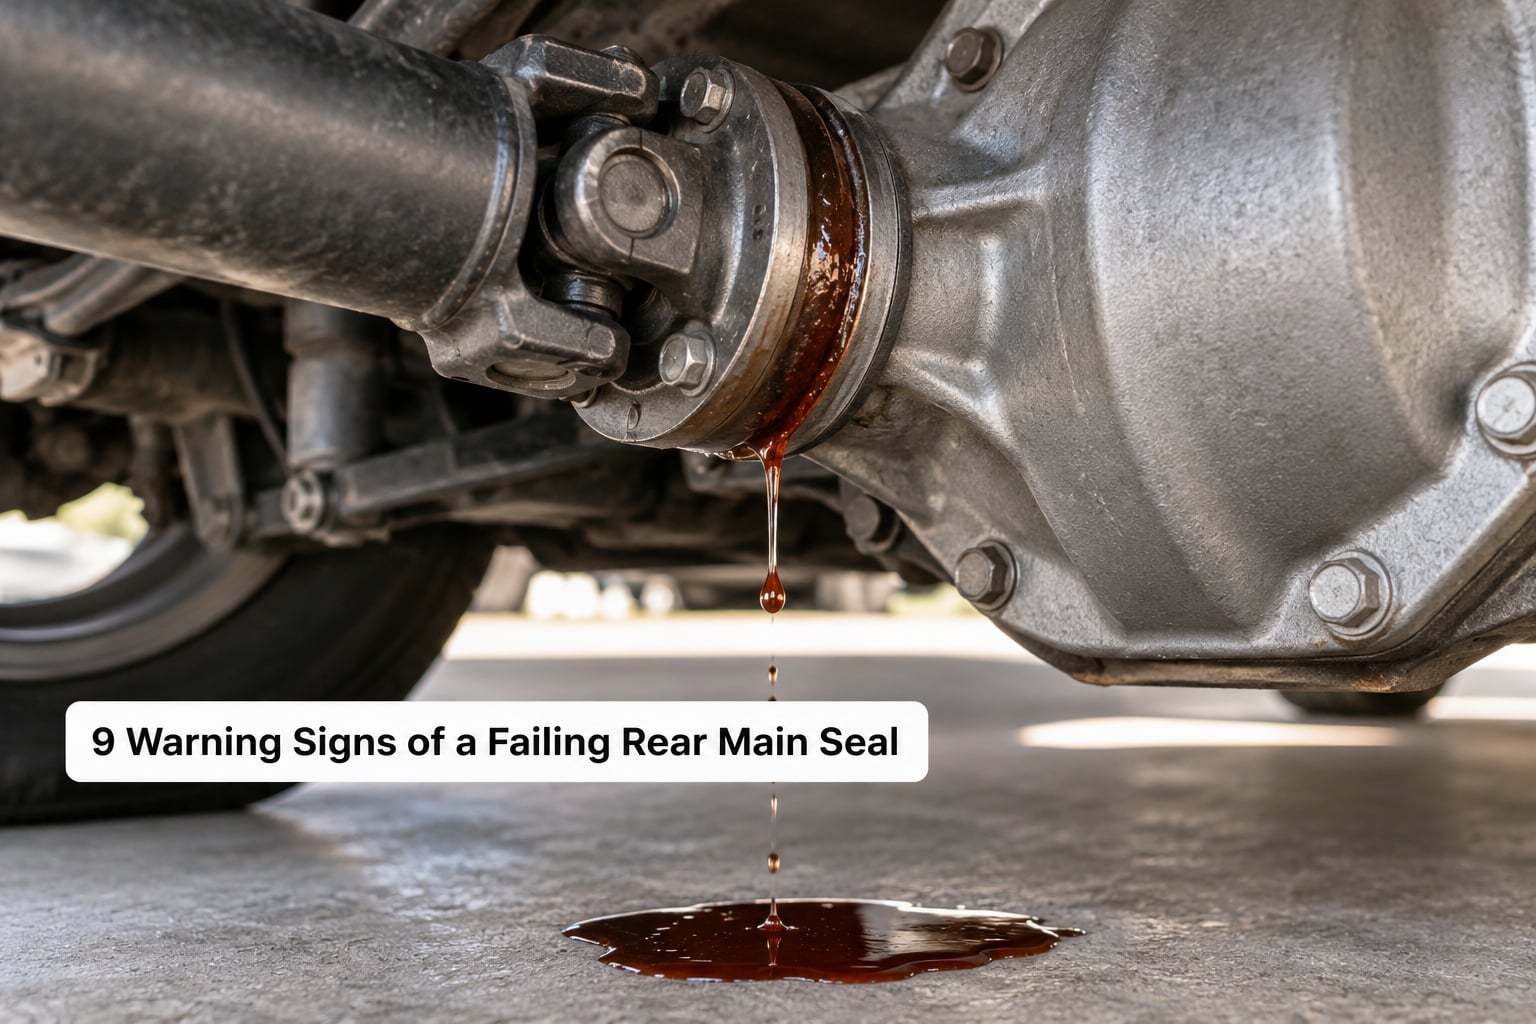
This table lists the nine rear main seal leak symptoms in the order they usually appear, and maps each one to the component most likely responsible. A sign on its own is not a diagnosis, but the combination narrows it down fast.
| Warning sign | What you see | What it points to |
|---|---|---|
| Fresh fluid under the car | A spot or puddle on the driveway that reappears after a wipe and an overnight park | Any of the three rear units; location is the clue, not the fluid alone |
| A visible stream from the housing | Slow-running oil down the tail housing, or off the differential cover | Tail-shaft seal or differential cover seal |
| Residue on the driveshaft or mating flange | Greasy buildup on the flange face, the shaft, or the yoke | Tail-shaft seal, or a flange that has moved and is dragging |
| Dampness around the mounting area | Wet bellhousing, wet driveshaft tunnel, oily exhaust heat shield | Engine rear seal or transfer-case front seal |
| Transmission-fluid odour in the cabin | A sweet or sharp smell that gets stronger on warm drives | Transmission or differential loss, often confirmed by a low dipstick |
| Shifting delays or slips | Late engagement, hesitation, or a gear that behaves differently after a top-up | Low or degraded fluid in the transmission |
| Changed axle or gearing noises | A hum, growl or whine that rises with speed or load and changes in turns | Low fluid, or a bearing that has been running without proper lubrication |
| Failed fluid condition | Fluid with a burnt smell, dark colour, or metallic particles in it | Contamination or internal wear; the leak is a symptom, not the cause |
| A falling level | The mark on the dipstick drops between services with no visible trail | Slow seep that is being wiped up, blown back, or evaporating off hot metal |
Two of these deserve extra emphasis. The falling level with no puddle is the most-missed sign, because owners who park on a driveway with a slope, or who run an undertray, never see the drop happen. And the burnt fluid smell is the one that turns a cosmetic drip into a repair, because that fluid has already been degrading inside the unit.
How to Tell a Transmission Leak From a Differential Leak
This is the single most common confusion in rear-drive BMW ownership, and it is the reason so many people replace the wrong seal. The difference is usually obvious once you know where to look and what the fluid should feel like.
| Point of comparison | Transmission tail-shaft seal | Differential seal |
|---|---|---|
| Fluid type | Automatic or manual transmission fluid | Gear oil |
| Colour | Red or amber for ATF, clear to amber for manual gear oil, darkens quickly with heat and use | Usually pale amber when fresh, going opaque and grey as it breaks down |
| Odour | Sharp or distinctly sweet | Strong, hot, sometimes burnt, often with a smell of scorched friction material |
| Where it appears | Tail housing, output flange, and the driveshaft yoke | Differential cover gasket, the pinion flange, or the axle flange seal |
| Level check point | Side fill or dipstick, checked on level ground and at the temperature stated in the manual | Filler or level plug on the cover, per the manual |
| Driving symptom | Late shifts, hesitation, slipping, flare on acceleration | Groan or hum that changes with speed, load and cornering; harsher on a loaded or hot unit |
| Third option | On all-wheel-drive cars, a transfer-case front seal can weep down the tunnel and imitate either one. Trace the film upward before blaming the lower unit. | |
Two habits make this much easier. The first is the trace-upward rule that comes up constantly in mechanic forums: if the oil is on the lower pan rail, it did not start at the pan rail, because gravity pulls fluid down. Follow the wet film to its highest, wettest point and the source is usually right there.
The second is to clean everything and recheck. Wipe the housing, flange, cover and the surrounding tunnel dry, then look again after a drive. Fresh fluid appearing from a single point beats guessing every time.
Is It Safe to Keep Driving With a Rear Main Seal Leak?
Usually, yes, briefly, and only if you are honest about the level rather than the puddle. The risk is not the oil on the driveway; it is a unit running without enough fluid to cool and lubricate its internals. The triage below is the fastest way to place your leak.
| Severity | What it looks like | What to do |
|---|---|---|
| Seep | A film only, no drip, level drops slowly over weeks | Top up to the correct mark, recheck the level at regular intervals, and book an inspection |
| Active drip | A spot on the driveway after a drive, level drops within a service interval | Top up, measure how fast the level falls, and schedule the repair before it worsens |
| Gush | A puddle within minutes of starting or idling, or a visible stream off the housing | Stop driving. Low fluid can damage the unit quickly, and a fast leak can leave you stranded |
Topping up hides the symptom, not the cause, so treat any top-off as data: write down the date and the amount, and measure again after a few hundred kilometres. If a litre goes in and the level is back down to the same mark before the next drive, you are looking at a fast leak and should not keep using the car normally.
A few things make it more urgent. Manual transmissions are the ones to watch, because leaked engine oil or fluid reaching the clutch can contaminate the friction material and cause slip, and owners understandably fear being quoted a clutch on top of a seal. Some experienced technicians say they rarely see it, others say it is common enough to plan for. Assume it is possible and ask about it before the work starts. If the fluid at the back of the car is thinner than the transmission fluid and the engine needs topping up too, that is a second problem, and what causes engine oil consumption covers that side of it.
Stop and arrange transport instead if the unit is low and you cannot confirm a level, if you see metallic debris in the fluid, or if a warning light comes on. Level ground, a correct reading and a clear source turn this from an emergency into a scheduled repair.
How to Confirm the Source of the Leak
Confirm the unit before the seal, because the teardown is the expensive part and the wrong diagnosis is the expensive mistake. Work through this in order, on level ground, with the car cold where the manual says cold.
1. Get a baseline reading. Park level, switch the engine off, and check the relevant dipstick or level plug before you start looking. Write the reading on your phone. A level you cannot reproduce is not a level.
2. Inspect from above. Look over the transmission, the differential cover, the transfer case and the exhaust run in the tunnel. Follow every oil film to its highest point, since gravity always tells you the height the fluid came from.
3. Clean everything you can reach. Degrease the tail housing, the flange, the differential cover, the filler plugs and the tunnel. If an undertray or splash shield sits in the way, remove it so the next check is not a lie.
4. Recheck after a drive. Take a normal drive long enough to get the unit fully warm, park level, and look again. Fresh fluid from one point is a strong answer. A dry area and a spot on the ground means the source is out of sight or thrown by the driveshaft.
5. Do a controlled road test only with safe levels. With the level confirmed, feel for shifts and listen for hum on a straight road, then note how the noise changes in a gentle corner. Stop if anything new appears under the car.
6. Use dye and a borescope if the source is hidden. A fluorescent additive in the correct fluid, followed by a UV light inspection, traces the path back to the origin. A borescope through an inspection point can show the inside of the bellhousing or the inside of the differential cover without removing anything. Both are cheap compared with guessing.
Confirm the Rear Main Seal Leak Before Replacing It
Rear main seal leak symptoms overlap with several nearby faults, and a seal job is the wrong repair if the real source is a joint. Before anyone quotes a seal, check the housing joint, the case gasket or cover, the drain and fill plugs, the axle flange seal, and the driveshaft centre bearing support.
On a BMW, a seep at a plug or a case joint is common, and owners on the model forums report repeatedly that a wet, spotty housing gets blamed on the seal when the cheaper joint is the culprit. A cracked housing casting is rare but shows the same way from underneath, and it changes the whole job. Our guide to BMW oil filter housing gasket leak symptoms covers the same misdiagnosis pattern on a different seal further forward in the bay.
Owners doing a full teardown have also described wiping the bellhousing clean, finding fresh oil pooling again within minutes of restarting, which is the fastest confirmation available to someone who has the car apart. A UV trace does the same job without the disassembly, and it costs very little next to a transmission removal.
Fix only the source that is actually leaking. Multiple leaks on the same car are normal on an older vehicle, and a fresh rear main seal will not stop oil coming out of a weeping pan gasket or a worn valve cover gasket.
Common Causes of Rear Main Seal Leaks
Seals do not usually fail on the day they are fitted. The usual reasons a rear main seal starts weeping are age and heat, movement, and installation.
Ageing and heat cycling. The elastomer hardens and loses elasticity with mileage and repeated heating, and the lip no longer seals against a smooth crankshaft or output shaft. This is the ordinary cause on a high-mileage car.
Seal type and design. Older engines used rope or wick seals that swell slightly with oil, split neoprene seals that can be fitted dry or wet, and one-piece seals whose sealing lip carries a PTFE coating. Each behaves differently as it wears, and the coated lip type fails fast once the coating is gone.
Shaft and flange movement. Wear in the rear main bearing, a loose flange, or a worn output shaft lets the shaft move under load, and the lip is dragged a fraction every time. A failing rear main bearing is a bigger job than a seal, and the two are frequently confused.
Rough or overloaded use. Towing heavy loads, repeated high revs, and hard use heat the unit faster than the seal material was designed for.
Incorrect fluid or neglected service. Wrong fluid, low level, or fluid that has gone past its service life attacks the seal lip and the gasket material around it.
Installation damage. A dry PTFE-coated lip installed wet, a shaft scratched during assembly, or a housing that was not cleaned and dried will leak within a short distance of being fitted.
A dirty housing, or a nearby leak. Grit left in the housing after removal cuts the new lip, and an adjacent leak that keeps the original seal wet can finish it off.
What a Professional Repair Usually Involves
Once the correct seal is confirmed, the work is procedural and worth understanding before you approve it.
First, the correct seal and any gaskets or seals that come with the job are identified from the vehicle’s numbers rather than by shape. The affected unit is then drained, and the output flange, driveshaft, or the transmission itself is removed depending on which seal is being done. The old seal is extracted, the shaft and the rear bearing surfaces are inspected, and the housing is cleaned and checked for scoring or cracks.
The new seal goes in dry where the manufacturer specifies a dry installation, and the retainer is torqued in the sequence the manual gives. The unit is refilled to the correct level with the specified fluid and the specified procedure, because many gear units need the level set at a given oil temperature rather than a cold guess.
Good shops leak-check afterwards with the car warm and re-level it. If the transmission is already out for another job, replacing the rear main seal at the same time is a fraction of the labour and is worth asking about.
On an automatic, the flex plate and torque converter are in that bellhousing too, and oil thrown onto a wet clutch is a different problem from a small drip. Mention the manual-transmission clutch concern to the shop if yours is a manual, and get the answer in writing before the work starts.
DIY Checks You Can Do Safely
There is a useful amount you can establish yourself before booking anything, using the owner’s manual, the correct fluids, and a phone to record readings.
Check and record levels on level ground at the temperature the manual specifies, so your numbers are comparable. Trace oil films upward from the lowest wet point. Clean, drive, recheck. Measure how much fluid you need to bring a low unit back to the mark, and again after a few hundred kilometres, which turns an argument about severity into arithmetic. If the source is hidden, fluorescent dye and a UV light will find it faster than you can pull a transmission.
Stay on the right side of a few hard limits. Do not crawl under a vehicle that is not supported on rated jack stands; the jack alone is not enough. Do not open a hot or pressurised system, and do not loosen a fill plug on a unit that is still warm. Do not skip steps the manual calls for. And do not trust fluid colour alone, because nearly every fluid on the back of the car goes dark and opaque once it has been hot and has collected debris.
That last point is the one people get wrong most often. Colour tells you it has been used, not what failed. Position, timing and level are what identify the leak, which is why this article spends so long on where the fluid came from instead of what colour it is.
Frequently Asked Questions
Can I drive with a rear main seal leak?
You can drive a small seep for a while if you top the unit up to the correct level and check it regularly, but a fast drip or gush should be stopped immediately. Low fluid in a transmission or differential means less cooling and less lubrication for the internals, and the damage from running dry can exceed the cost of the seal. Write down what you add and when, so you know how fast the level falls.
What fluid leaks from a rear main seal?
It depends which seal you mean. The engine rear crankshaft seal leaks engine oil, usually onto the bellhousing and the flex plate or flywheel inside. The transmission tail-shaft seal leaks transmission fluid out at the output flange where the driveshaft bolts on. On an all-wheel-drive BMW a transfer-case or differential seal can also leak into the driveshaft tunnel and look like either one. Location, not colour, settles it.
Is a rear main seal leak common on BMWs?
It is common on older rear-wheel-drive and all-wheel-drive BMWs, mostly because the rear of the engine and the transmission sit in the same crowded area and the seals see a lot of heat. Many cars with over 100,000 miles develop a slow seep that owners notice on the driveway before they notice anything else. A seep is normal with age; a fast leak is not, and the difference is measured by how fast the level drops.
Should I add fluid before repairing the leak?
Top up if the level is genuinely low, because running the unit low risks damage, but treat the top-off as a measurement rather than a fix. Record the amount and the date, then check again after a few hundred kilometres. Never mix fluid types or brands without checking the manual, and never fill a hot unit to a cold specification. A stopped or empty unit cannot be sealed dry, so do not use driving to test it.
Can a new rear main seal fail immediately?
Yes, and the usual causes are installation rather than the part itself. A dry PTFE-coated lip fitted wet, a shaft scratched during assembly, grit left in the housing, or a retainer torqued incorrectly will all leak within a short distance. If fresh oil appears right after a replacement, have the source traced with fluorescent dye before anyone replaces the seal a second time. It may be a joint, a plug or a cracked housing.
What to Do First
Work out which unit is leaking before you spend anything. Put the car on level ground, check that unit’s level against the mark in the manual, and photograph where the fluid is coming from with the housing clean.
Then decide by the level, not by the stain. Topped up and holding, you have time to book an inspection. Low and falling, you do not. Either way, get the source confirmed with a clean-and-recheck and a dye trace, and rule out a plug, a joint or a cracked housing before anyone quotes you a rear main seal replacement.
One last thing worth checking, if you have bought the car recently: a fresh oil change followed by a puddle often means the seal was already weeping and the clean oil made it visible. That is a sign the leak predates the service, and it is worth knowing before the bill arrives.